
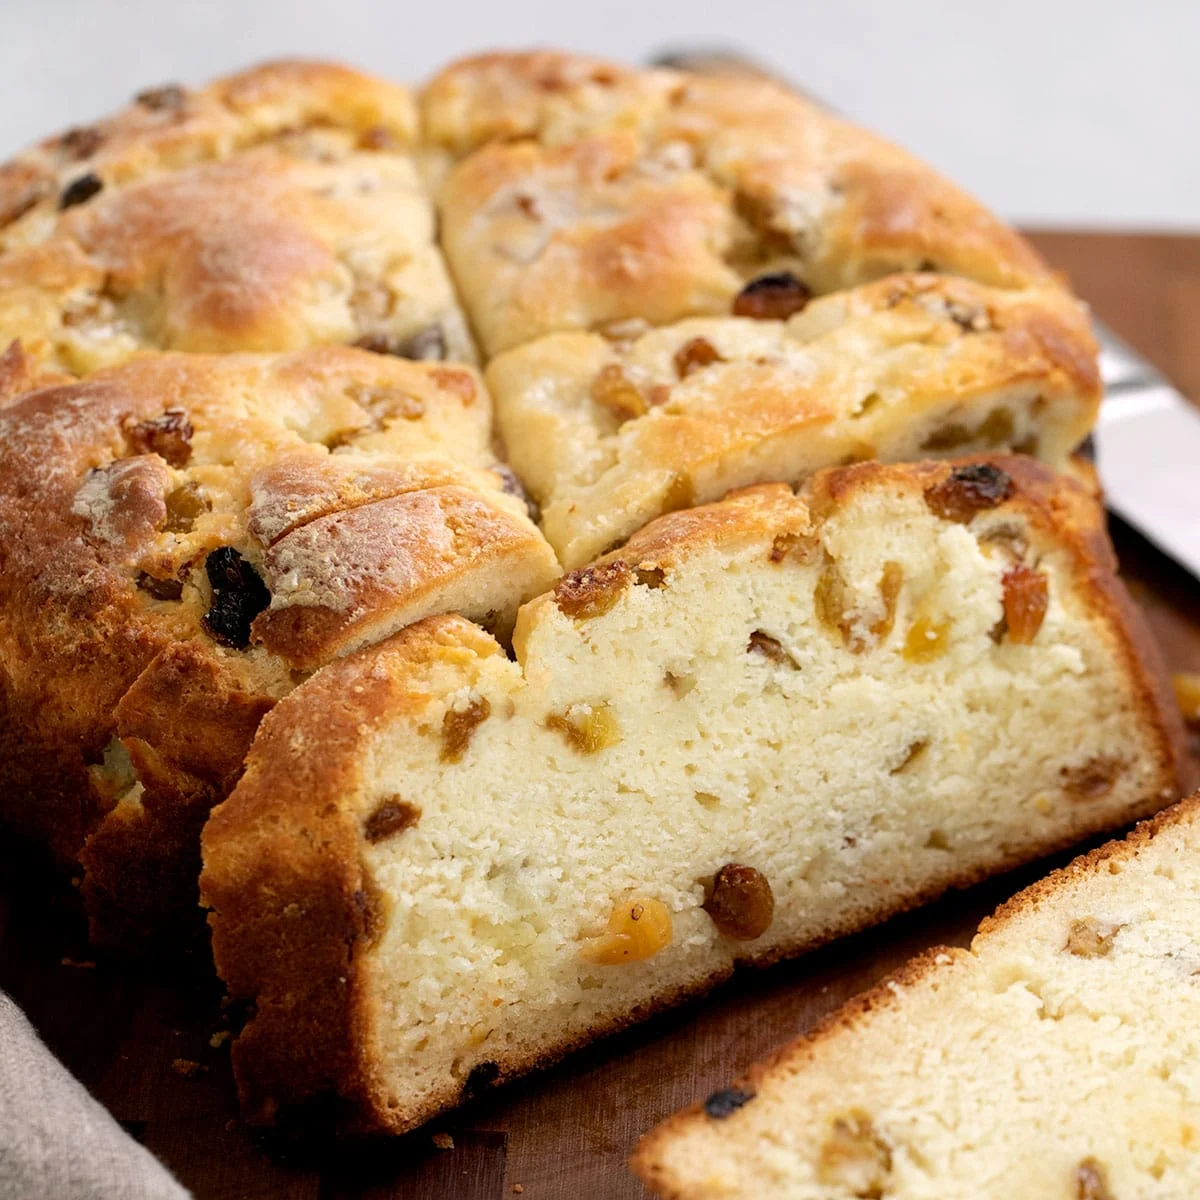
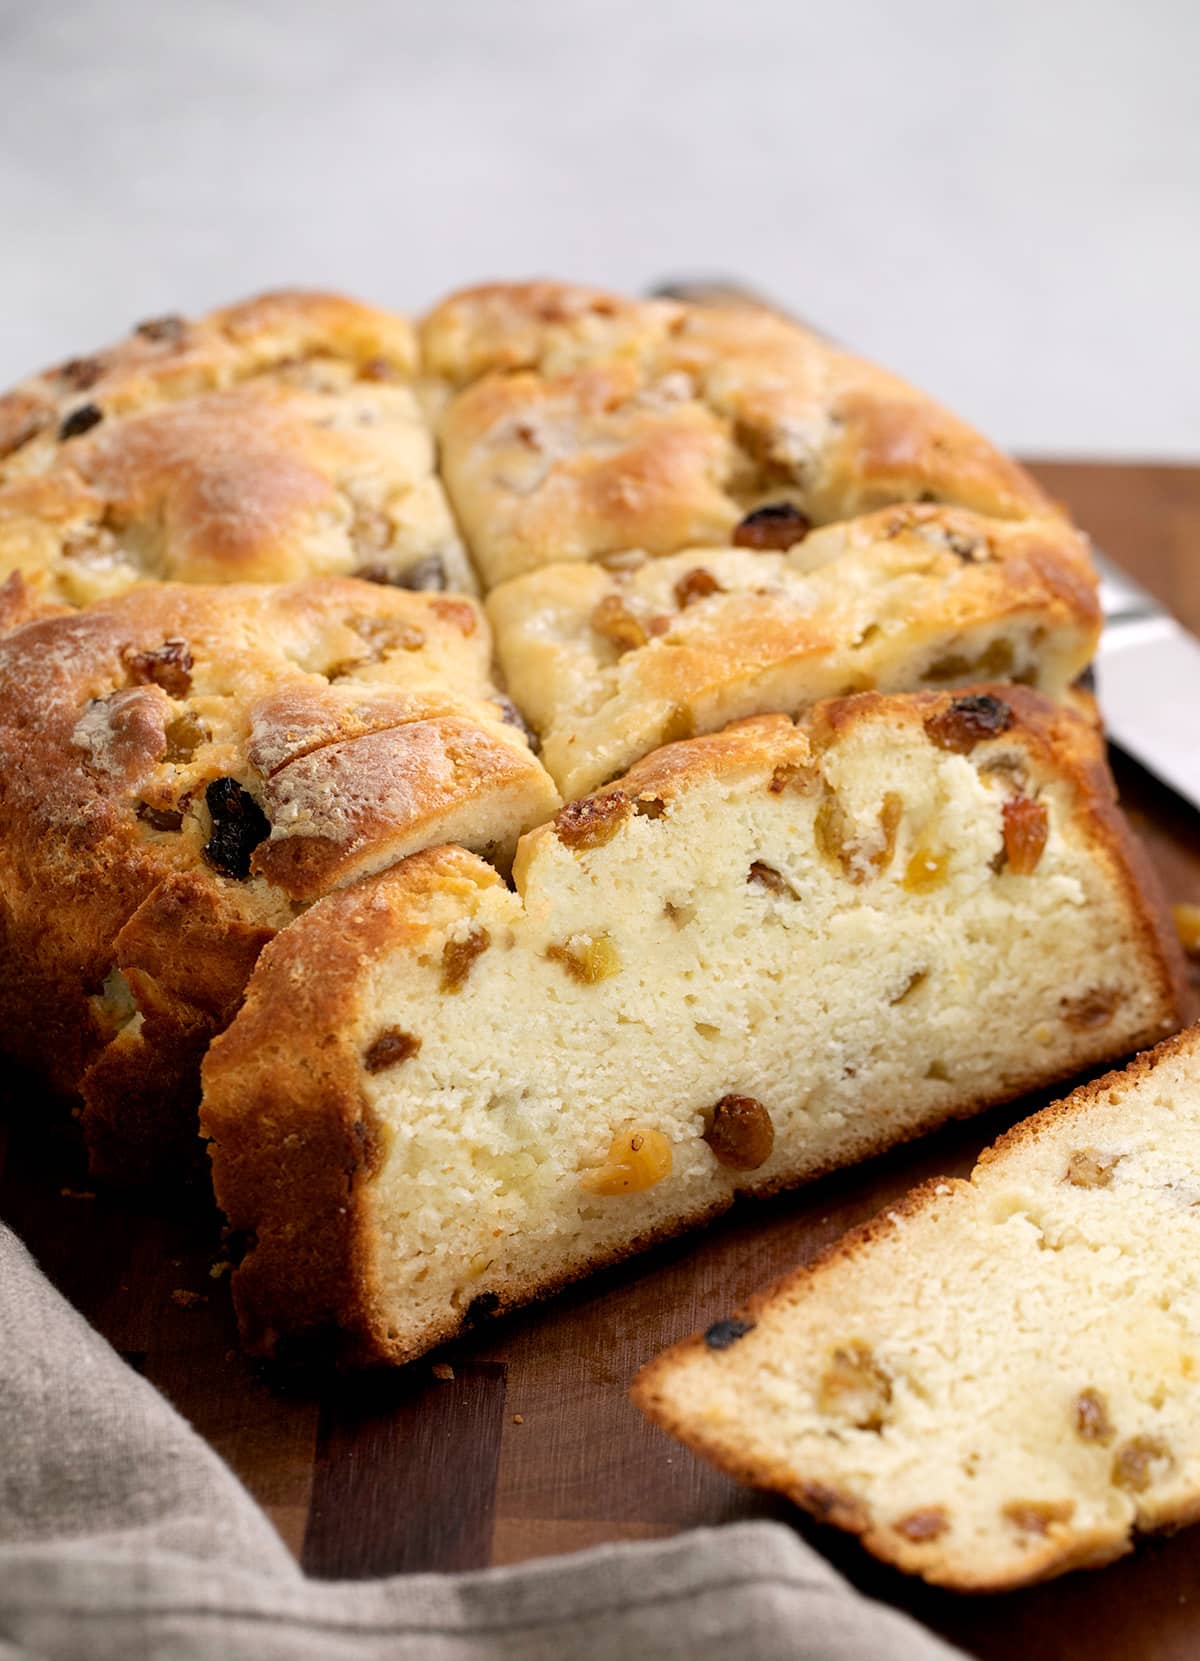
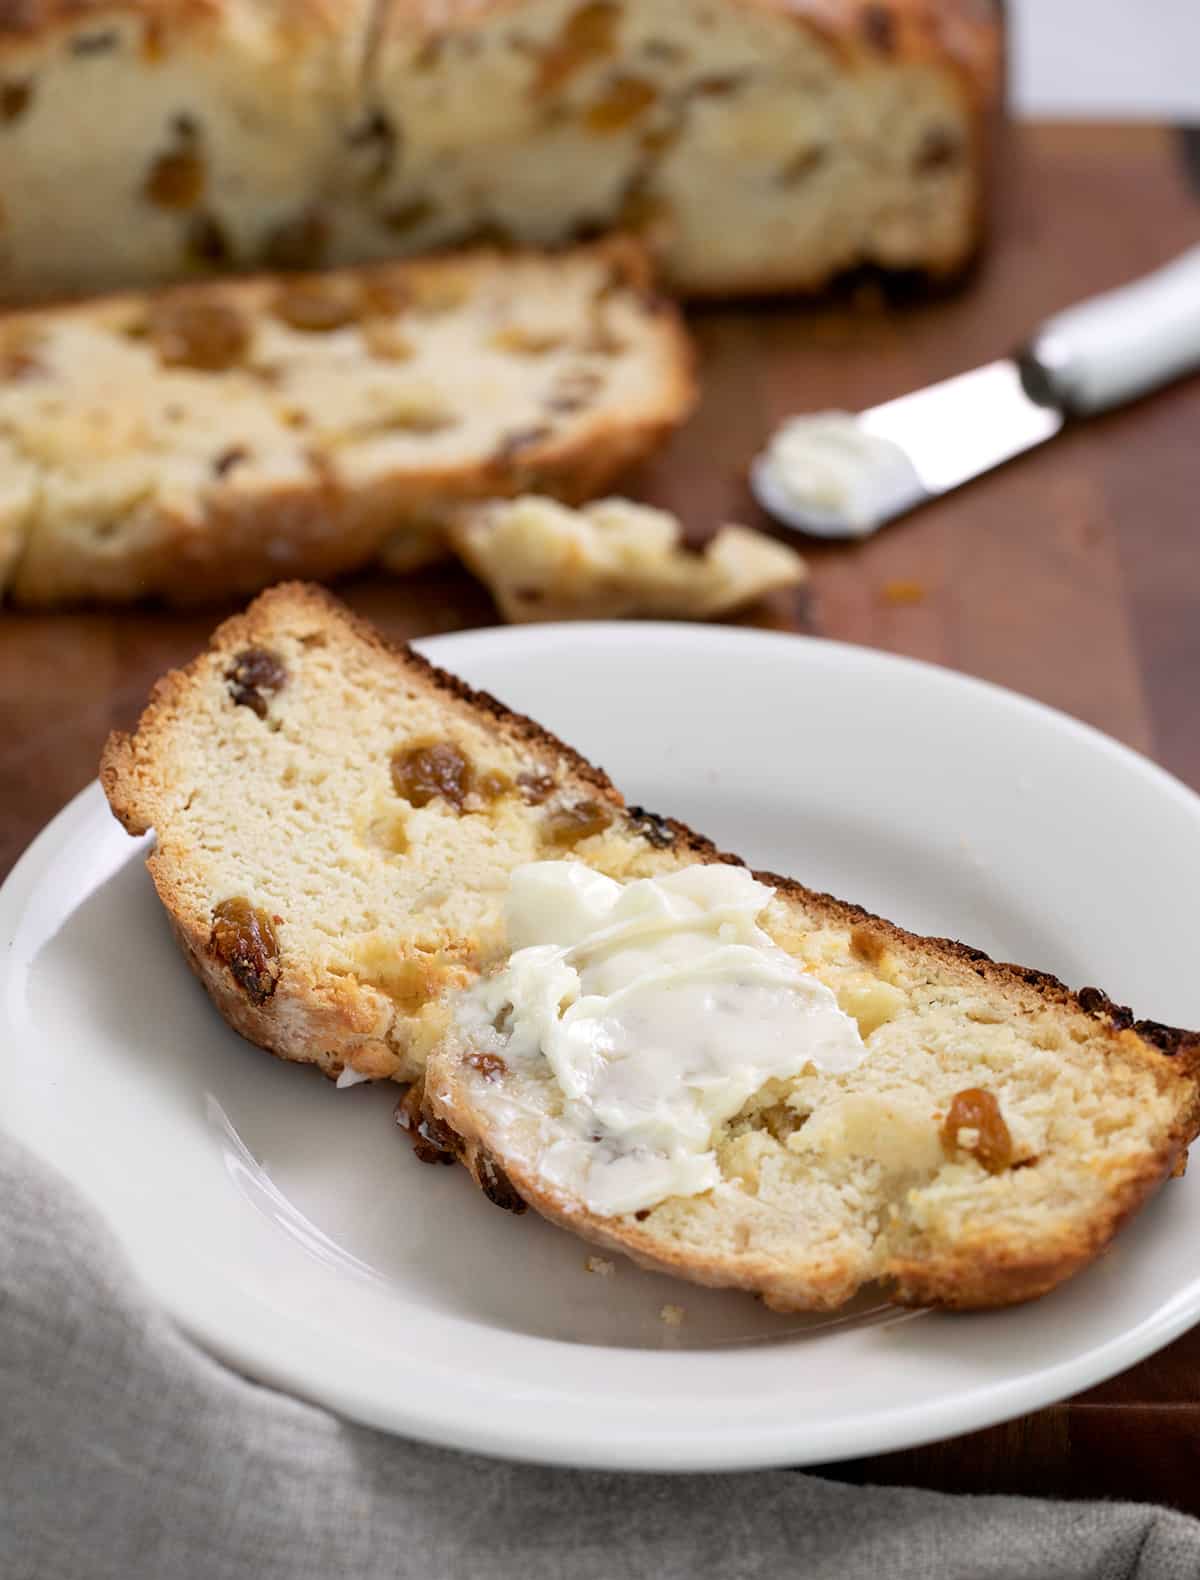
This gluten-free Irish soda bread is a lightly sweet quick bread that tastes best slathered with some extra Irish butter. Celebrate St. Patrick’s Day, or any day, the way you remember with this classic, golden brown soda bread!
Irish soda bread, a staple in kitchens across Ireland and beyond, is traditionally a simple, rustic bread made with readily available ingredients: flour, baking soda, salt, and buttermilk. Its quick preparation time, requiring no yeast or lengthy proofing, made it a practical choice for households. The inclusion of baking soda as a leavening agent, reacting with the acidity of buttermilk, gives it its characteristic tender crumb. While often associated with St. Patrick’s Day, its appeal extends year-round as a comforting and versatile accompaniment to meals or simply enjoyed on its own.
This particular recipe, developed by Nicole Hunn of Gluten Free on a Shoestring, aims to recreate that nostalgic experience for individuals managing gluten sensitivities. Hunn’s approach emphasizes the traditional methods of soda bread preparation, adapted for gluten-free baking. The technique involves treating the dough like a pastry, utilizing cold butter and a light touch to achieve a tender, buttery result. This contrasts with many gluten-free baked goods that can often be dense or crumbly.
The inspiration behind this recipe stems from a personal experience. Hunn recalls making this bread in 2015 for her gluten-free son’s grammar school class celebration of St. Patrick’s Day. The desire to ensure her son could partake in the same festive treats as his peers fueled the development of this recipe, highlighting the importance of inclusivity in culinary traditions.
The Science Behind a Tender Gluten-Free Soda Bread
The success of this gluten-free Irish soda bread lies in several key techniques that mimic traditional methods while accounting for the unique properties of gluten-free flours.
- Cold Ingredients are Key: Just as with classic gluten-free biscuits, the recipe emphasizes the use of very cold butter and chilled buttermilk. When cold butter is cut into the dry ingredients, it forms small pockets. As the bread bakes, these butter pockets melt, creating steam that leavens the dough and contributes to a light, flaky texture. Overworking the dough or using warm ingredients would melt the butter prematurely, resulting in a denser bread.
- Gentle Handling: Gluten-free flours behave differently than wheat flours. They lack the gluten network that provides structure and elasticity. Therefore, a light hand is crucial. Over-mixing or excessive kneading can break down the starches and proteins, leading to a tough or gummy texture. The recipe advocates for mixing just until the ingredients are combined.
- Traditional Shaping and Scoring: Unlike many loaves baked in pans, Irish soda bread is traditionally shaped into a round, flat disc and baked directly on a baking sheet or in a cast-iron skillet. The characteristic deep cross scored into the top of the loaf is not merely decorative. It serves a functional purpose: allowing steam to escape during baking, which promotes even cooking and prevents the bread from cracking unpredictably. Historically, this scoring was also imbued with folklore, believed by some to ward off evil spirits.
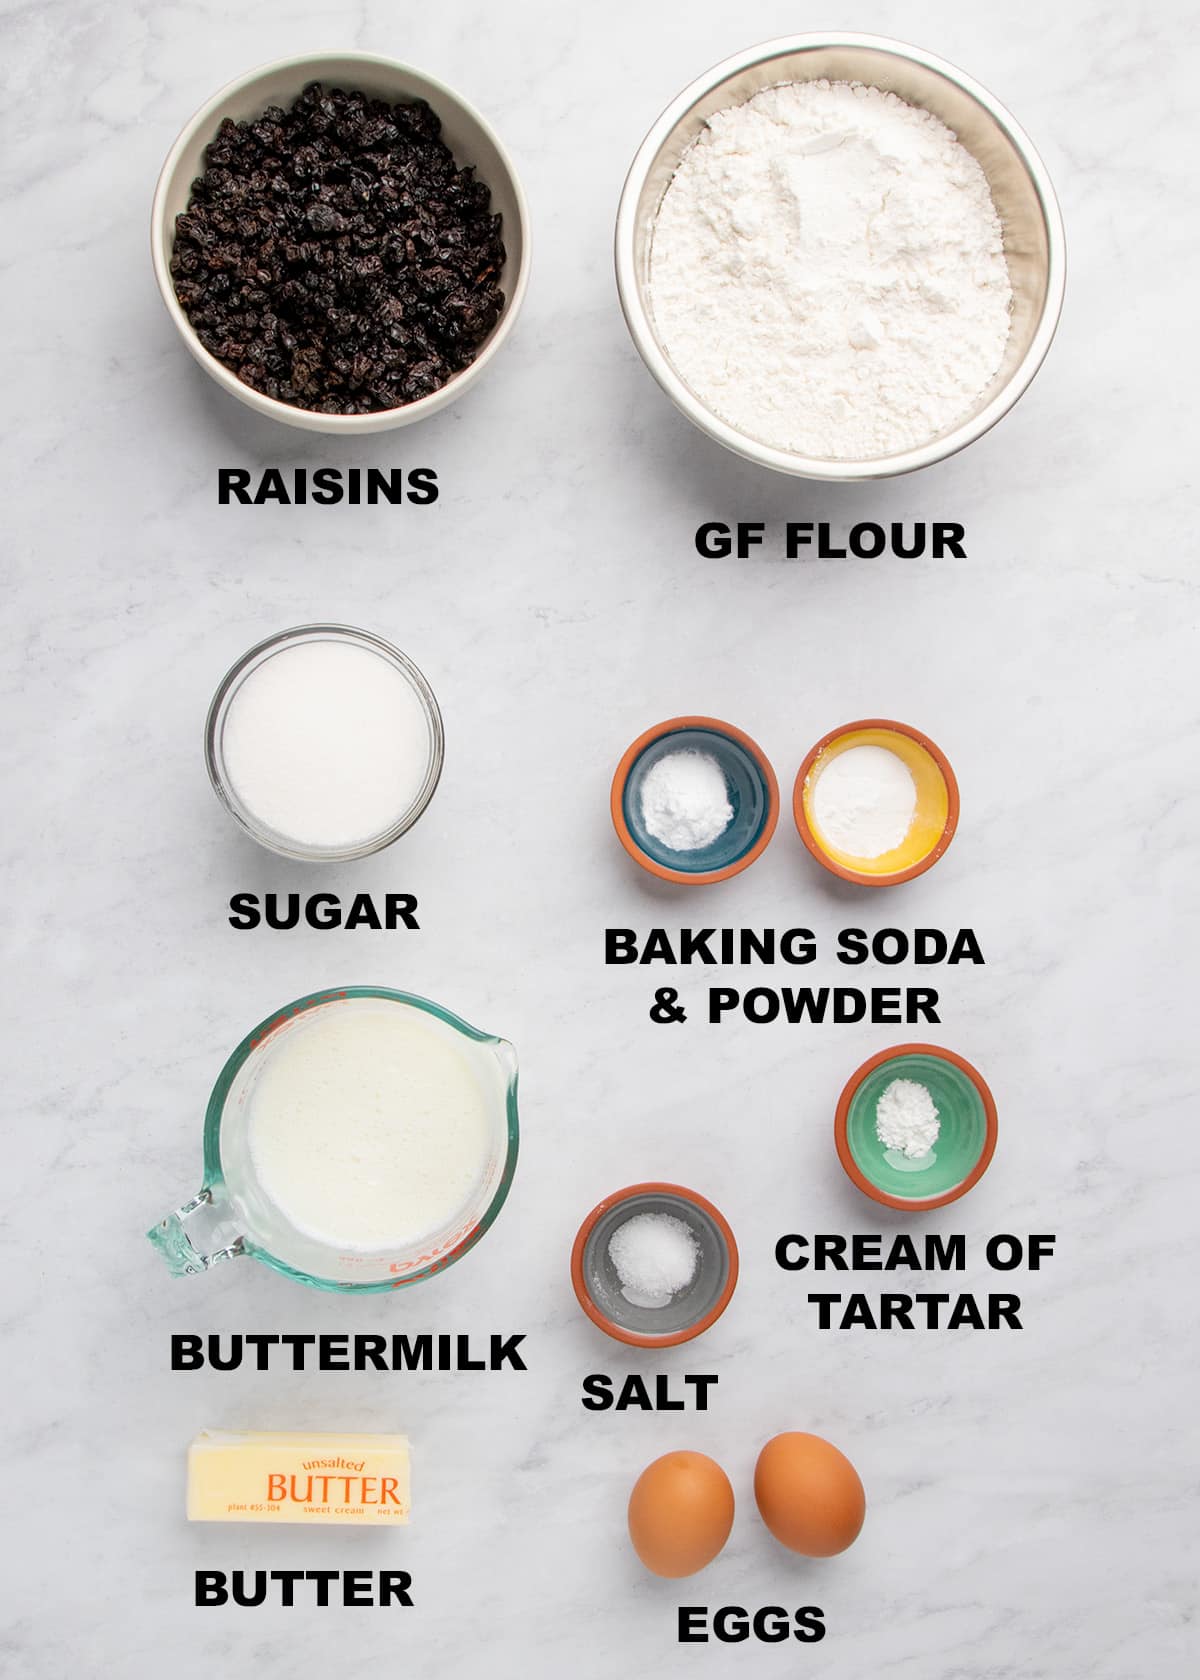
Ingredients and Their Roles
A successful gluten-free Irish soda bread relies on a carefully balanced combination of ingredients.
- Gluten-Free Flour Blend: The foundation of the bread. A good quality all-purpose gluten-free flour blend that contains xanthan gum is recommended. Hunn specifically suggests Better Batter’s original blend or Nicole’s Best multipurpose blend. If using a blend that contains xanthan gum, such as Bob’s Red Mill 1-to-1 Gluten Free Baking Flour, an additional 3/4 teaspoon of xanthan gum may be necessary to ensure adequate structure. For those who prefer to make their own blend, resources for DIY gluten-free flour mixtures are available.
- Baking Soda and Baking Powder: These chemical leaveners are essential for the bread’s rise. Baking soda, a base, reacts with the acid in buttermilk to produce carbon dioxide gas, causing the bread to puff up. Baking powder provides an additional boost.
- Cream of Tartar: This acidic salt acts as a stabilizer for the baking soda, ensuring a more consistent and effective reaction.
- Salt: Enhances the overall flavor of the bread.
- Sugar: A small amount of sugar is included to provide a subtle sweetness, balancing the tang of the buttermilk and complementing the richness of the butter.
- Cold Butter: As mentioned, cold butter is crucial for creating a tender and flaky crumb. It should be shredded or diced into small pieces.
- Buttermilk: The acidic component that reacts with the baking soda. Real buttermilk, with its thicker consistency, is preferred. However, suitable substitutes can be made for those who don’t have it readily available.
- Raisins (or other dried fruit/nuts): These add pockets of sweetness and texture throughout the bread. Currants, chopped dried apricots, or prunes are viable alternatives. For a nuttier flavor, chopped raw unsalted walnuts or pecans can be used, though this may require a slight adjustment in liquid content due to the moisture absorbed by the nuts.
Step-by-Step Guide to Crafting the Perfect Loaf
Creating this gluten-free Irish soda bread is a straightforward process, achievable even for novice bakers.
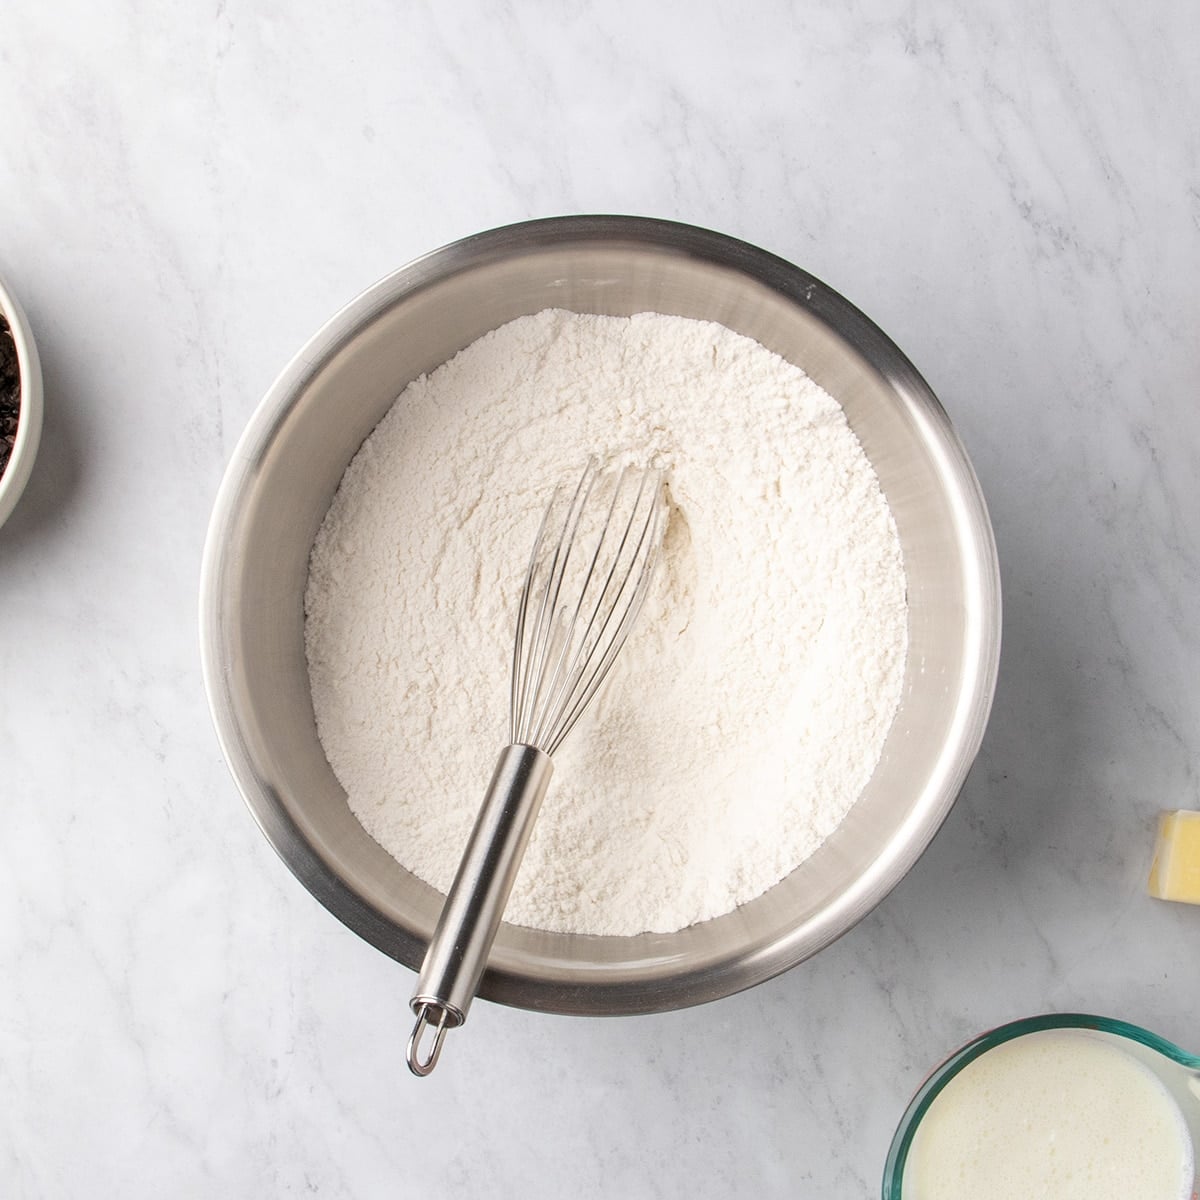
- Combine Dry Ingredients: In a large mixing bowl, thoroughly whisk together the gluten-free flour blend, baking soda, baking powder, salt, cream of tartar, and sugar. Ensuring these ingredients are well combined prevents pockets of leavener and creates a uniform base.
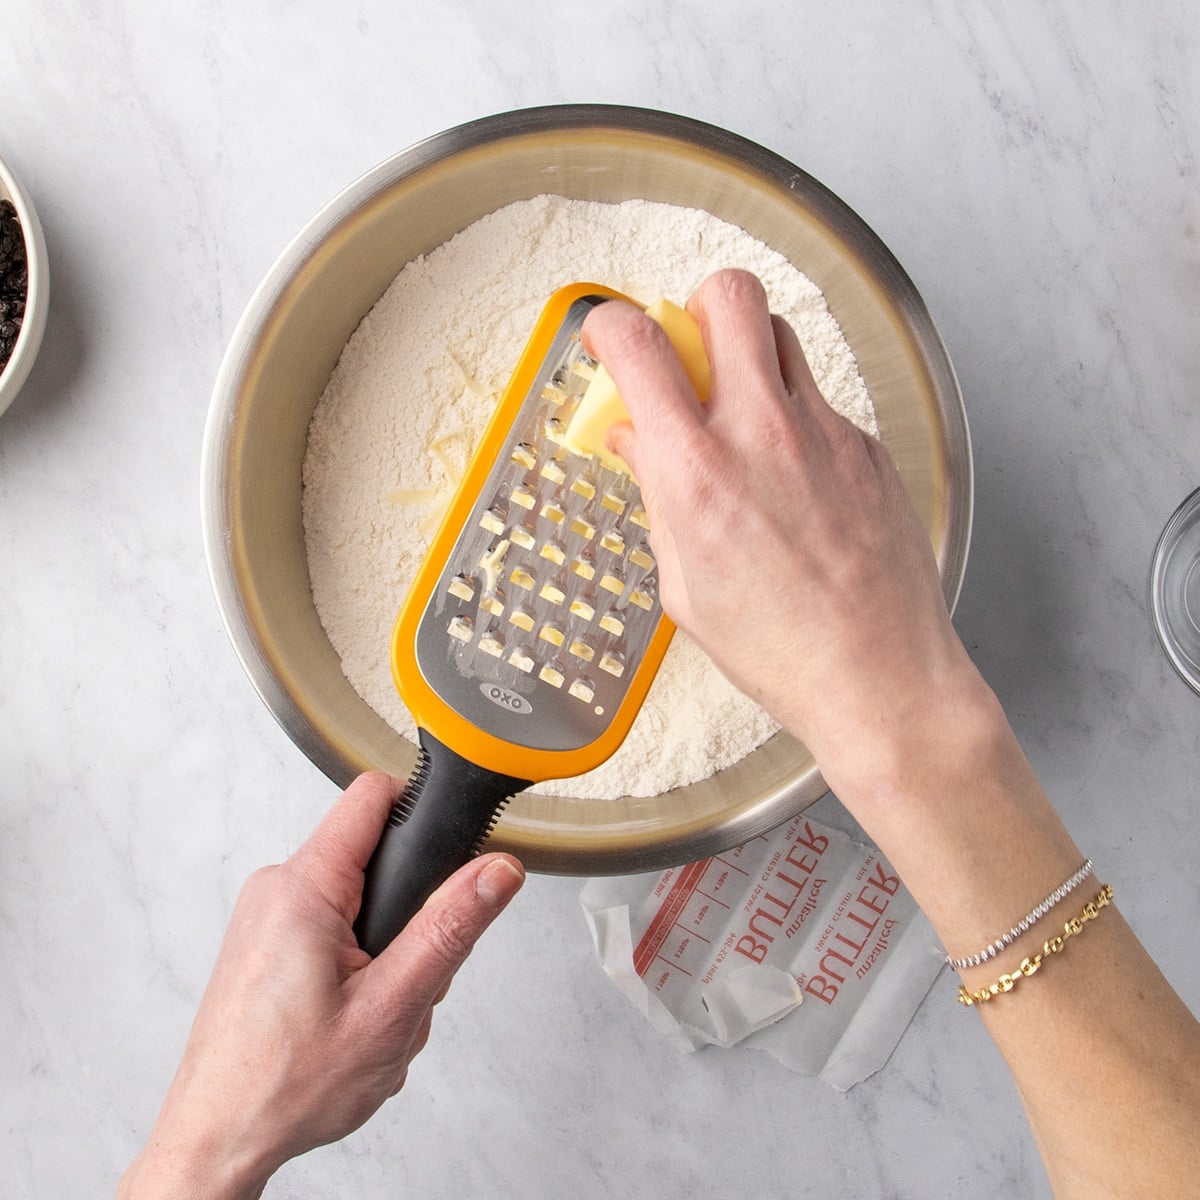
- Incorporate Cold Butter: Using a coarse grater, shred very cold butter directly into the bowl of dry ingredients. Toss gently to coat the butter pieces with flour. Alternatively, dice the butter into small cubes, toss with the dry ingredients, and then lightly flatten the pieces between floured fingers. The goal is to distribute small clumps of butter throughout the mixture.
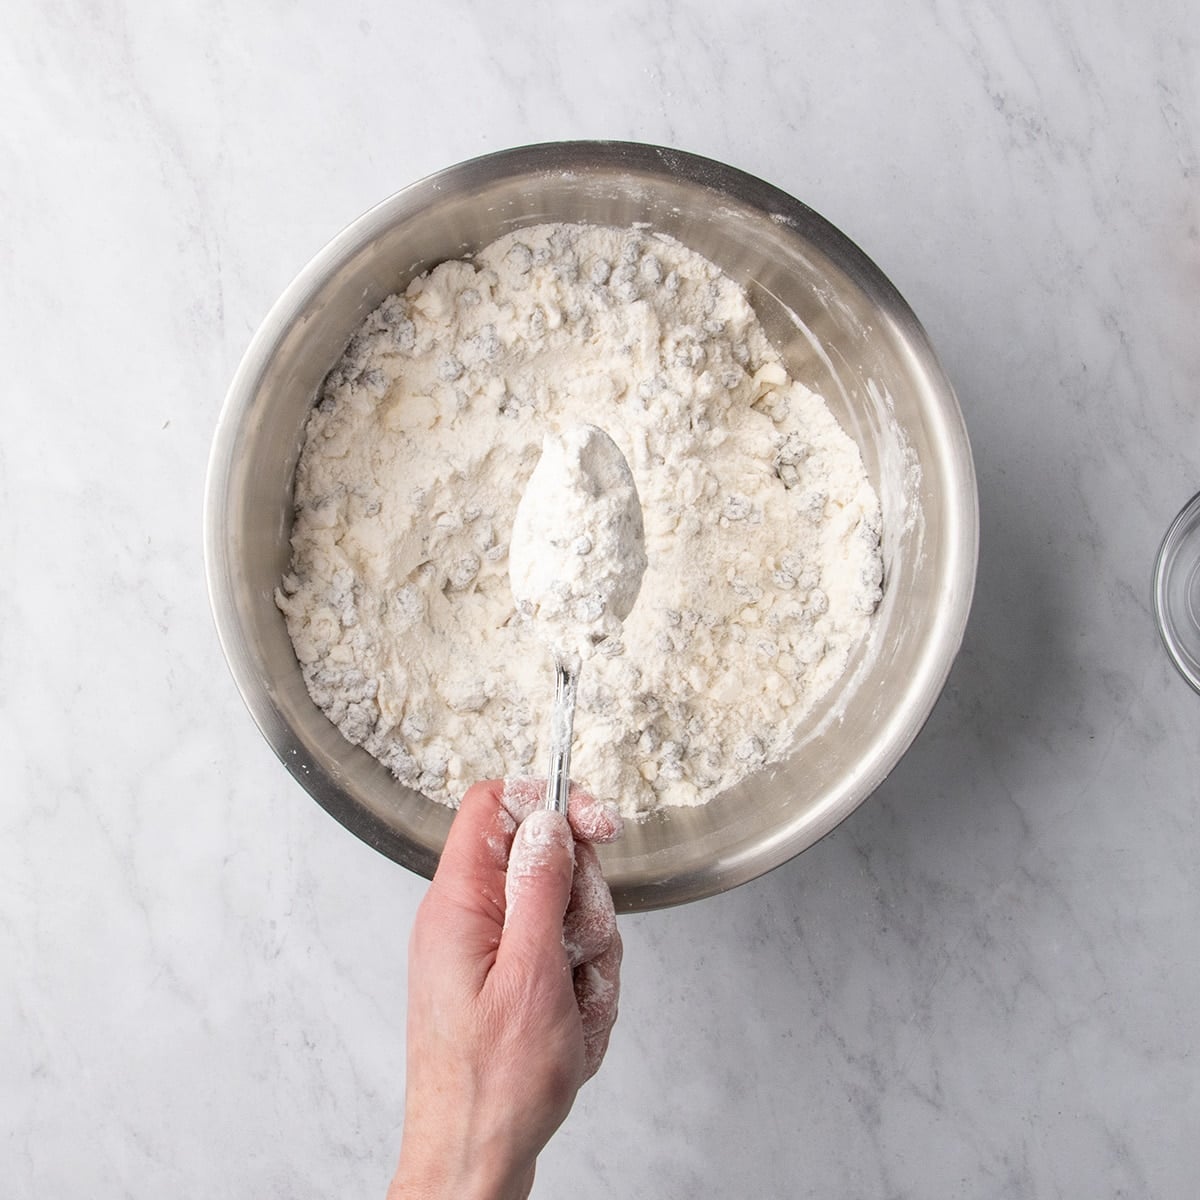
- Add Dried Fruit: Gently mix in the raisins or other chosen dried fruit until they are evenly scattered within the dry ingredients. The mixture will likely appear dry and clumpy at this stage.
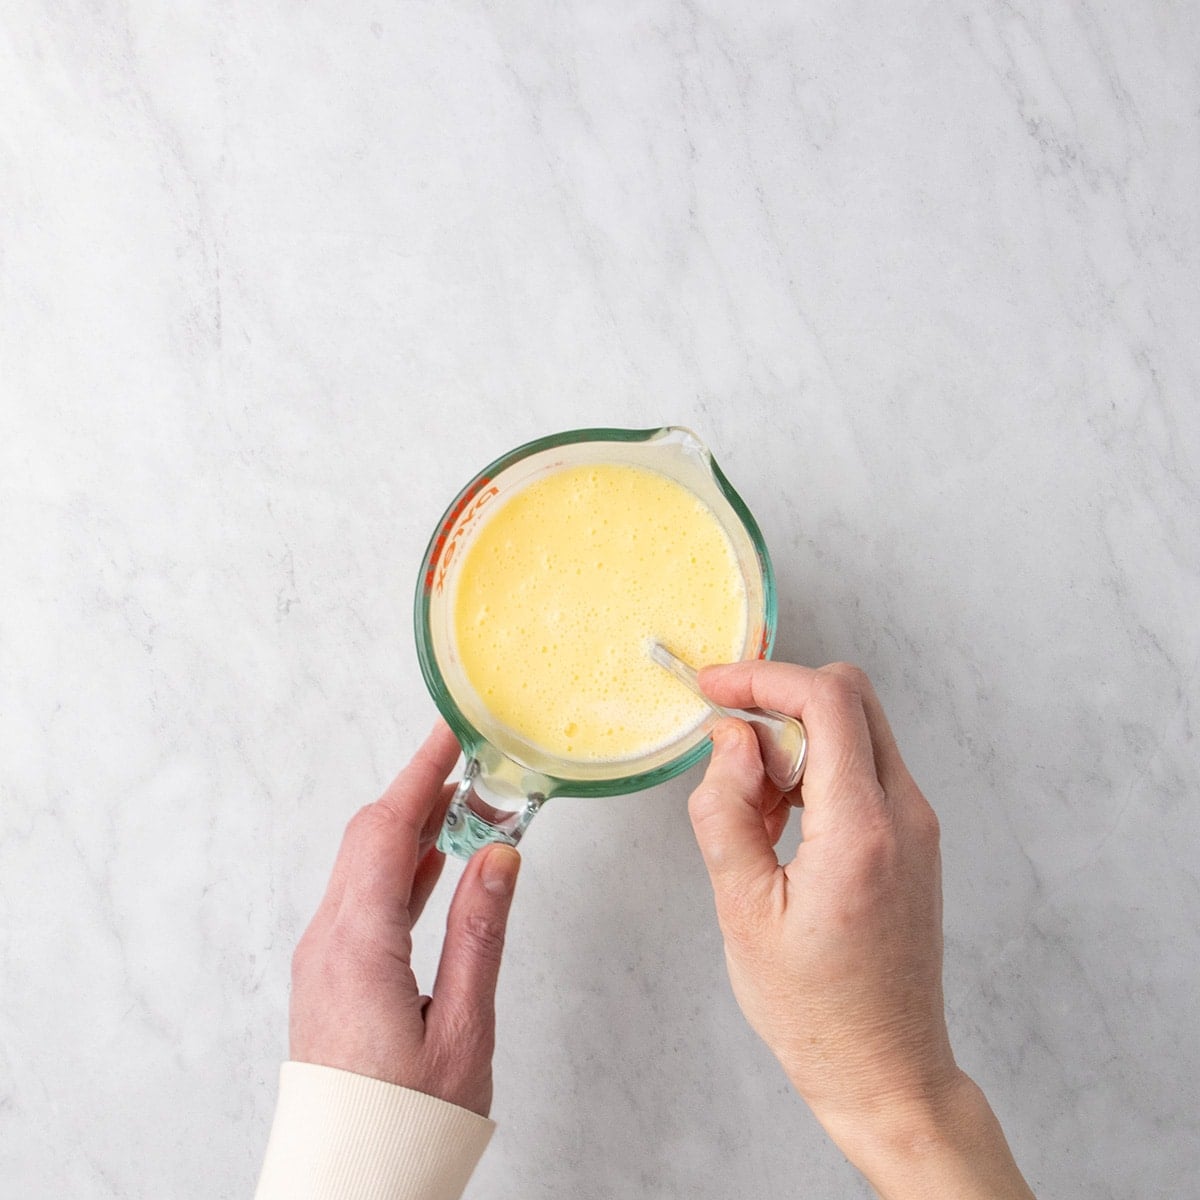
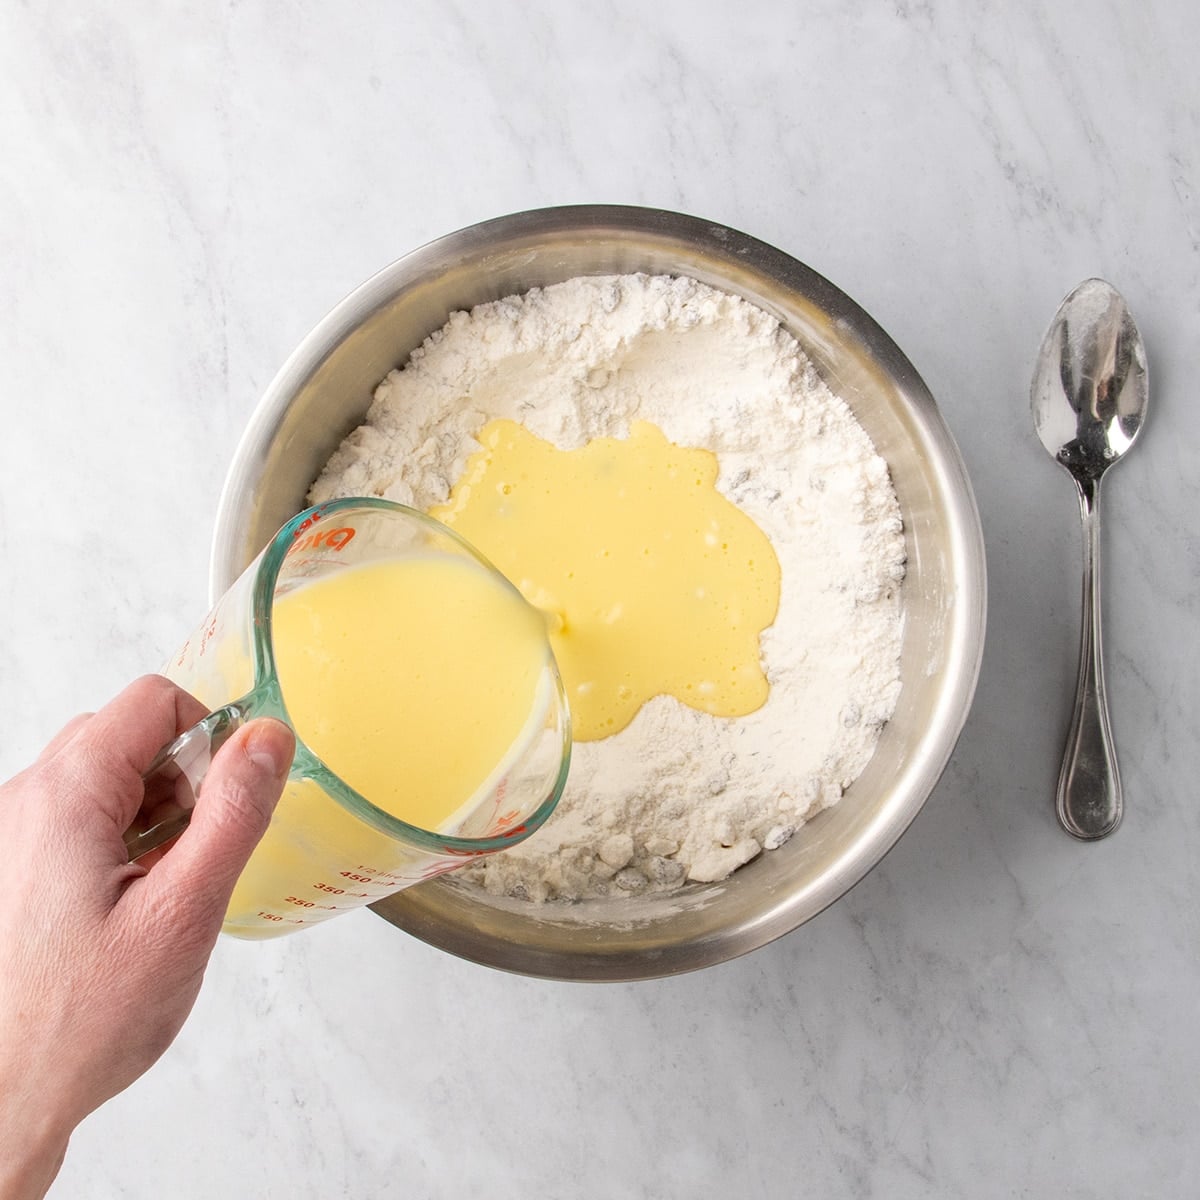
- Whisk Wet Ingredients: In a separate small bowl or measuring cup, whisk together the cold eggs and buttermilk. Beating the eggs for about 30 seconds ensures the yolks and whites are fully incorporated, creating a smoother liquid mixture.
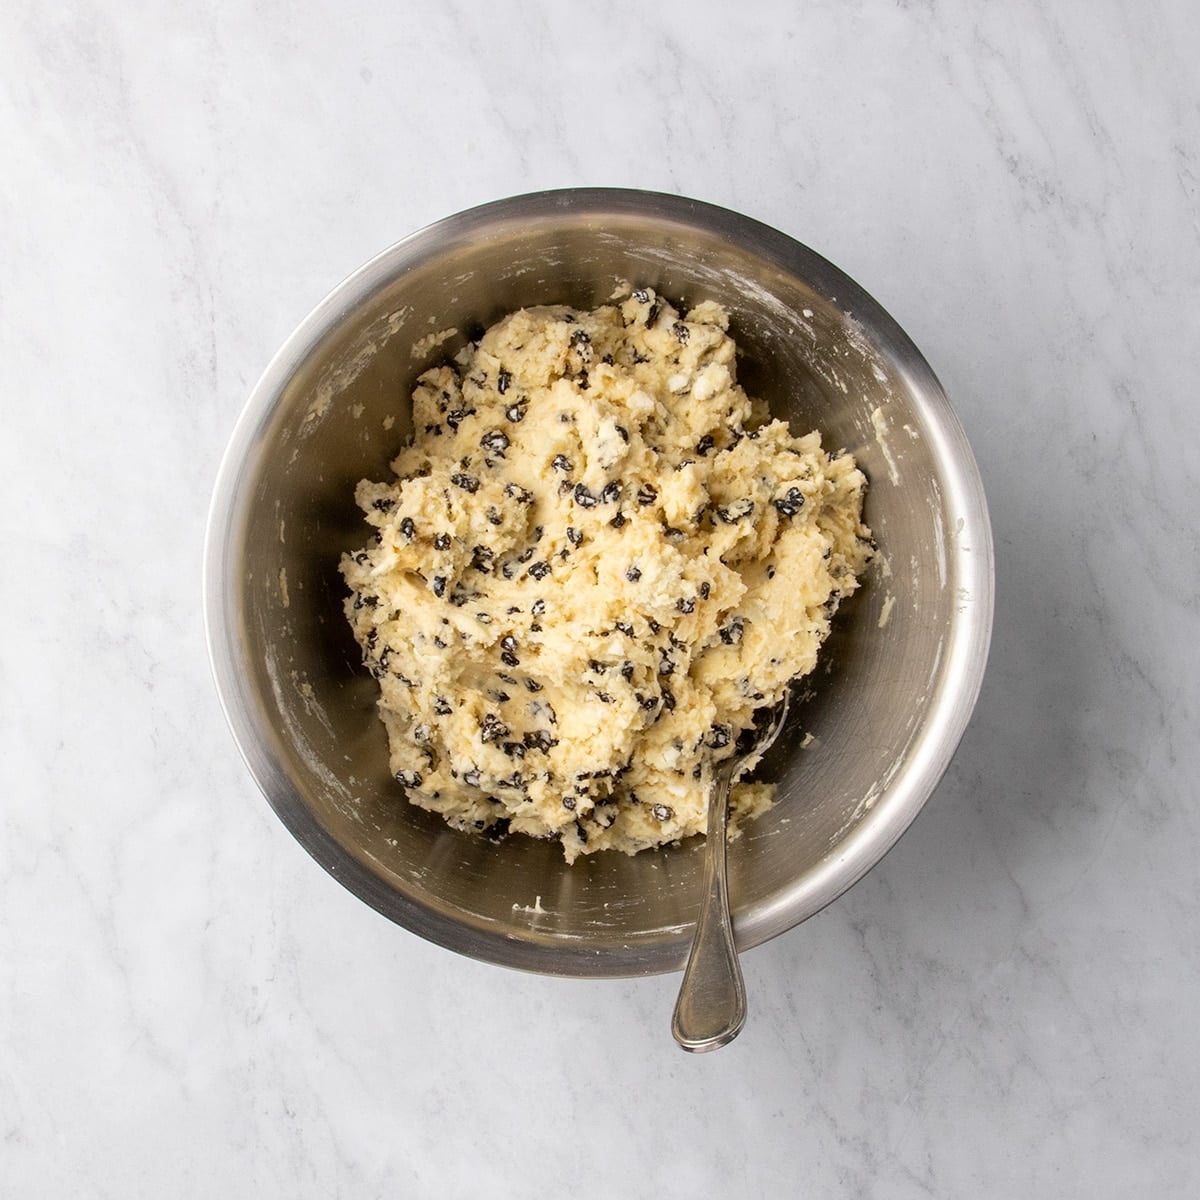
- Combine Wet and Dry Ingredients: Create a well in the center of the dry ingredients in the mixing bowl. Pour the cold buttermilk mixture into the well. Using a mixing spoon, gently stir the ingredients together until they just begin to form a cohesive dough. Avoid overmixing. If any very dry pockets of flour remain, add a small amount of additional buttermilk sparingly to those areas until the dough just holds together.
- Shape the Loaf: Turn the dough out onto a lightly floured surface. If baking in a cast-iron skillet, it’s advisable to do this on a piece of parchment paper. Gently shape the dough into a round disk, approximately 9 inches in diameter. Again, handle the dough lightly to prevent the butter from melting and to avoid compressing it too much.
- Score the Dough: Using a large, sharp knife, carefully cut a deep cross (or X) into the center of the loaf. The cut should be about 1-inch deep and should stop approximately 1 inch away from the edges of the disk. This is essential for allowing steam to escape during baking.
- Bake the Bread: Carefully transfer the shaped loaf, on its parchment if used, into the center of your preheated baking pan or skillet. Bake in a preheated oven at 375°F (190°C). The bread is done when it is lightly golden brown all over, feels firm to the touch in the center, and a tester inserted into the middle comes out with a few moist crumbs (not wet batter). Baking time can vary, so it’s important to rely on these visual and tactile cues rather than strictly adhering to the clock. Baking in a cast-iron skillet may result in a shorter baking time and a crisper crust.
- Cool and Serve: Once baked, allow the loaf to cool in the pan until it is stable enough to be transferred to a wire rack. Remove any parchment paper lining from underneath the loaf to allow air to circulate for complete cooling. Slice and serve warm, ideally with plenty of Irish butter.
Expert Tips for Perfect Results
- Maintain Ingredient Temperature: The consistent use of cold ingredients, particularly butter and buttermilk, is paramount to achieving the desired tender and light texture.
- Mindful Dough Handling: Treat the gluten-free dough gently. Overworking it can lead to a tough or gummy final product.
- Authentic Buttermilk: While substitutes can work, genuine buttermilk offers a unique tang and texture. If using a substitute, ensure it has a similar consistency to traditional buttermilk. Options include plain low-fat kefir, or a mixture of plain Greek-style yogurt or sour cream with whole milk.
- Don’t Skip the Scoring: The deep cross cut is vital for proper baking and is a traditional element of Irish soda bread.
Variations and Substitutions
This recipe offers flexibility to accommodate various dietary needs and preferences.
- Dairy-Free Adaptation: For a dairy-free version, substitute cold vegan butter (such as Melt or Miyoko’s Kitchen) for dairy butter. In place of buttermilk, combine half plain non-dairy yogurt with half unsweetened non-dairy milk (coconut or soy milk are good options) by volume.
- Egg-Free Baking: For those avoiding eggs, each egg can potentially be replaced with a "chia egg" (1 tablespoon chia seeds mixed with 3 tablespoons water, left to sit for 5-10 minutes), Bob’s Red Mill egg replacer, or JustEgg liquid egg replacer. Flax eggs can also be used, though they may impart a slightly earthy flavor.
- Alternative Mix-ins: Instead of raisins, consider using currants, chopped dried apricots, or prunes for a different fruity note. Chopped raw unsalted walnuts or pecans can add a nutty crunch, but may require a slight increase in buttermilk to compensate for moisture absorption. Omitting the raisins will result in a slightly smaller loaf that may bake faster.
Storage and Enjoyment
Once cooled, leftover gluten-free Irish soda bread can be stored tightly wrapped at room temperature for up to two days. To refresh slightly stale slices, lightly dampen them with lukewarm water and toast gently. For longer storage, wrap the loaf tightly in freezer-safe materials and freeze for up to three months. Slicing the bread before freezing allows for convenient thawing of individual portions at room temperature or in a toaster.
This gluten-free Irish soda bread offers a comforting and authentic taste of tradition, making it accessible to everyone, regardless of dietary restrictions. Its simple preparation and satisfying flavor profile make it a perfect addition to any celebration or a delightful everyday treat.
