

This comprehensive guide delves into the creation of an exceptional gluten-free peanut butter cookie recipe, meticulously designed for enthusiasts of this classic confection. The recipe prioritizes an intense peanut butter flavor, achieving a satisfyingly crispy and crunchy texture, all while adhering to gluten-free dietary requirements. The distinctive crosshatch pattern, a hallmark of traditional peanut butter cookies, is not only preserved but also explained in its functional and aesthetic significance. This article aims to provide a thorough understanding of the recipe’s nuances, from ingredient selection to expert tips for achieving flawless results, positioning it as a definitive resource for home bakers seeking to master gluten-free peanut butter cookies.

The Science Behind the Perfect Gluten-Free Peanut Butter Cookie
At the heart of this recipe lies a deliberate ratio of ingredients to maximize peanut butter flavor and achieve the desired crispy texture. Each batch, yielding approximately 24 cookies, utilizes nearly a pound of smooth peanut butter, significantly outweighing the flour content. This emphasis ensures that the dominant flavor profile is unmistakably peanut butter, a crucial element for true peanut butter aficionados. The ratio of peanut butter to flour is over 80% higher than in many conventional recipes, a testament to the recipe’s dedication to intense flavor.
The iconic crosshatch pattern on the surface of peanut butter cookies has a historical and practical purpose. Originally, this pattern was pressed into the dough to ensure even baking, allowing heat to penetrate to the center of the cookie, preventing a doughy core. To further enhance structural integrity and prevent splintering during the baking process, this recipe advocates for pressing the dough balls into flat disks before applying the crosshatch design. This simple step helps maintain a uniform, round shape, contributing to the cookie’s overall visual appeal and consistent texture.

Essential Ingredients for Gluten-Free Peanut Butter Cookie Mastery
The success of these gluten-free peanut butter cookies hinges on the quality and specific properties of each ingredient. Understanding the role of each component is key to achieving the intended outcome:
- Peanut Butter: The recipe specifically calls for a "no-stir" variety of peanut butter. This type is typically blended with stabilizers, ensuring a creamy consistency that integrates seamlessly into the dough without separating. "Natural" peanut butter, composed solely of peanuts and salt, with its tendency for oil separation, is discouraged as it can lead to a greasy, crumbly texture that does not bake as intended. The high proportion of peanut butter is fundamental to the cookie’s rich flavor and crispy texture.
- Gluten-Free Flour Blend: A high-quality, all-purpose gluten-free flour blend is crucial. Blends that already contain xanthan gum are recommended, such as Better Batter’s Original Blend or Nicole’s Best All-Purpose Flour. If using a blend like Bob’s Red Mill 1-to-1, it’s advisable to add an extra ¼ teaspoon of xanthan gum, as these blends can sometimes be deficient in this essential binder. For those who prefer to create their own, a well-balanced homemade blend is also an option.
- Butter: Unsalted butter provides richness and contributes to the cookie’s crispness. When melted with the peanut butter, it aids in achieving a smooth dough consistency and enhances the overall texture. For dairy-free variations, specific vegan butter substitutes are recommended.
- Sugars (Granulated and Brown): The combination of granulated sugar and brown sugar contributes to both the sweetness and the texture of the cookies. Granulated sugar promotes crispness, while brown sugar adds moisture and a subtle chewiness, balancing the overall texture. Clumps in brown sugar should be broken up to ensure even distribution.
- Eggs: Eggs act as a binder, contributing to the structure and richness of the cookies. For egg-free alternatives, reliable substitutes like chia eggs, Bob’s Red Mill egg replacer, or JustEgg are suggested, though it’s noted that flax eggs might impart a competing earthy flavor.
- Vanilla Extract: Pure vanilla extract enhances the overall flavor profile, complementing the nuttiness of the peanut butter.
- Salt: Salt balances the sweetness and brings out the nuanced flavors of the peanut butter and other ingredients.
- Baking Soda: This leavening agent helps the cookies spread and achieve their characteristic texture.
Step-by-Step Guide to Crafting Perfect Gluten-Free Peanut Butter Cookies
The process of creating these cookies is broken down into clear, manageable steps, each with an explanation of its importance:

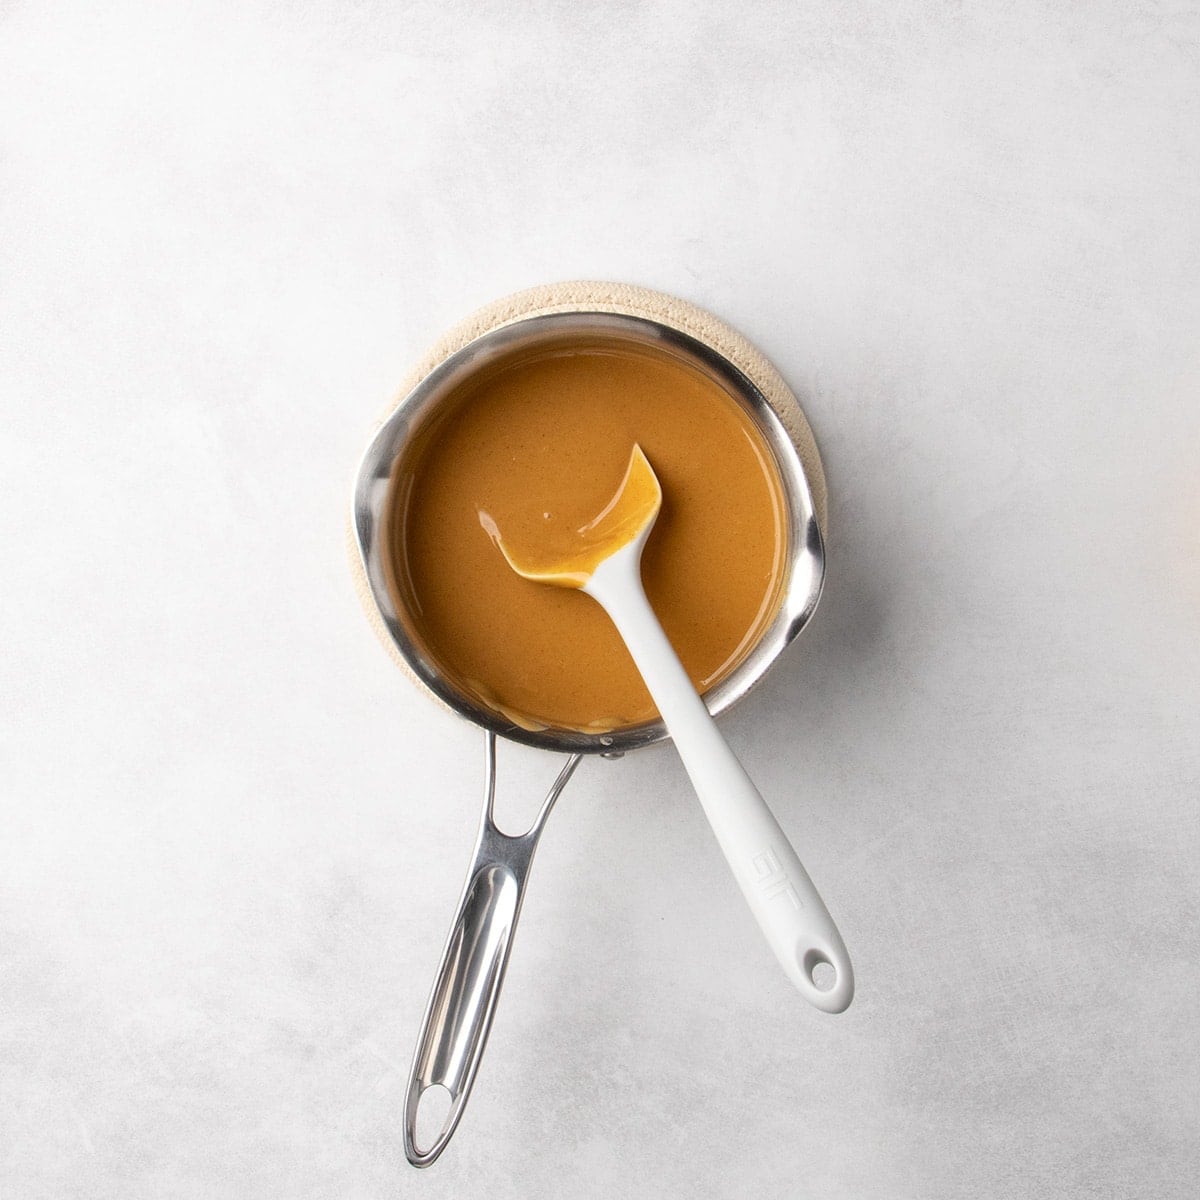
Step 1: Melting the Fats
Begin by gently melting the butter and peanut butter together in a small saucepan over low heat. This process ensures a smooth, homogenous mixture that is easier to incorporate into the dry ingredients. It’s vital to allow this mixture to cool slightly before combining it with the eggs to prevent them from scrambling. This initial step is foundational for achieving a creamy dough and contributing to the final cookie’s crispness.
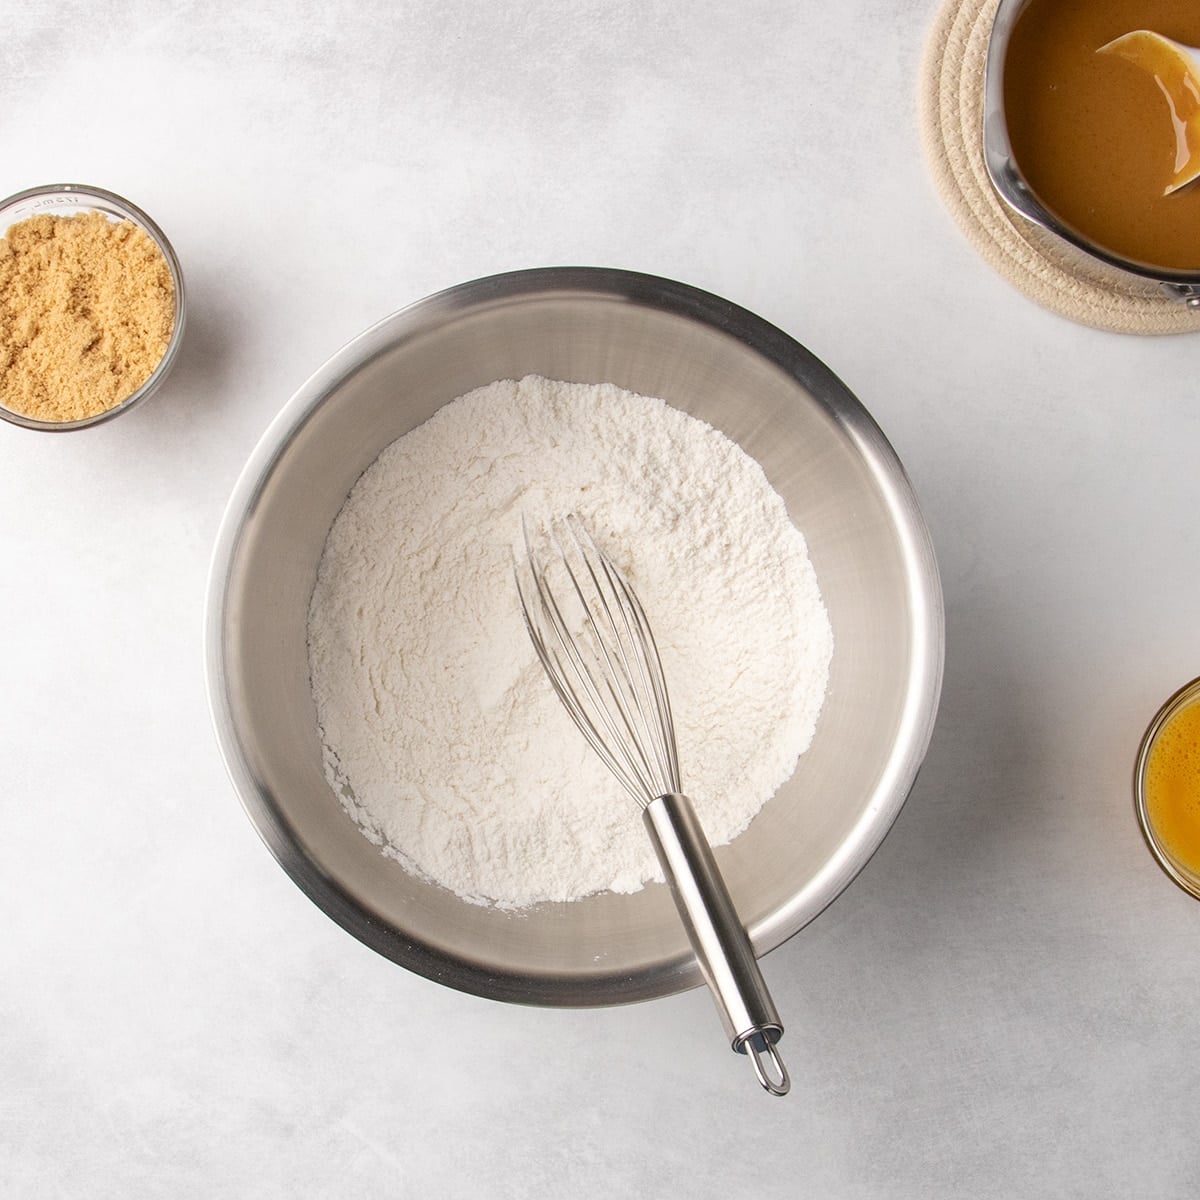
Step 2: Combining Dry Ingredients
In a large mixing bowl, whisk together the gluten-free flour blend, baking soda, and salt. In a separate, smaller bowl, combine the granulated sugar and brown sugar. It is important to break up any clumps in the brown sugar, using the back of a spoon to press them out, ensuring even distribution of sweetness and texture throughout the dough.

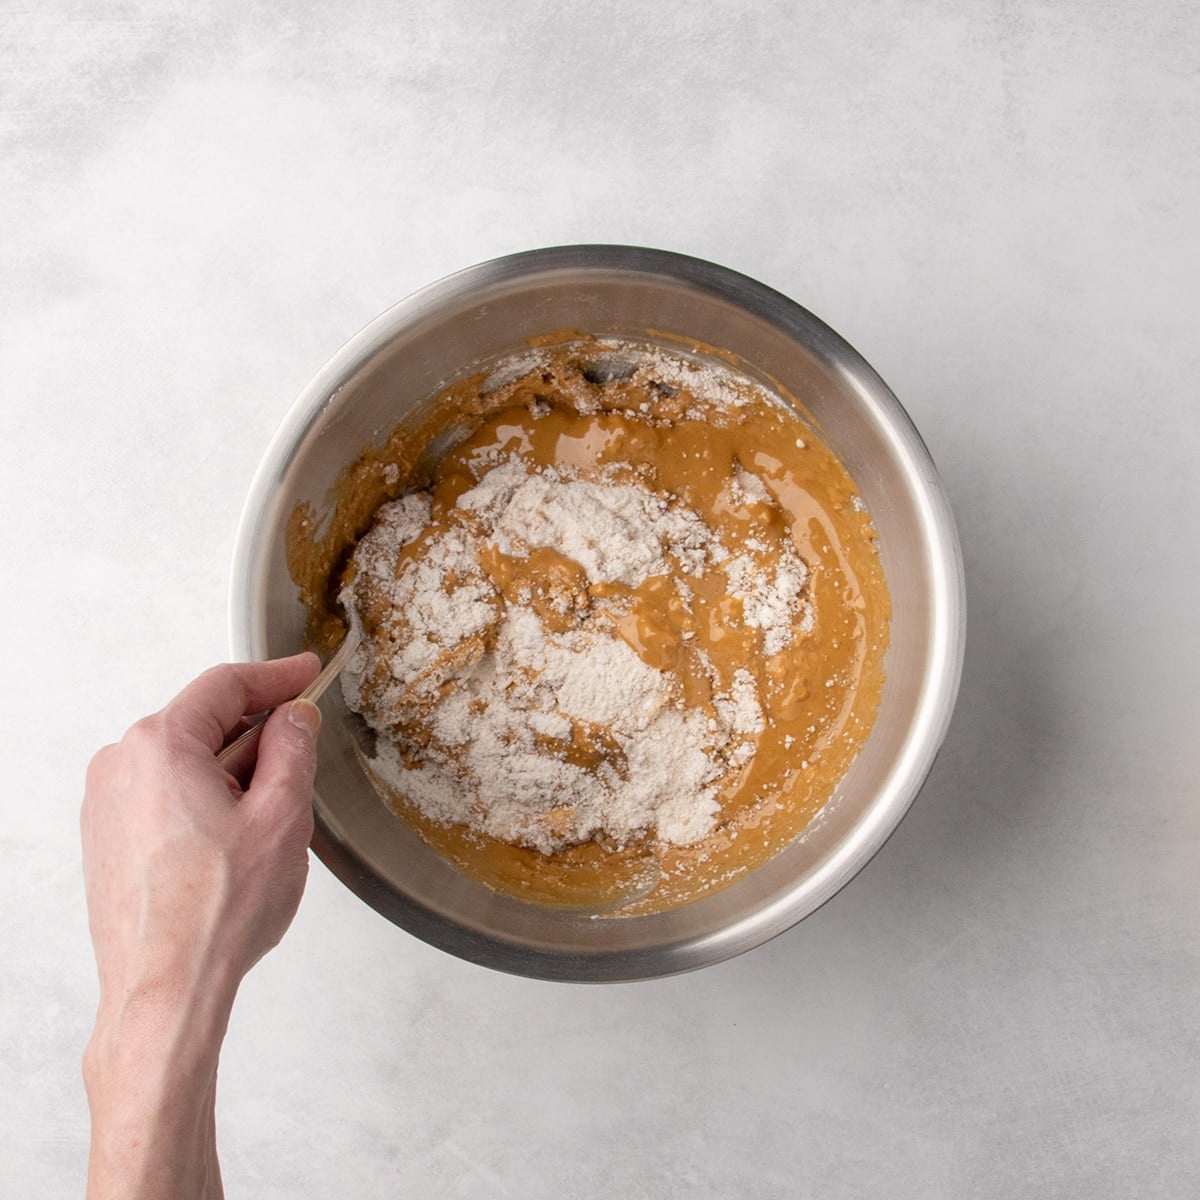
Step 3: Incorporating the Peanut Butter Mixture
Create a well in the center of the dry ingredients. Pour the slightly cooled peanut butter and butter mixture into this well. At this stage, the dough will be quite thick and may appear somewhat lumpy. This is expected and indicative of the high peanut butter content.
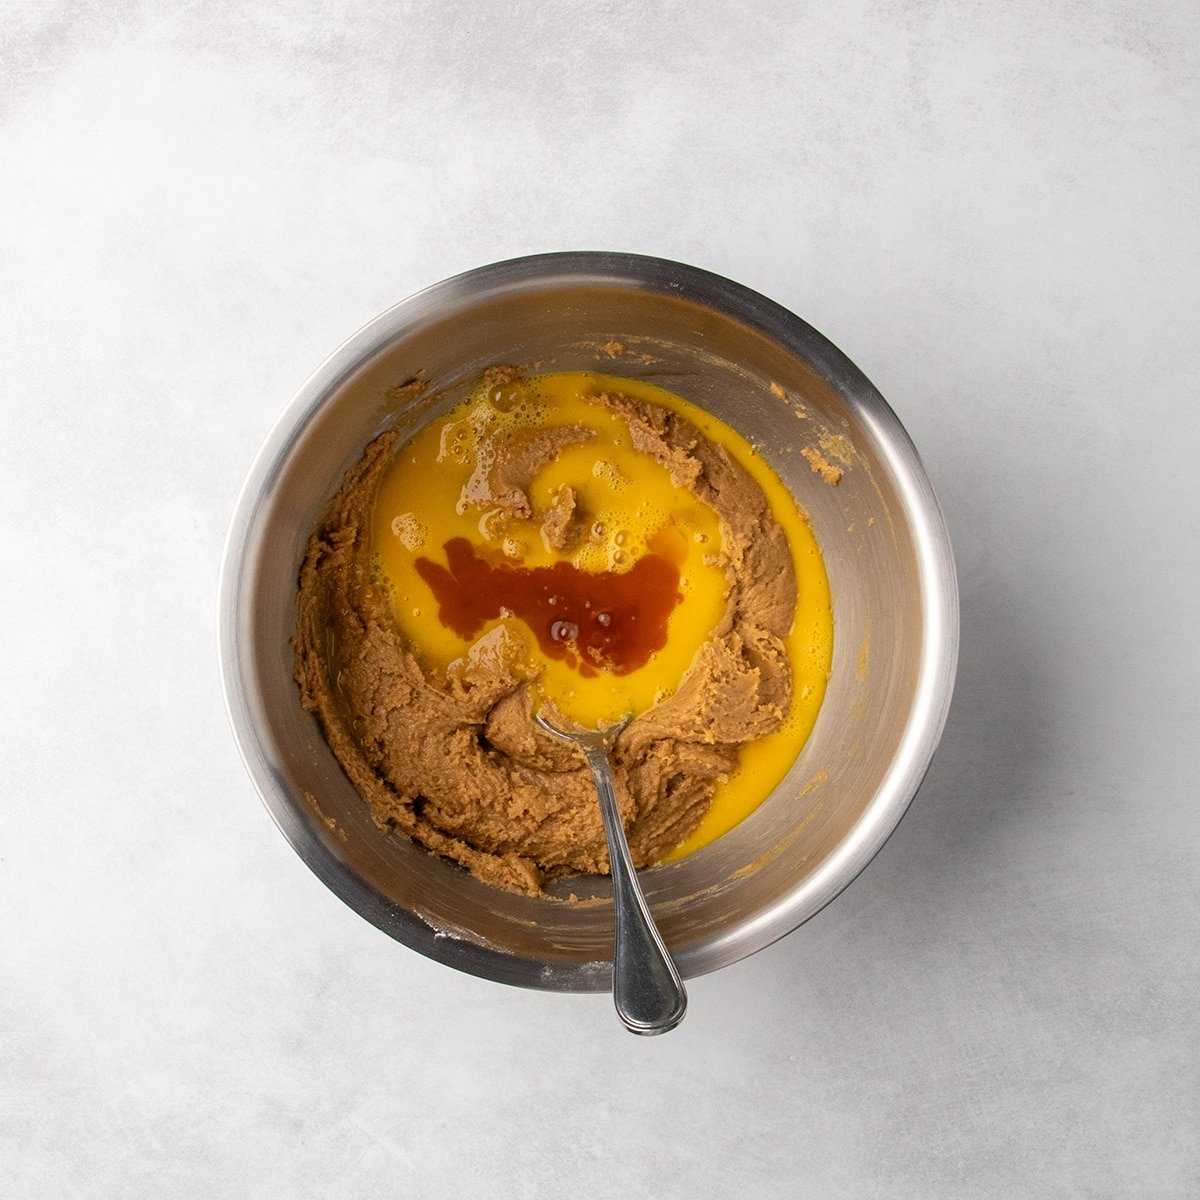
Step 4: Adding Wet Ingredients
Introduce the beaten eggs and vanilla extract to the dough. Stir until just combined. The dough should become smoother and stickier, but it should not feel excessively oily. If the dough feels greasy, a brief chilling period of no more than 10 minutes can help absorb excess oil without making the dough too stiff.
Step 5: Shaping the Dough into Disks
Portion the cookie dough into approximately 2-tablespoon-sized balls, each weighing about one ounce. Gently roll these balls between your palms to form smooth spheres. To prevent cracking and maintain a uniform shape, cup your non-dominant hand around the dough ball and use the fingers of your dominant hand to press it into a flat disk. This controlled shaping is crucial because the dough does not spread significantly during baking.
Step 6: Creating the Classic Crosshatch Pattern
To achieve the iconic crosshatch design, lightly wet the tines of a small fork. For added visual appeal and a slight textural contrast, dip the tines into granulated sugar. Press the fork gently into the center of each flattened dough disk, creating one set of parallel lines. Rotate the fork 90 degrees and press again to create a perpendicular pattern, forming the classic "#" symbol. This technique not only adds a nostalgic touch but also aids in even baking.
Step 7: Baking to Golden Perfection
Preheat your oven to 350°F (175°C). Arrange the shaped cookies on a parchment-lined baking sheet, ensuring adequate space between them. Bake for approximately 15 minutes, or until the cookies are a pale golden brown all around. To prevent the bottoms from over-browning before the cookies are fully baked, it’s recommended to reduce the oven temperature to around 325°F (160°C) for the final few minutes of baking. The cookies will continue to crisp up as they cool, so judging doneness by color rather than touch is essential.
Expert Insights for Unparalleled Results
Achieving consistently excellent gluten-free peanut butter cookies involves understanding a few key principles:

The Crucial Role of Peanut Butter Selection
As previously emphasized, the type of peanut butter used is paramount. Opt for a stabilized, no-stir peanut butter. These formulations contain emulsifiers and stabilizers that prevent oil separation, ensuring a smooth, creamy texture that integrates well into the dough. Natural peanut butters, while appealing for their simplicity, can lead to a greasy, crumbly dough that does not bake predictably, compromising the final texture and flavor.
Mastering the Art of Dough Shaping
The high fat content from the generous amount of peanut butter can make the dough prone to cracking. Therefore, careful shaping is essential. Gently cupping the dough ball in your hand and using your fingers to flatten it into a disk provides the necessary support. This technique helps the cookie maintain its round form and prevents the edges from splintering, ensuring a visually appealing and structurally sound cookie.

Understanding Baking Dynamics for Crispness
The goal is a crispy cookie, and this is achieved through a combination of ingredient ratios and baking technique. The relatively high proportion of peanut butter and sugar, along with the careful baking process, contributes to the desired crunch. Reducing the oven temperature towards the end of baking is a strategic move to ensure the cookies are baked through without burning the exterior, allowing them to develop a uniform crispness.
Ingredient Substitutions for Dietary Needs
This recipe offers flexibility for those with common dietary restrictions:
Dairy-Free Adaptations
For a dairy-free version, substitute regular butter with a high-quality block-style vegan butter. Brands such as Miyoko’s Kitchen, Melt Organic, or Trader Joe’s vegan butter are excellent choices that mimic the texture and behavior of dairy butter in baking.
Egg-Free Baking Solutions
Individuals requiring an egg-free recipe can utilize several effective substitutes. Two "chia eggs" (1 tablespoon chia seeds mixed with 3 tablespoons water, allowed to gel), Bob’s Red Mill Egg Replacer, or JustEgg refrigerated egg replacer can be used to replace each egg. While flax eggs can also be employed, they may introduce a distinct earthy flavor that could compete with the peanut butter.
Peanut Butter-Free Alternatives
For those with peanut allergies or preferences, the recipe adapts well to other nut butters. Creamy, no-stir almond butter, such as Barney Butter, is a recommended substitute. Ensure the chosen nut butter is the stabilized, no-stir variety for optimal results, mirroring the properties of the recommended peanut butter.
Storage and Preservation of Freshness
Proper storage is key to maintaining the texture and flavor of these gluten-free peanut butter cookies:

- Room Temperature Storage: Stored in an airtight glass container, these cookies will retain their crispness for at least five days. Glass is preferred due to its non-porous nature, which prevents moisture from entering and softening the cookies.
- Freezer Storage: For longer preservation, place the cookies in a freezer-safe container, minimizing air exposure to prevent freezer burn. They can be frozen for up to three months and should be defrosted at room temperature.
- Freezing Raw Dough: The unbaked cookie dough can also be frozen. It is essential to shape the dough into individual cookies first. Once frozen, the dough can be defrosted at room temperature and baked as per the recipe instructions.
Nutritional Information
The provided nutritional information is an approximation calculated automatically. For one cookie, the estimated values are:
- Calories: 184 kcal
- Carbohydrates: 19g
- Protein: 4g
- Fat: 10g
- Saturated Fat: 3g
- Polyunsaturated Fat: 2g
- Monounsaturated Fat: 5g
- Trans Fat: 0.1g
- Cholesterol: 19mg
- Sodium: 152mg
- Potassium: 103mg
- Fiber: 1g
- Sugar: 10g
- Vitamin A: 78 IU
- Calcium: 14mg
- Iron: 0.4mg
Frequently Asked Questions
Addressing common concerns can help bakers troubleshoot and achieve optimal results:

Why Aren’t My Cookies Crunchy?
A lack of crunch is often due to underbaking. Ensure the cookies are baked until they are golden brown all around. If they appear pale, they may need a few more minutes in the oven.
How Do These Differ from Flourless Peanut Butter Cookies?
This recipe utilizes gluten-free flour, resulting in a cookie that is crispy and crunchy throughout. Flourless peanut butter cookies, made without any ground flours, typically have a different texture, often crisp on the outside but chewy in the center.

Why is My Cookie Dough Oily?
An oily dough usually indicates that the melted butter and peanut butter mixture was added to the dry ingredients before it had cooled sufficiently. Allowing the dough to chill for a short period can help the flour absorb excess oil.
Why is My Cookie Dough Crumbly?
Over-chilling the cookie dough can lead to a crumbly texture. If the dough becomes too firm, letting it warm slightly at room temperature should make it pliable enough to shape.
