

These gluten-free breakfast bars offer a comforting taste of brown sugar and cinnamon oatmeal, designed to be a satisfying and accessible treat for individuals with dietary restrictions, particularly those avoiding gluten. The recipe prioritizes a familiar oatmeal flavor, enhanced by a pleasant texture and sweetness that makes them exceptionally appealing to children and adults alike. Unlike many granola bars, these are crafted to be less sweet and less sticky, providing a more wholesome breakfast or snack option.
The Science Behind the Texture and Flavor
The success of these gluten-free breakfast bars hinges on a carefully balanced combination of ingredients, primarily focusing on oats and complementary sweeteners. The use of both oat flour and whole rolled oats is central to achieving the desired flavor profile and texture. Oat flour provides a smooth, chewy base, while the whole rolled oats introduce a subtle, yet satisfying, texture without the need for additional crunchy mix-ins like nuts. This approach ensures the bars remain cohesive and pleasant to eat, even for those sensitive to certain textures.
The flavor is anchored by the warm, comforting notes of brown sugar and cinnamon, which impart a light caramel essence and familiar sweetness. A touch of honey serves a dual purpose: it enhances the flavor profile and acts as a crucial binder, helping to hold the ingredients together. This thoughtful ingredient selection ensures that the bars maintain their structural integrity, preventing the crumbling that can plague many gluten-free baked goods.
A key aspect of the recipe’s success lies in the baking process. By employing a lower baking temperature, the bars are encouraged to remain pale, soft, and chewy, rather than developing a deep, potentially dry, brown crust. This gentle baking method contributes significantly to the overall desirable texture. Furthermore, the bars are designed to be sturdy enough for on-the-go consumption, a critical feature for busy individuals seeking convenient and portable breakfast solutions. Their ability to freeze well further enhances their practicality, allowing for batch preparation and easy access during hectic mornings.

Key Ingredients for Gluten-Free Breakfast Bar Success
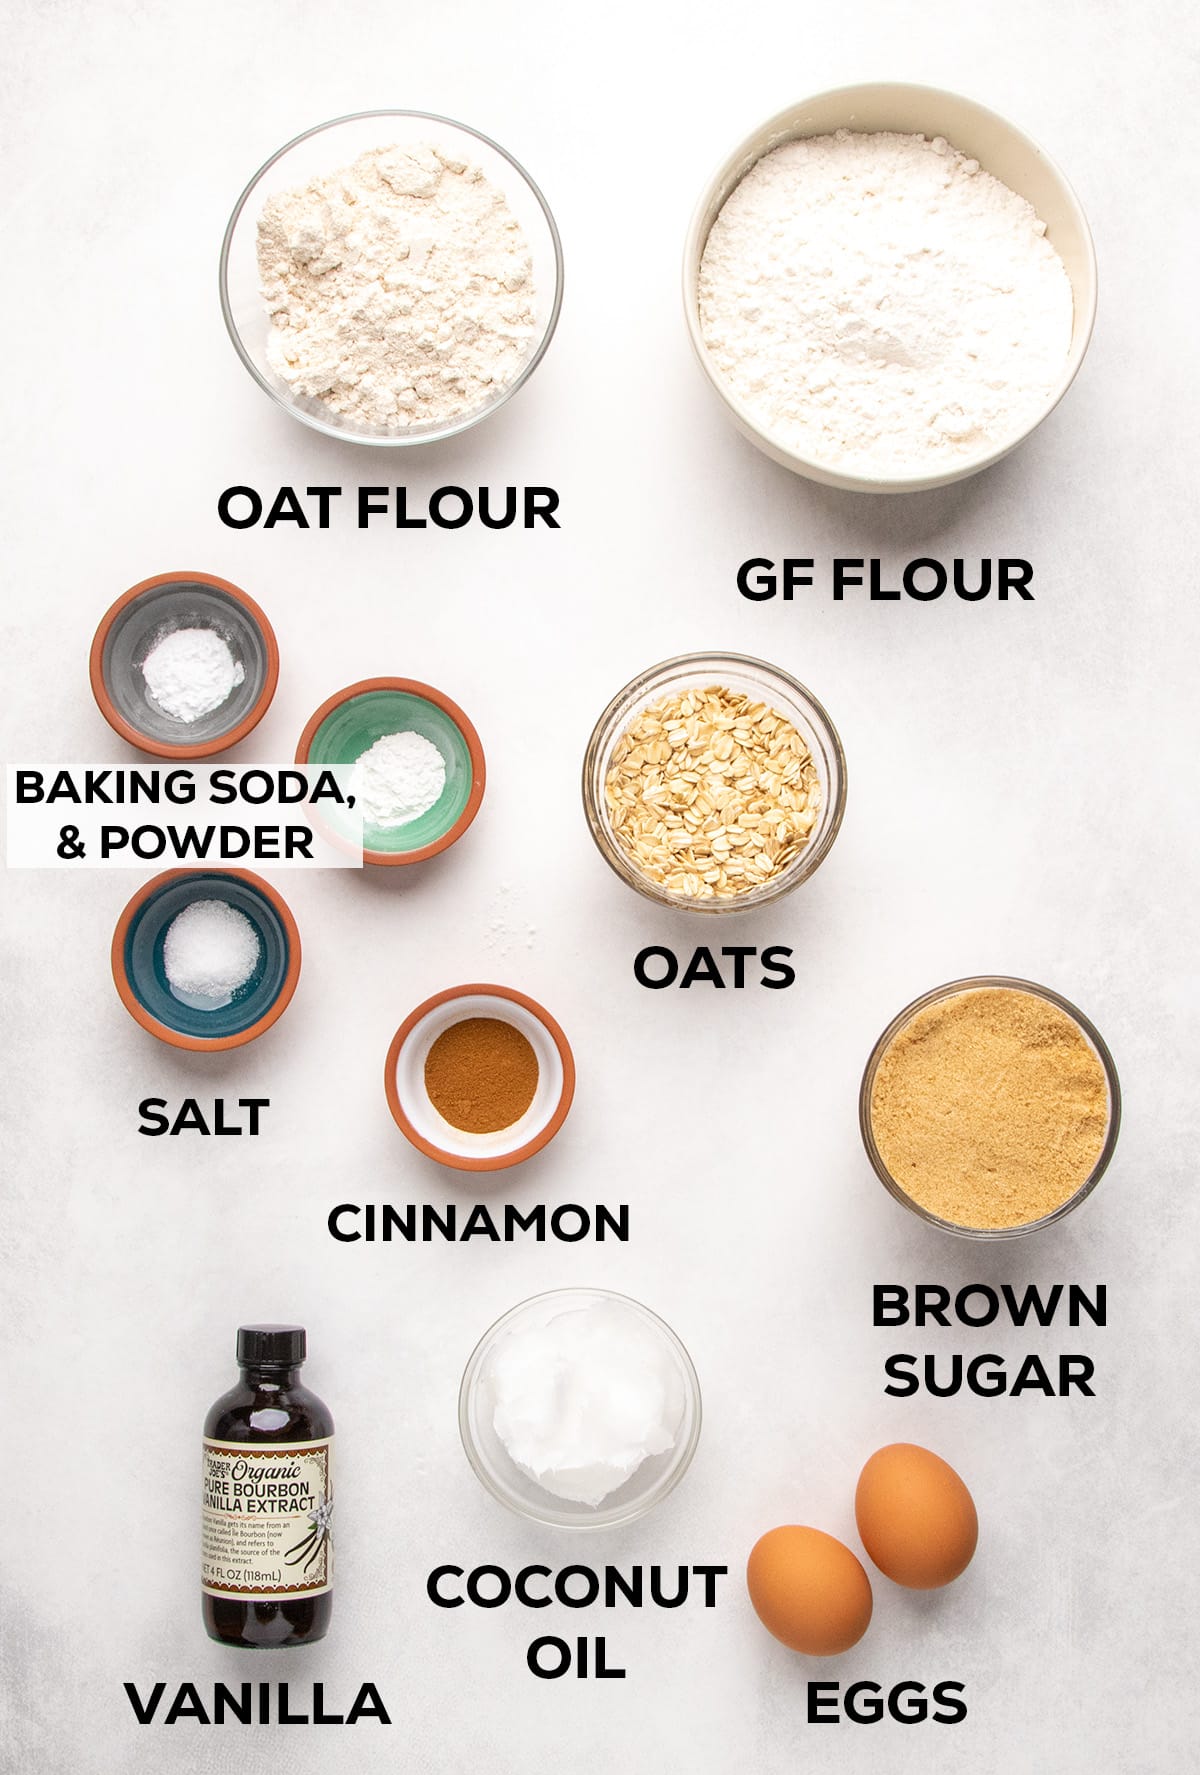
The formulation of these gluten-free breakfast bars relies on a specific set of ingredients, each playing a vital role in the final product. The core components include:
- Gluten-Free Flour Blend: A foundational element, crucial for structure. The article specifically mentions Better Batter’s original all-purpose blend and Nicole’s Best multipurpose blend (with added xanthan gum) as ideal choices. Bob’s Red Mill 1-to-1 gluten-free baking flour is also suggested, with a note to add an extra quarter teaspoon of xanthan gum due to its lower binder content. For those seeking to create their own blends, the author recommends consulting her mock all-purpose gluten-free flour recipes.
- Oat Flour: This provides the primary oatmeal flavor and contributes to the chewy crumb of the bars.
- Rolled Oats: These add a pleasing texture, complementing the oat flour without making the bars overly crunchy.
- Leavening Agents: Baking powder and baking soda are essential for providing lift and ensuring a tender texture.
- Flavor Enhancers: Cinnamon and light brown sugar are critical for the characteristic warm, sweet, and slightly caramel notes.
- Binders and Moisture: Eggs and honey work together to bind the ingredients and add moisture. Melted coconut oil provides richness and contributes to the texture. Vanilla extract enhances the overall flavor profile.
- Salt: A small amount of salt is included to balance the sweetness and enhance the other flavors.
For the optional glaze, common ingredients include confectioners’ sugar, unsalted butter, and milk or a dairy-free alternative.
Crafting the Perfect Gluten-Free Breakfast Bars: A Step-by-Step Guide
The creation of these gluten-free breakfast bars involves a straightforward process, emphasizing precise techniques to ensure optimal results.
Step 1: Combining Dry Ingredients
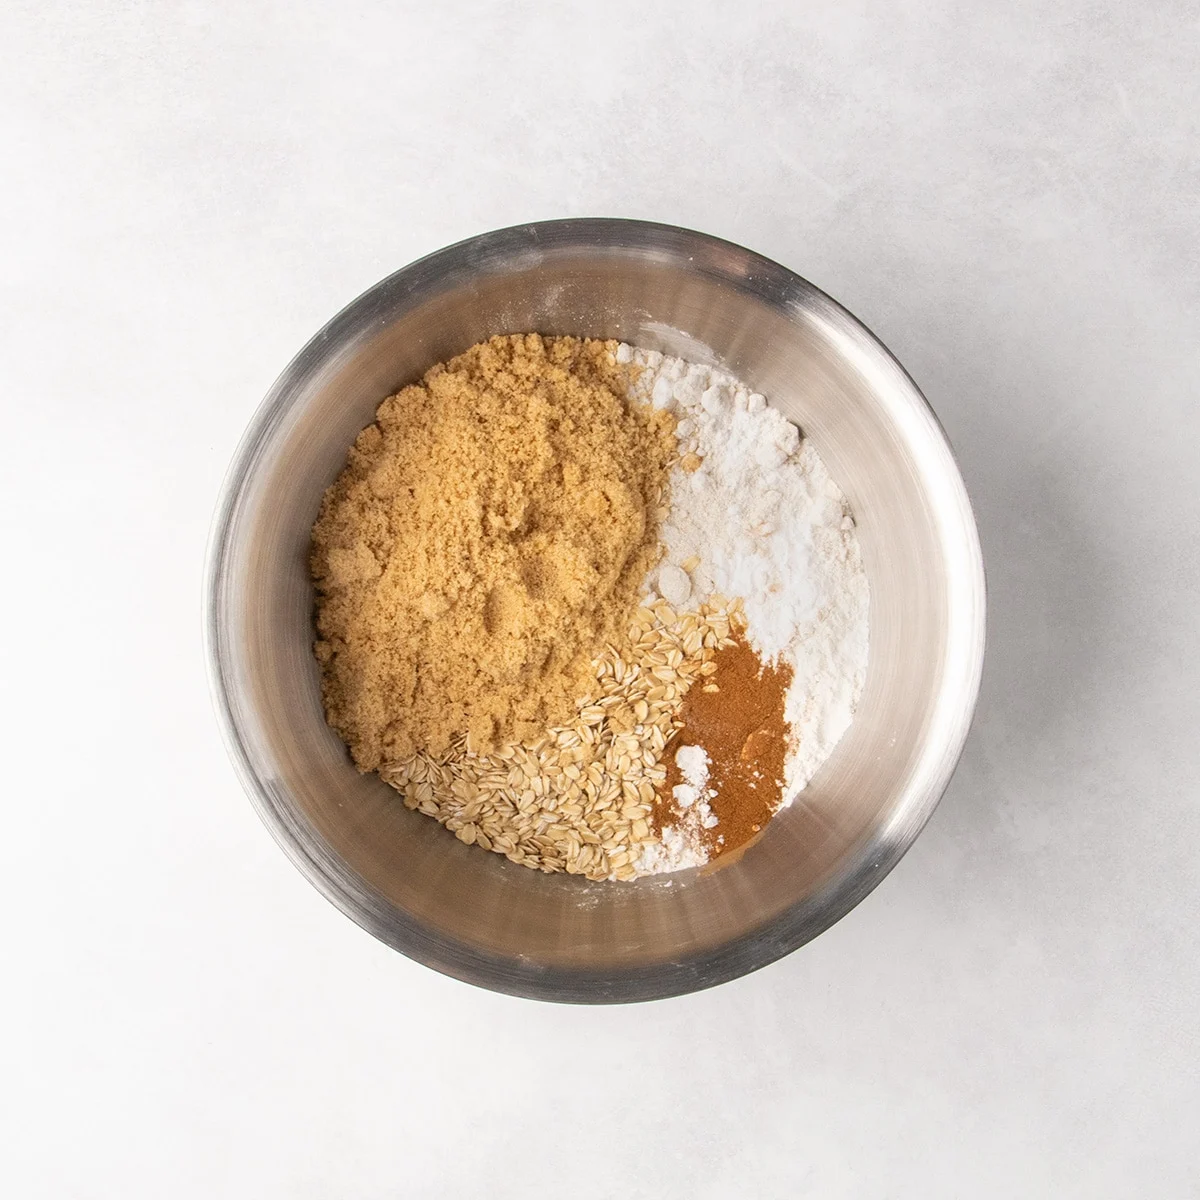
The initial stage involves thoroughly whisking together all dry ingredients in a large mixing bowl. This includes the gluten-free flour blend, oat flour, baking powder, baking soda, salt, cinnamon, light brown sugar, and rolled oats. This meticulous mixing ensures that the leavening agents and salt are evenly distributed, preventing any potential bitterness or uneven baking. It also minimizes the amount of mixing required once the wet ingredients are added. Special attention should be paid to breaking up any clumps in the brown sugar, as moisture can cause it to harden and lead to improperly baked spots.
Step 2: Incorporating Wet Ingredients
Following the dry ingredient combination, the wet ingredients—beaten eggs, melted coconut oil, and vanilla extract—are added to the bowl. The mixture is then combined until a cohesive dough forms. The dough will be thick and may not appear very wet, but it should hold together when squeezed. If any dry pockets remain, a small amount of lukewarm water can be carefully drizzled onto those specific areas to achieve uniform moisture. It is crucial to add water sparingly, as excess moisture can cause the bars to spread excessively during baking.
Step 3: Rolling the Dough
The prepared dough is then transferred to a piece of parchment paper. It is roughly pressed into a square shape, approximately one inch thick. A rolling pin is then used to evenly roll the dough from the center outwards, aiming for an 8-inch square that is about three-quarters of an inch thick. If the dough begins to crack during this process, it should be gathered back together, pressed firmly, and then re-rolled.
Step 4: Shaping and Cutting the Bars
To ensure the bars bake up tall and thick, rather than spreading out wide, the edges of the rolled dough are sharpened. This is achieved by using a metal bench scraper or another straight-edged tool to create defined, upright walls around the perimeter of the square. This technique is analogous to how sharp edges help gluten-free biscuits rise vertically. The dough is then carefully cut into nine equal squares, with an emphasis on maintaining sharp edges for optimal rising. If clean cuts are proving difficult, refrigerating the dough for a short period can firm it up, making it easier to slice.
Step 5: Baking the Bars
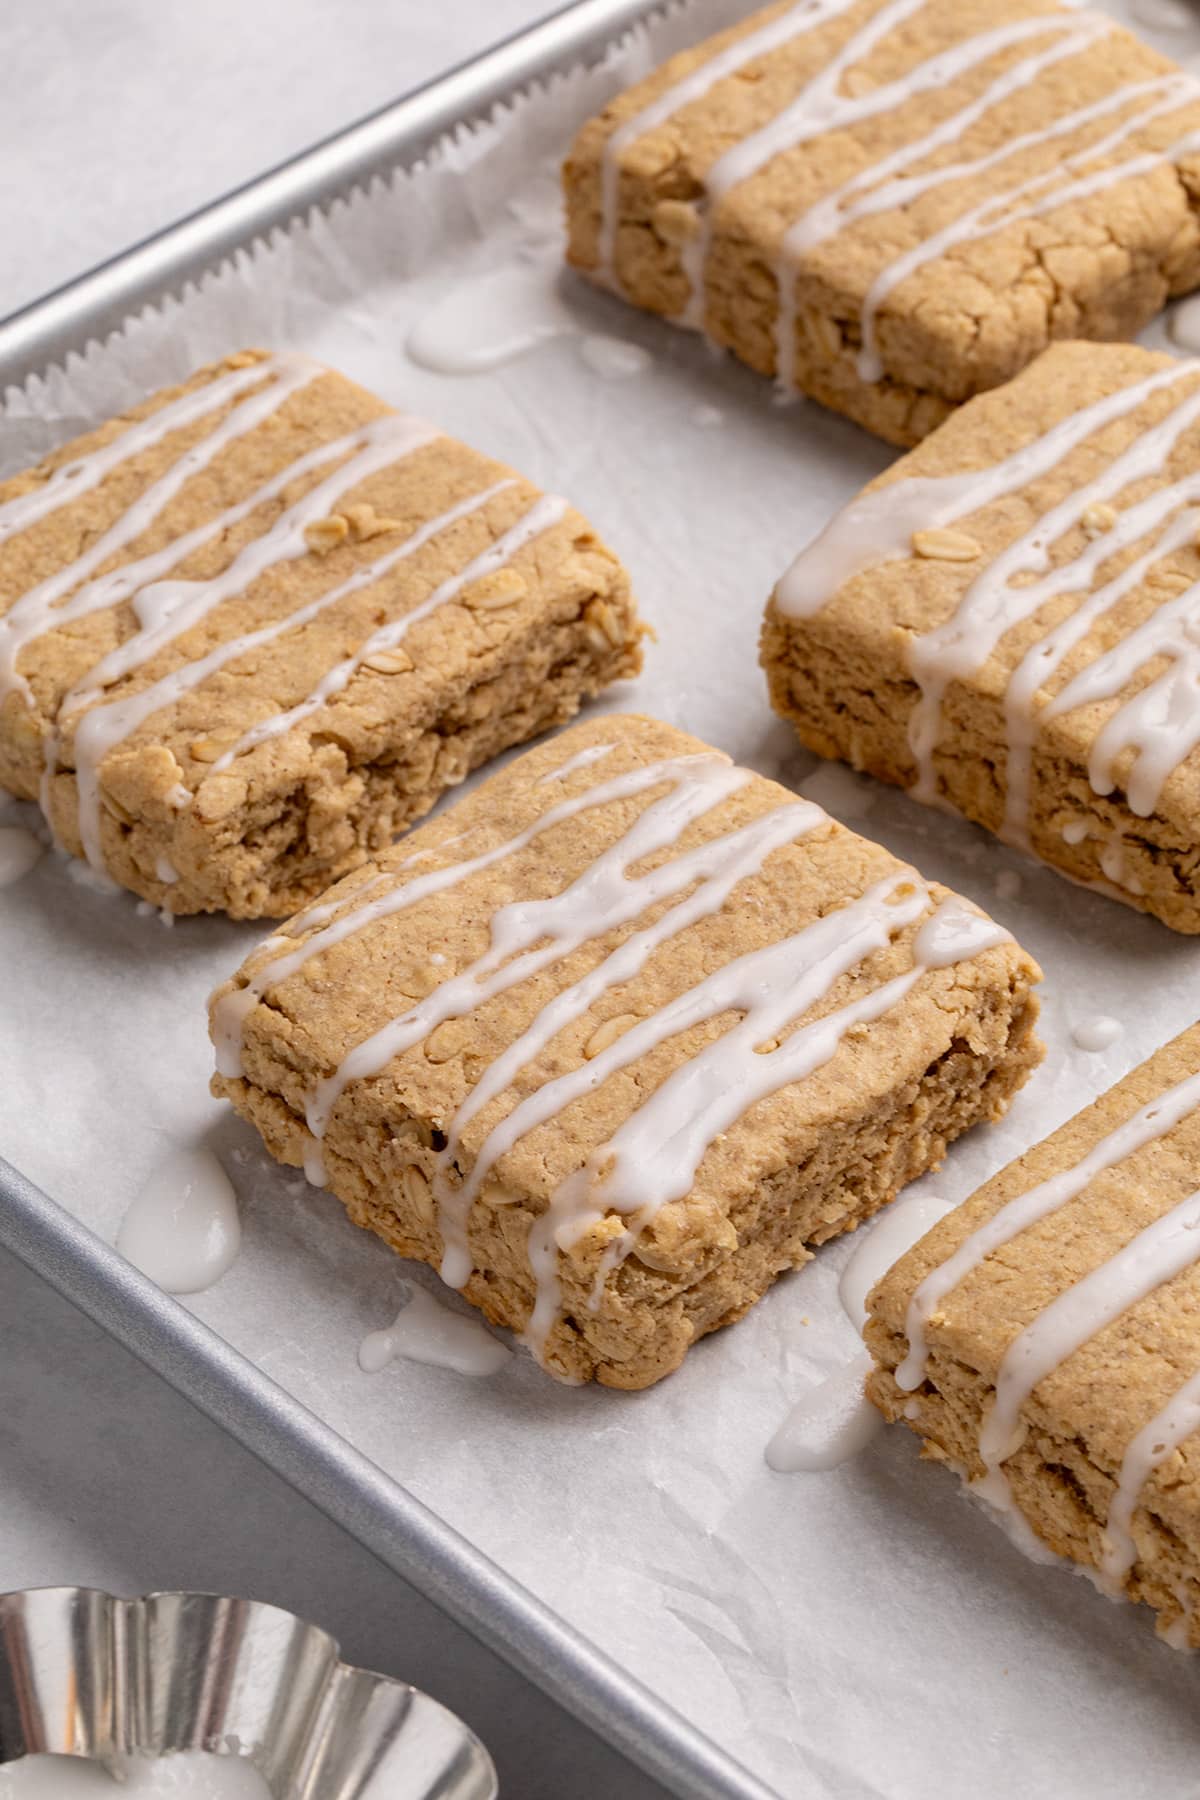
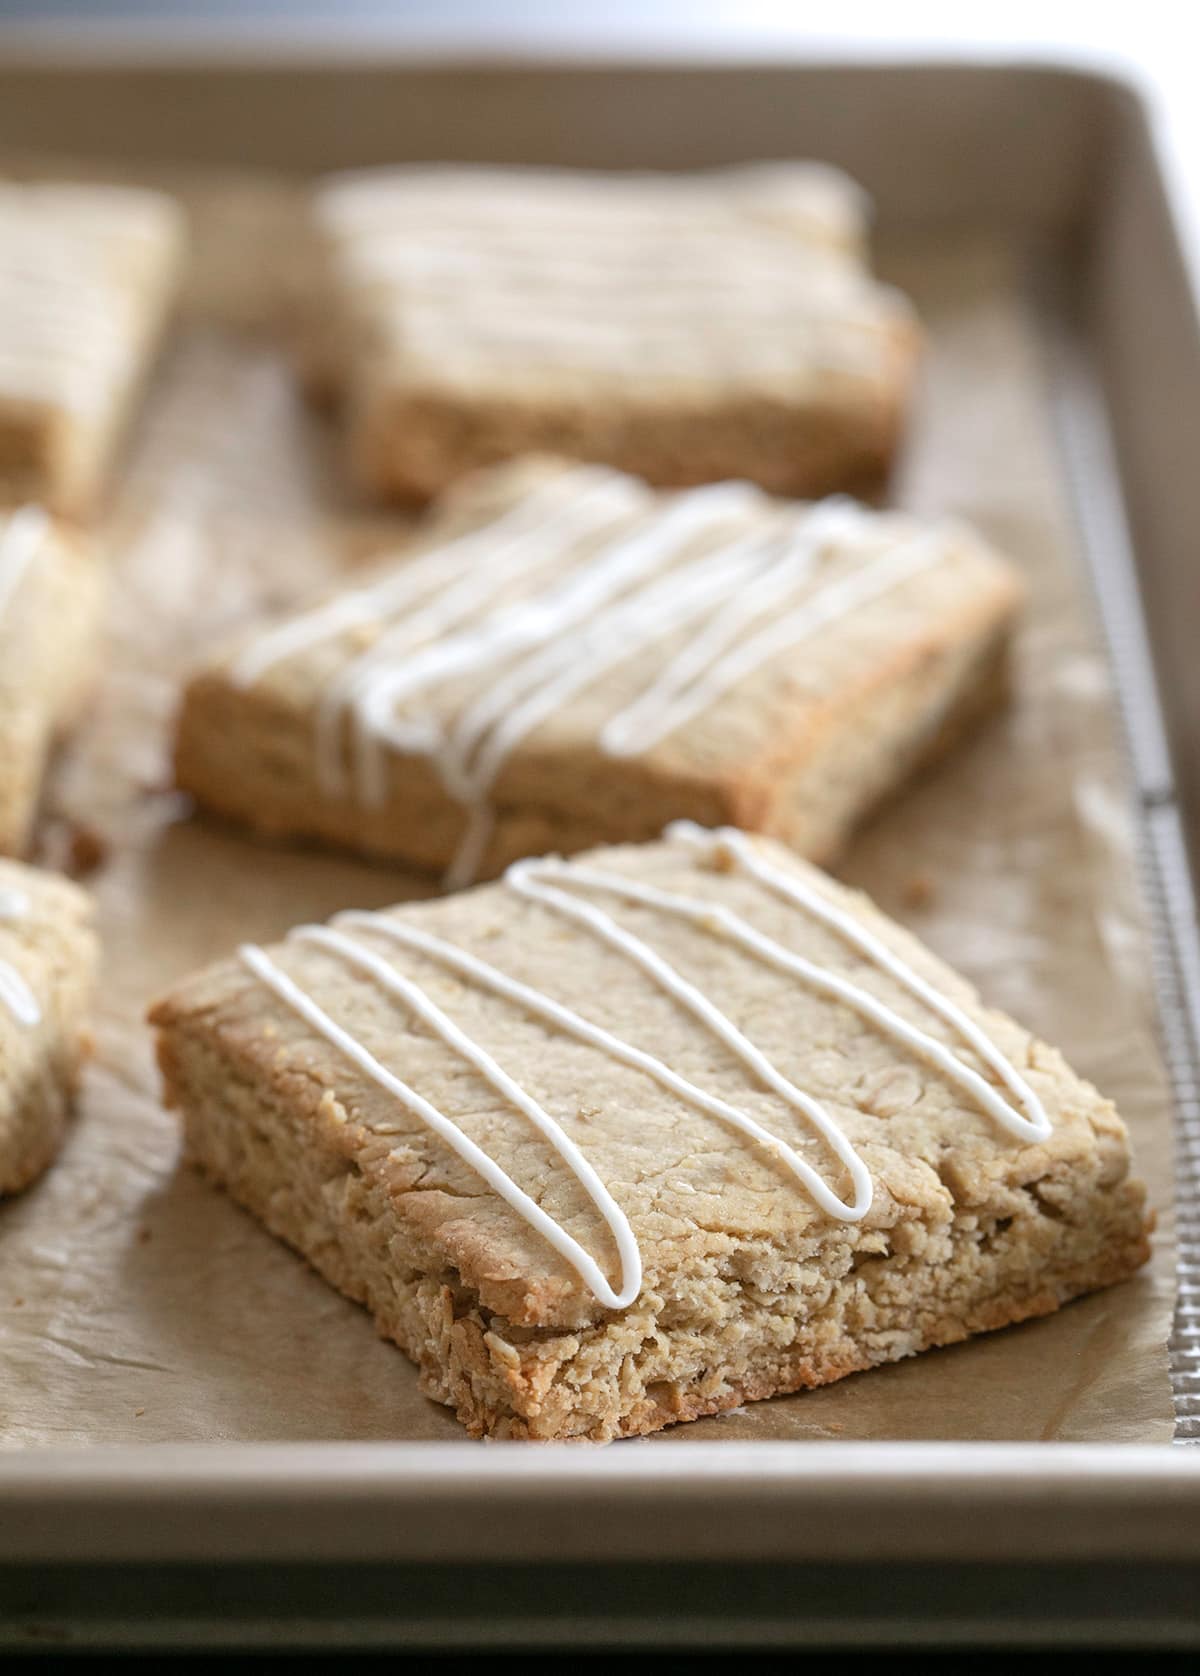
The shaped bars are arranged on a parchment-lined baking sheet, spaced about one inch apart. They are then baked in the center of a preheated oven at 325°F (163°C). The baking time typically ranges from 12 to 14 minutes, or until the bars have risen slightly (about a quarter-inch) and feel firm to the touch. The low baking temperature is key to achieving the desired pale, soft, and chewy texture, reminiscent of a warm bowl of oatmeal with brown sugar and cinnamon.
Optional Glaze Application
Once the bars have cooled completely, an optional confectioners’ sugar glaze can be drizzled over them for an added touch of sweetness and visual appeal. This glaze is typically made by combining confectioners’ sugar with a small amount of liquid (such as milk or water) and a binder like unsalted butter or a dairy-free alternative.
Expert Insights for Optimal Results
Achieving the perfect gluten-free breakfast bar involves understanding a few key nuances in technique and ingredient selection.
Precision with Water Addition
The dough for these bars should be notably thick and somewhat dry, yet capable of holding its shape when squeezed. This consistency is vital for preventing undue spreading during baking. Therefore, when adding water to address dry patches, it should be done incrementally and only to the visibly dry areas. Over-moistening the dough can compromise the bar’s ability to maintain its structure, leading to a flatter, less desirable outcome.
The Importance of Sharp Edges
As highlighted in the shaping process, creating sharp, upright edges on the dough before baking is a critical step. This technique encourages the bars to rise vertically, resulting in a thicker, more substantial final product. Without these defined edges, the dough is more prone to spreading outwards, leading to thinner, potentially drier bars.
Selecting the Right Coconut Oil
For this recipe, it is recommended to use refined coconut oil that remains solid at cool room temperature. This type of coconut oil will resolidify as the bars cool, contributing to a tender texture without making them greasy. Liquid coconut oil, or oils that remain liquid at room temperature, may alter the final texture and mouthfeel of the bars.
Adapting the Recipe: Substitutions and Dietary Considerations
The recipe has been designed with versatility in mind, offering several options for substitutions to accommodate various dietary needs and preferences.
Dairy-Free Adaptations
The base recipe for the breakfast bars is naturally dairy-free, utilizing coconut oil instead of butter. For those who wish to make the optional glaze dairy-free, a non-dairy milk, such as almond or soy milk, or even water, can be used. Unsalted butter in the glaze can be replaced with vegan butter alternatives like Earth Balance buttery sticks or block-style vegan butters such as Melt or Miyoko’s.
Egg-Free Alternatives
For individuals avoiding eggs, several effective substitutions are available. "Chia eggs," made by combining one tablespoon of ground chia seeds with two tablespoons of water and allowing them to gel, can be used in place of regular eggs. Alternatively, commercial egg replacers like Bob’s Red Mill egg replacer or Just Egg liquid egg replacer can be employed, following the package instructions for equivalent measurements.
Coconut Oil Variations
For those sensitive to the taste of coconut, using triple-filtered coconut oil is recommended, as it is virtually odorless and flavorless. If coconut oil is not an option, shortening can be used as a direct substitute. While melted unsalted butter can also be used, it’s important to note that butter contains less fat than oil, which may result in slightly drier bars.
Oat-Free Options
For individuals who cannot consume oats, alternative ingredients can be used. Oat flour can be substituted by grinding quinoa flakes into a fine powder. For the rolled oats, rolled buckwheat is suggested as a viable alternative. These substitutions aim to maintain a similar textural and structural contribution to the bars.
Storage and Shelf Life
These gluten-free breakfast bars are designed for convenience and longevity. When stored in an airtight container or individually wrapped, they will remain fresh at room temperature for at least three days. However, in warmer climates, the optional glaze may become slightly tacky at room temperature. For extended storage, it is recommended to wrap each bar individually in freezer-safe wrap and freeze them for up to three months. To enjoy a frozen bar, it can be thawed at room temperature or gently microwaved on half power for approximately 30 seconds.
Nutritional Considerations
The provided nutritional information for the gluten-free breakfast bars excludes the optional glaze. A single serving (one bar) contains approximately 369 calories, with 71g of carbohydrates, 5g of protein, and 13g of fat, including 9g of saturated fat. The bars also provide 3g of fiber and 18g of sugar. These figures are automatically calculated and should be considered approximations.
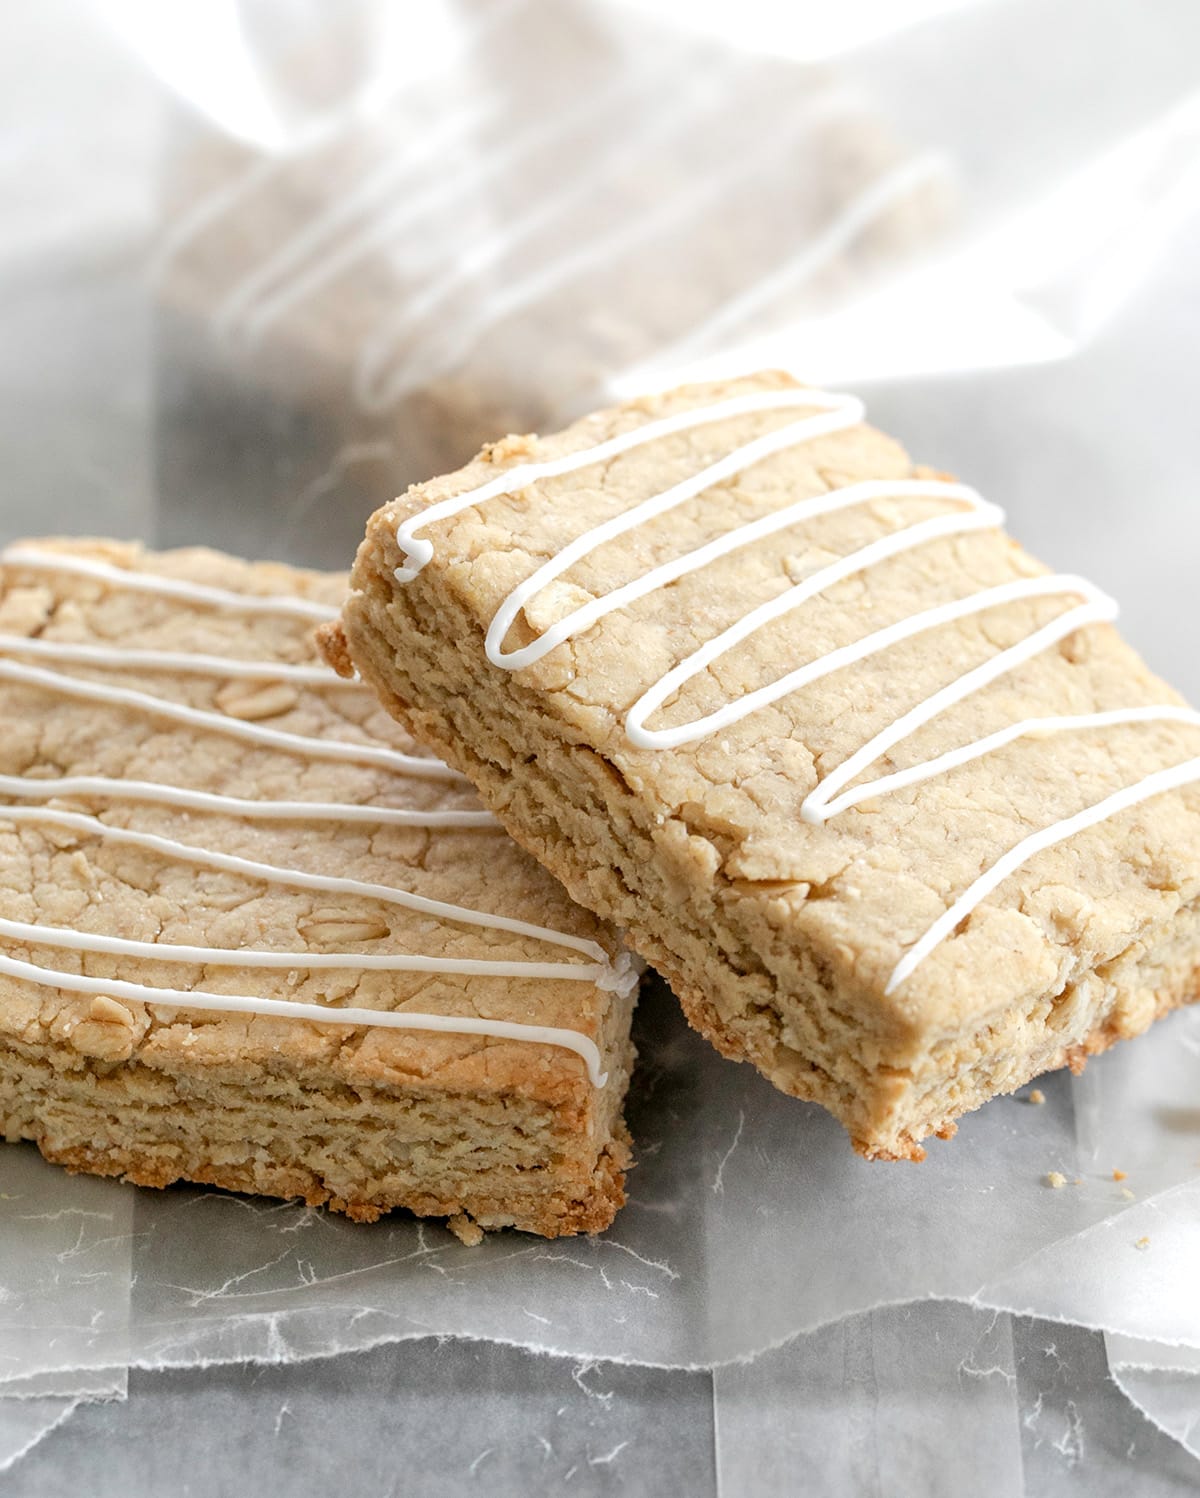
The development and accessibility of recipes like these gluten-free breakfast bars represent a growing trend in the food industry to cater to diverse dietary needs without compromising on taste or enjoyment. The emphasis on wholesome ingredients and practical preparation methods makes this recipe a valuable addition to any home baker’s repertoire, particularly for those navigating gluten-free living.
