

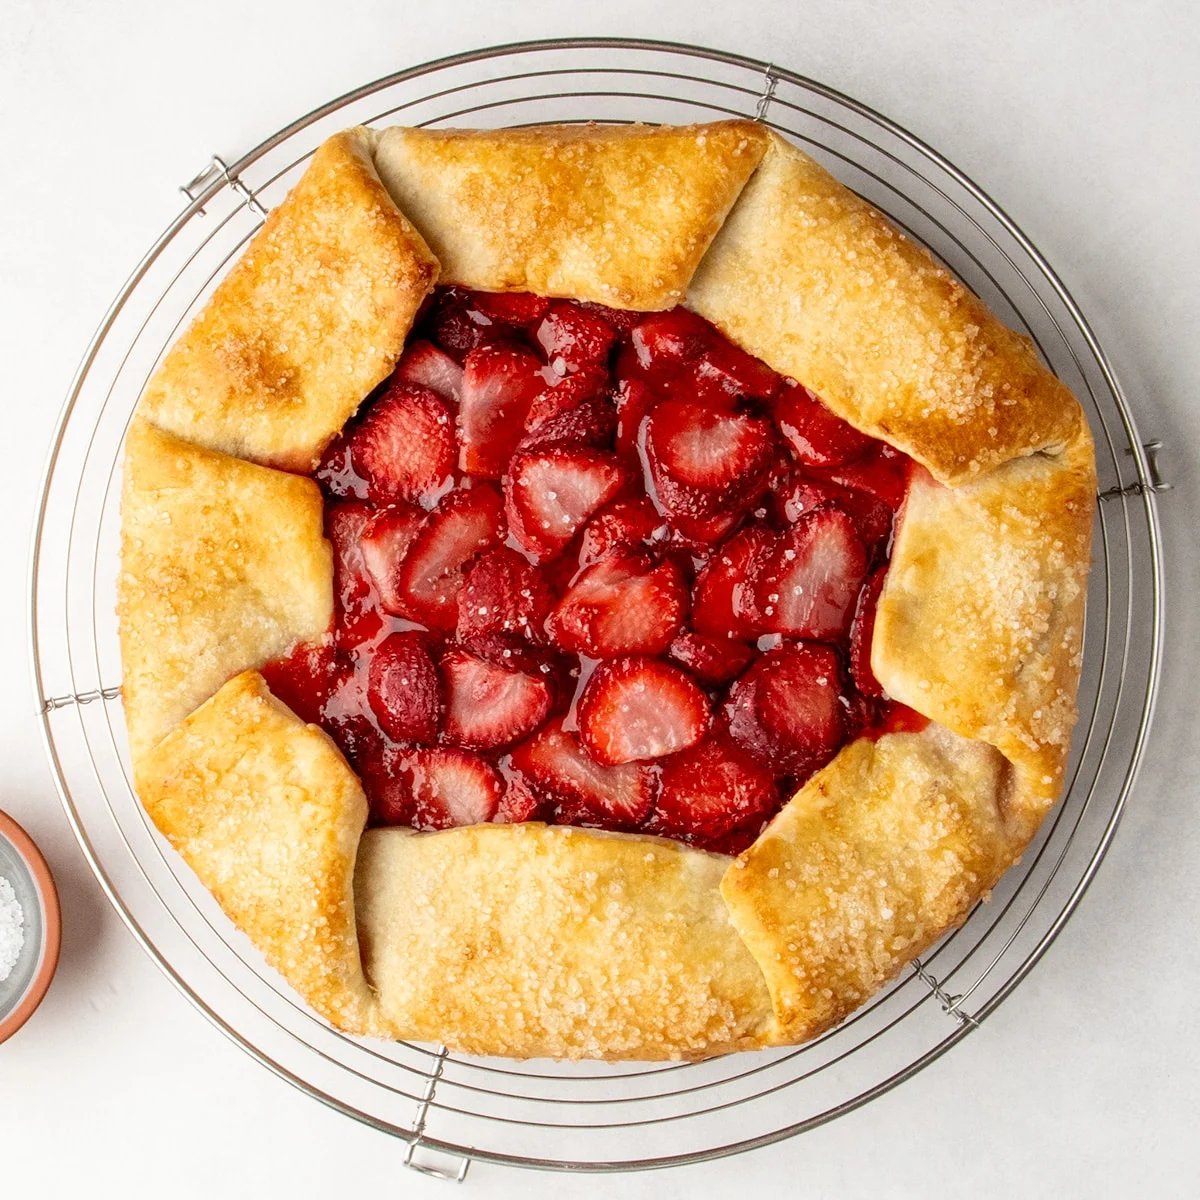
This rustic, simple gluten-free galette boasts a flaky golden crust embracing a glistening strawberry filling. It’s a testament to how uncomplicated techniques can yield impressive results, allowing the natural sweetness and vibrant flavor of fresh berries to take center stage. Ideal for showcasing seasonal produce, this dessert offers a more approachable alternative to traditional pies, making it a perfect choice for both casual gatherings and more formal occasions. The beauty of a galette lies in its forgiving nature; its rustic charm means perfection in shaping is not a prerequisite for a stunning presentation.
The Appeal of the Galette: Ease Meets Elegance
The galette’s inherent simplicity is a significant part of its culinary appeal. Unlike the precise demands of a double-crust pie, a galette requires only a single rolled-out dough, filled centrally and then folded over the edges to create a beautiful, freeform tart. This structural ease eliminates the stress often associated with pie crust preparation, making it an accessible recipe for bakers of all skill levels. The technique inherently highlights the star ingredient – in this case, the strawberries – allowing their vibrant color and fresh flavor to shine through.
Beyond its ease of preparation, the galette’s design inherently combats common dessert pitfalls, particularly sogginess. The recipe incorporates several strategies to ensure a crisp, flaky crust. By rolling the dough slightly thicker, it gains the necessary sturdiness to support the juicy fruit filling without a pie pan for reinforcement. Furthermore, a light brush of honey on the dough’s base before adding the filling acts as a protective barrier, helping to seal the pastry and prevent moisture from seeping through, thus ensuring a delightful textural contrast between the crisp crust and the tender fruit.
Crafting the Perfect Gluten-Free Crust
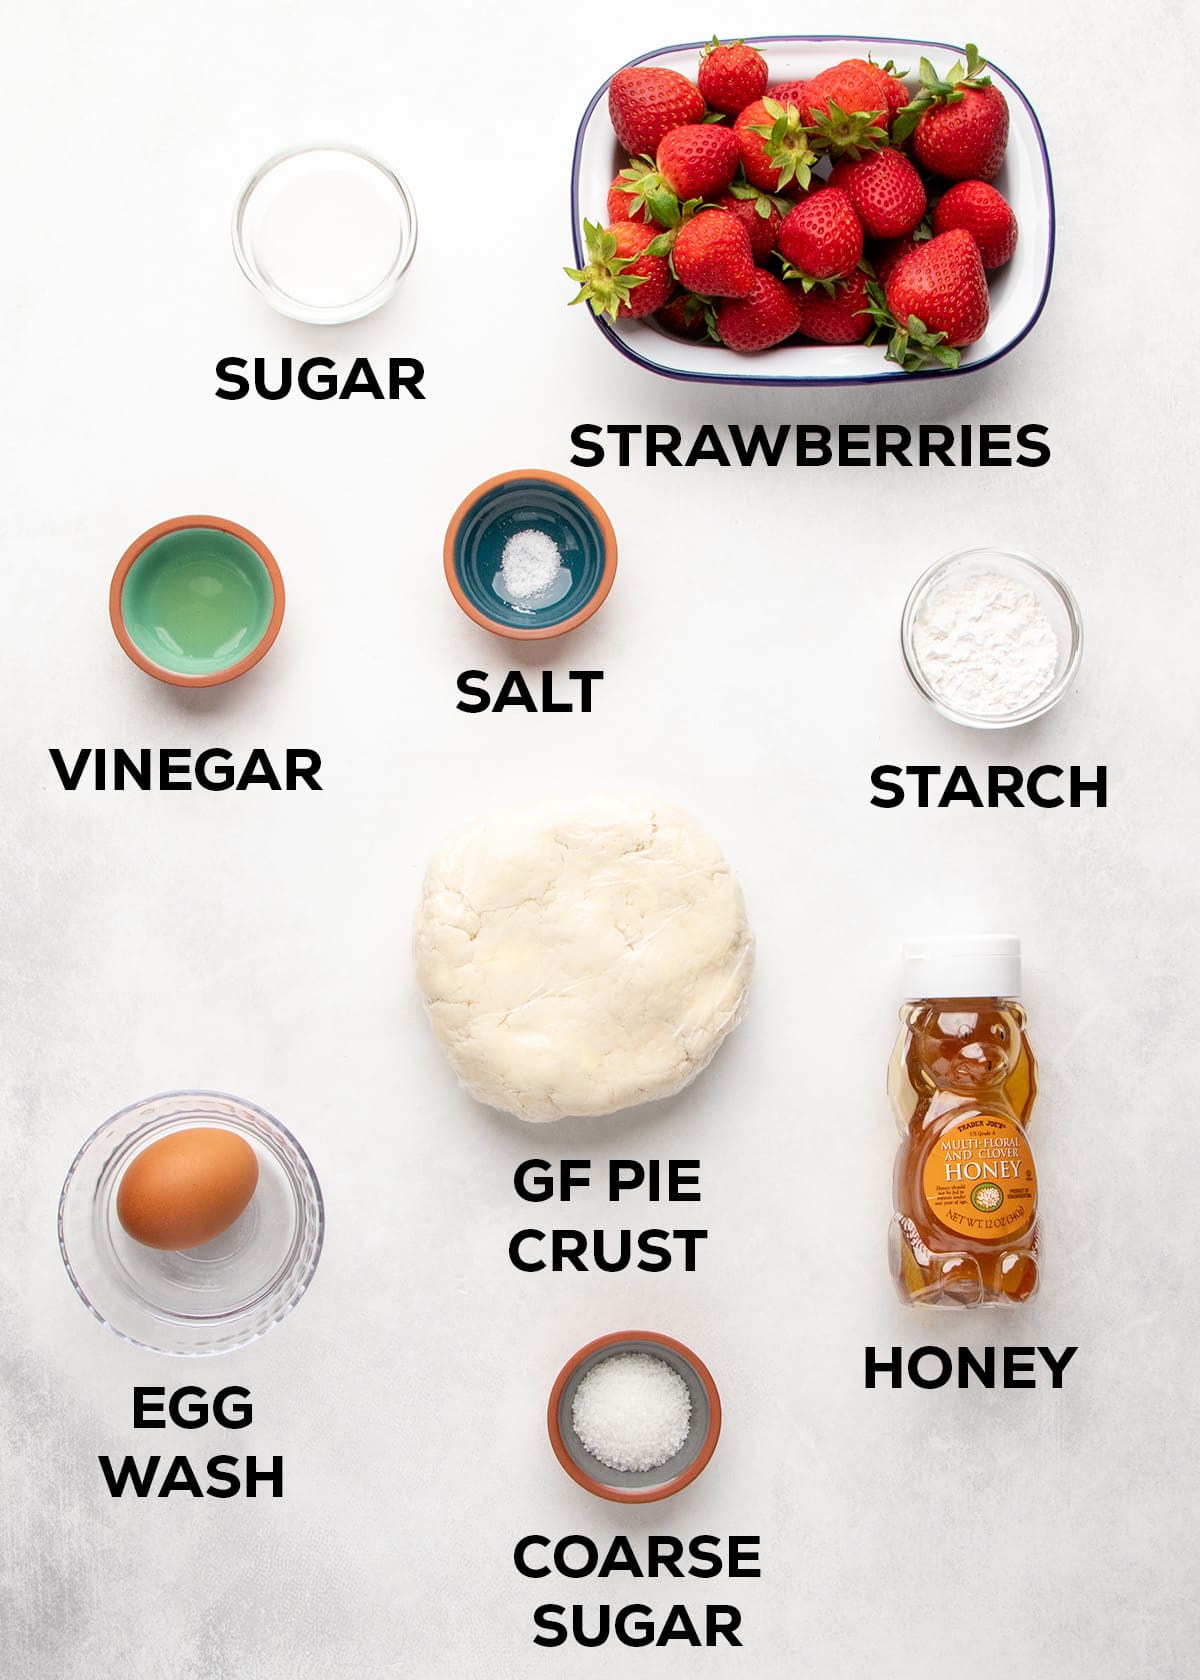
The foundation of any exceptional galette is its crust, and for a gluten-free version, achieving that desirable flakiness requires careful attention to ingredients and technique. The process begins with a precise blend of gluten-free flours, often incorporating xanthan gum to mimic the elasticity that wheat flour naturally provides. Baking powder contributes to the lift, while salt balances the flavors. The addition of sugar is optional, but can enhance browning and add a subtle sweetness.
The key to a flaky crust lies in the fat. Cold, cubed butter is essential. The butter is cut into the dry ingredients until it forms small, pea-sized pieces. This is crucial because these pieces of butter, when baked, melt and create steam, which in turn separates the layers of dough, resulting in that coveted flaky texture. The dough is then brought together with ice-cold water. It’s vital to use just enough water to hydrate the flour without making the dough sticky or wet, as excess moisture can lead to a tough or soggy crust.

Once the dough has come together, it’s typically formed into a disk and chilled for at least 30 minutes. This chilling period allows the gluten-free flours to fully hydrate and, importantly, solidifies the fat. A cold dough is easier to handle and roll out, and the cold butter is more likely to create distinct layers during baking, rather than melting into the flour and creating a dense texture.
The Heart of the Dessert: A Vibrant Strawberry Filling
The filling for this galette is designed to celebrate the natural sweetness and bright flavor of fresh strawberries. The recipe calls for about a pound of strawberries, which are then washed, hulled, and thickly sliced. Thick slices help the berries maintain their shape during the baking process, preventing them from becoming mushy.
A touch of salt enhances the overall flavor profile, while granulated sugar provides a gentle sweetness. The addition of a small amount of vinegar—often apple cider vinegar or white wine vinegar—acts as a flavor enhancer, brightening the berry notes and adding a subtle tang that balances the sweetness. This mixture is allowed to rest, a crucial step that encourages the strawberries to release their juices.
The released strawberry liquid is then combined with a thickening agent, typically tapioca starch (also known as tapioca flour). Tapioca starch is favored for its ability to create a clear, glossy sauce without imparting a glue-like texture or cloudy appearance, which can sometimes occur with other starches. The starch absorbs some of the excess moisture from the berries, preventing a soggy bottom crust and creating a beautifully thickened, syrupy filling. Allowing the berry and starch mixture to sit further softens the starch and encourages the release of more juice, ensuring a well-integrated filling.
Assembling and Baking the Galette: A Symphony of Textures
With the crust chilled and the filling prepared, the assembly of the galette is a straightforward yet artful process. The chilled dough is rolled out on a lightly floured surface to a diameter of approximately 13 to 14 inches, aiming for a thickness of about a quarter-inch. This slightly thicker crust provides the necessary structural integrity for the unfettered filling.
The rolled-out dough is then carefully transferred to a piece of parchment paper. A thin layer of honey is brushed onto the center of the dough. This honey acts as a sealant, further preventing moisture from penetrating the crust and also contributes to a beautifully golden-brown finish.
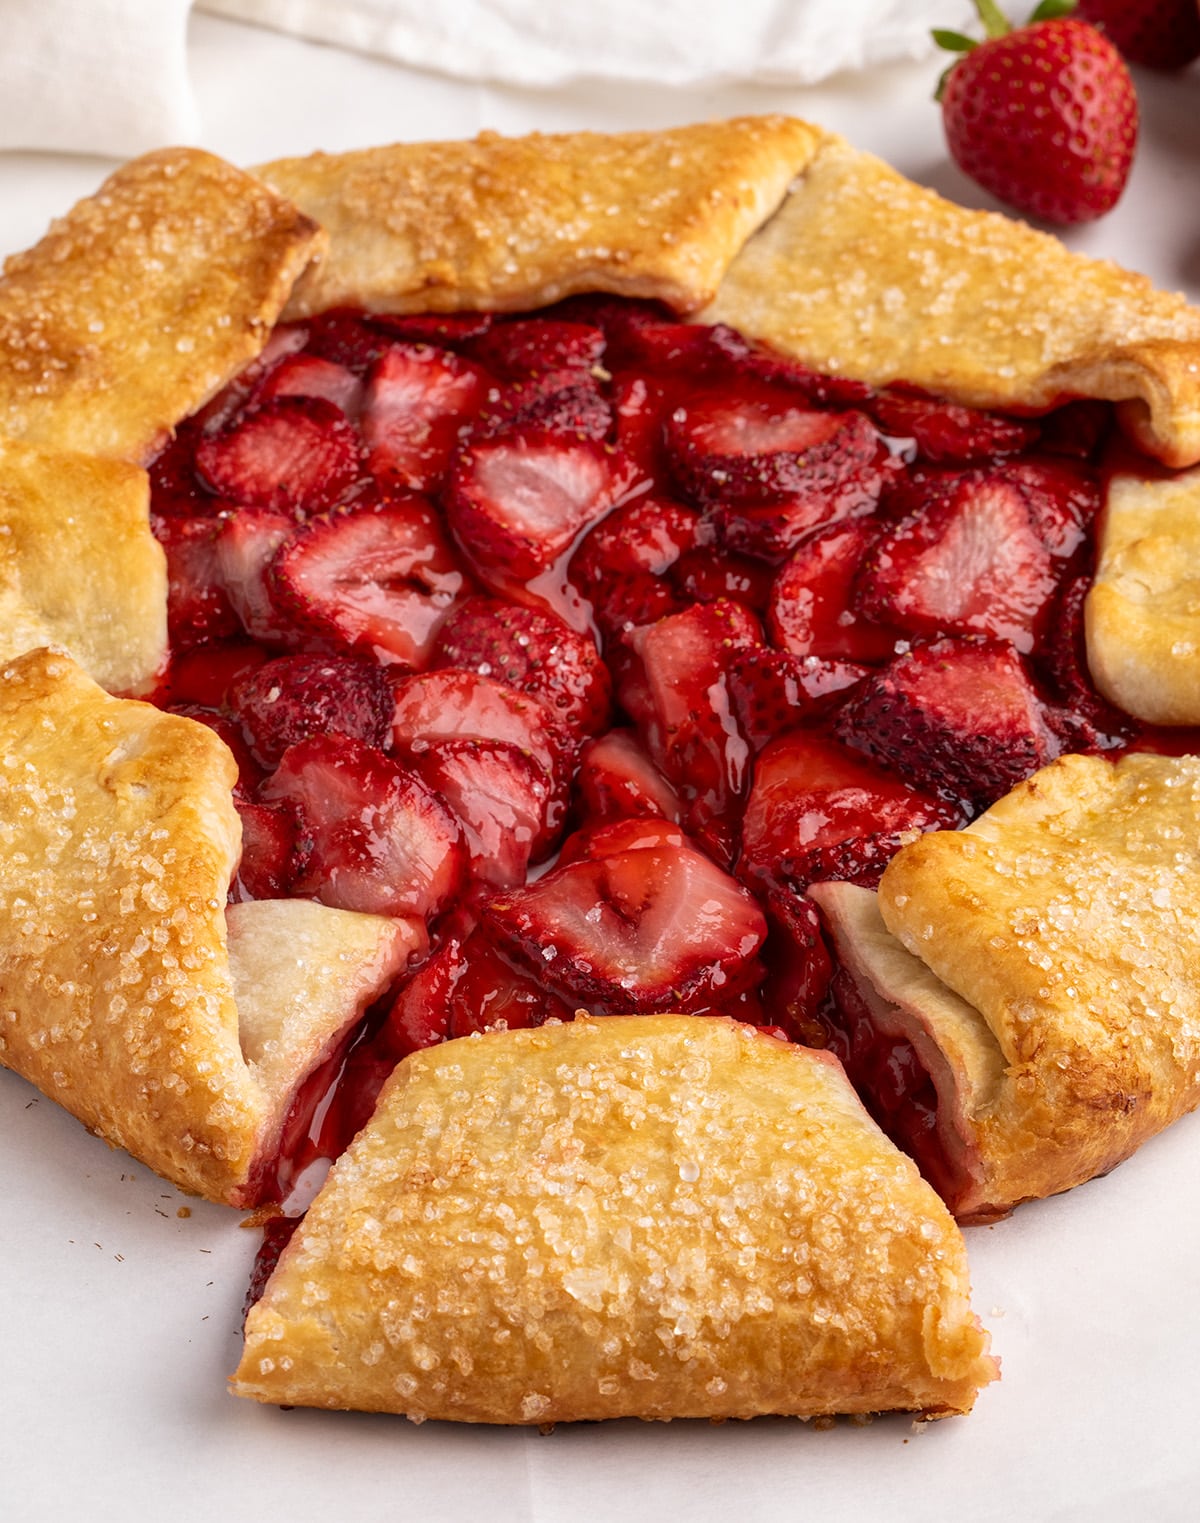
The prepared strawberry filling is then spooned into the center of the dough, leaving a 2-inch border of the pastry exposed. This border is then artfully folded over the edges of the filling, creating pleats and tucks as you go. This rustic folding technique not only secures the filling but also adds to the galette’s charm. Gently pressing down on the folded crust helps it adhere to itself and the filling.
To enhance the crust’s appearance and flavor, the entire top surface is brushed with an egg wash. This mixture of egg and a small amount of water or milk creates a glossy sheen and promotes even browning. A sprinkle of coarse-grained sugar over the crust adds a delightful crunch and an extra touch of sweetness.
Before baking, the assembled galette, still on its parchment paper and ideally on a small cutting board or baking sheet, is chilled again for about 15-20 minutes. This step is critical. It ensures that the butter in the crust is thoroughly chilled before hitting the heat of the oven, which is paramount for achieving maximum flakiness.
The galette is then baked in a preheated oven at 375°F (190°C) for approximately 35 minutes, or until the exposed crust is a deep golden brown and the strawberry filling is bubbling and has thickened into a luscious, glossy sauce.
Expert Insights and Customization
The versatility of the galette allows for numerous customizations, catering to individual preferences and seasonal availability.
Adjusting Sweetness for Berry Variability
The sweetness of strawberries can vary significantly depending on ripeness and varietal. The recipe typically calls for around 1/4 cup of granulated sugar, but it’s advisable to taste the berries before adding sugar. If they are exceptionally sweet, less sugar may be needed. Conversely, if the berries are tarter or less flavorful, up to an additional 1/4 cup of sugar can be added to achieve the desired sweetness.
Proactive Crust Preparation
For added convenience, the gluten-free pie crust dough can be prepared up to a week in advance and stored tightly wrapped in plastic wrap in the refrigerator. If the dough has been refrigerated for an extended period, it may need to sit at room temperature for about 15 minutes before rolling to prevent cracking, ensuring a smooth and pliable dough for shaping.
Mitigating Soggy Crusts
The potential for a soggy crust is a common concern with fruit tarts. This recipe incorporates several safeguards, but for particularly wet fruits, such as overripe berries or frozen fruit that has thawed, additional measures can be taken. Draining some of the excess liquid from the fruit before filling the galette and/or adding an extra tablespoon of tapioca starch can help absorb any surplus moisture, ensuring a crisp bottom crust.
Embracing Seasonal Fruits
The galette format is remarkably adaptable to a wide array of fruits. Beyond strawberries, raspberries, blueberries, or a combination of berries work beautifully. Ripe stone fruits like peaches, nectarines, or plums, when soft enough to cook quickly, are also excellent choices. For firmer fruits such as apples, peeling, coring, and slicing them thinly is crucial to ensure they become tender during the baking process. Apples, being richer in pectin than berries or stone fruits, may require less or no added starch.
Ingredient Substitutions for Dietary Needs
Dairy-Free Adaptations
For those following a dairy-free diet, the galette crust can be successfully adapted. Replacing dairy butter with a blend of half block-style vegan butter and half butter-flavored vegetable shortening (like Crisco or Spectrum) is recommended. This combination closely mimics the moisture content and texture of dairy butter, yielding a comparable flaky crust.
Alternative Thickeners
While tapioca starch is preferred for its clarity and texture, other starches can be used as substitutes. Cornstarch, arrowroot powder, or potato starch are all viable options for thickening the strawberry filling.
Honey Alternatives
For those who prefer not to use honey or are seeking alternatives, Lyle’s Golden Syrup offers a similar flavor profile and color. Alternatively, a homemade simple syrup can be prepared by combining equal parts granulated sugar and water, heating until the sugar dissolves, and boiling gently for about 60 seconds. This simple syrup can be stored in the refrigerator for up to two weeks.
Storage and Preparation for Future Enjoyment
Preparing Ahead and Freezing
The raw, assembled galette can be prepared in advance and frozen for later enjoyment. Once assembled and placed on a baking sheet, freeze it until completely firm. Then, wrap it tightly in freezer-safe material and return it to the freezer. To bake from frozen, remove the plastic wrap and bake directly from frozen, potentially adding a few extra minutes to the baking time. Do not thaw the galette before baking.
Storing Leftovers
Any leftover slices of the galette can be stored in an airtight container or wrapped tightly in plastic wrap and refrigerated for up to five days. For longer storage, the galette can be frozen for up to three months. To revive any lost crispness in leftover slices, reheat them in a 300°F (150°C) toaster oven until warmed through.
This gluten-free strawberry galette represents a delightful fusion of simplicity and elegance, offering a delicious way to savor seasonal fruits with a perfectly flaky, gluten-free crust. Its approachable preparation method makes it a valuable addition to any home baker’s repertoire, proving that impressive desserts can indeed be straightforward to create.
