

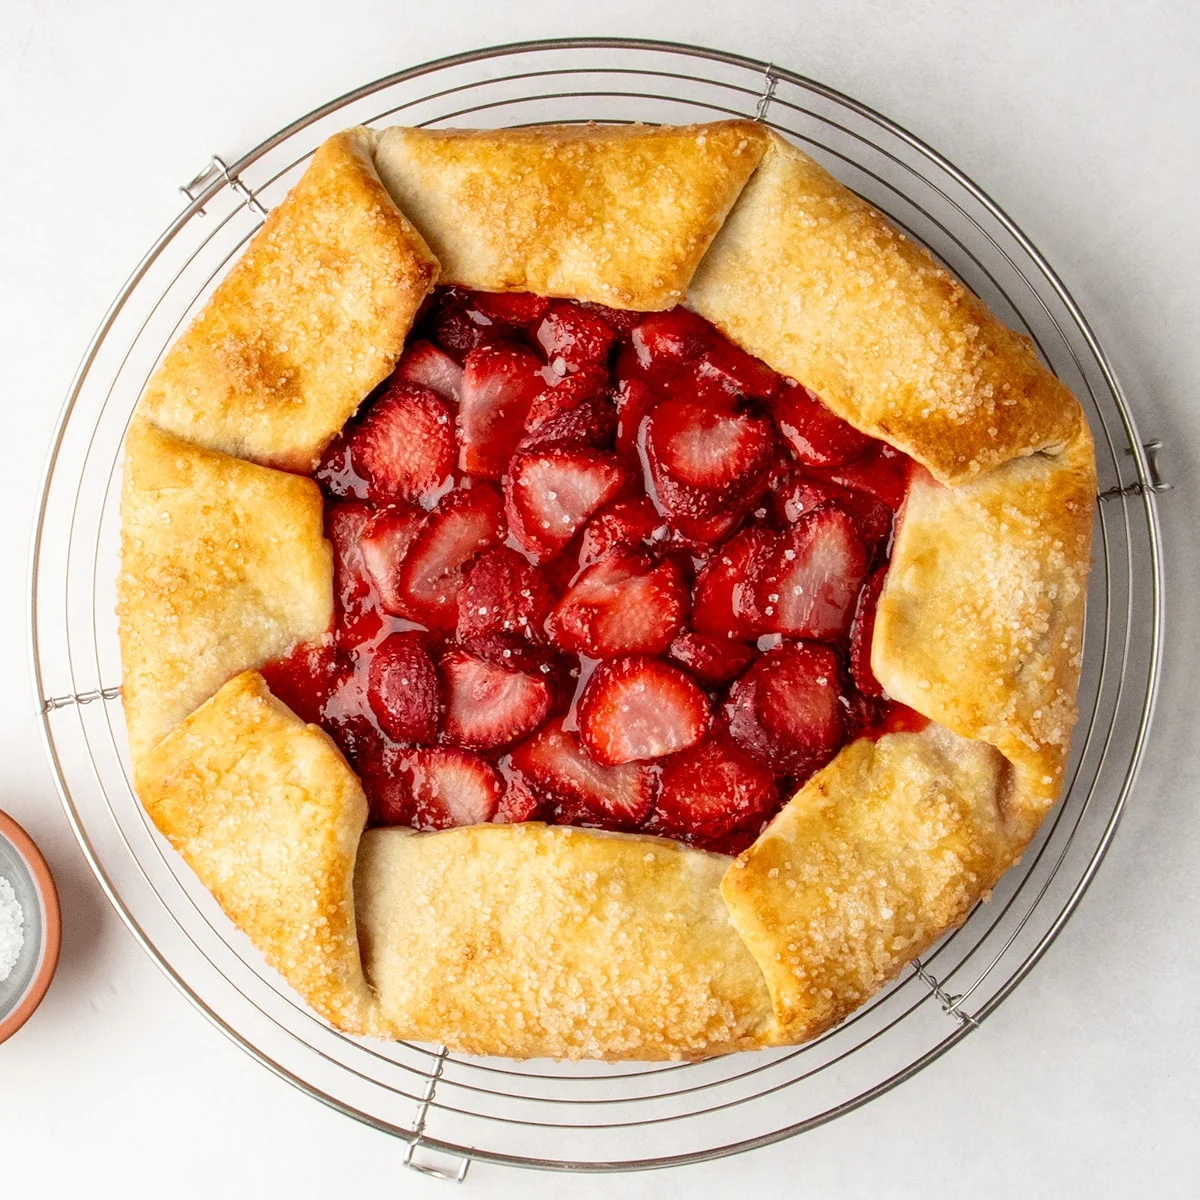
This rustic, simple gluten-free galette has a flaky golden crust wrapped around a glossy strawberry filling that’s packed with flavor but only lightly sweet. It’s easier than pie, pretty enough for company, and made to let fresh berries shine while they’re in season.
The art of the galette lies in its inherent simplicity and rustic charm, offering a delightful alternative to the often-intimidating pie crust. This particular recipe, focusing on fresh strawberries, elevates this humble dessert into a sophisticated treat that is both accessible for home bakers and impressive enough for entertaining. The key to its success is a carefully constructed gluten-free crust that achieves remarkable flakiness, encasing a vibrant strawberry filling that bursts with natural sweetness and a hint of tartness.
Why This Recipe Excels: A Culinary Blueprint for Success
The brilliance of a galette lies in its forgiving nature. Unlike a traditional pie that demands precise shaping and a perfectly crimped edge, a galette is designed for improvisation. The process involves simply rolling out a round of dough, piling the fruit filling in the center, and folding the edges loosely over the fruit, creating a beautiful, free-form presentation. This characteristic makes it an ideal choice for bakers of all skill levels, democratizing the joy of homemade fruit desserts.

This recipe stands out by achieving a delicate balance of sweetness in its strawberry filling. The emphasis is on allowing the natural flavor of the berries to take center stage, enhanced by subtle additions rather than being overwhelmed by sugar. This approach not only highlights the seasonal peak of the fruit but also results in a dessert that is lighter and more refreshing. The same foundational technique can be readily adapted for a variety of other fruits, including succulent ripe stone fruits like peaches and plums, or thinly sliced apples, demonstrating its versatility.
A common pitfall in fruit-based desserts is a soggy bottom crust. This recipe proactively addresses this concern through several ingenious strategies. The berries are coaxed to release their juices, which then thicken into a glossy, appealing syrup during baking, preventing excessive moisture from saturating the crust. Furthermore, the gluten-free crust is intentionally rolled slightly thicker than one might typically use for a pan pie. This added thickness provides structural integrity without sacrificing the coveted flakiness. A subtle yet crucial step involves brushing the base of the crust with honey before adding the filling. This thin layer acts as a protective barrier, helping to seal the pastry and promote a crisp, golden finish.
Key Ingredients: The Building Blocks of Flavor and Texture
Crafting this exquisite gluten-free strawberry galette requires a thoughtful selection of ingredients. For those embarking on this culinary journey, the following components form the foundation of this delightful dessert:
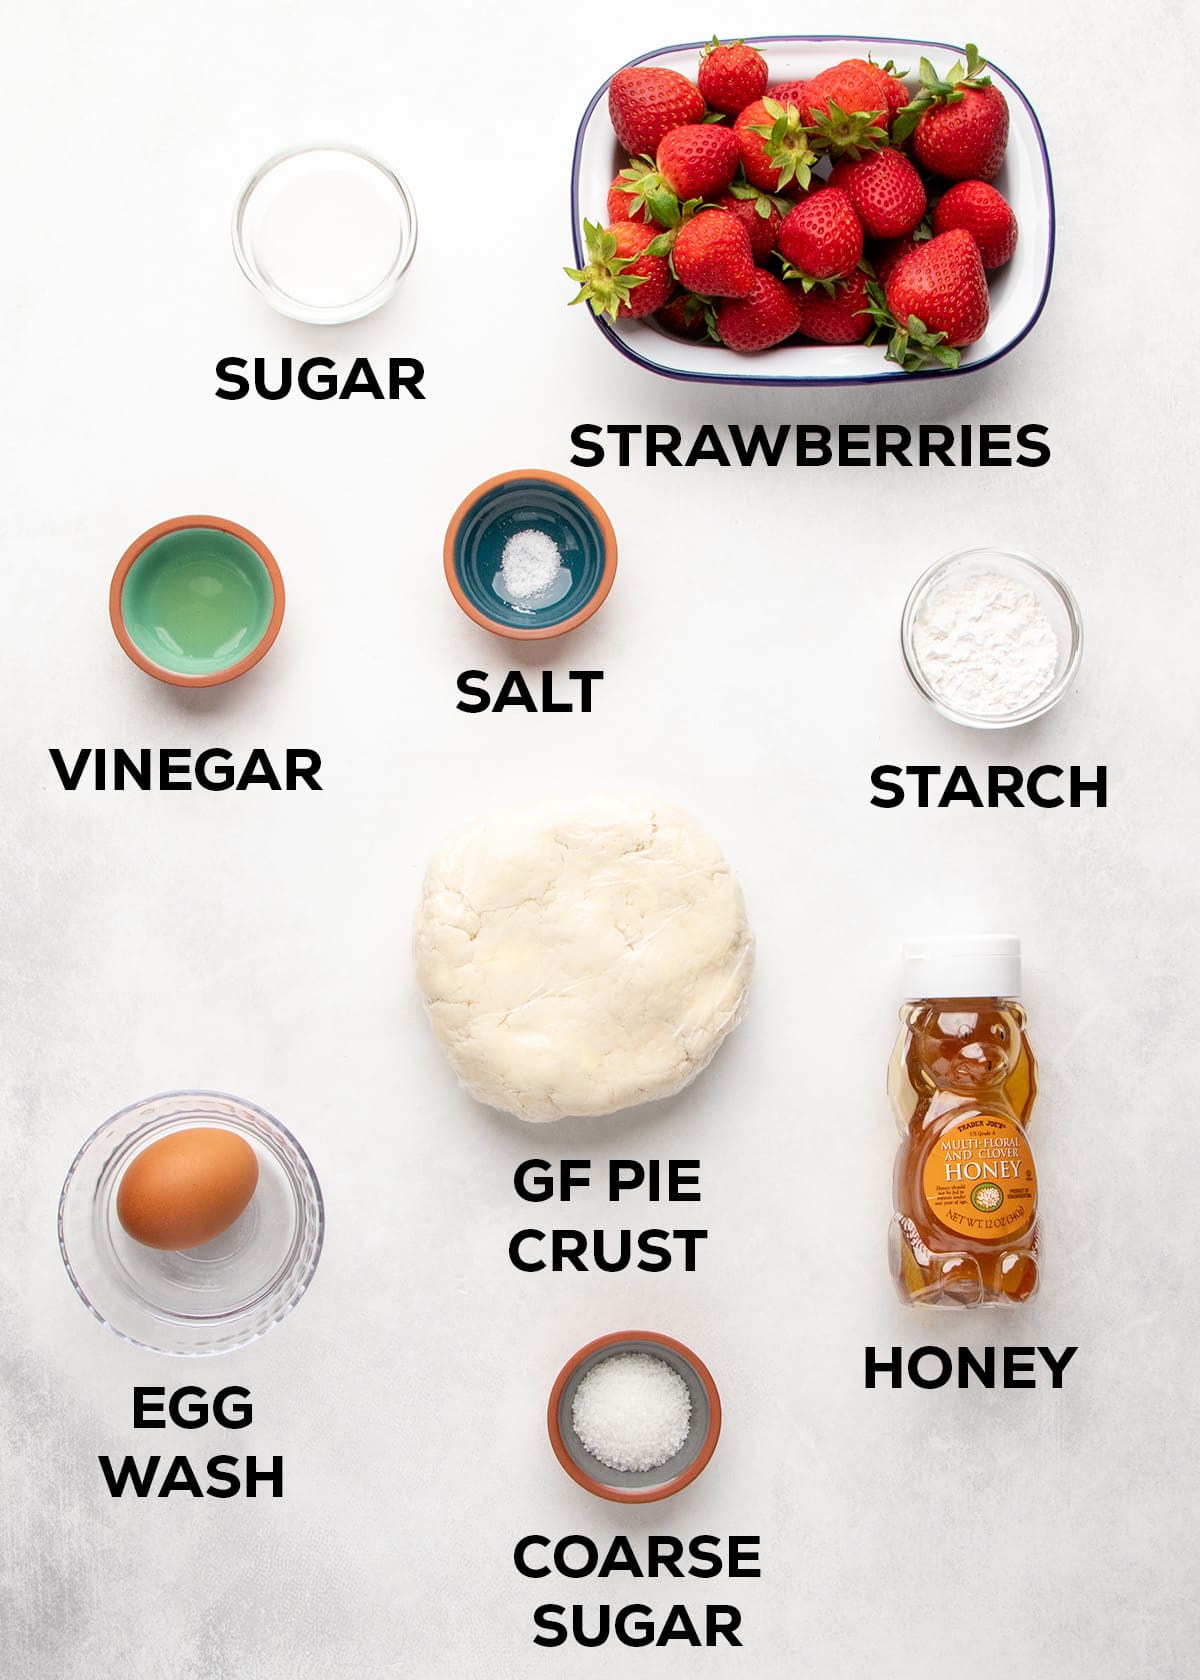
- Gluten-Free Flour Blend: The cornerstone of any gluten-free baking, a high-quality blend is essential. Look for blends that contain a mix of rice flour, tapioca starch, and potato starch, often with xanthan gum included to provide structure and elasticity. Brands like Better Batter’s original blend, Nicole’s Best multipurpose blend, or Bob’s Red Mill 1-to-1 Gluten Free Baking Flour (with an added ¾ teaspoon of xanthan gum) are recommended for their reliable performance.
- Butter: Cold, unsalted butter is crucial for creating a flaky crust. The process of cutting cold butter into the flour creates small pockets of fat that melt during baking, producing steam and separating the layers of dough, resulting in that signature crispness.
- Ice Water: Extremely cold water is vital for keeping the butter solid during dough preparation, which is key to achieving flakiness.
- Strawberries: Fresh, ripe strawberries are the star of this galette. Their vibrant color and sweet-tart flavor are the essence of the dessert.
- Sugar: Granulated sugar is used sparingly to enhance the natural sweetness of the strawberries without overpowering them. The amount can be adjusted based on the sweetness of the berries themselves.
- Vinegar: A small amount of vinegar, such as apple cider vinegar or white vinegar, adds a subtle tang that balances the sweetness of the strawberries and brightens their flavor.
- Salt: A pinch of salt is essential in both the crust and the filling to enhance the overall flavor profile and balance the sweetness.
- Tapioca Starch (or Flour): This serves as a thickening agent for the strawberry filling, creating a glossy, jam-like consistency that complements the fruit. Other starches like cornstarch, arrowroot, or potato starch can also be used.
- Honey: Used to brush the base of the crust, honey contributes to browning and acts as a sealant, helping to prevent sogginess.
- Egg Wash: A mixture of egg and water or milk, brushed over the crust before baking, gives it a beautiful golden sheen and helps it brown evenly.
- Coarse Sugar: Sprinkled over the crust, coarse sugar adds a delightful crunch and a touch of sparkle to the finished galette.
A Step-by-Step Guide to Crafting Your Gluten-Free Strawberry Galette
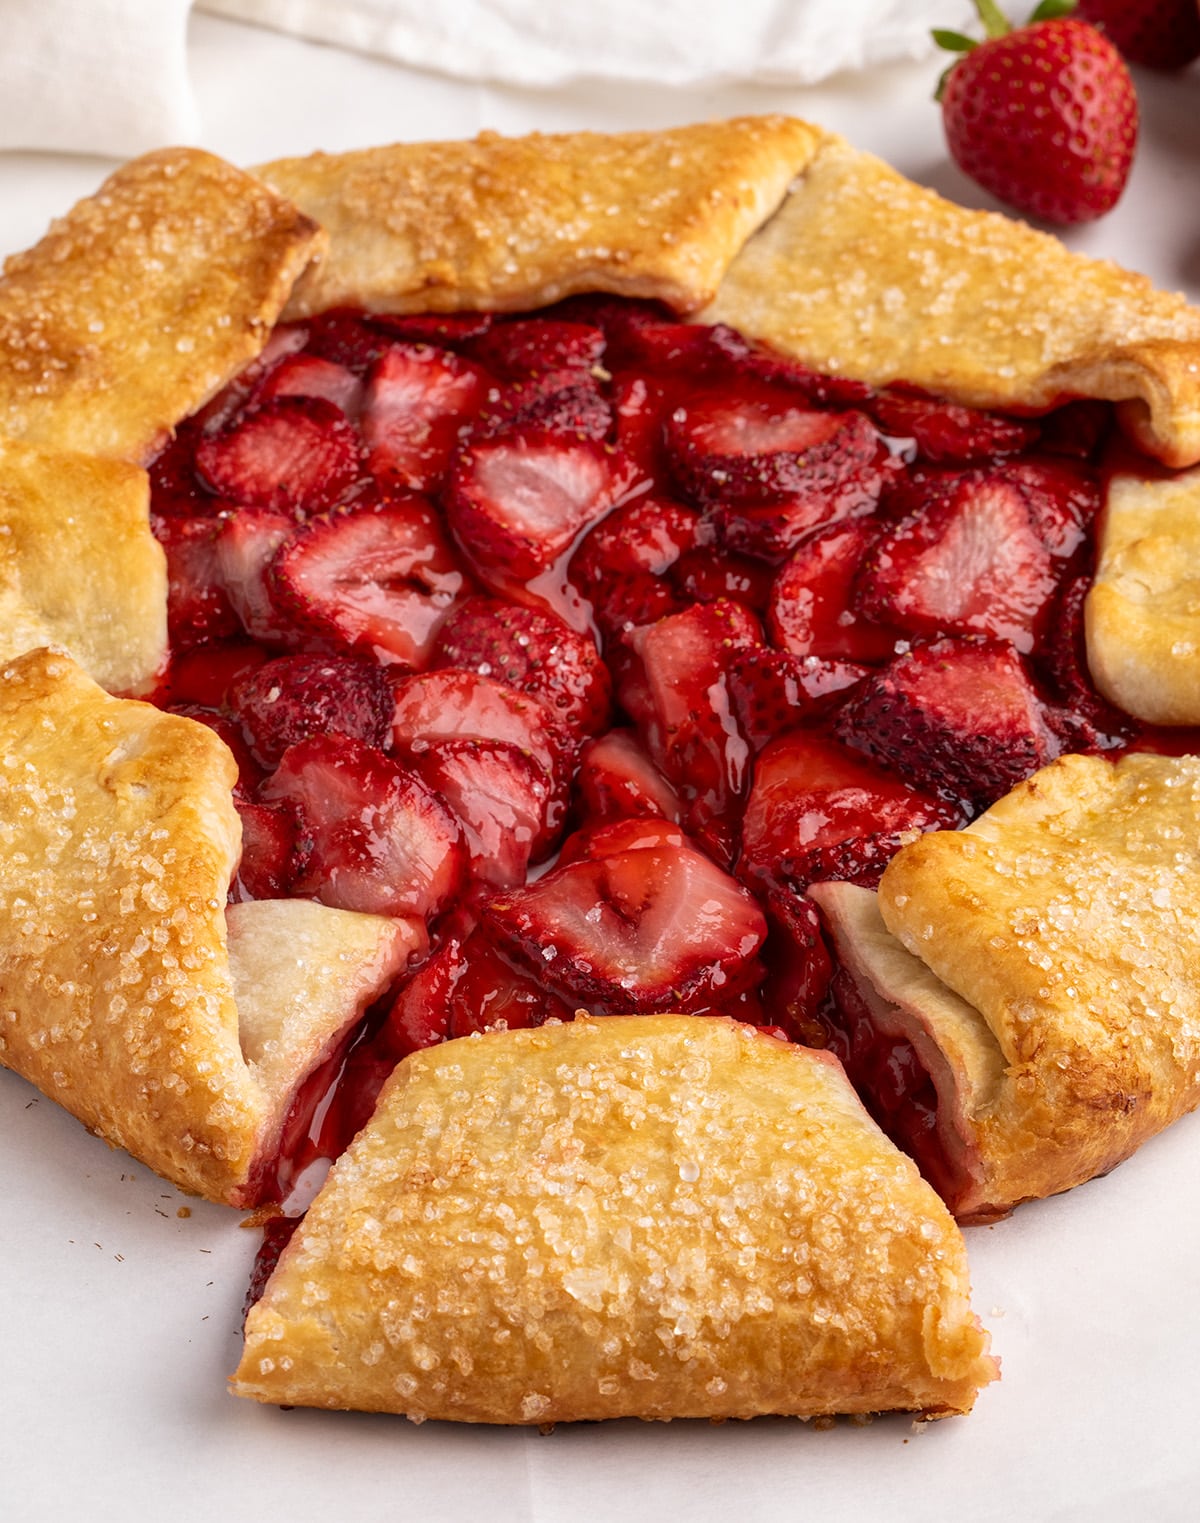
The process of creating this gluten-free strawberry galette is designed to be straightforward, allowing the natural beauty of the ingredients to shine through.
1. Preparing the Gluten-Free Crust Dough:
- Whisk Dry Ingredients: In a large mixing bowl, thoroughly whisk together the gluten-free flour blend, baking powder (if using), salt, and any optional sugar. Ensuring an even distribution of these dry components is the first step towards a well-structured crust.
- Incorporate the Butter: Add cold, cubed butter to the dry ingredients. Toss the butter to coat it evenly. Then, using your fingertips or a pastry blender, work the butter into the flour mixture until it resembles coarse crumbs with some pea-sized pieces of butter remaining. This technique of "cutting in" the butter is critical for creating flaky layers.
- Add Cold Water: Gradually add ice-cold water, a tablespoon at a time, mixing until the dough just begins to come together. Be careful not to overmix; the goal is to hydrate the flour without developing gluten (which isn’t present in gluten-free flour, but overmixing can still lead to a tough texture). The dough should hold together when pressed, but not be sticky.
- Chill the Dough: Shape the dough into a flat disk, wrap it tightly in plastic wrap, and refrigerate for at least 30 minutes. This chilling period allows the gluten-free flour to hydrate fully and the fat to firm up, making the dough easier to roll and preventing it from becoming too soft during the shaping process.
2. Preparing the Luscious Strawberry Filling:
- Prepare the Berries: Gently wash, thoroughly dry, and hull the pound of fresh strawberries. Slice them thickly to ensure they retain some of their shape during the baking process, preventing them from becoming overly mushy.
- Flavor Infusion: In a medium bowl, combine the sliced strawberries with a pinch of salt, granulated sugar, and a dash of vinegar. Allow this mixture to rest for about 10-15 minutes. This resting period encourages the strawberries to release their natural juices and for the flavors to meld.
- Thickening the Filling: Gently mix in the tapioca starch. This starch will absorb some of the released berry juice and, when baked, will transform into a clear, glossy sauce that beautifully coats the strawberries. Let the mixture sit for another 10 minutes, allowing the starch to soften and the berries to continue releasing their juices.
3. Assembling and Shaping the Galette:
- Roll Out the Crust: On a lightly floured surface (use minimal extra flour to avoid drying out the dough), roll out the chilled gluten-free dough into a rough 13- to 14-inch circle. Aim for a thickness of about ¼ inch. This slightly thicker crust provides the necessary sturdiness to hold the fruit filling without the support of a pie dish.
- Transfer and Seal: Carefully transfer the rolled-out crust to a piece of parchment paper. Brush the entire bottom surface of the crust with a thin layer of honey. This not only aids in browning but also creates a barrier against moisture, crucial for a crisp bottom crust.
- Fill the Galette: Spoon the prepared strawberry filling into the center of the crust, leaving a 2-inch border of exposed dough.
- Fold the Edges: Gently fold the border of the dough up and over about a quarter of the filling, creating pleats as you go. Continue folding the dough around the perimeter of the filling, overlapping sections as needed, until you have a rustic, round pastry with most of the fruit exposed. Lightly press down on the folded edges to help them adhere to themselves and the filling.
4. Finishing Touches and Baking:
- Egg Wash and Sugar: Brush the exposed crust with an egg wash to promote a golden-brown color and a glossy finish. For an extra touch of sweetness and a delightful crunch, sprinkle the crust generously with coarse-grained sugar.
- Chill Before Baking: Place the assembled galette on a small cutting board or plate and refrigerate for at least 15 minutes while the oven preheats to 375°F (190°C). This final chill is crucial; it ensures the butter in the crust is cold, leading to maximum flakiness.
- Bake to Perfection: Transfer the galette, still on its parchment paper, to a rimmed baking sheet. Bake in the preheated oven for approximately 35 minutes, or until the crust is deeply golden brown and the strawberry filling is bubbling and appears glossy.
- Cool and Serve: Allow the galette to cool on the baking sheet for about 20 minutes to allow the filling to set. Then, transfer it to a wire rack to cool further before slicing into wedges and serving.
Expert Tips for Galette Mastery
To ensure your gluten-free strawberry galette is a resounding success, consider these expert recommendations:
- Adjust Sweetness for Your Berries: The natural sweetness of strawberries can vary significantly. Taste your berries before adding sugar. If they are exceptionally sweet, ¼ cup of sugar may suffice. For less sweet berries, or if you prefer a sweeter dessert, you can increase the sugar by up to another ¼ cup.
- Prepare the Crust Ahead: The gluten-free pie crust dough can be made up to a week in advance and stored in the refrigerator, tightly wrapped in plastic wrap to prevent drying. If the dough has been chilled for an extended period, allow it to sit at room temperature for about 15 minutes before rolling to prevent cracking.
- Combat a Soggy Crust: If your fruit appears particularly wet, or if you are using frozen strawberries, there’s a risk of excess moisture leading to a soggy crust. To mitigate this, drain some of the excess liquid from the fruit before filling the galette. Alternatively, you can add up to an additional tablespoon of tapioca starch to the filling to absorb more moisture.
- Explore Fruit Variations: While strawberries are delightful, this galette recipe is incredibly versatile. Consider using other berries like raspberries or blueberries, or a combination thereof. Ripe stone fruits such as peaches, nectarines, or plums are also excellent choices. For firmer fruits like apples, ensure they are peeled, cored, and sliced thinly so they cook through as the pastry bakes. Apples have a higher pectin content than berries or stone fruits, so you may need less starch for thickening.
Ingredient Substitutions for Dietary Needs and Preferences
This recipe is designed to be adaptable, catering to various dietary needs and flavor preferences:
- Dairy-Free Adaptation: The primary dairy component in this recipe is the butter in the pie crust. For a dairy-free version, substitute the butter with a combination of half a block of vegan butter and half a quantity of butter-flavored vegetable shortening (such as Crisco or Spectrum brand). This blend typically mimics the moisture content and texture of dairy butter most effectively.
- Tapioca Starch Alternatives: Tapioca starch (also known as tapioca flour) is favored for its ability to create a clear, glossy gel without becoming glue-like. However, other starches can be used successfully, including cornstarch, arrowroot starch, or potato starch.
- Honey Substitutes: If honey is not preferred or available, Lyle’s Golden Syrup can be used as a direct substitute for brushing the crust. Alternatively, you can create a simple syrup by heating ½ cup (100g) of granulated sugar with ½ cup (4 fluid ounces) of lukewarm water in a saucepan until the sugar dissolves and the mixture gently boils for about 60 seconds. This syrup can be stored in an airtight container in the refrigerator for up to 14 days.
Storage and Preparation for Future Enjoyment
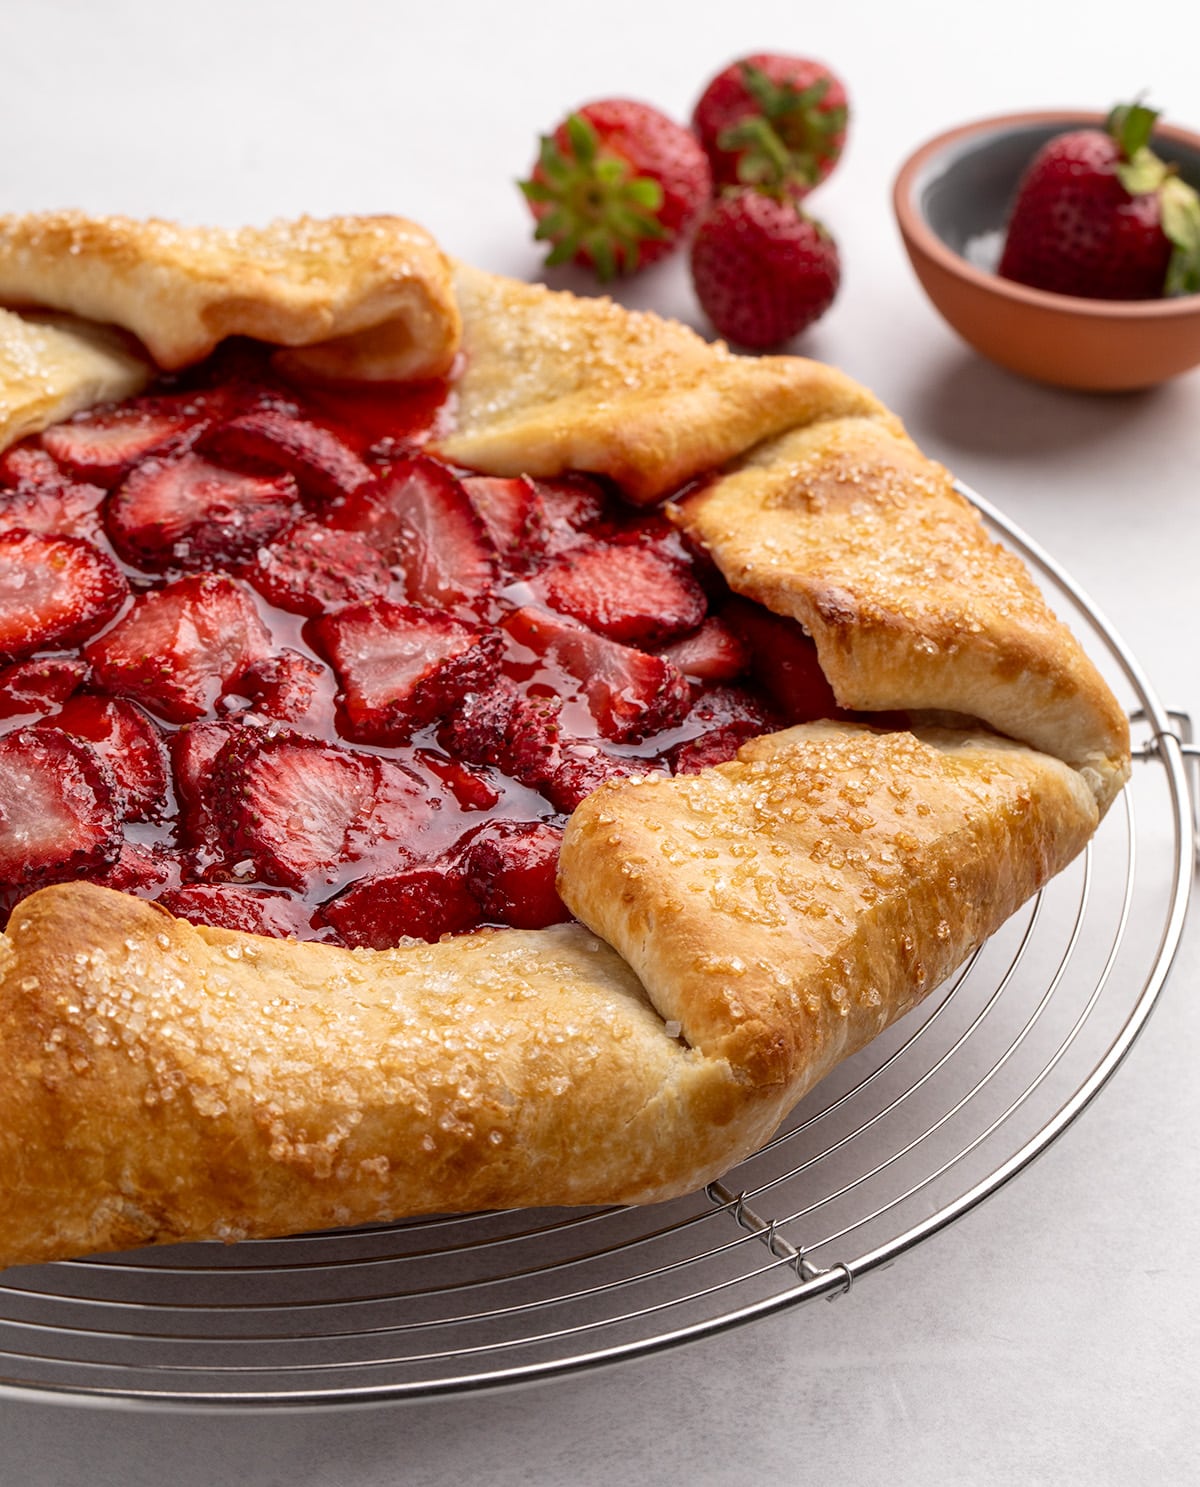
The convenience of this gluten-free strawberry galette extends to its storage and preparation:
- Prepare Ahead and Freeze: The entire raw galette can be assembled and then frozen on the baking sheet. Once completely firm, wrap it tightly in freezer-safe material and return it to the freezer. When ready to bake, do not thaw the galette; bake it directly from frozen. You may need to add a few extra minutes to the baking time.
- Leftover Storage: Any leftover slices of the galette can be wrapped tightly in plastic wrap and stored in the refrigerator for up to 5 days. For longer storage, freeze the slices for up to 3 months. To refresh frozen or refrigerated galette, warm it in a 300°F (150°C) toaster oven until heated through, which will help restore the crust’s flakiness.
This gluten-free strawberry galette is more than just a dessert; it’s a testament to the beauty of simple ingredients prepared with care. Its rustic elegance, combined with its ease of preparation, makes it a welcome addition to any occasion, celebrating the vibrant flavors of fresh strawberries in a truly delightful gluten-free format.
