

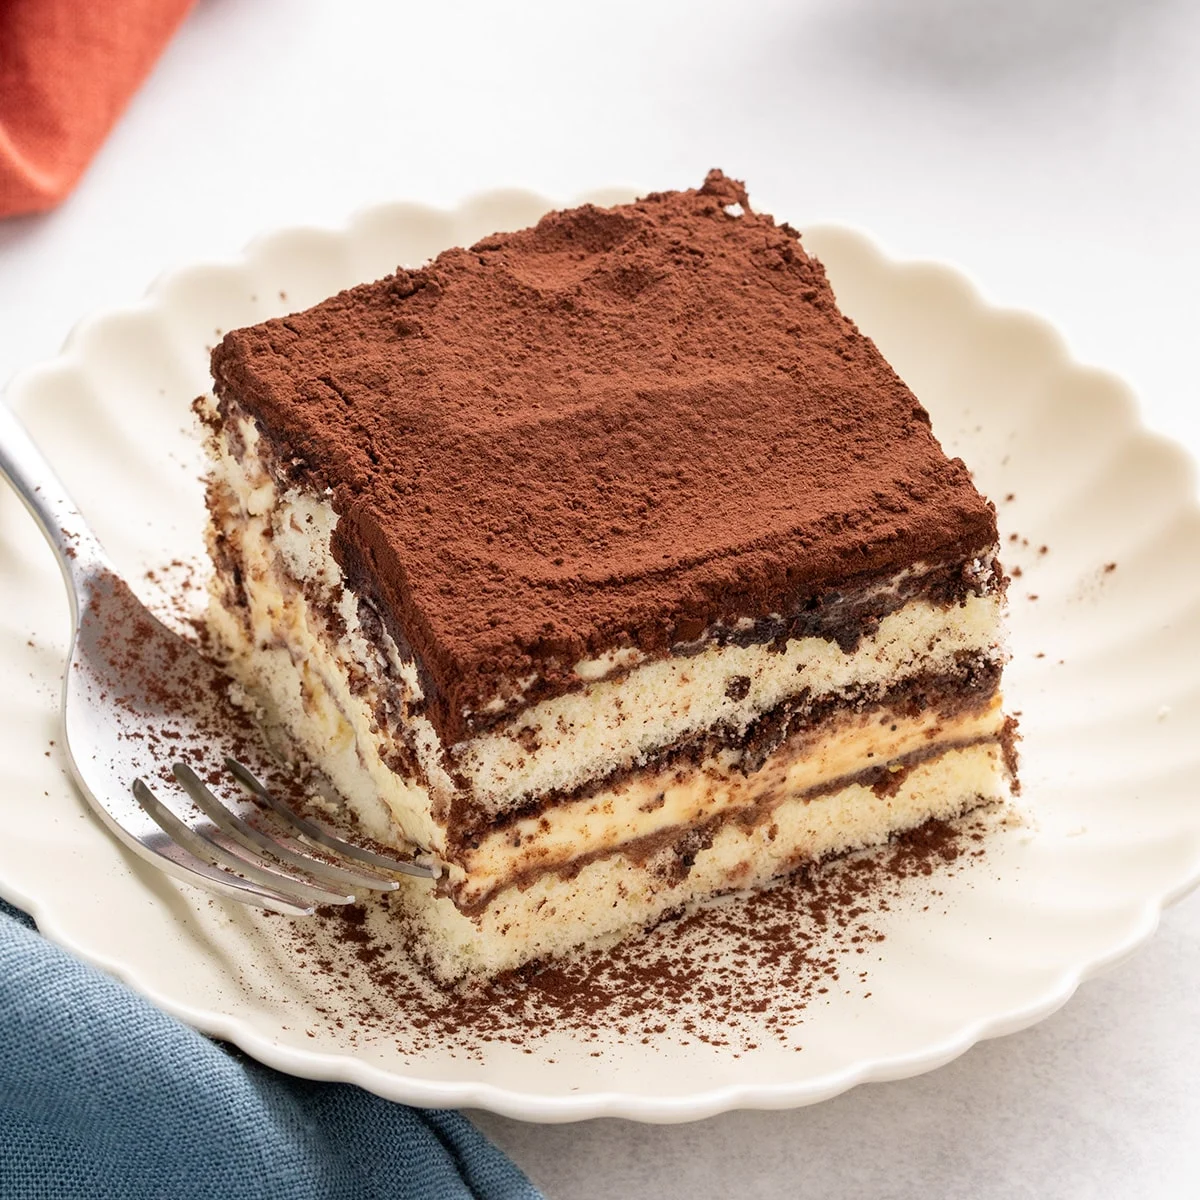
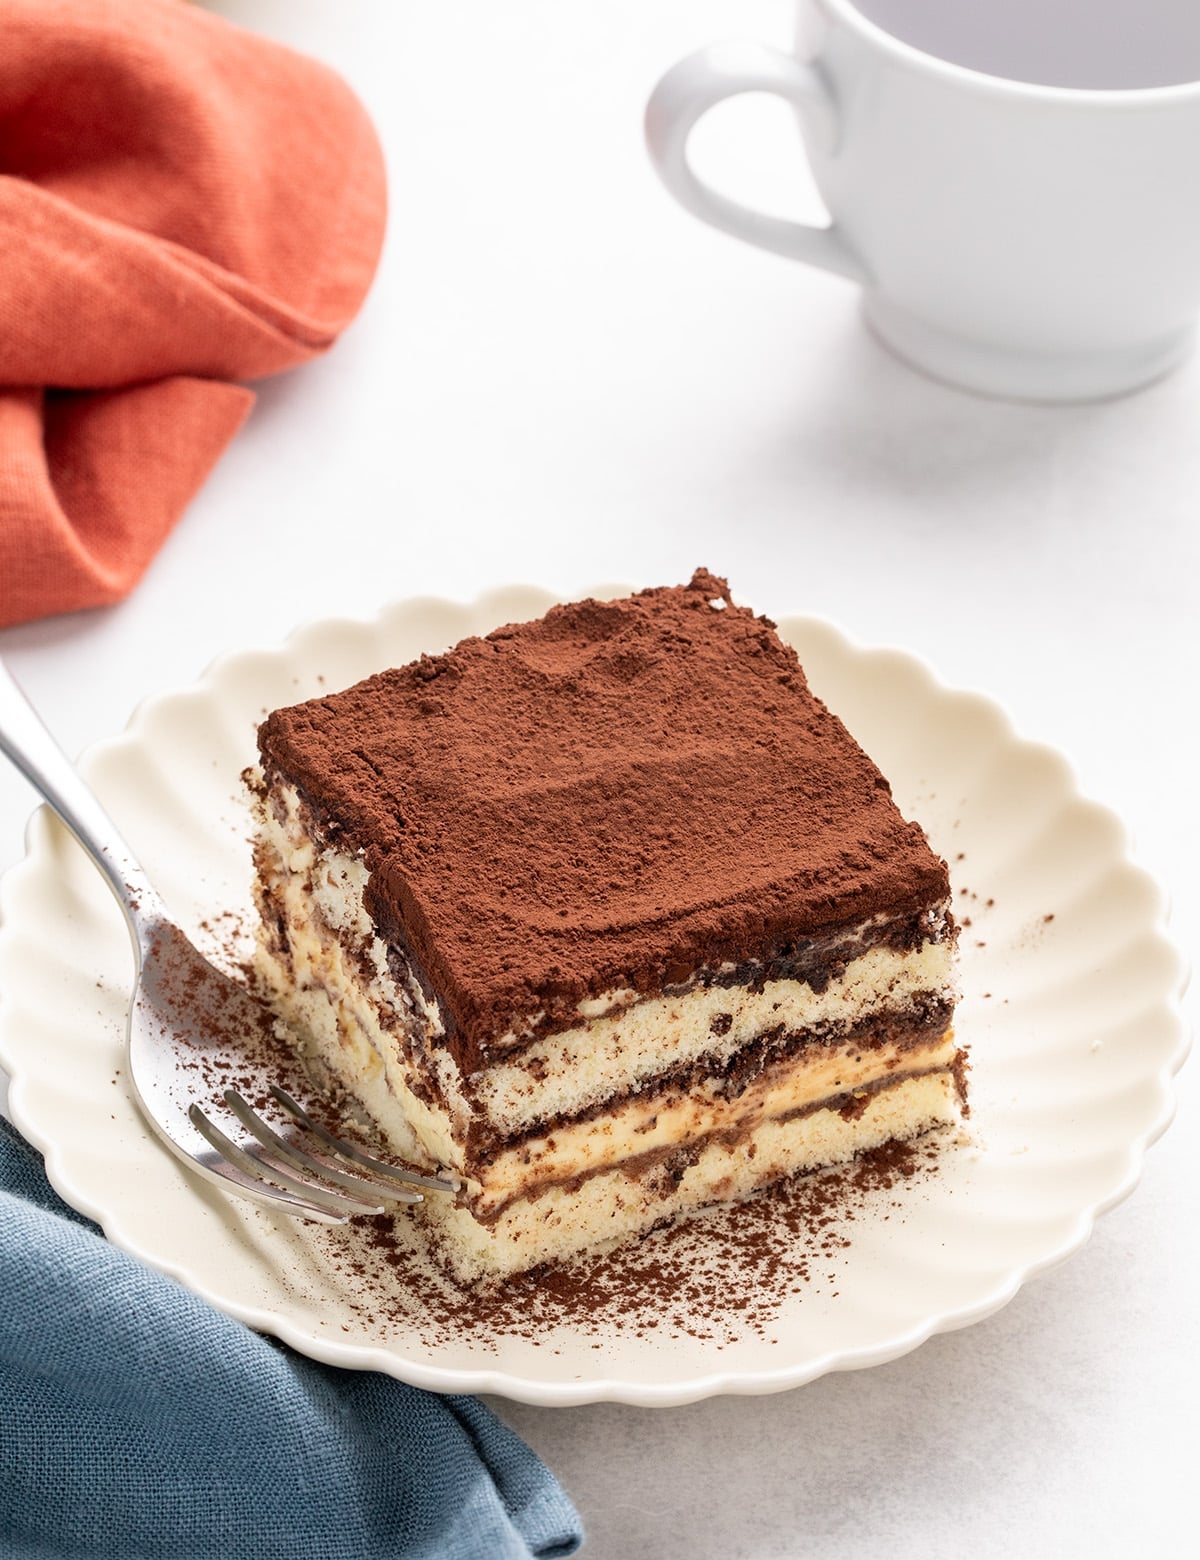
This gluten-free tiramisu masterfully recreates the beloved Italian dessert, featuring a luscious mascarpone filling, rich coffee essence, and the signature delicate texture, all achieved through meticulously crafted gluten-free ladyfingers. The result is an elegant yet accessible dessert, requiring no baking and minimal active preparation. The magic truly unfolds in the layering process, followed by the patient embrace of the refrigerator, which allows the flavors to meld and the dessert to achieve its perfect, sliceable consistency.
The success of this gluten-free rendition lies in a thoughtful approach to texture and flavor. The filling achieves a delightful richness without any heaviness, a testament to the culinary technique employed. By gently cooking the egg yolks, a stable structure is imparted to the mascarpone cream, ensuring the tiramisu sets properly and yields clean, defined slices. This contrasts with traditional recipes where uncooked egg yolks can sometimes lead to a less stable outcome.
A significant challenge in gluten-free baking often revolves around the delicate nature of alternative flours and starches. Gluten-free ladyfingers, in particular, can be more fragile than their conventional counterparts. To address this, a gentler method of moisture infusion has been developed. Instead of a full dip, which could lead to disintegration, the ladyfingers are delicately brushed with the coffee mixture. This technique ensures the desired coffee flavor permeates the biscuits without compromising their structural integrity before they are artfully layered.
The final, crucial stage is the extended chilling period. This is not merely a waiting game; it is an integral part of the dessert’s transformation. During this time, the gluten-free ladyfingers soften, absorbing the rich coffee aroma and flavor, while the mascarpone filling firms to a perfect consistency. The outcome is a dessert that not only mirrors the classic tiramisu in taste and appearance but also stands as a testament to the advancements in gluten-free culinary science.
The Alchemy of Ingredients: Crafting the Gluten-Free Tiramisu
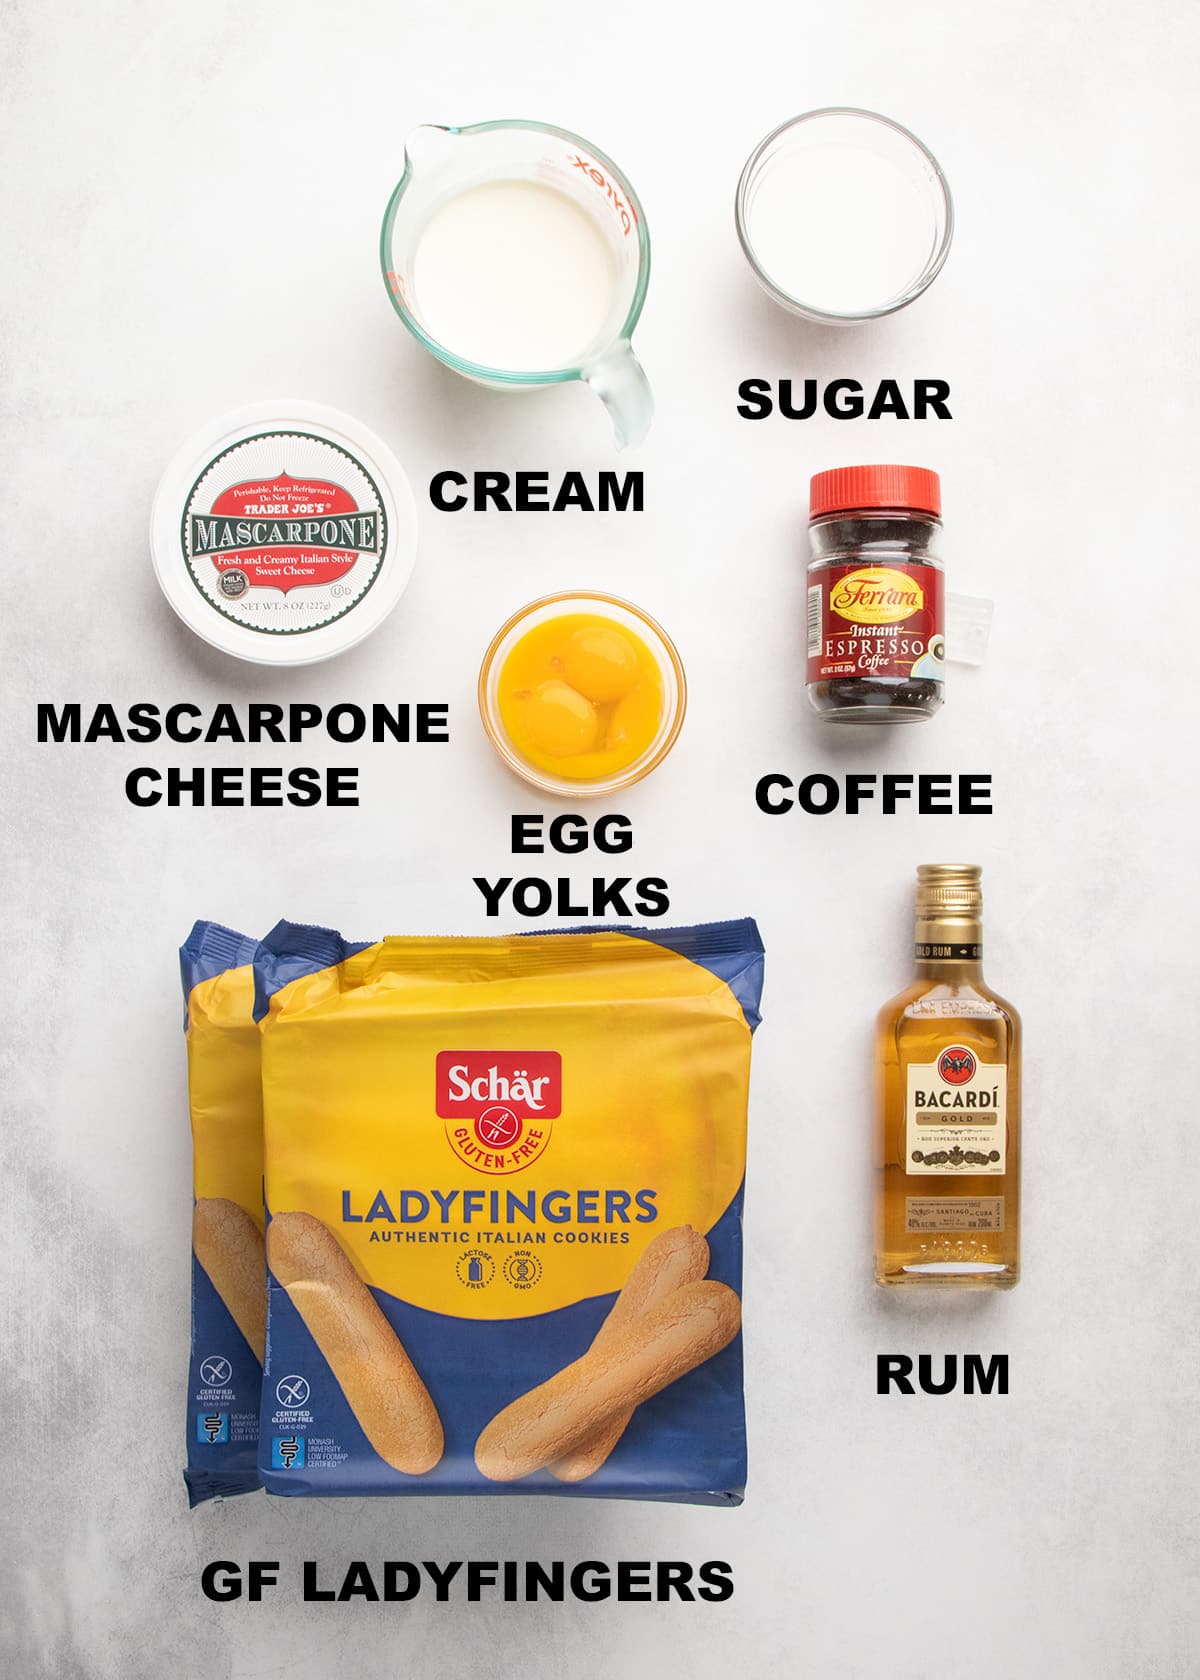
The creation of this sophisticated dessert relies on a curated selection of accessible ingredients. For those seeking to replicate this culinary achievement at home, the following components form the foundation of the gluten-free tiramisu. Precise quantities are detailed in the accompanying recipe card, but understanding the role of each element offers insight into the dessert’s success.

The core of the filling comprises high-quality mascarpone cheese, a rich and creamy Italian cheese that provides the dessert’s characteristic luxuriousness. This is complemented by heavy whipping cream, which, when whipped to perfection, contributes an ethereal lightness to the mascarpone mixture. The egg yolks, when cooked, provide both structure and a subtle richness, while sugar, often superfine or caster sugar for optimal dissolution, lends the requisite sweetness.
The soul of tiramisu is its coffee component. A robust, freshly brewed coffee is essential, often infused with a touch of coffee liqueur or rum for added depth and complexity, though optional for those abstaining from alcohol. The star of the gluten-free show, however, is the gluten-free ladyfinger. These delicate biscuits are specifically designed to absorb liquid without becoming overly mushy, a critical factor in achieving the dessert’s layered integrity. Finally, unsweetened cocoa powder, sifted over the top, provides a visually striking and flavor-balancing finish.
The Art of Preparation: A Step-by-Step Culinary Journey
The creation of this gluten-free tiramisu is a process that rewards patience and attention to detail. Each step is designed to build upon the last, culminating in a dessert that is both visually stunning and deeply satisfying.
1. The Foundation: Cooking the Egg Yolk Base
The initial and perhaps most critical step involves preparing the egg yolk and sugar mixture. To prevent the yolks from curdling, this process is undertaken using indirect heat, typically in a double boiler or a heatproof bowl set over simmering water. The mixture is whisked continuously for approximately two minutes, or until it achieves a pale yellow hue and forms ribbons when lifted from the whisk. The target temperature for this stage is around 170°F (77°C), ensuring the eggs are safely cooked while maintaining their emulsifying properties. This careful heating not only eliminates any risk of salmonella but also thickens the yolks, contributing to the filling’s stability and ability to set.
2. Whipping the Cream: Achieving Airy Perfection
While the egg yolk base cools, the heavy whipping cream is prepared. Using a handheld mixer on a medium-low speed, the cream is whipped for an extended period of eight to ten minutes. This slow, deliberate whipping process is key to developing a stable, voluminous foam that holds its shape exceptionally well, even at room temperature. This resilience is crucial for a dessert that needs to maintain its structure over time.
3. Incorporating the Mascarpone: Building the Creamy Core
Once the egg yolk mixture has cooled, the mascarpone cheese is gently beaten with a small amount of rum, if desired, to loosen its texture. The cooled egg yolk base is then gradually incorporated into the mascarpone. This mixture is beaten for approximately two minutes until it becomes paler and noticeably fluffier, indicating that air has been successfully incorporated. This aeration is vital for the final lightness of the filling.
4. Uniting the Elements: Finishing the Filling
The final stage of filling preparation involves gently folding the whipped cream into the mascarpone and egg yolk mixture. This is done in two batches, using a silicone spatula. The folding motion must be careful and deliberate, ensuring no air is lost from the whipped cream and that the mixture is combined without streaks. Scraping the bottom of the bowl and turning the mixture over gently are essential techniques to maintain the filling’s airy texture. The goal is a homogenous, pale yellow mixture that is light and voluminous.
5. Infusing Flavor: Moistening the Ladyfingers
Given the inherent fragility of gluten-free ladyfingers, a conventional dipping method is not recommended. Instead, a pastry brush is employed to delicately coat the ladyfingers with the coffee and rum mixture. The cookies are brushed on both sides, starting with the bottom. It is crucial to avoid over-saturating the underside, which could render them too fragile to handle. The ladyfingers are then arranged in the serving dish, ensuring minimal gaps between them to create a solid base layer.
6. The First Layer: Building the Tiramisu Structure
A generous portion of the prepared filling, slightly more than half, is spread evenly over the first layer of coffee-moistened ladyfingers. To prevent disturbing the delicate ladyfinger layer, it’s advisable to scatter dollops of the filling around the dish before attempting to spread it evenly.
7. The Second Act: Completing the Layers
A second layer of ladyfingers is prepared and arranged atop the first layer of filling. These are also gently brushed with the coffee mixture. The remaining filling is then spooned over this second layer and spread smoothly to create an even surface. While some might opt to dust with cocoa powder at this stage, it is recommended to defer this until closer to serving to prevent sogginess.
8. The Patience of Chilling: Allowing Flavors to Meld
The assembled tiramisu is then tightly covered with plastic wrap and refrigerated for a minimum of six hours, and ideally up to three days. This crucial chilling period allows the flavors to meld and deepen, the ladyfingers to soften and absorb the coffee essence, and the mascarpone filling to firm up. Without this extended rest, the dessert may be dry, the flavors underdeveloped, and the texture not conducive to clean slicing.
9. The Final Flourish: Dusting with Cocoa
Approximately an hour before serving, the tiramisu is finished with a dusting of unsweetened cocoa powder. A fine-mesh sieve is used to ensure an even and delicate coating. This step not only adds a visually appealing contrast but also introduces a subtle bitterness that balances the sweetness of the dessert. For an added touch of decadence, chocolate shavings can be incorporated with the cocoa powder.
10. Presentation: Slicing and Serving
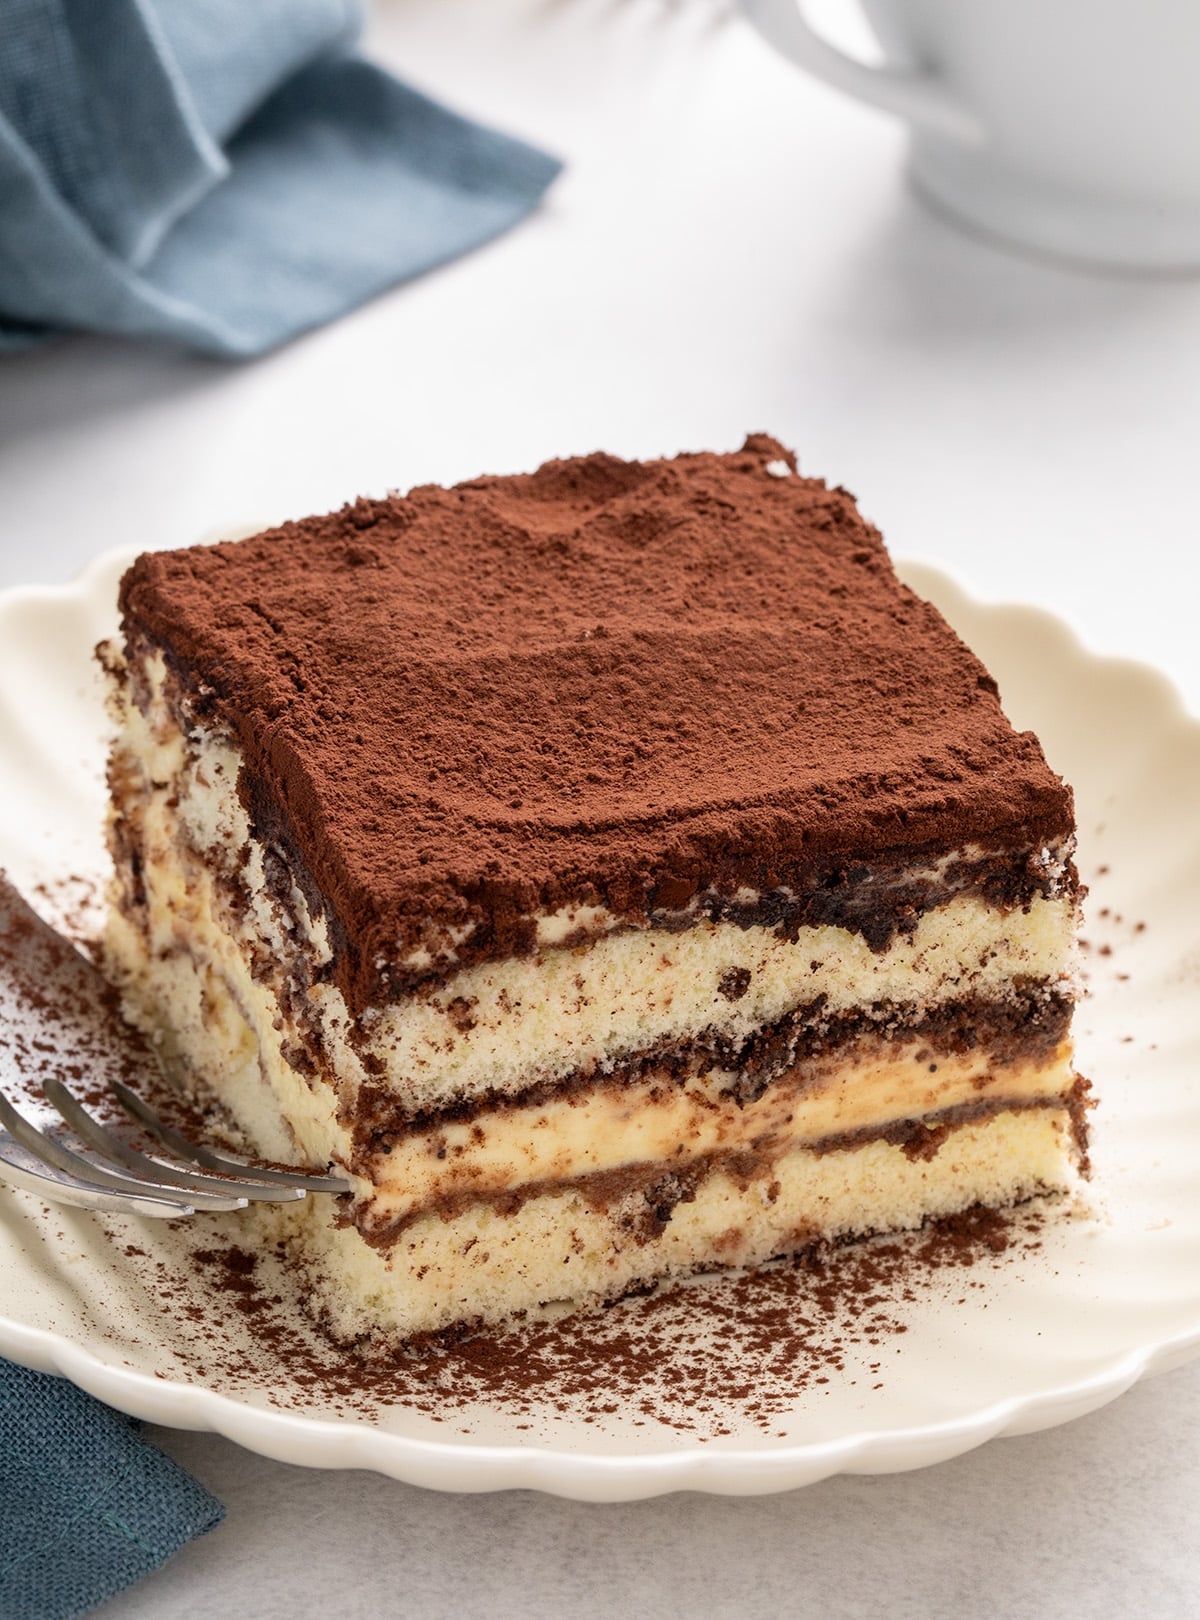
Serving this masterpiece requires a sharp knife or a metal bench scraper for clean cuts. The tiramisu is typically divided into nine equal portions. Using a small metal spatula to lift the first piece can be a delicate operation, as the initial slices may exhibit some slight compression. However, subsequent slices tend to be more pristine and visually appealing.
Expert Insights: Elevating Your Gluten-Free Tiramisu
The journey to the perfect gluten-free tiramisu is illuminated by a few key insights from culinary experts, designed to navigate common challenges and ensure optimal results.
The Delicate Dance of Ladyfingers
A recurring theme in gluten-free baking is the inherent difference in texture and absorbency compared to traditional wheat-based products. When attempting to dip gluten-free ladyfingers, such as the Schar brand commonly available, into a liquid mixture, they are prone to disintegration. This observation led to the development of the brushing technique, which provides controlled moisture without overwhelming the delicate structure of the cookies. This method ensures that each ladyfinger contributes to the overall integrity of the dessert.
The Science of the Egg Yolk
The culinary world has long understood the importance of properly preparing eggs in desserts. For tiramisu, cooking the egg yolks to a minimum of 160°F (71°C) is paramount for food safety, eliminating the risk associated with consuming raw eggs. However, cooking them further, to around 175°F (79°C), significantly enhances their thickening properties. This increased viscosity is crucial for creating a filling that sets firmly, allowing for clean slicing. Furthermore, allowing these cooked yolks to cool completely before incorporating them into the mascarpone or whipped cream prevents the fats from melting, which would otherwise result in a filling that never achieves the desired consistency.
Navigating Ingredient Variations: Adaptations for Dietary Needs
While this recipe is a triumph for gluten-free diners, it also offers considerations for those with other dietary restrictions.
Embracing Dairy-Free Alternatives
For individuals avoiding dairy, adaptations are possible. Dairy-free cream cheese alternatives, often softer and less dense than their dairy counterparts, can serve as a viable substitute for mascarpone. However, it is important to note that the flavor profile will vary depending on the brand and ingredients used. Similarly, dairy-free whipping creams, such as those made from soy or coconut, can be used in place of traditional heavy whipping cream. Coconut cream, in particular, when chilled, can offer a rich and stable alternative.
The Egg-Free Conundrum
Replacing the egg yolks in this recipe presents a more significant challenge, as they play a dual role in providing structure and emulsification. While a direct replacement is not recommended, an alternative approach could involve using a high-quality custard powder, such as Baird’s brand. Preparing the custard according to package directions and then incorporating it with mascarpone and whipped cream may yield a satisfactory filling. However, it is important to note that Schar ladyfingers contain eggs. For an entirely egg-free version, consider substituting gluten-free graham crackers, which are generally more robust and can withstand a more traditional dipping method in the coffee mixture.
Ladyfinger Alternatives
For those who find gluten-free ladyfingers elusive or prefer a different texture, gluten-free graham crackers present a readily available alternative. These crackers, while sturdy, benefit from being dipped directly into the coffee mixture, as opposed to being brushed, to ensure adequate moisture absorption. This substitution can offer a slightly different, yet still delightful, textural experience to the classic tiramisu.
Preserving the Perfection: Storage and Longevity
The careful preparation of this gluten-free tiramisu is rewarded with excellent keeping qualities when stored correctly. When wrapped tightly, either in its serving dish or a dedicated storage container, the tiramisu can be refrigerated for up to three days. It is advisable to add the cocoa powder dusting just before serving, as it can absorb moisture from the filling and become soggy if added too early. Freezing this dessert is generally not recommended, as the mascarpone filling can separate upon thawing, and the liquid-soaked ladyfingers are prone to developing an icy texture.
The journey from a traditional Italian dessert to a meticulously crafted gluten-free rendition is a testament to culinary innovation and the growing accessibility of high-quality gluten-free ingredients. This recipe not only caters to those with gluten sensitivities but also offers a sophisticated and deeply satisfying dessert experience for all palates.
