

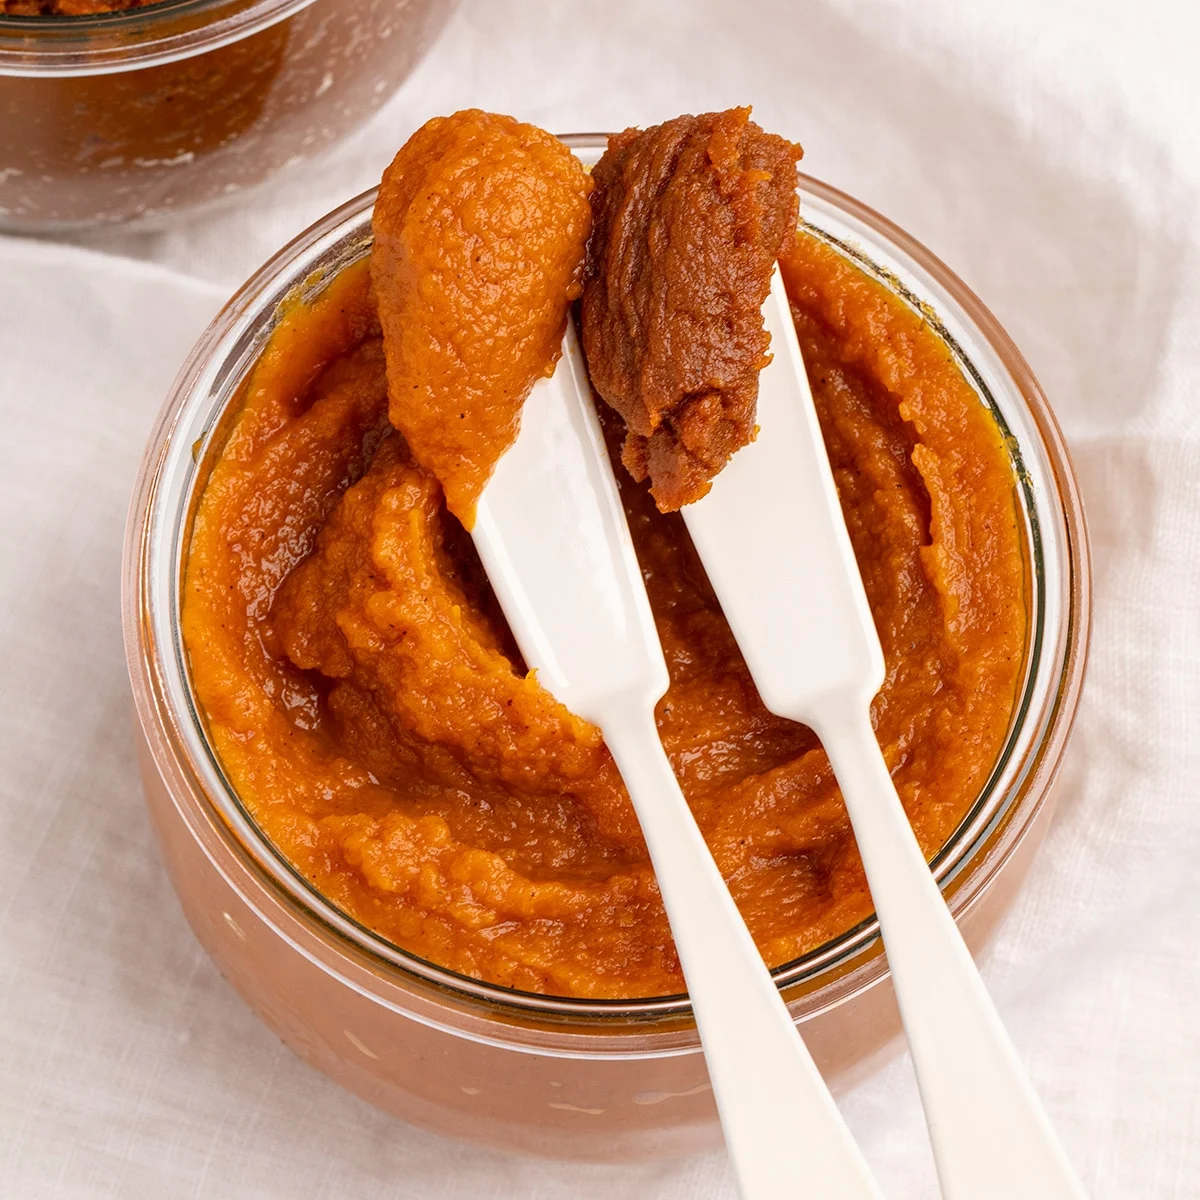
This pumpkin butter recipe concentrates pumpkin puree into a smooth, richly spiced spread with deeper pumpkin flavor and much less moisture. Cook it until thick and spreadable for toast and pancakes, or reduce it further for baking for plenty of pumpkin flavor without making baked goods overly soft or cakey.
The Art of Concentrating Autumn’s Essence
At its core, this pumpkin butter recipe is a testament to the power of slow cooking and ingredient synergy. By simmering pumpkin puree with apple cider, maple syrup, and a warming blend of spices, the natural sweetness and earthy notes of the pumpkin are amplified. The process of evaporation is key; as excess moisture is released, the mixture thickens, its color deepens to a rich amber, and its flavor profile intensifies, creating a truly concentrated essence of autumn.
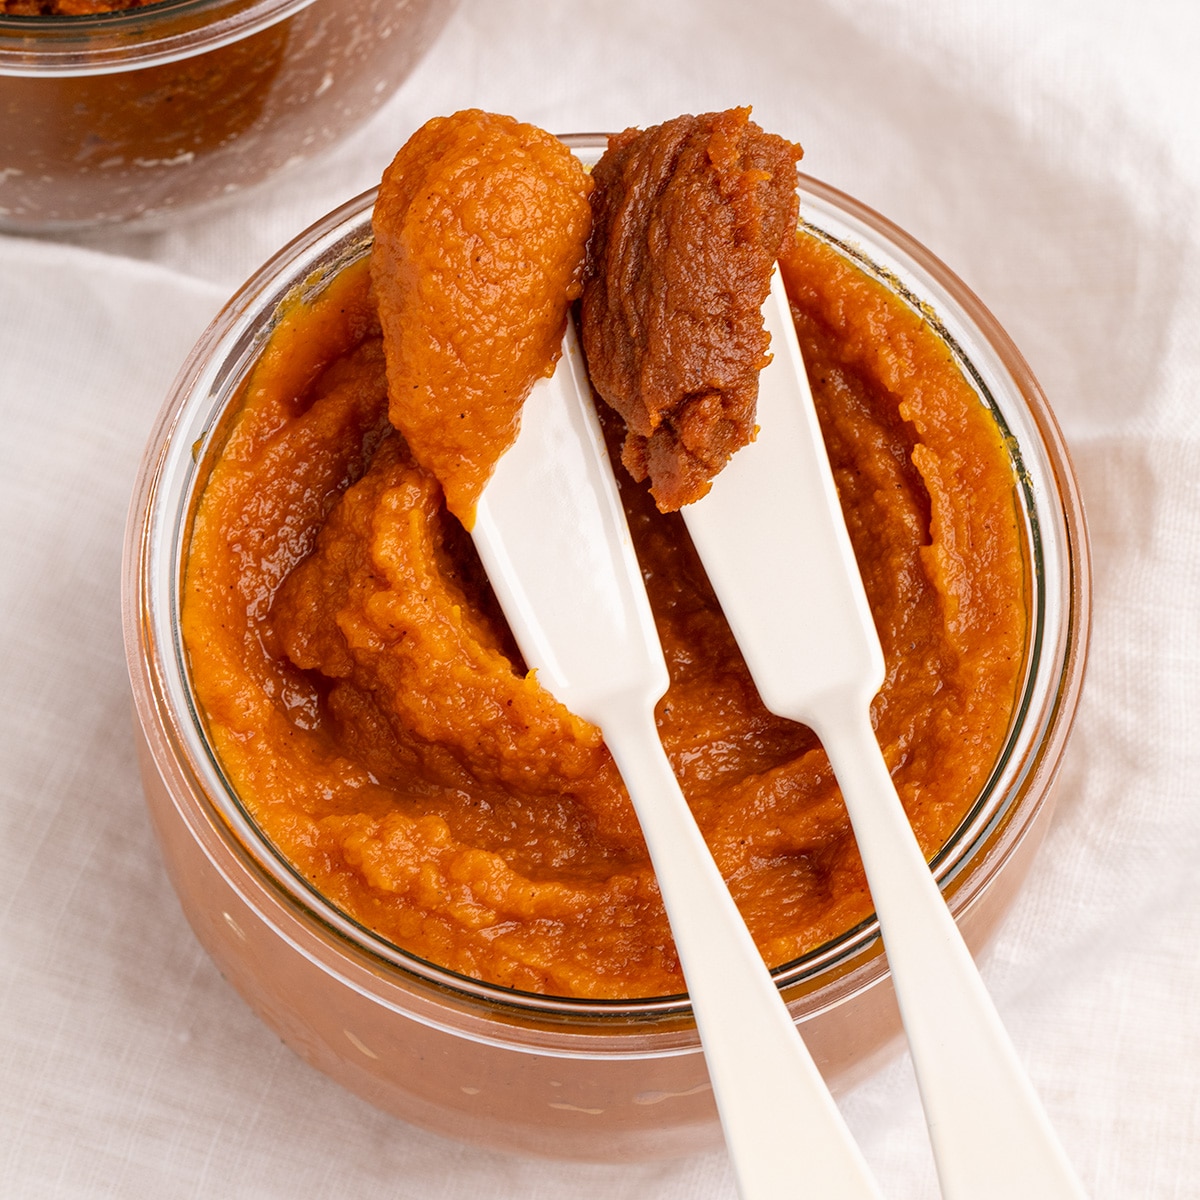
The versatility of this recipe lies in its adaptability to different culinary applications. Depending on the desired outcome, the cooking time can be adjusted. A slightly less reduced mixture, retaining some of its moisture, yields a smooth, spreadable pumpkin butter perfect for slathering on toast, pancakes, or waffles. For bakers, further reduction is crucial. Standard pumpkin puree, while flavorful, introduces significant moisture into baked goods, which can lead to unintended softness or a cakey texture. Pumpkin butter, however, delivers robust pumpkin flavor without this excess liquid, ensuring baked creations maintain their desired structure and chew. This distinction is particularly valuable for gluten-free baking, where moisture control can be a delicate balance.
The Science Behind the Flavor: Evaporation and Concentration
The culinary transformation of pumpkin puree into pumpkin butter is a process rooted in basic food science. Pumpkin, when pureed, is largely water. The addition of apple cider or juice introduces more liquid, while maple syrup and spices contribute sweetness and aromatic complexity. The slow cooking process over medium-low heat allows for controlled evaporation. This gradual removal of water has several effects:
- Flavor Intensification: As the water content decreases, the sugars and flavor compounds become more concentrated, leading to a richer, more profound pumpkin taste.
- Texture Modification: The reduction process transforms the initially liquid puree into a viscous, spreadable, or even paste-like consistency.
- Preservation Potential: Lower moisture content, coupled with high sugar levels, contributes to a longer shelf life compared to plain pumpkin puree.
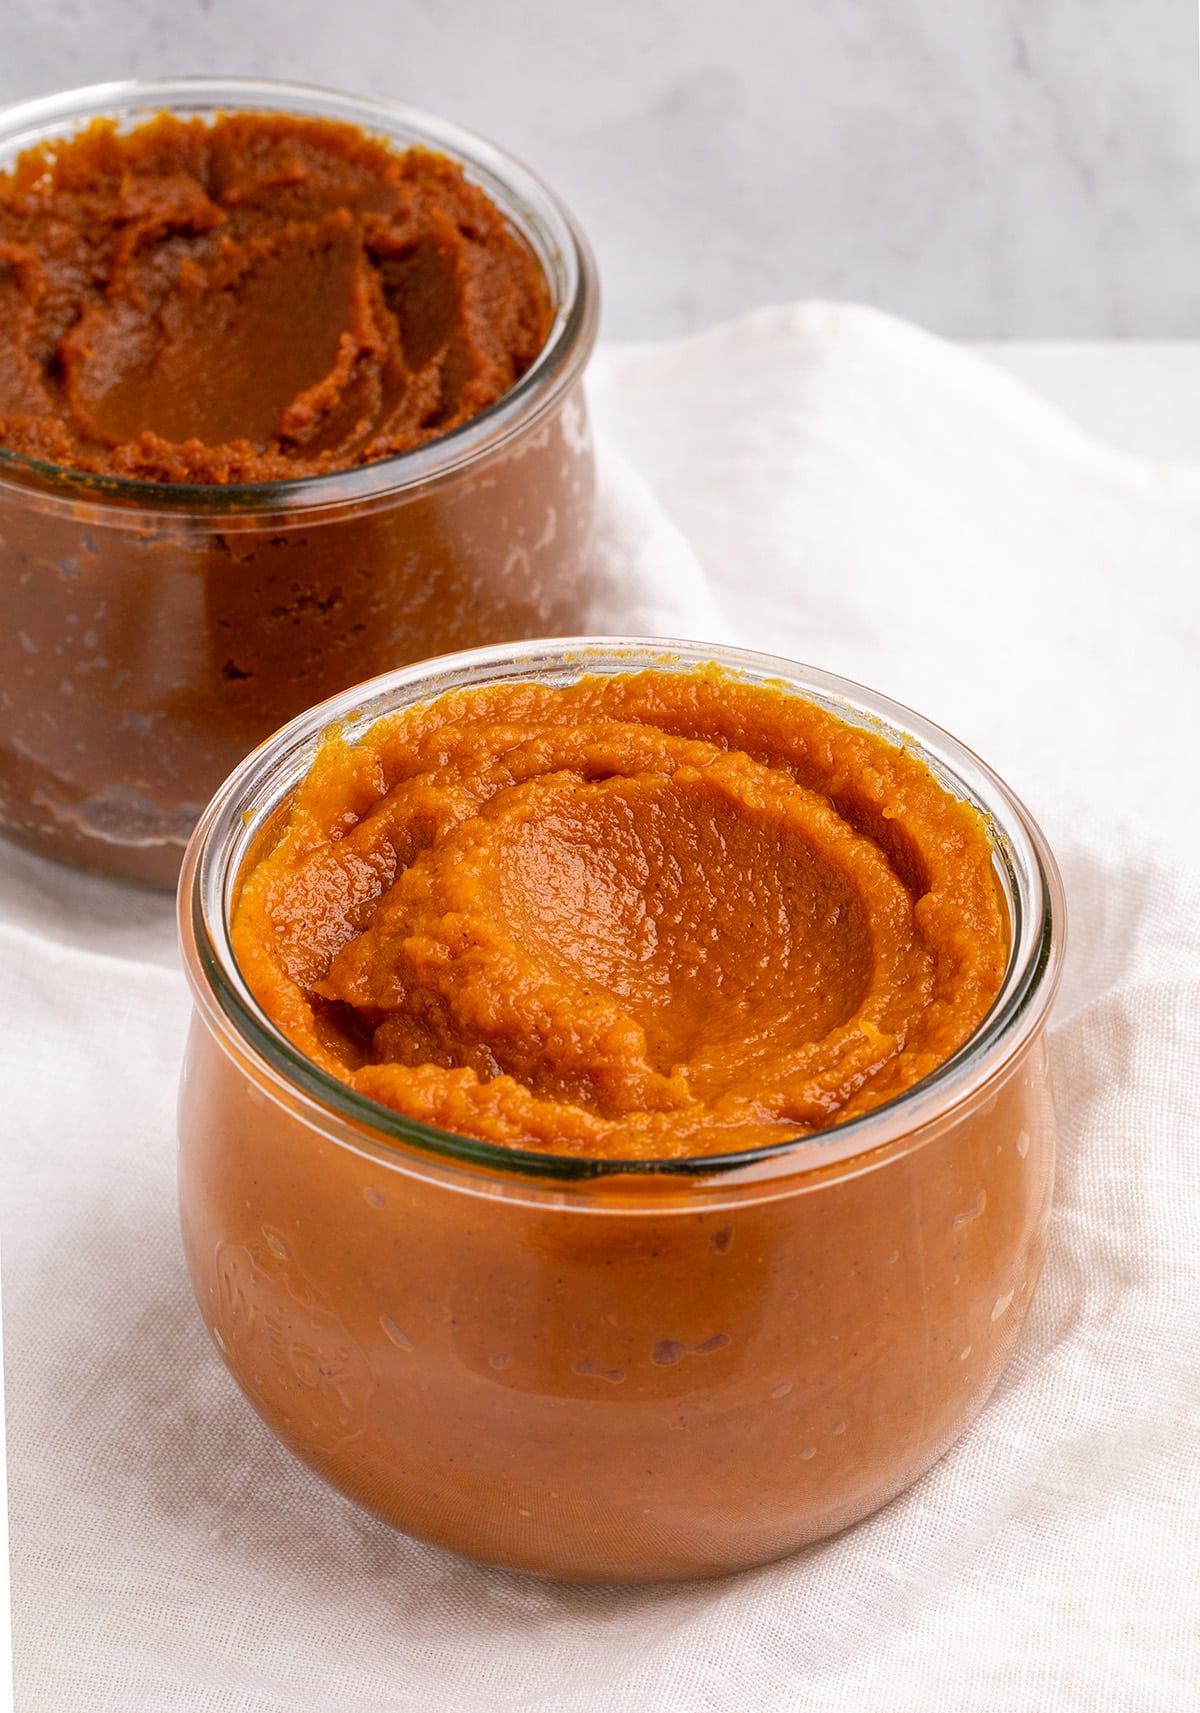
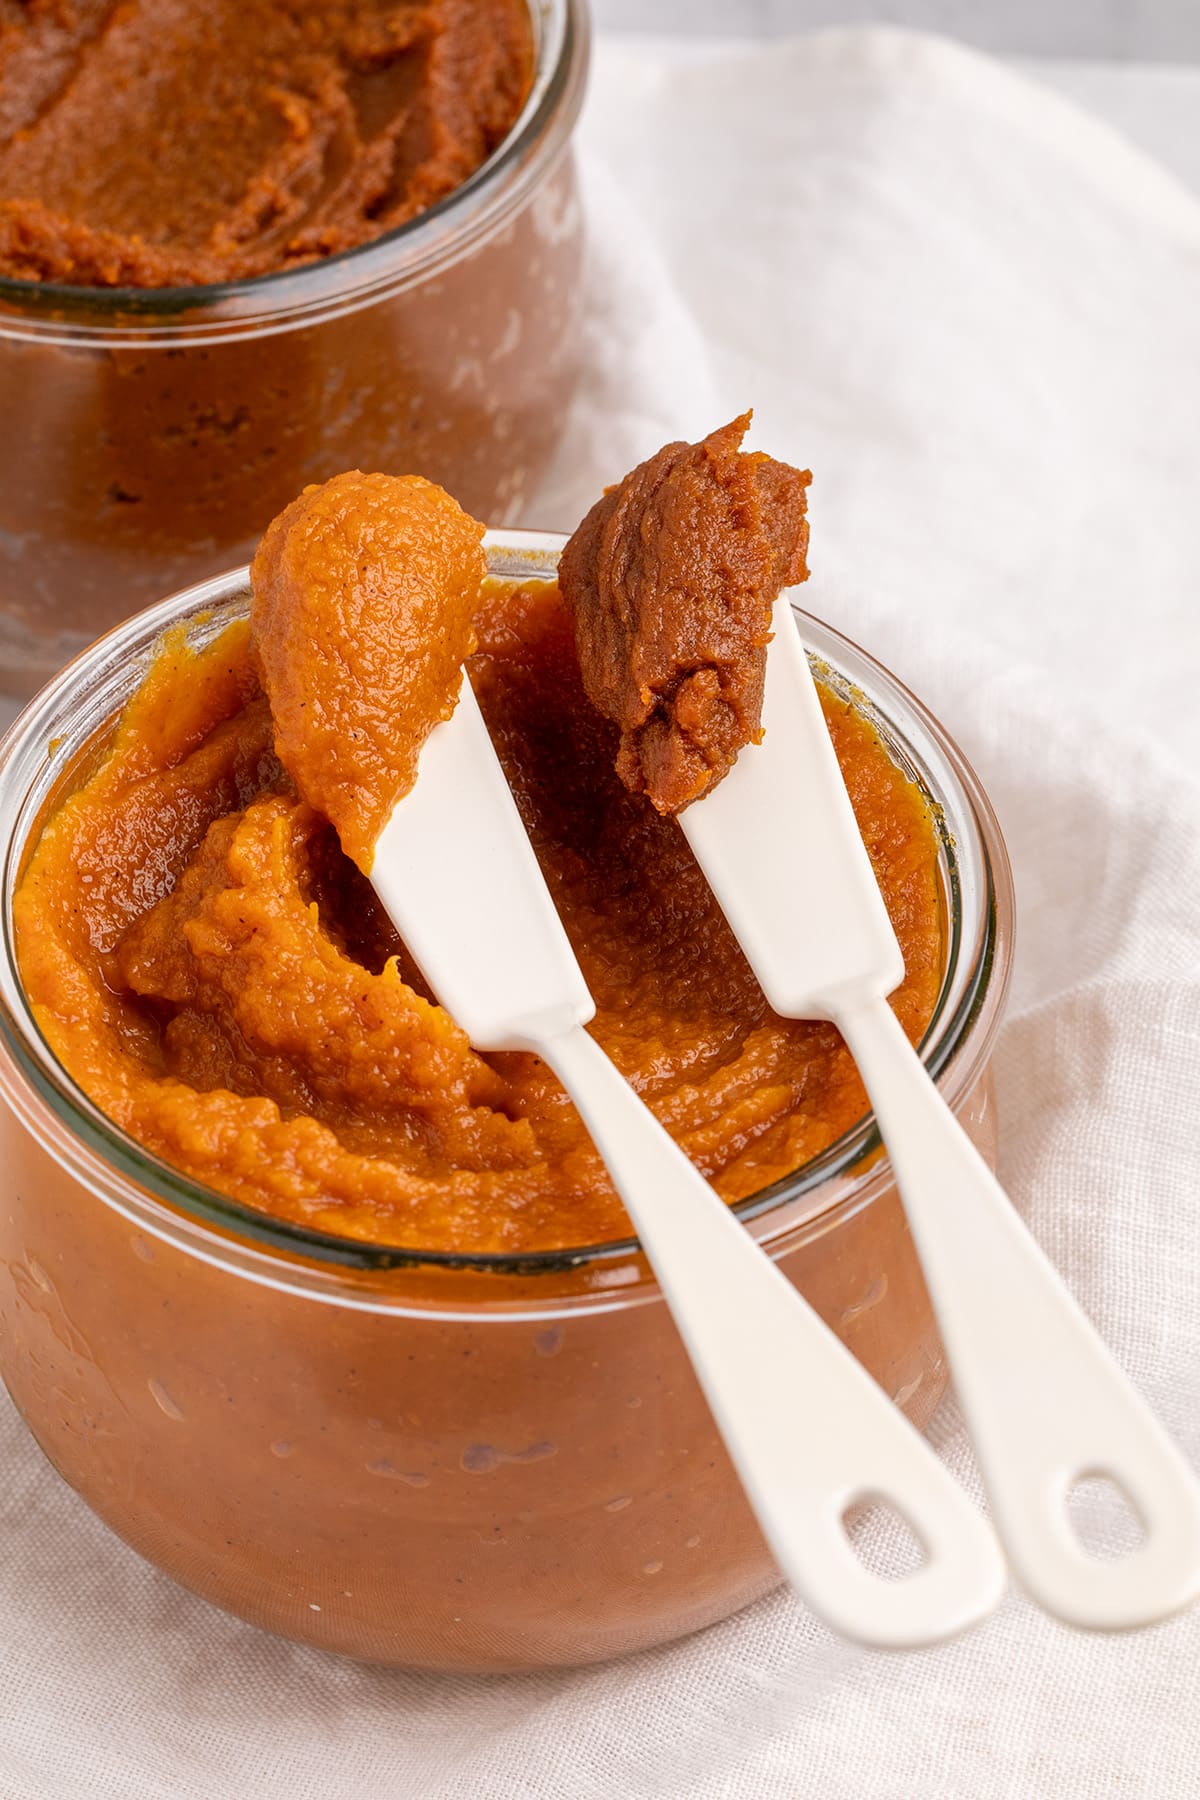
The decision to stop cooking at a particular point directly dictates the final product’s usability. A still-glistening, spreadable consistency is ideal for immediate enjoyment as a condiment. A darker, thicker, and drier texture is best suited for incorporation into batters and doughs, where its concentrated flavor can shine without compromising the structure of the final baked item.
Crafting the Perfect Pumpkin Butter: Key Ingredients and Their Roles
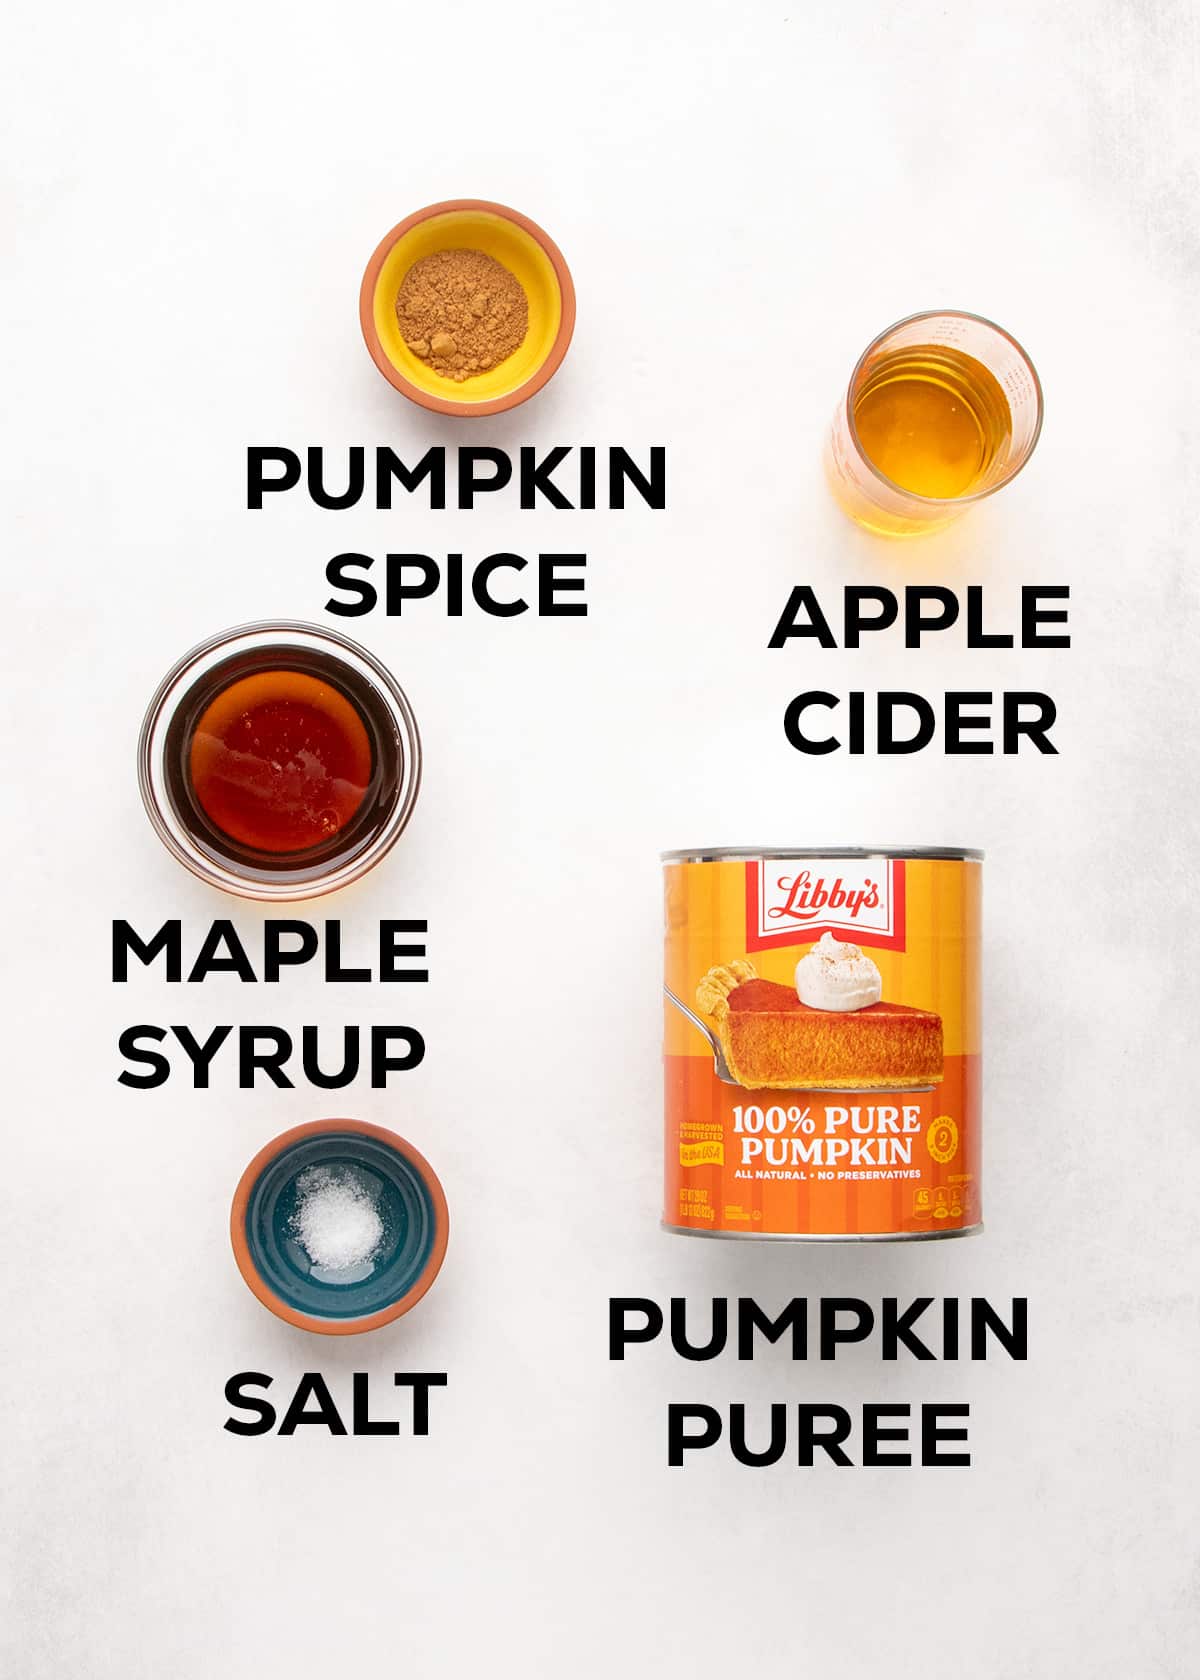
The success of this pumpkin butter recipe hinges on the quality and interaction of its core ingredients:
- Pumpkin Puree: The foundation of the recipe. While canned pumpkin puree is convenient, using fresh, roasted pumpkin offers a superior depth of flavor. Small sugar pumpkins or pie pumpkins are ideal due to their dense flesh and sweet, mild flavor. Roasting brings out their natural sugars and reduces initial moisture content.
- Apple Cider or Juice: This liquid component adds a subtle fruity tartness that complements the sweetness of the pumpkin and maple syrup. It also provides the necessary liquid for simmering and aids in the evaporation process. Apple cider, with its richer flavor, is often preferred over apple juice.
- Maple Syrup: A natural sweetener that imparts a distinct caramel-like depth and a smooth texture. It also contributes to the preservation of the pumpkin butter.
- Pumpkin Pie Spice: This aromatic blend, typically containing cinnamon, ginger, nutmeg, and cloves, is crucial for evoking the quintessential flavors of fall. The balance of these spices can be adjusted to personal preference.
- Brown Sugar (Optional): For those seeking an extra layer of sweetness and a slightly different caramelization, brown sugar can be added during the cooking process. It is often incorporated later to prevent premature burning.
- Salt: A small amount of salt enhances all the other flavors, balancing the sweetness and bringing out the full complexity of the pumpkin and spices.
Ingredient Substitutions: Adapting to Availability
While the recipe is designed with specific ingredients, several substitutions can be made to accommodate dietary needs or ingredient availability:
- Pumpkin Puree: If sugar pumpkins are unavailable, other winter squash varieties can be used. Butternut squash is a good alternative, though its color may be less vibrant. Kabocha squash, known for its sweetness and fragrant notes, is also an excellent substitute. It is important to use a starchy winter squash with a similar texture to pumpkin; varieties like acorn or spaghetti squash are generally not recommended due to flavor or texture differences.
- Maple Syrup: Honey can be used as a substitute, but its thicker consistency and more pronounced flavor require adjustment. Coconut palm sugar is another option, though additional cider may be needed to compensate for the lack of inherent moisture.
- Apple Cider/Apple Juice: Pineapple juice offers a pleasant tanginess that complements pumpkin well. White grape juice is a milder alternative if pineapple is not desired.
The Process: From Pot to Perfection
The creation of pumpkin butter is a straightforward, albeit time-consuming, process that can be broken down into distinct stages:
Step 1: Combining the Core Ingredients
Begin by combining the pumpkin puree, maple syrup, apple cider or juice, pumpkin pie spice, and salt in a large, heavy-bottomed pot. A heavy-bottomed pot is essential to ensure even heat distribution and prevent scorching. Stirring thoroughly at this stage is crucial for uniform flavor and texture throughout the final product.
Step 2: The Initial Reduction
Cook the mixture over medium-low heat, stirring frequently, for approximately 15 minutes. This initial cooking period begins the evaporation of moisture, roughly halving the liquid content and allowing the flavors to meld and concentrate. Frequent stirring is vital to prevent splattering and potential burns, as the mixture will start to bubble and thicken.
Step 3: Incorporating Optional Sweeteners and Continued Cooking
If a sweeter, more complex flavor is desired, brown sugar can be added at this stage. Stir until it is fully dissolved. The cooking process continues for another 5 to 15 minutes, or until the desired thickness is achieved. The longer the mixture simmers, the more moisture will evaporate, leading to a thicker, more concentrated butter. It is important to continue stirring to prevent the mixture from burning. The heat can be lowered to slow down the evaporation process if needed.
Step 4: Achieving the Desired Consistency
The final cooking stage is where the pumpkin butter is tailored to its intended use:
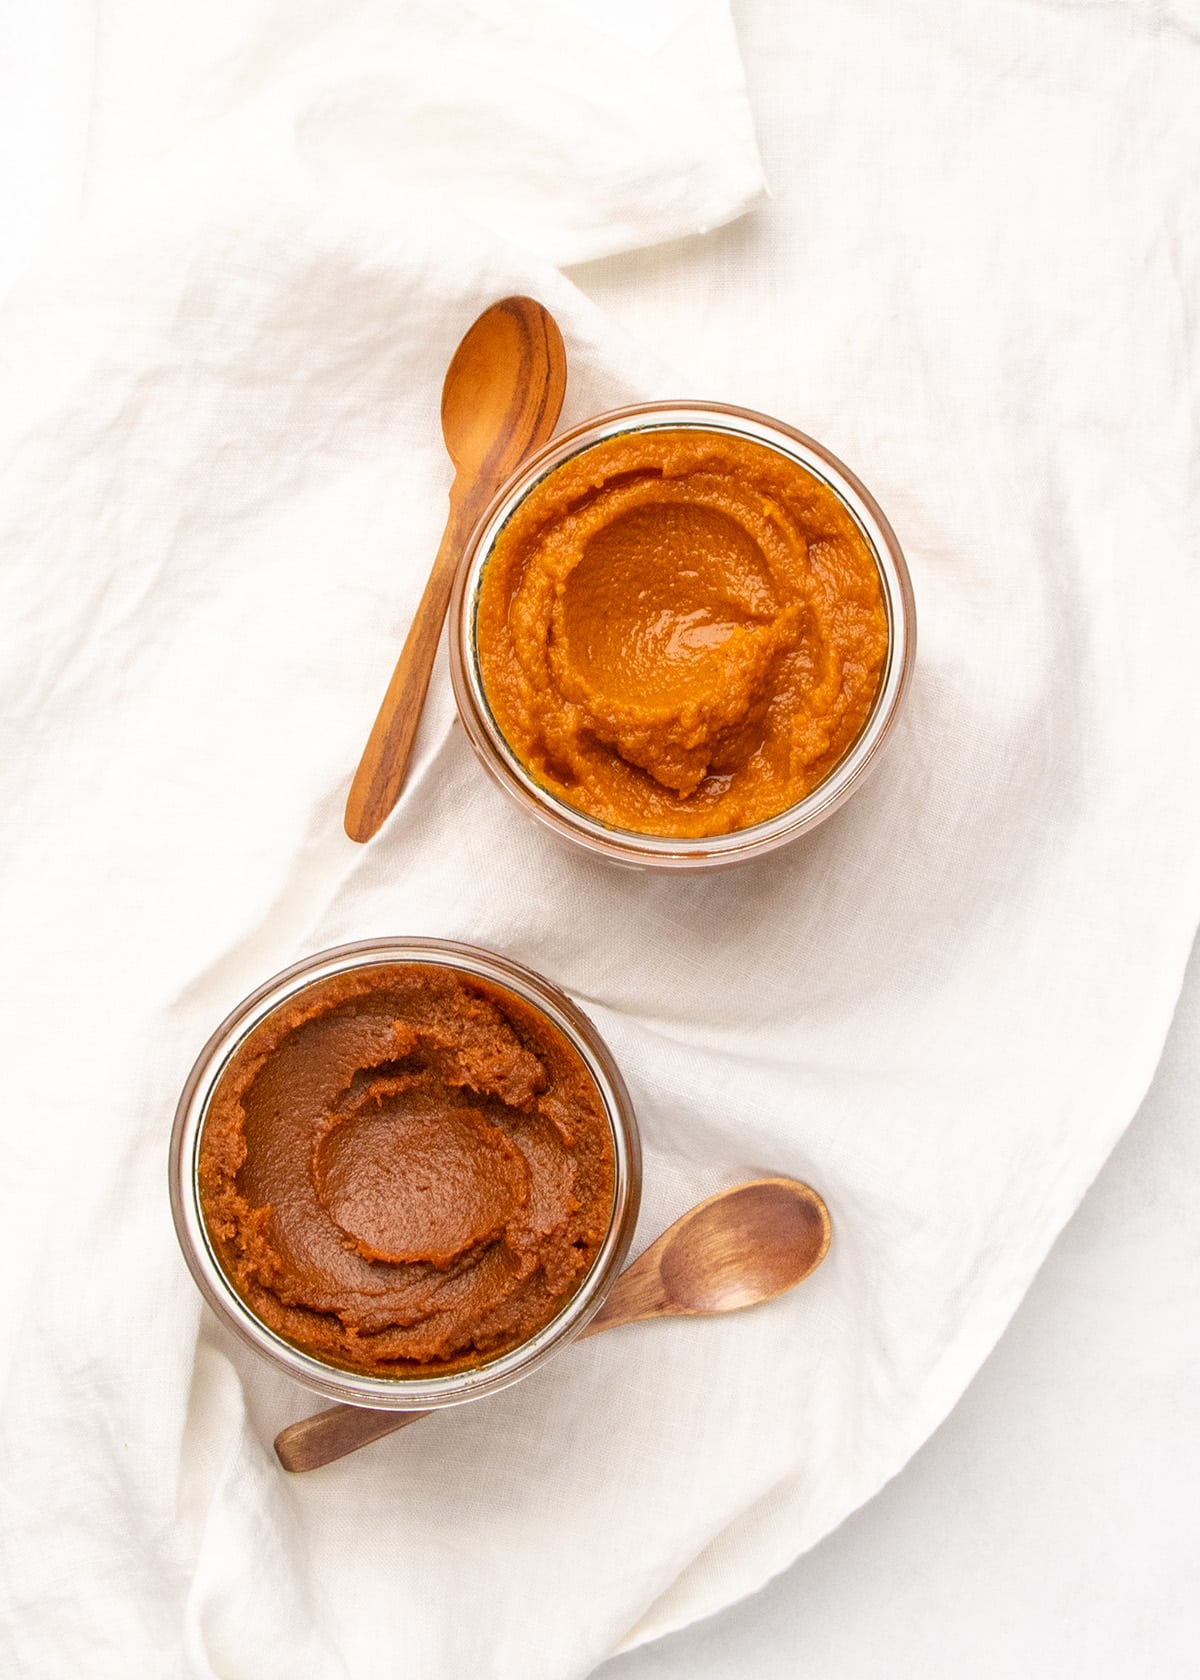
- For Spreading and Topping: Cook the mixture until it has a glossy sheen and a smooth, spreadable consistency, as seen in Stage 5. If the butter becomes too thick or develops a slightly bitter taste, a small amount of additional apple cider or juice can be slowly stirred in to adjust the texture and flavor.
- For Baking: Continue cooking until the mixture is significantly thicker, with no visible surface moisture, and has developed a deeper, dark orange-brown hue. This concentrated form provides intense pumpkin flavor without adding excess liquid, which is beneficial for maintaining the desired texture in baked goods.
Beyond the Can: Roasting Your Own Pumpkin
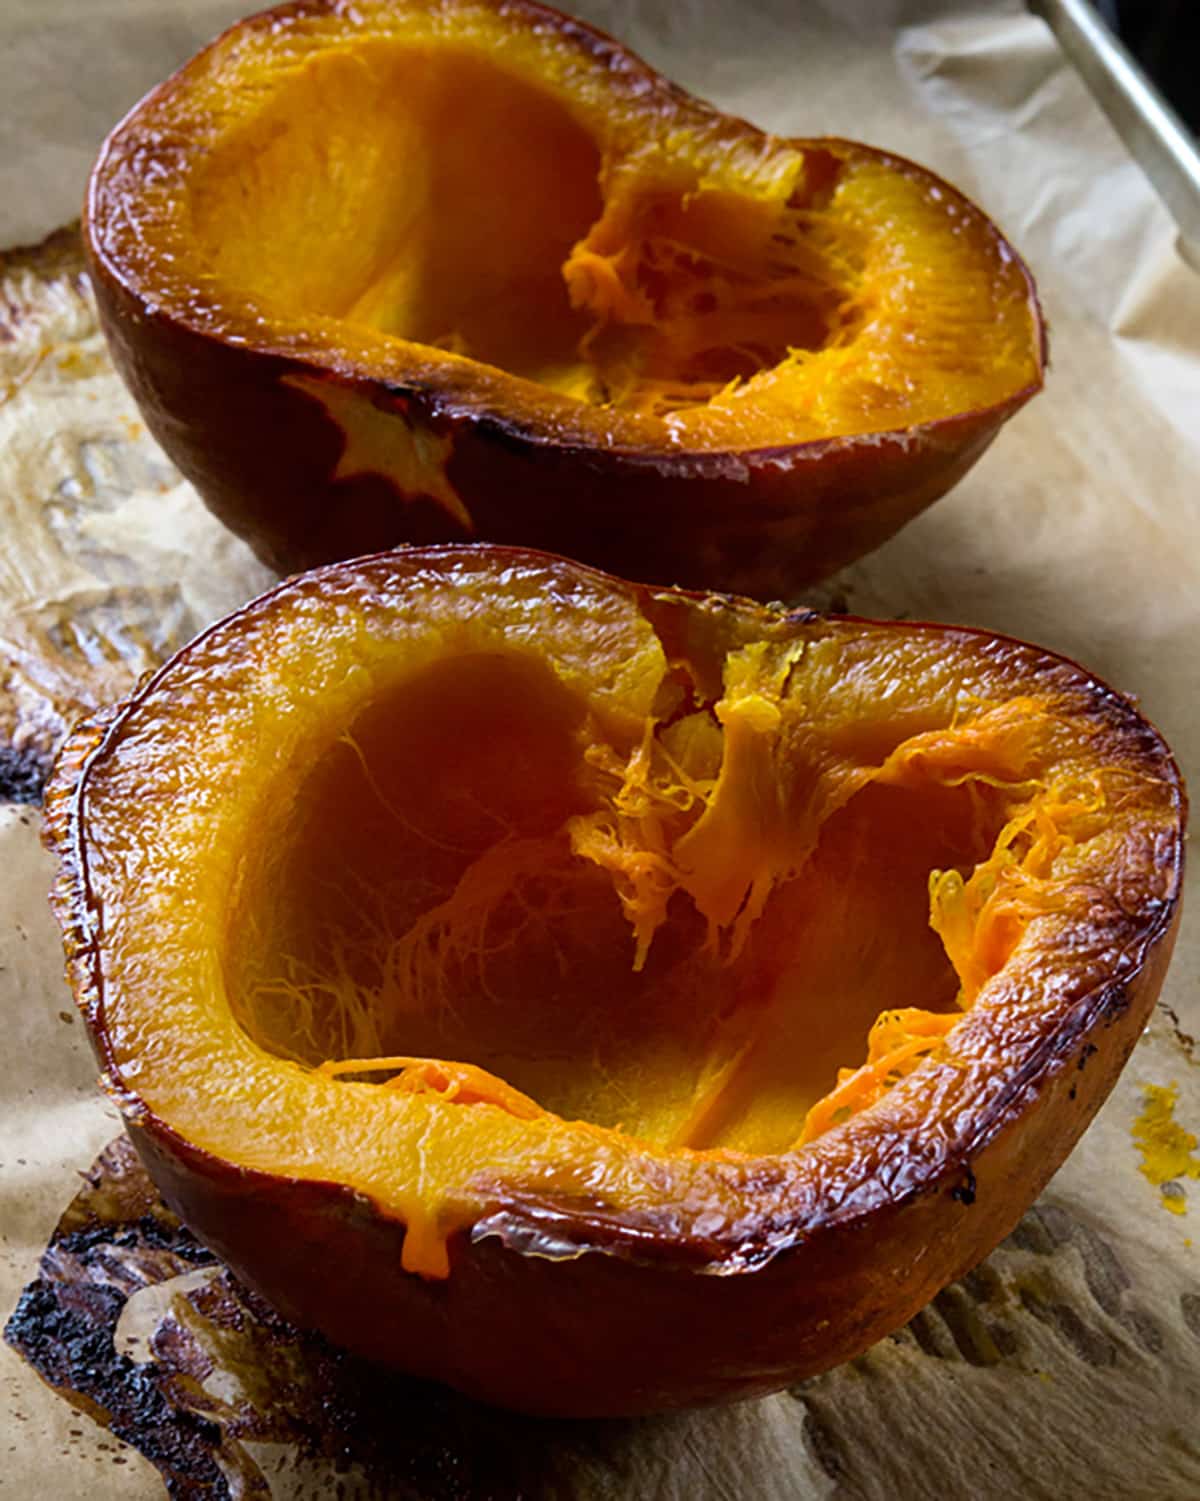
For those seeking the most authentic and flavorful pumpkin butter, starting with a whole pumpkin is a rewarding alternative. Small sugar pumpkins or pie pumpkins are readily available during the fall season and are ideal for roasting.
To roast a pumpkin:
- Preheat your oven to 375°F (190°C).
- Wash the pumpkin and slice it in half.
- Scoop out the seeds and stringy pulp. (These seeds can be roasted separately for a delicious snack – see recipe notes for instructions.)
- Pierce the flesh of each pumpkin half with a fork.
- Place the pumpkin halves cut-side down on a baking sheet lined with parchment paper. This prevents the flesh from drying out.
- Roast for 45-60 minutes, or until the flesh is tender when pierced with a knife.
- Allow the pumpkin to cool slightly, then scoop out the roasted flesh and puree it in a food processor or blender until smooth.
This method not only yields superior flavor but also allows for the utilization of the entire pumpkin.

Storage and Safety Considerations
Proper storage is essential to maintain the quality and safety of homemade pumpkin butter. Due to its reduced moisture content and high sugar concentration, pumpkin butter can be stored in an airtight glass container in the refrigerator for approximately two weeks.
For longer-term storage, freezing is a highly recommended method. Freezing the pumpkin butter in an ice cube tray allows for easy portioning; once frozen, the cubes can be transferred to a sealed freezer-safe bag for convenient thawing of only the amount needed.
It is crucial to note that homemade pumpkin butter is not suitable for canning using standard shelf-stable methods. The U.S. Department of Agriculture (USDA) guidelines for safe home canning require foods to be sufficiently acidic to prevent the growth of Clostridium botulinum, the bacteria responsible for botulism. Pumpkin butter, due to its relatively low acidity, does not meet these requirements. Attempting to can it without proper acidification can lead to serious health risks.
Beyond the Spread: Culinary Applications of Pumpkin Butter
Once you have a batch of this delicious homemade pumpkin butter, the culinary possibilities are vast. Its concentrated flavor and reduced moisture content make it an exceptional ingredient in a variety of recipes:
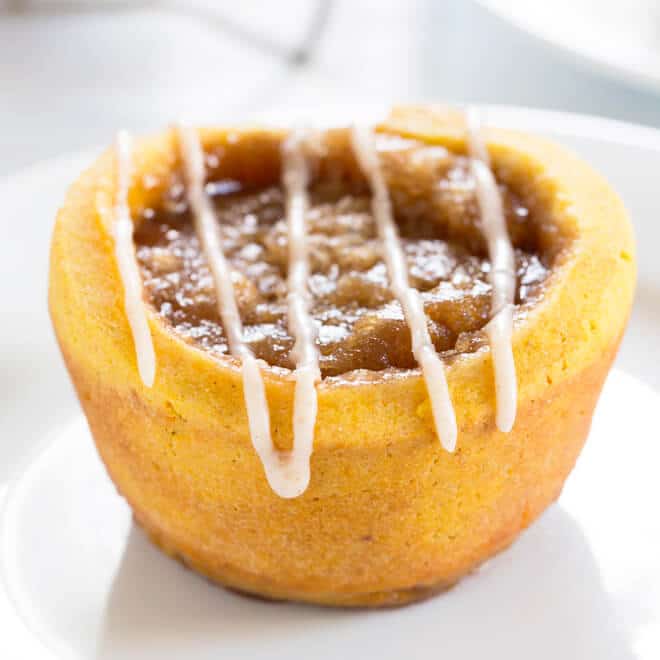
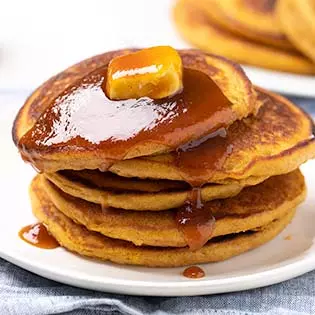
- Gluten-Free Pumpkin Pancakes: Incorporating pumpkin butter into pancake batter adds a delightful fall flavor and a tender texture.
- Gluten-Free Pumpkin Cornbread: A touch of pumpkin butter elevates cornbread, making it moist, flavorful, and perfectly suited for autumn gatherings.
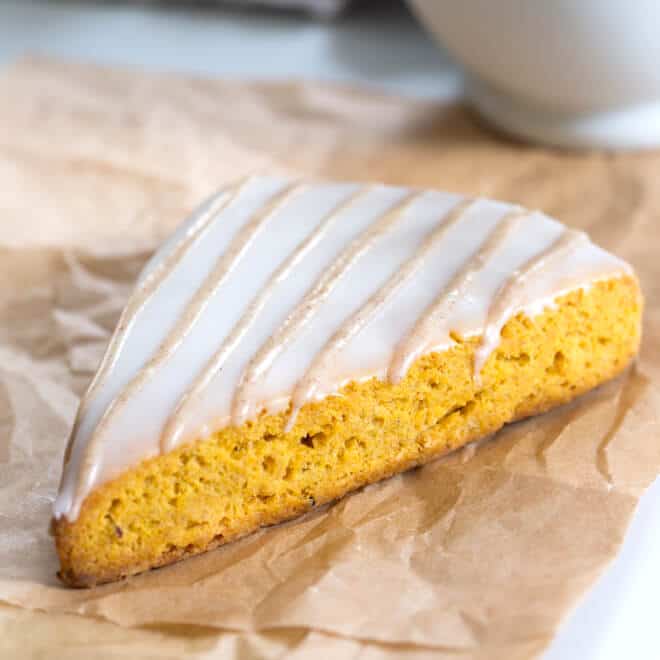
- Gluten-Free Pumpkin Scones: The rich flavor of pumpkin butter adds depth and moisture to scones, creating a more satisfying pastry.
- Gluten-Free Pumpkin Cinnamon Rolls: Pumpkin butter can replace some of the liquid and fat in cinnamon roll recipes, infusing them with warm spice and reducing the need for excess moisture.
- Gluten-Free Pumpkin Oatmeal Cookies: Adding pumpkin butter to cookie dough provides a chewy texture and a distinct pumpkin flavor.
- Gluten-Free Pumpkin Chocolate Chip Squares: This versatile ingredient can transform simple baked squares into a festive, flavorful treat.
Where to Find Commercially Produced Pumpkin Butter
For those who prefer to purchase pumpkin butter, several reputable brands offer gluten-free options. Trader Joe’s typically stocks a popular pumpkin butter during the fall and holiday seasons. Other brands known for quality include Green Jay Gourmet and Stonewall Kitchen’s Maple Pumpkin Butter. When selecting a store-bought product, it is essential to verify that it is indeed a fruit butter and not a nut butter with pumpkin flavoring.
Conclusion: Embracing the Essence of Autumn
This homemade pumpkin butter recipe offers a deeply flavorful and versatile way to capture the essence of autumn. By understanding the principles of concentration and evaporation, and by utilizing high-quality ingredients, home cooks can create a pantry staple that elevates a wide array of dishes. Whether spread on morning toast or incorporated into a beloved baked good, this rich, spiced pumpkin butter is a testament to the simple magic of transforming seasonal ingredients into culinary delights.
