

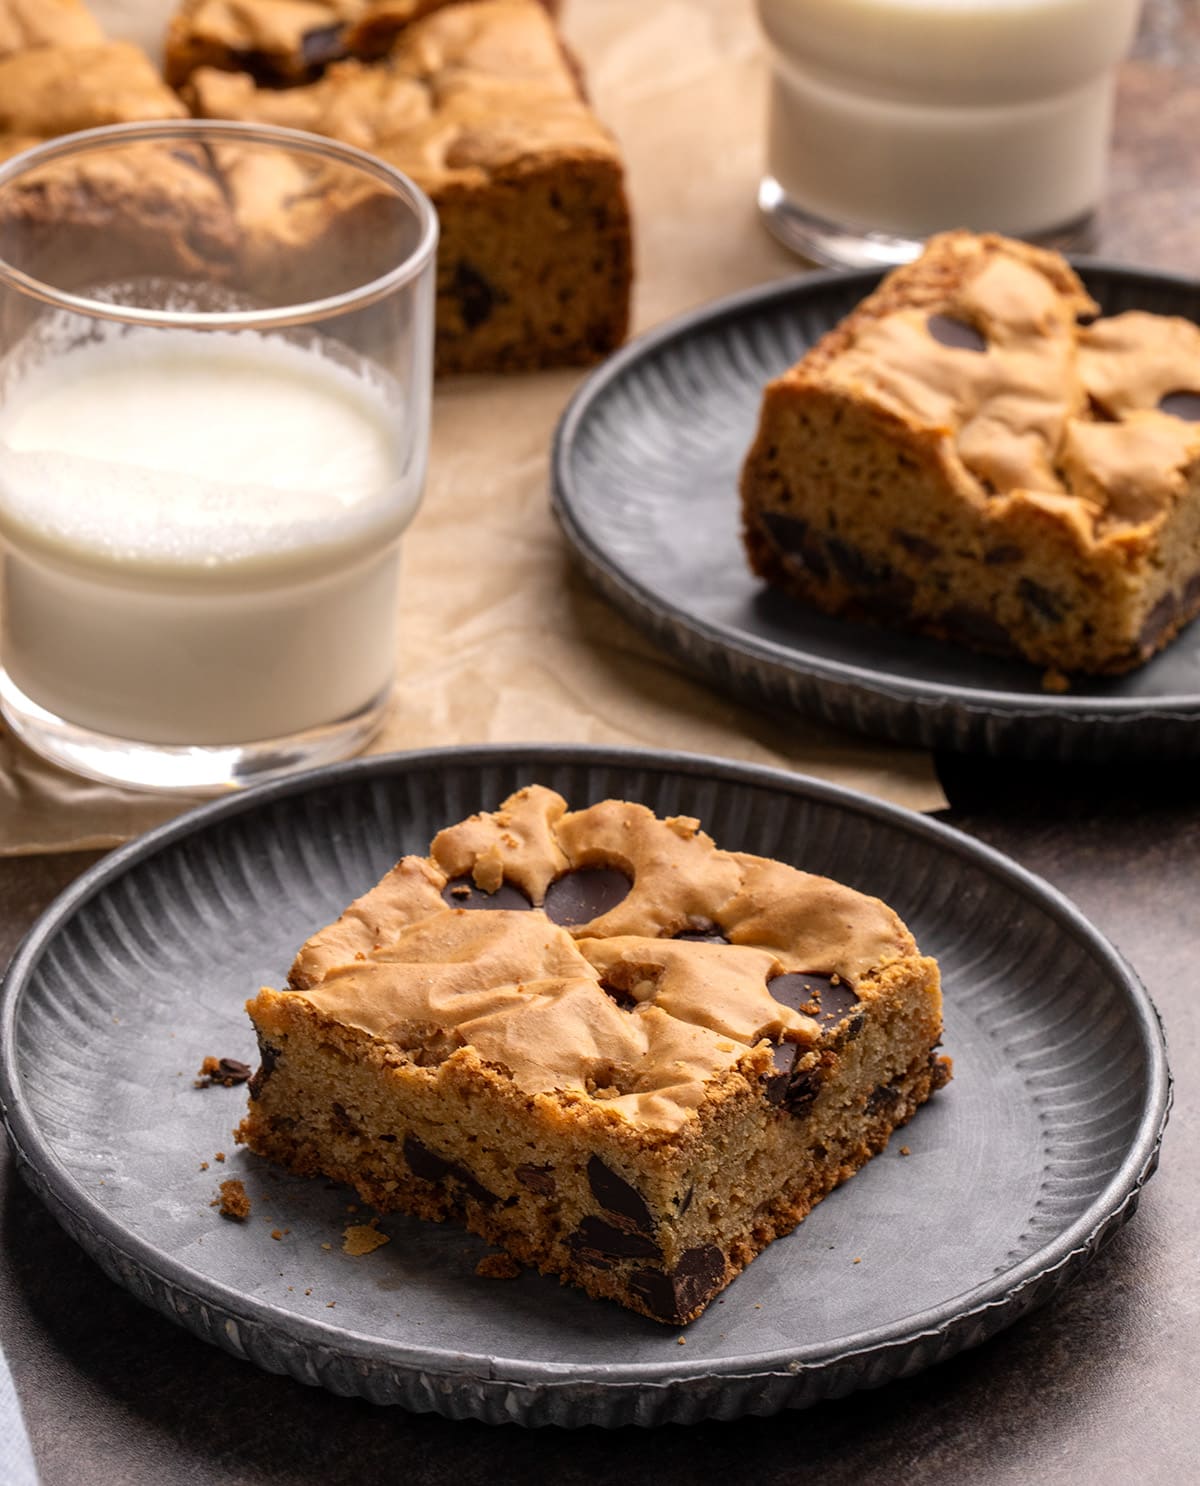
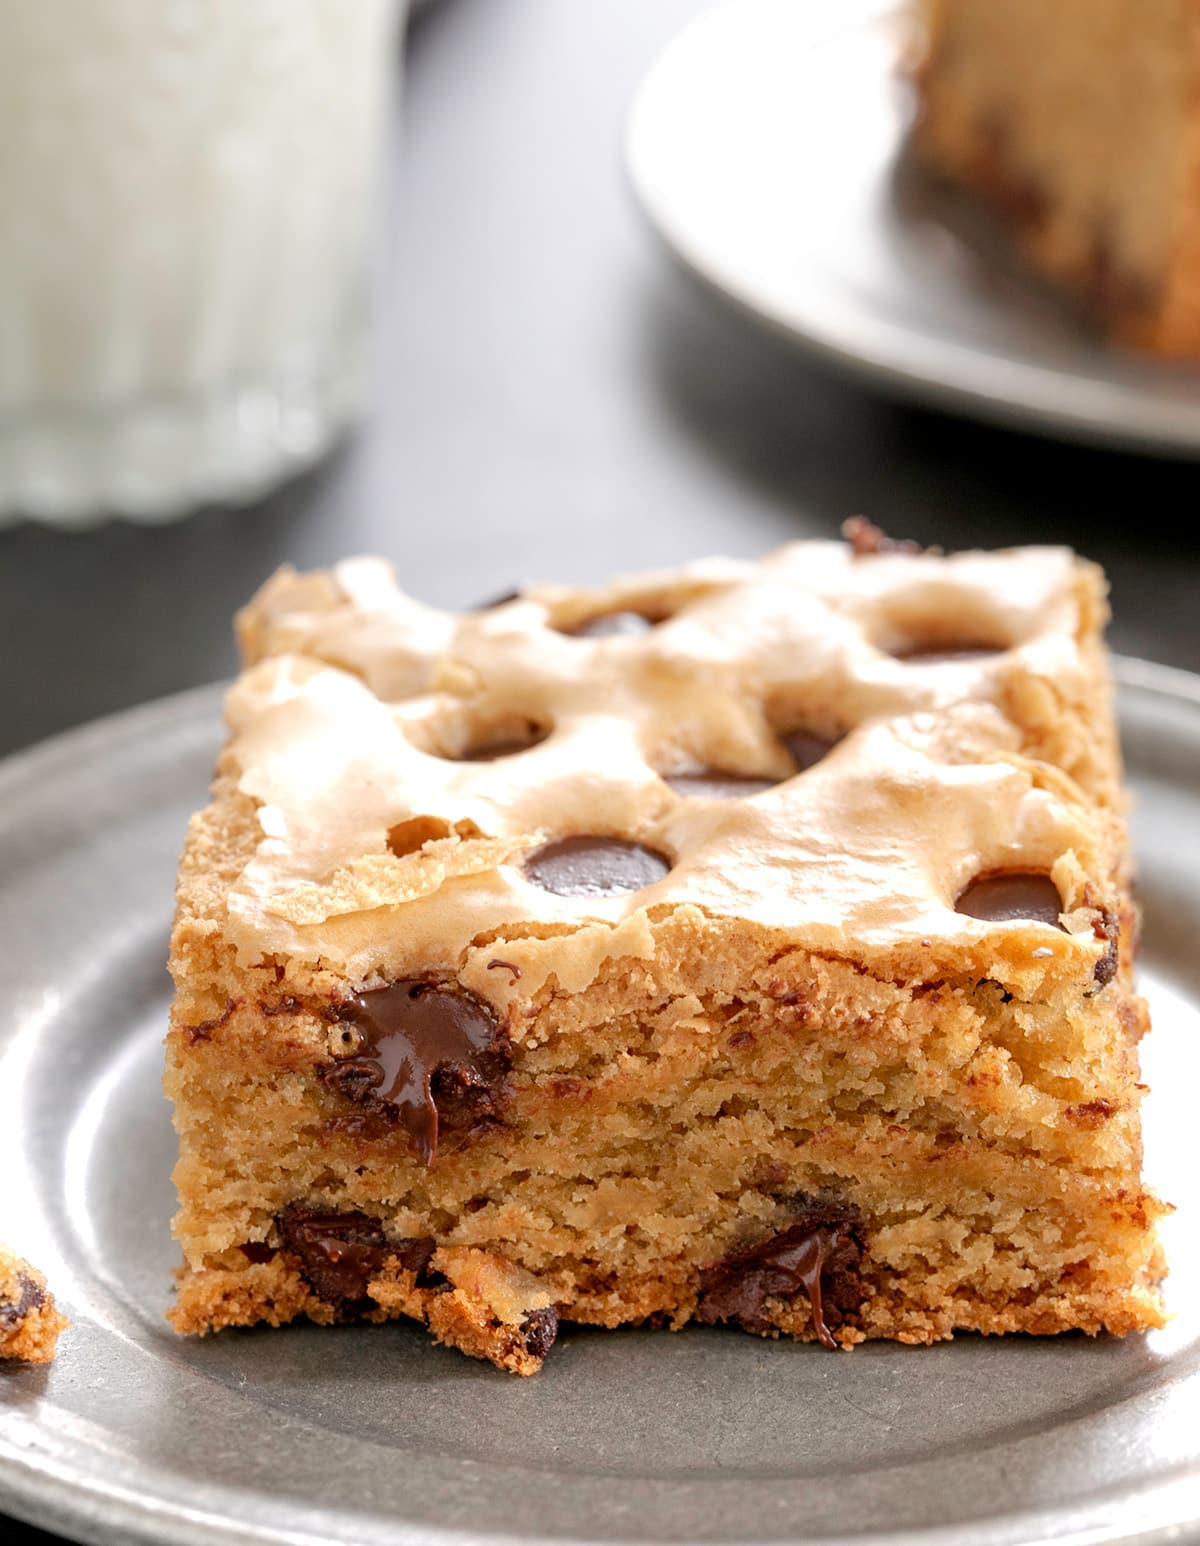
This innovative recipe transforms the beloved gluten-free chocolate chip cookie into a convenient bar format, offering the same delightful texture and classic flavor profile without the individual shaping and baking. Achieving a perfect balance between the chewy interior of a cookie and the desirable crackly top often found in brownies, these bars are a testament to thoughtful recipe development in gluten-free baking.
The Science Behind the Chewiness
At the heart of these exceptional gluten-free cookie bars lies a carefully constructed approach to texture and flavor. Unlike simply pressing traditional cookie dough into a pan, which often results in dense and tough baked goods, this recipe employs a technique borrowed from successful gluten-free brownie and blondie recipes: the use of melted butter. This method is crucial for achieving the desired chewiness. However, the recipe deviates from a strictly fudgy texture by incorporating a more substantial amount of flour, ensuring the bars retain a satisfying cookie-like consistency.

The dual sugar system, combining white and light brown sugars, plays a vital role in replicating the familiar and comforting flavor profile of classic chocolate chip cookies. This blend not only contributes to the sweetness but also influences the texture and browning characteristics of the final product.
Key Ingredients for Gluten-Free Success
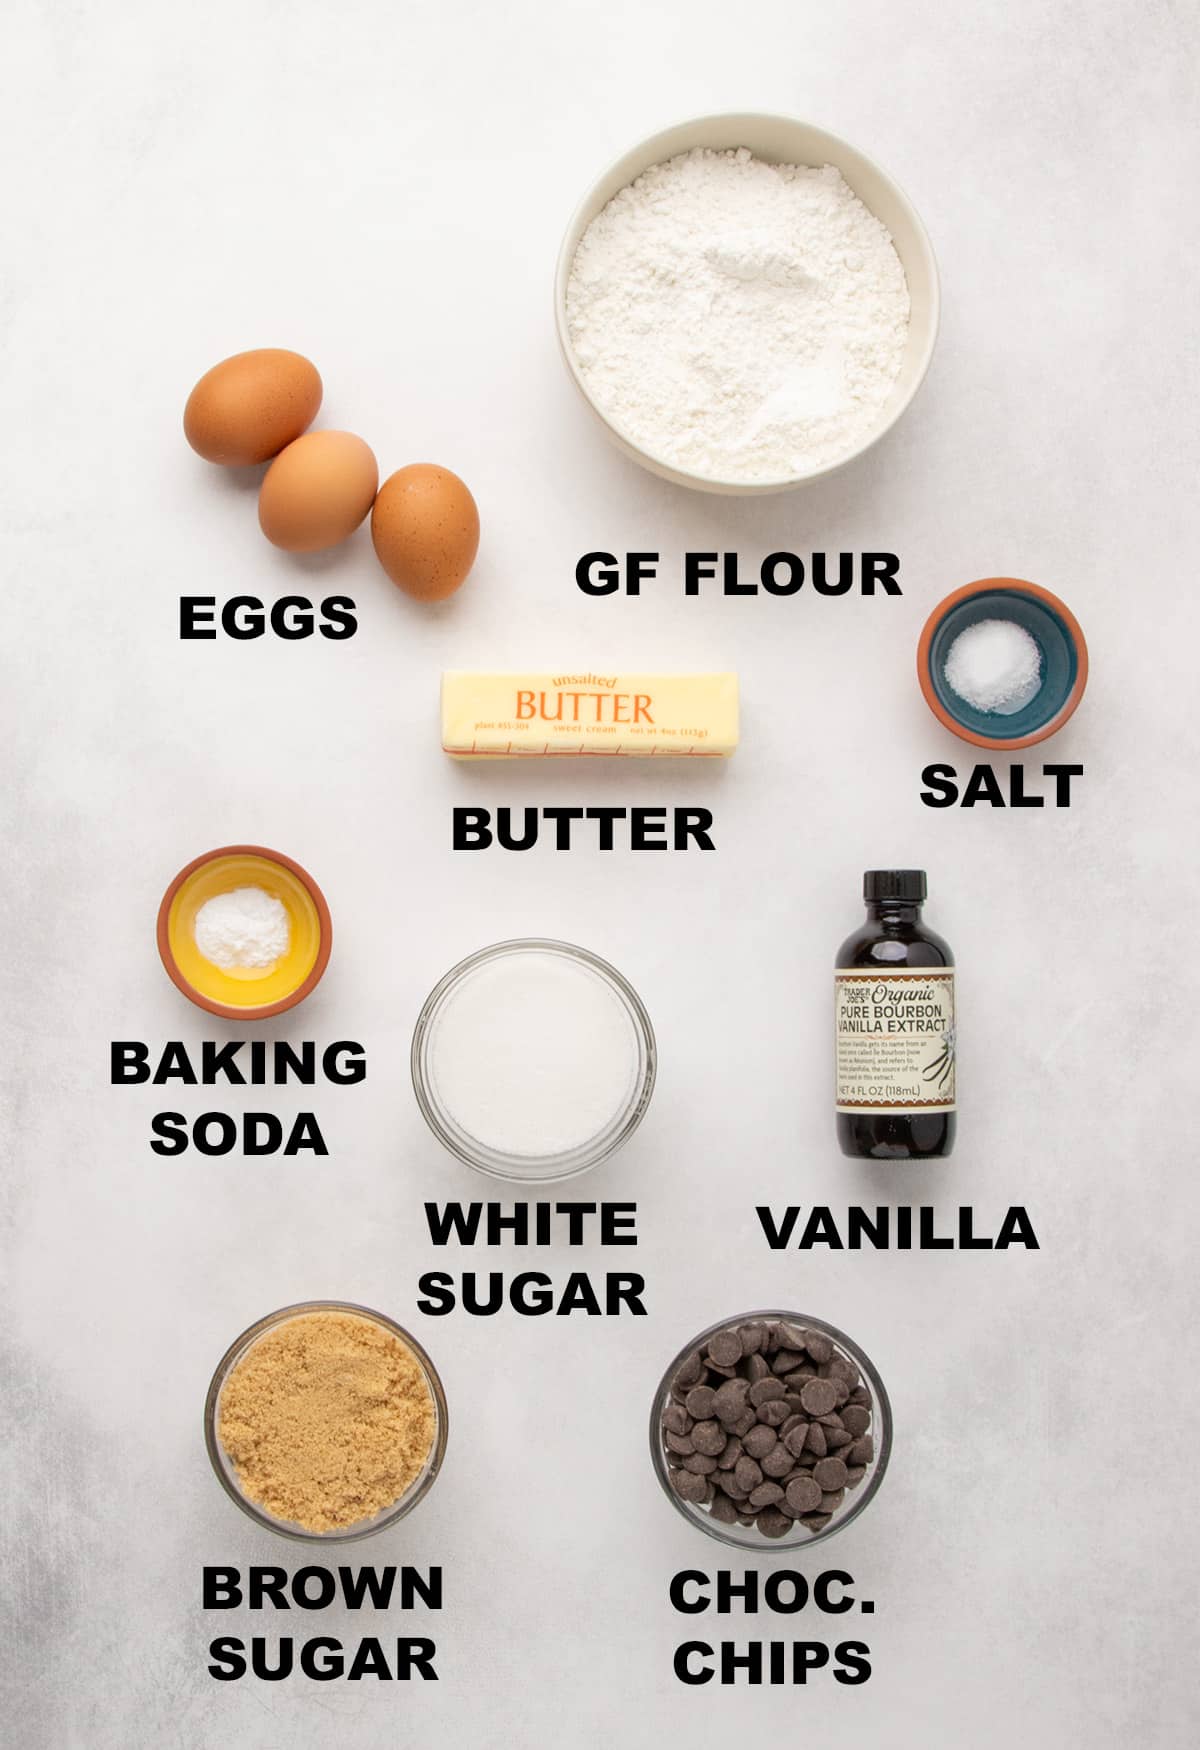
Crafting these bars requires a precise combination of ingredients, each contributing to the overall success of the recipe. The core components include:
- Gluten-Free Flour Blend: A high-quality, all-purpose gluten-free flour blend is essential. For optimal results, the article recommends specific blends known for their performance in gluten-free baking, such as Better Batter’s original all-purpose blend or Nicole’s Best multipurpose with added xanthan gum. Bob’s Red Mill 1-to-1 baking flour (in the blue bag) is also suggested as a viable alternative. For those preferring to create their own, a well-formulated homemade blend is an option.
- Melted Butter: The use of melted butter, as opposed to creamed butter, is a cornerstone of achieving the characteristic chewiness in these bars.
- Sugars: A combination of granulated white sugar and light brown sugar provides the sweetness and contributes to both flavor and texture.
- Eggs: Eggs bind the ingredients together and contribute to the structure and rise of the bars. The recipe specifically calls for two whole eggs and an additional egg yolk, which further enhances richness and contributes to the desired crackly top.
- Baking Soda: This leavening agent helps the bars to rise and achieve a tender crumb.
- Salt: Salt is crucial for balancing the sweetness and enhancing the overall flavor profile of the chocolate chips.
- Vanilla Extract: Pure vanilla extract adds depth and aroma to the cookie bars.
- Cornstarch: While not always a standard cookie ingredient, cornstarch is included in this recipe to enhance tenderness.
- Chocolate Chips: High-quality chocolate chips are, of course, a non-negotiable element, providing pockets of melted chocolate throughout the bars.
The Process: A Step-by-Step Guide to Perfect Cookie Bars
The creation of these gluten-free cookie bars is a streamlined process, designed for ease and consistent results.
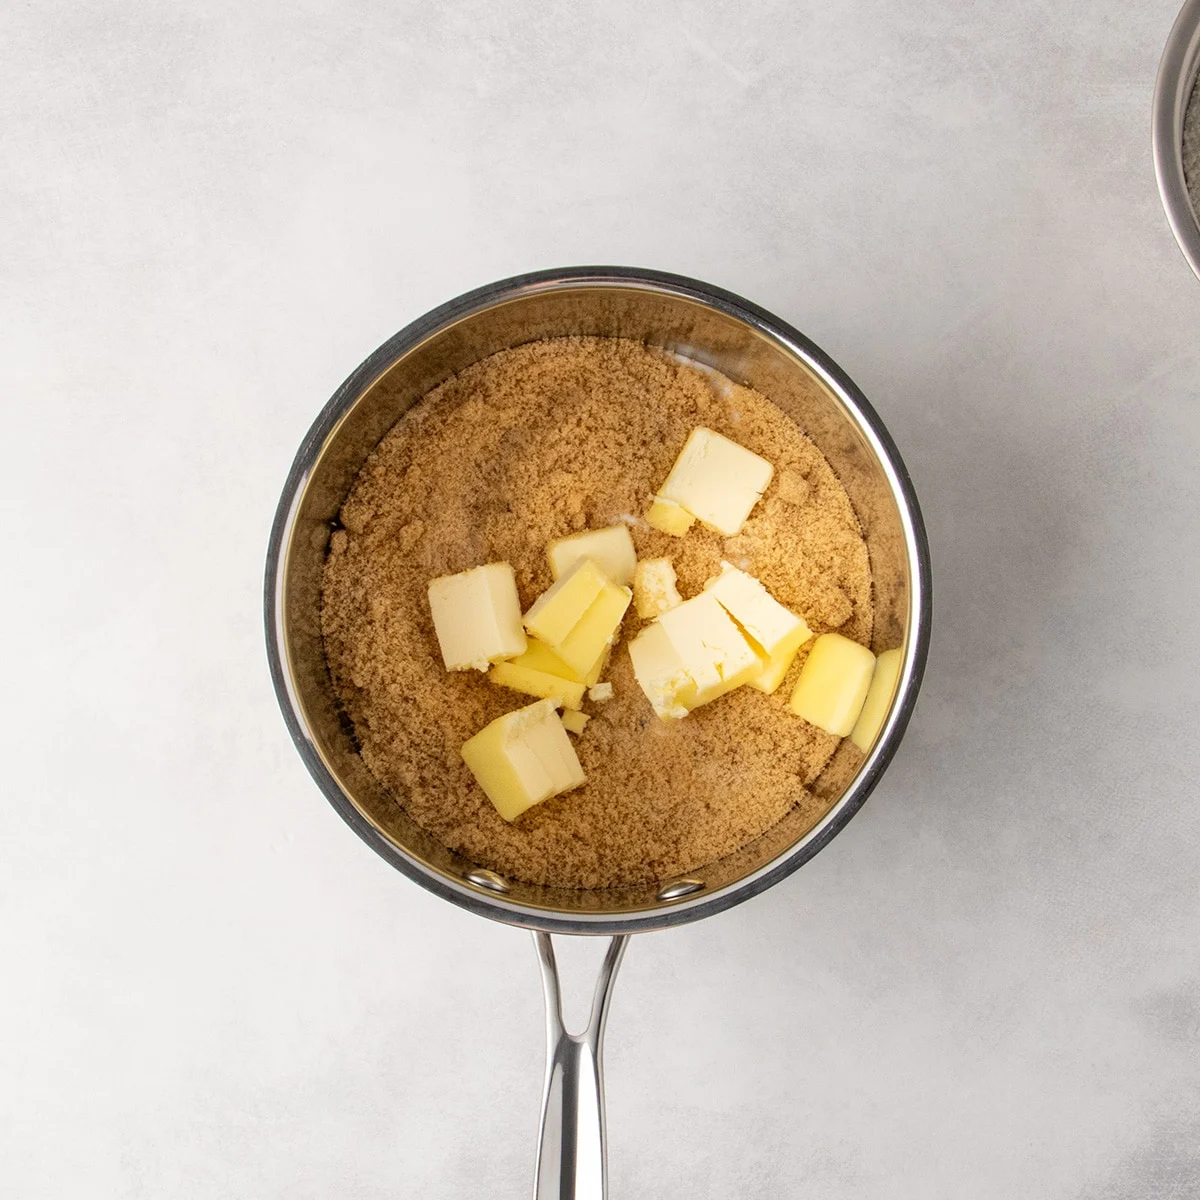
- Melting the Foundation: The initial step involves melting the butter and sugars together over medium-low heat. The mixture is brought to a gentle simmer, allowing the sugars to dissolve. This process is critical for developing the glossy, crackly top characteristic of the bars. It’s important to let this mixture cool slightly to avoid cooking the eggs in the subsequent step.
- Incorporating the Eggs: In a separate large mixing bowl, the eggs and egg yolk are beaten until foamy. This aeration helps the egg proteins to fully emulsify with the cooled sugar and butter mixture, contributing to the rise and the formation of the desirable thin, crackly layer on top.
- Whisking Dry Ingredients: In a medium bowl, the gluten-free flour blend, xanthan gum, cornstarch, baking soda, and salt are whisked together. Thoroughly combining these dry ingredients prevents clumping and ensures even distribution throughout the batter.
- Combining Wet and Dry: The whisked dry ingredients are added all at once to the wet ingredient mixture. The batter will transform from a thin liquid to a thick, sticky consistency as the flour hydrates.
- Adding the Chocolatey Goodness: Approximately one ounce of chocolate chips is reserved for topping. The remaining chocolate chips are folded into the thick batter.
- Pan Preparation and Batter Transfer: The batter is transferred into a prepared baking pan, ideally lined with non-stick aluminum foil or regular foil sprayed with cooking oil. A moistened offset spatula or butter knife is used to spread the batter into an even layer, ensuring uniform baking.
- The Final Touch and Baking: The reserved chocolate chips are scattered evenly over the top of the batter. Gently banging the pan on the counter helps the chips adhere. The bars are then baked at a moderate temperature of 325°F (163°C) for approximately 40 minutes. The key indicators of doneness are a lightly golden brown surface all over and no visible jiggle when the pan is gently moved. This lower and slower baking method prevents the edges from burning while ensuring the center is cooked through.
- The Crucial Chill: Patience is paramount after baking. The bars are too fragile to remove from the pan while warm. They should be allowed to cool in the pan until they reach a warm room temperature, then chilled until firm. This cooling and chilling process is essential for clean and easy slicing.
Expert Insights for Baking Perfection
Seasoned bakers and recipe developers offer valuable advice to elevate the cookie bar experience.
Achieving Thinner Bars
For those who prefer a thinner, crisper bar, the recipe can be adapted by using a larger baking pan, such as a jelly roll pan measuring 10×15 inches. This increased surface area allows the dough to spread more thinly, resulting in a shorter baking time of around 30 minutes. Similar to baking a gluten-free cheesecake, the bars are ready when the center is mostly set and exhibits minimal jiggle.
The Art of Sugar Melting
A common pitfall in baking with brown sugar is overcooking, which can lead to hardening. When melting the butter and sugars, it’s crucial to stop the process as soon as the mixture reaches a very gentle simmer. This ensures the sugar remains pliable and contributes to the desired texture.
Pan Lining Strategies
The thick and sticky nature of the cookie bar batter can make spreading challenging. While parchment paper is a common baking liner, it can shift and move under the dense dough. Non-stick aluminum foil offers a more stable surface for spreading. Alternatively, regular aluminum foil can be used effectively if it’s sprayed with cooking oil.
Adaptations for Dietary Needs
Recognizing the diverse needs of home bakers, the recipe offers several adaptable substitutions.
Dairy-Free Delight
For a dairy-free version, the butter can be replaced with plant-based alternatives such as Melt, Miyoko’s Kitchen, or Trader Joe’s block-style vegan butter. A combination of Earth Balance buttery sticks and Spectrum brand non-hydrogenated vegetable shortening is also suggested. It is imperative to ensure that the chocolate chips and the gluten-free flour blend used are also dairy-free.
Egg-Free Alternatives
Replacing the eggs requires careful consideration. The two whole eggs can potentially be substituted with "chia eggs," created by mixing 1 tablespoon of ground white chia seeds with 2 tablespoons of lukewarm water and allowing it to gel. However, it’s important to note that omitting eggs may result in a less pronounced crackly top. For the egg yolk, a tablespoon of extra virgin olive oil can be used.
Corn-Free Considerations
Cornstarch is incorporated for tenderness. For those avoiding corn, arrowroot starch or potato starch can be used as a direct substitute by weight. Alternatively, an increased amount of all-purpose gluten-free flour, ensuring it is corn-free, can be used.
Storage and Enjoyment
These versatile gluten-free cookie bars offer excellent longevity. They can be stored in an airtight container at room temperature for at least five days, and up to a week in the refrigerator. For extended storage, they can be frozen for up to three months in freezer-safe bags. Thawing can be done at room temperature or expedited in a microwave.
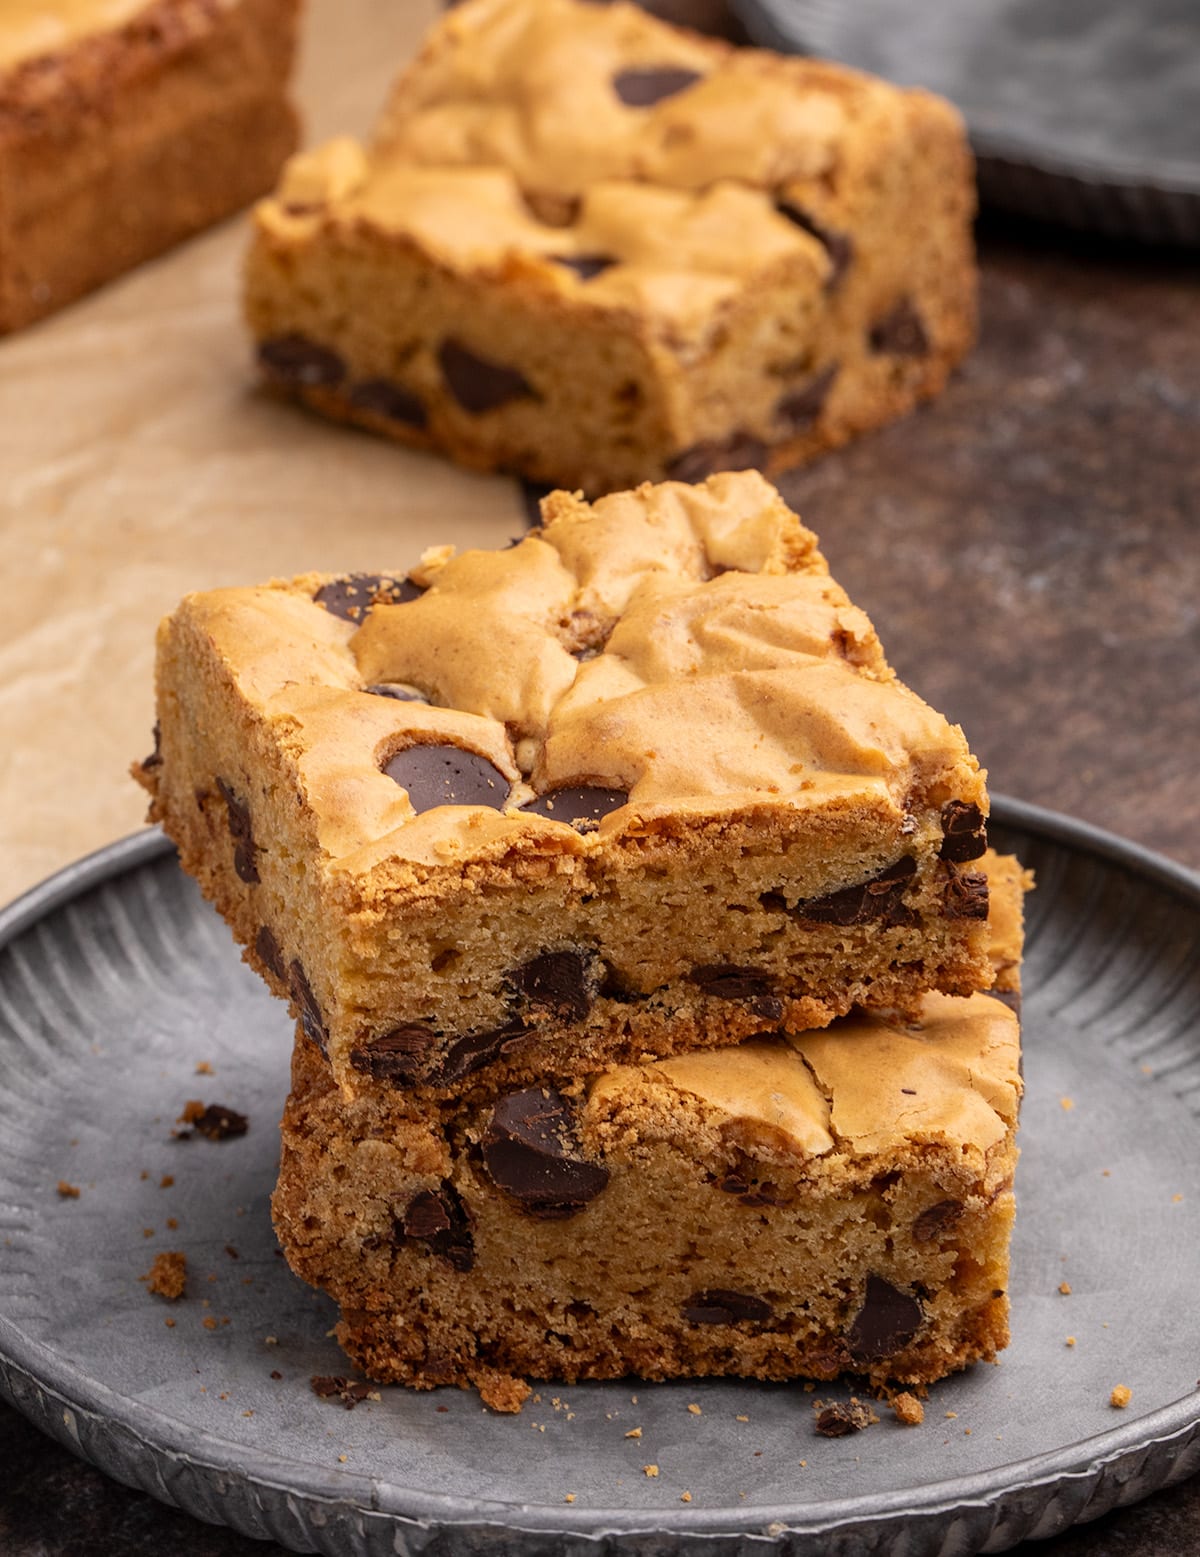
The development of this recipe represents a significant advancement in gluten-free baking, offering a convenient and delicious alternative to traditional cookies. By understanding the principles of ingredient interaction and baking techniques, home bakers can consistently produce these satisfyingly thick and chewy gluten-free chocolate chip cookie bars, bringing a touch of nostalgic comfort to any occasion.
