

The quest for delicious and accessible gluten-free options continues to drive innovation in the culinary world. Among the growing array of baked goods designed to cater to specific dietary needs, the gluten-free breakfast bar has emerged as a particularly popular and versatile treat. This article delves into the intricacies of crafting these bars, exploring the ingredients, techniques, and considerations that contribute to their successful creation and widespread appeal.
The Foundation of Flavor: Understanding the Core Ingredients
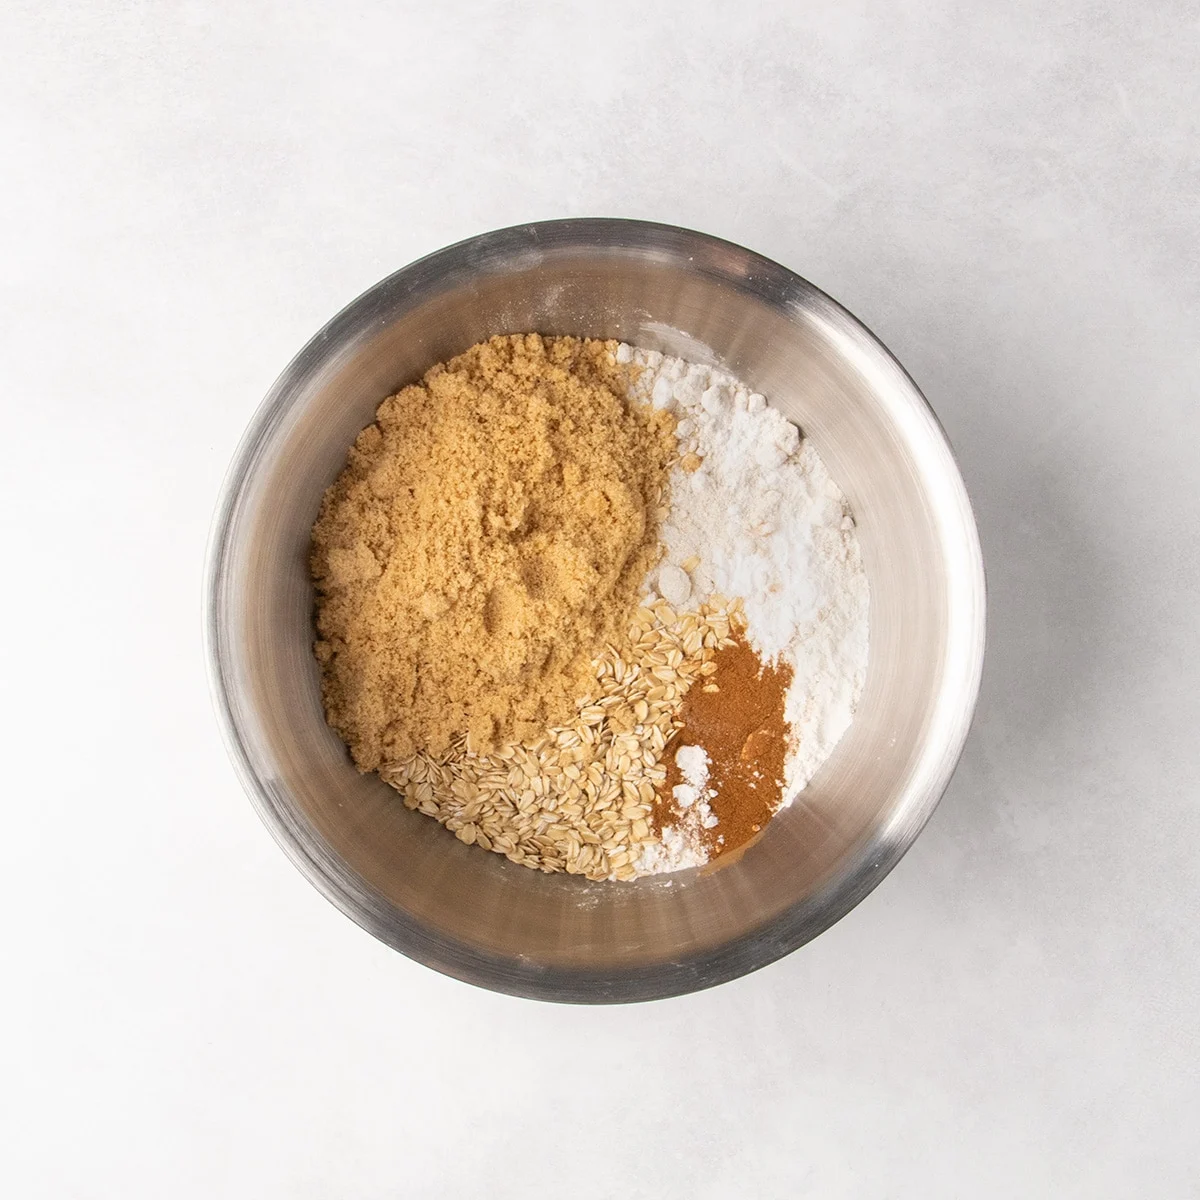
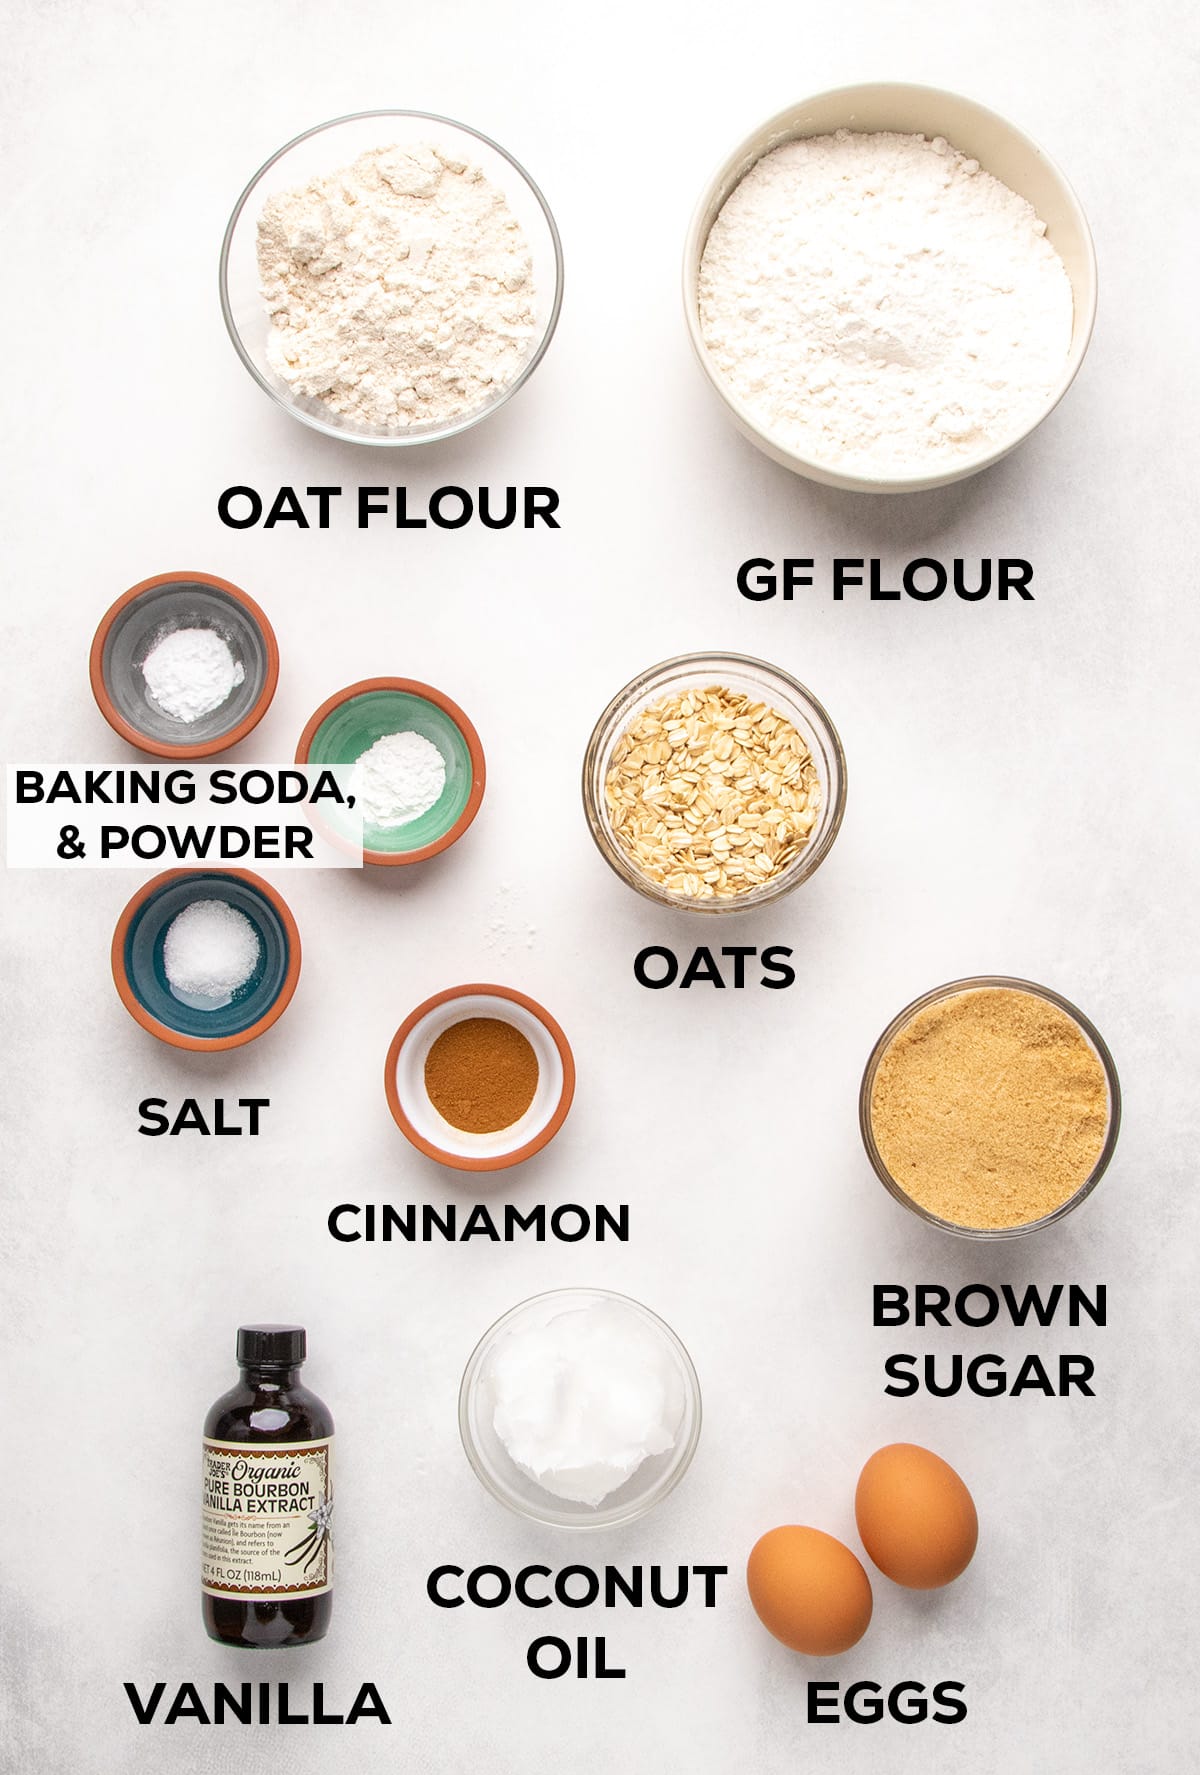
At the heart of these gluten-free breakfast bars lies a thoughtful combination of ingredients, meticulously chosen to replicate the comforting taste and texture of traditional oatmeal bars. The primary building blocks are oat flour and rolled oats. These are not merely substitutes for wheat flour; they are integral to achieving the desired flavor profile. Oat flour provides a smooth, chewy crumb, forming the base of the bar, while whole rolled oats introduce a subtle, pleasing texture that evokes the familiar sensation of eating a bowl of oatmeal. This dual approach ensures that the characteristic oatmeal flavor remains front and center, a testament to the bar’s name and promise.

Complementing the oat base are sweeteners that contribute depth and warmth. Brown sugar lends a light caramel note and a comforting sweetness, while a touch of honey acts as a crucial binder, ensuring the ingredients meld together harmoniously. This careful balance of sweeteners is key to differentiating these bars from more typically sweet granola bars. The goal is a less intensely sweet, less sticky product that prioritizes the wholesome flavor of oats.
The textural integrity and pleasant mouthfeel are further enhanced by the selection of coconut oil. Opting for refined coconut oil that solidifies at cool room temperature is a deliberate choice. As the bars cool, this solidifying fat helps maintain their tenderness without rendering them greasy, a critical factor in achieving a satisfying bite.
The Art of Baking: Techniques for Optimal Texture and Appearance
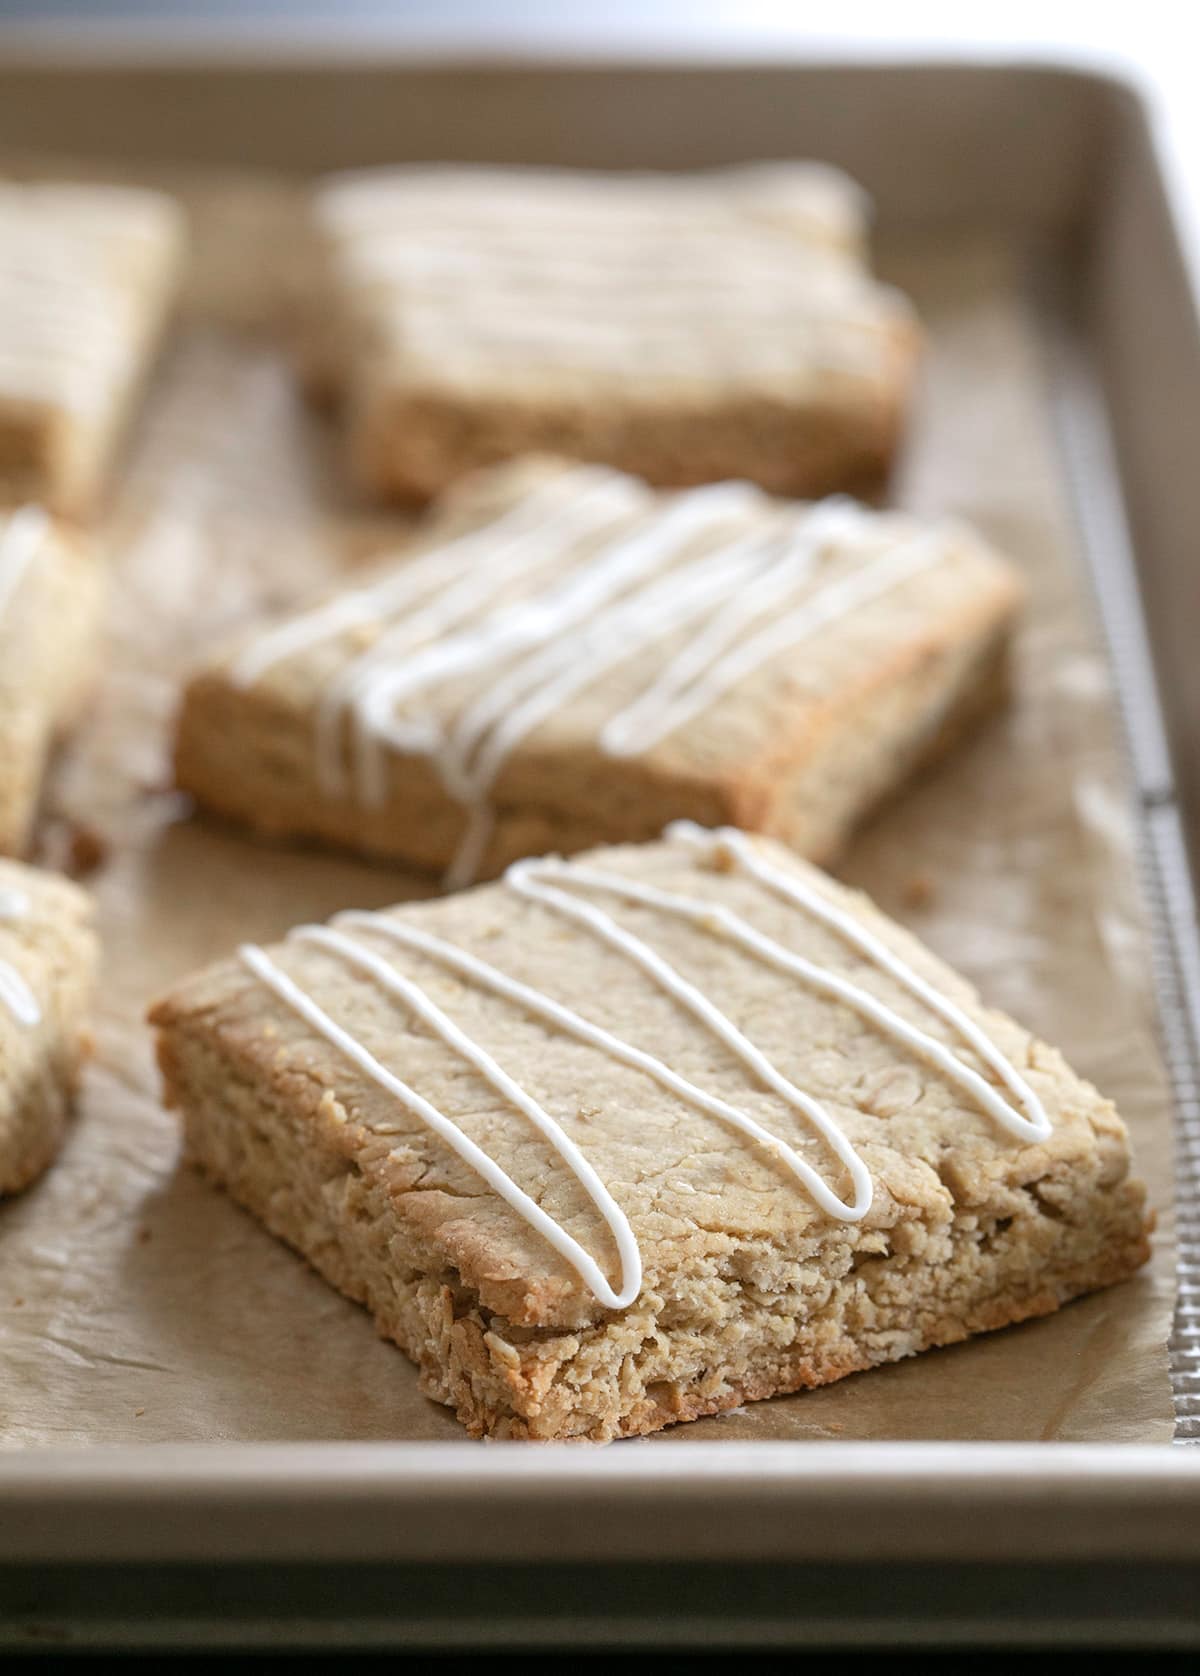
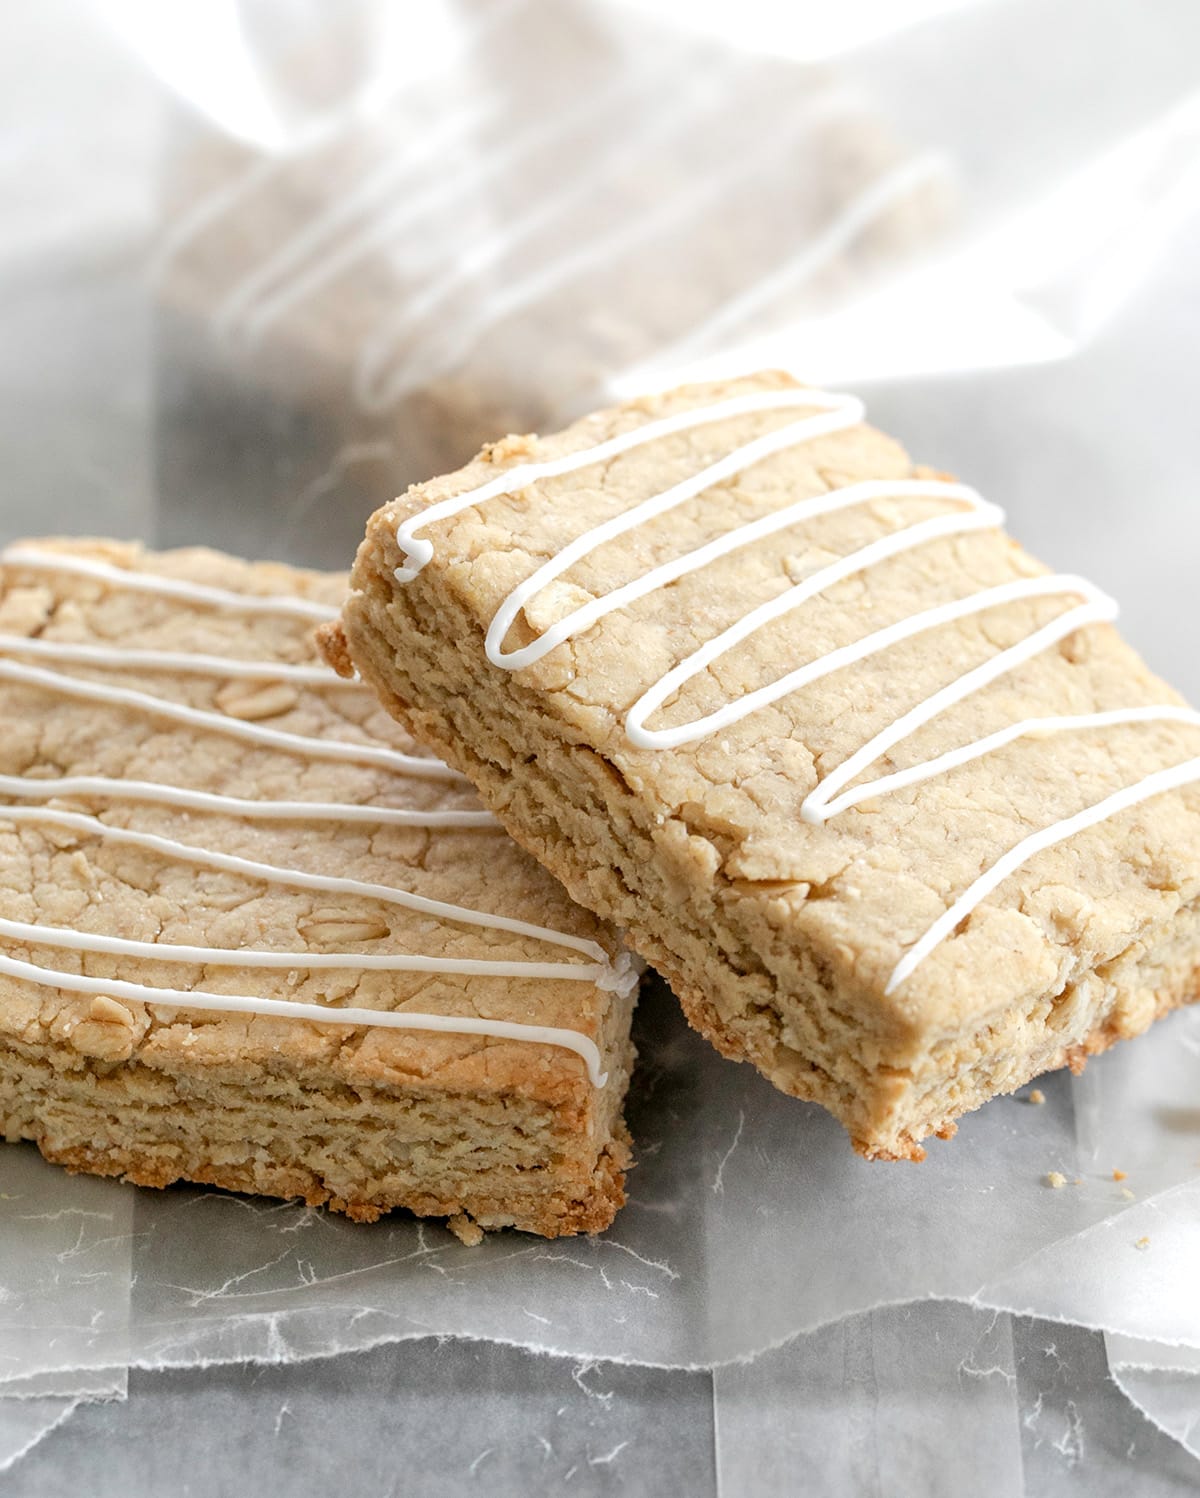
The baking process for these gluten-free breakfast bars is as crucial as the ingredient selection. A lower baking temperature, specifically around 325°F (163°C), is employed. This gentle heat is instrumental in achieving the desired pale, soft, and chewy texture, preventing the bars from becoming overly browned or hard. The baking time typically ranges from 12 to 14 minutes, during which the bars rise slightly and develop a firm yet yielding consistency. This controlled baking environment ensures that the bars retain their distinct oatmeal-like character, avoiding the crispness often associated with more traditional baked goods.
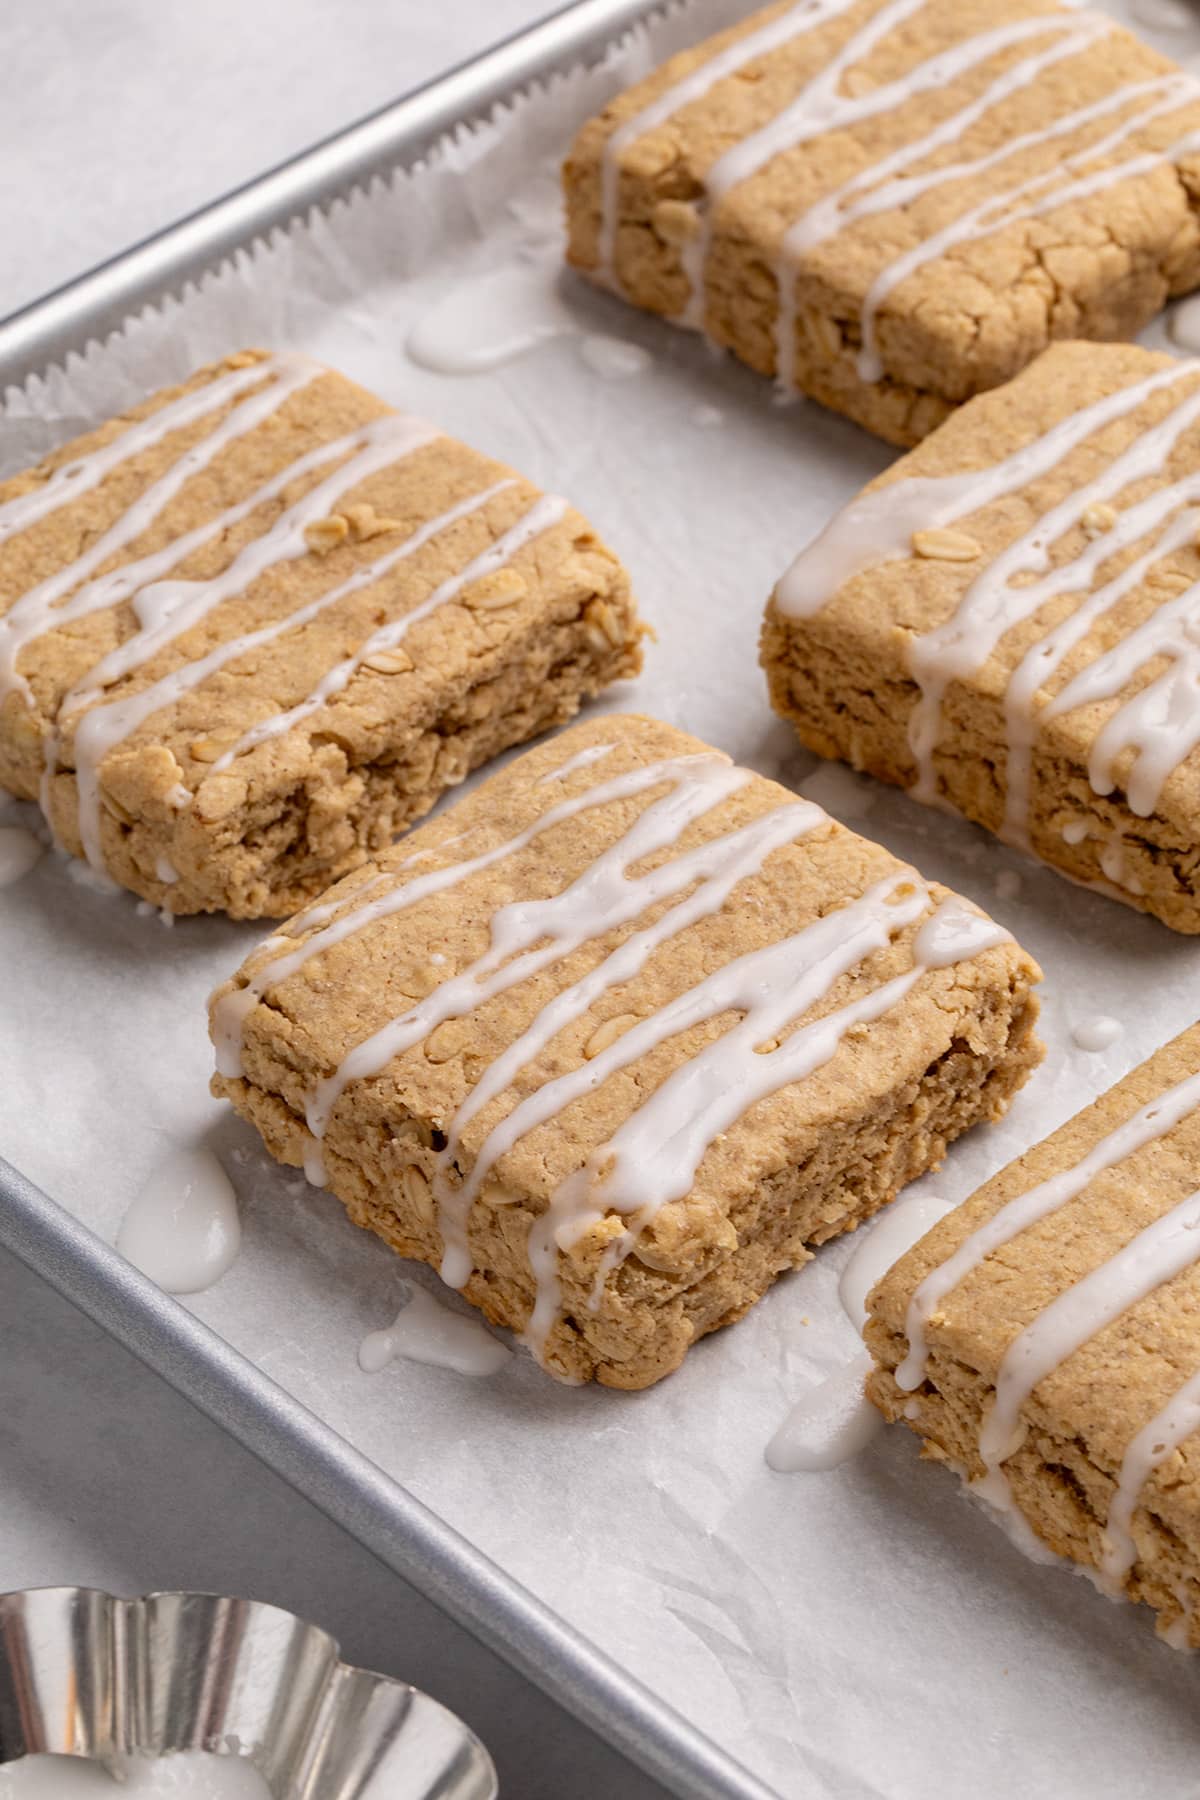
A unique aspect of this recipe is the method of shaping the bars before baking. Unlike many baked goods that are sliced after baking, these bars are pressed and cut into individual portions while the dough is still pliable. This pre-baking shaping technique is vital for their structural integrity. By carefully rolling the dough into an approximate 8-inch square, about 3/4-inch thick, and then sharpening the edges with a bench scraper or straight edge, bakers encourage the bars to rise upward rather than spread outward. This meticulous attention to edge definition, akin to the technique used for gluten-free biscuits, results in sturdier, more uniformly shaped bars that are less prone to crumbling. This pre-shaping also makes them exceptionally convenient for on-the-go consumption, a significant advantage for busy individuals and families.
Addressing Dietary Needs: Substitutions and Adaptations
A significant strength of this gluten-free breakfast bar recipe lies in its inherent adaptability to various dietary requirements.
Dairy-Free Considerations
The base recipe is naturally dairy-free, utilizing coconut oil instead of butter. For those requiring a dairy-free glaze, the substitution is straightforward. Non-dairy milk or even water can be used in place of traditional milk, and vegan butter alternatives, such as Earth Balance buttery sticks or block-style vegan butter like Melt or Miyoko’s, can replace unsalted butter. This flexibility ensures that individuals with lactose intolerance or dairy allergies can enjoy the complete product.
Egg-Free Alternatives
For those avoiding eggs, several viable substitutions exist. The use of chia eggs is a popular and effective method. A chia egg is created by mixing one tablespoon of ground chia seeds with two tablespoons of water and allowing it to gel. This mixture effectively mimics the binding properties of a regular egg. Alternatively, commercially available egg replacers, such as Bob’s Red Mill egg replacer or Just Egg liquid egg replacer, can be used, following the package instructions for appropriate measurements. These alternatives ensure that the structural integrity and texture of the bars are maintained, even without traditional eggs.
Coconut Oil Substitutions
While coconut oil is favored for its textural contribution, its distinct flavor may not appeal to everyone. For a neutral flavor profile, triple-filtered coconut oil is recommended, as it has been processed to remove any odor or taste. For individuals with coconut allergies or sensitivities, shortening can be used as a direct substitute. If melted unsalted butter is preferred, it can be used, though it’s important to note that butter contains a higher water content than oil. This may result in bars that are slightly drier, as butter has less fat than oil.
Oat-Free Adaptations
For individuals who must avoid oats entirely, the recipe offers pathways to modification. To replace oat flour, grinding quinoa flakes into a fine powder can yield a similar smooth consistency. For the rolled oats, rolled buckwheat presents a suitable alternative, providing a comparable texture and wholesome character. These substitutions allow individuals with oat sensitivities or allergies to still partake in a similar breakfast bar experience.
The Importance of Xanthan Gum and Gluten-Free Flour Blends
A critical component in gluten-free baking is the use of a binder, and for this recipe, xanthan gum plays a pivotal role, particularly when using specific gluten-free flour blends. The article notes that the recipe works best with Better Batter’s original all-purpose blend or Nicole’s Best multipurpose blend (which already includes xanthan gum). If using Bob’s Red Mill 1-to-1 gluten-free baking flour, it is recommended to add an additional 1/4 teaspoon of xanthan gum. This is because the Bob’s Red Mill blend contains some xanthan gum but may not have sufficient quantities to provide the optimal binding and structure for this particular recipe. For those seeking to create their own high-quality gluten-free flour blends, the article points to resources for homemade all-purpose gluten-free flour recipes. The precise amount of xanthan gum is crucial for achieving the right dough consistency and preventing the bars from becoming crumbly.
Storage and Preservation: Maintaining Freshness
The shelf life and storage of these gluten-free breakfast bars are important considerations for their practicality. When stored in a sealed container or individually wrapped, the bars can remain fresh at room temperature for at least three days. However, in warmer climates or during hot weather, the optional glaze may become slightly tacky at room temperature. For extended storage, the bars can be individually wrapped in freezer-safe material and frozen for up to three months. To serve frozen bars, they can be defrosted at room temperature or gently heated in a microwave on half power for approximately 30 seconds. This frozen storage capability makes them an excellent option for meal prep and ensuring a convenient breakfast option is always on hand.
Nutritional Insights
The nutritional information provided for these gluten-free breakfast bars is calculated to exclude the optional glaze, offering a baseline understanding of their composition. Each bar (without glaze) is approximately 369 calories, containing around 71g of carbohydrates, 5g of protein, and 13g of fat. Of the fat content, approximately 9g is saturated fat. The bars also provide about 3g of fiber and 18g of sugar. While these figures are automatically calculated and should be considered approximations, they highlight the bars as a source of energy with a balanced macronutrient profile, particularly when considering the fiber content.
Expert Insights and Practical Tips
The development of these bars emphasizes practical culinary advice to ensure success in the home kitchen.
- Add Water Sparingly: The dough is intentionally thick and somewhat dry, designed to hold together when squeezed. Adding lukewarm water should only be done to visibly dry patches, and gradually, to avoid making the dough too wet, which could lead to excessive spreading during baking.
- Sharpen the Edges: As mentioned, the technique of creating sharp, upright sides after rolling the dough is crucial. This encourages vertical rise, resulting in thicker, more substantial bars.
- Use the Right Coconut Oil: The article reiterates the importance of using refined, solid coconut oil for optimal texture. This choice contributes to the bar’s tenderness and prevents greasiness.
Conclusion
The gluten-free breakfast bar, as exemplified by this recipe, represents a thoughtful approach to dietary inclusivity without compromising on taste or texture. By carefully selecting ingredients like oat flour and rolled oats, employing precise baking techniques, and offering a range of adaptable substitutions, these bars provide a delicious, convenient, and satisfying option for a wide audience. Their ability to be prepared in advance and stored for extended periods further solidifies their status as a valuable addition to any gluten-free pantry, catering to the modern need for wholesome, accessible, and enjoyable food choices.
