

This post may contain affiliate links. Please read our disclosure policy.
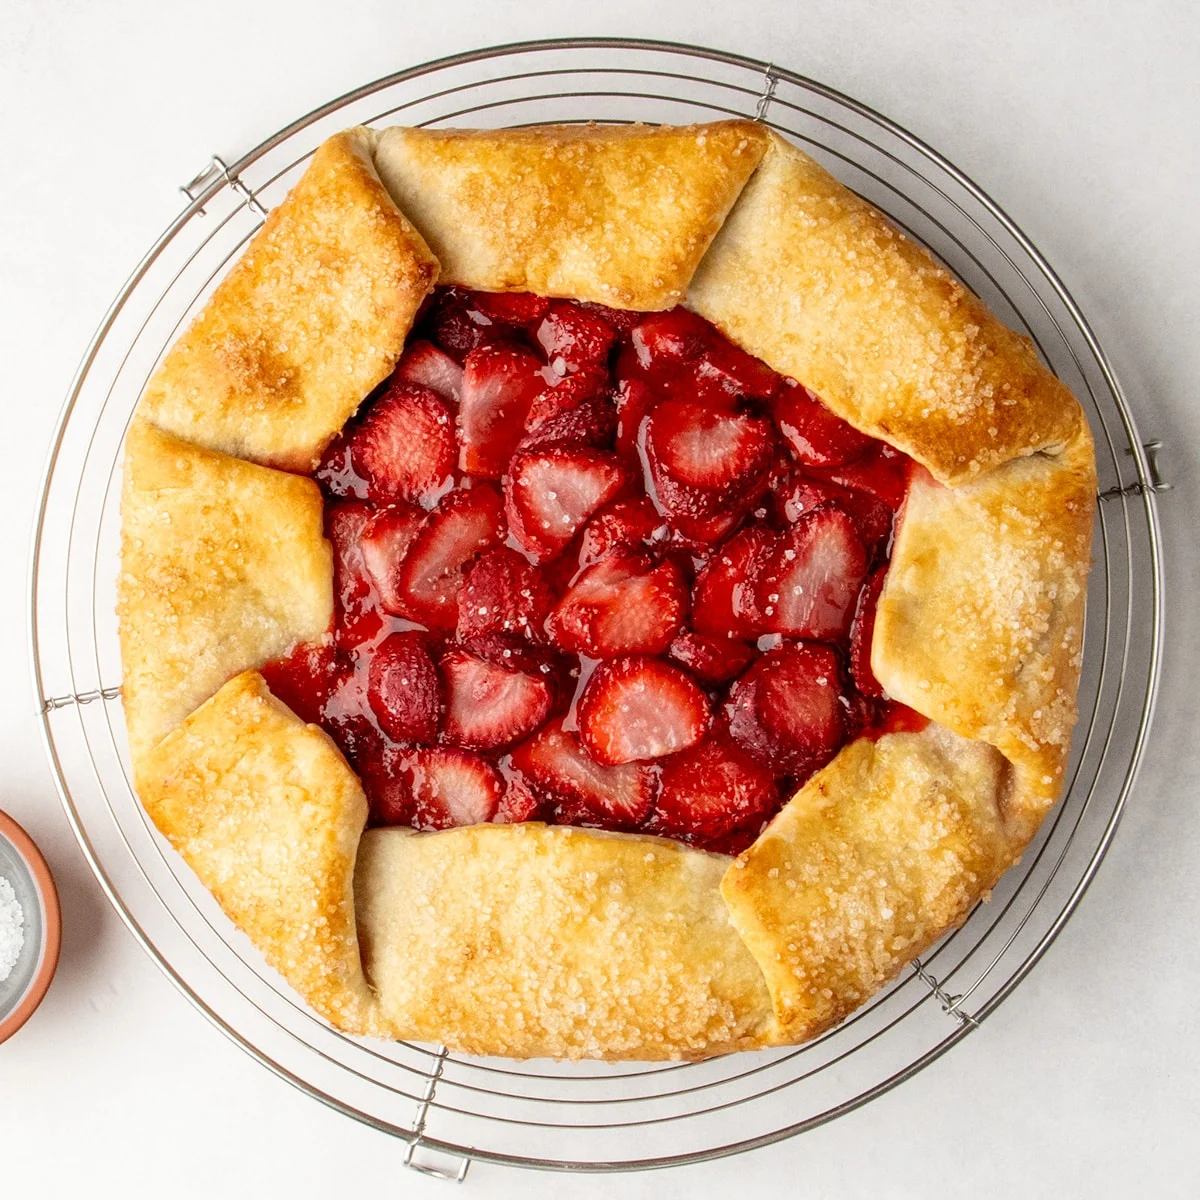
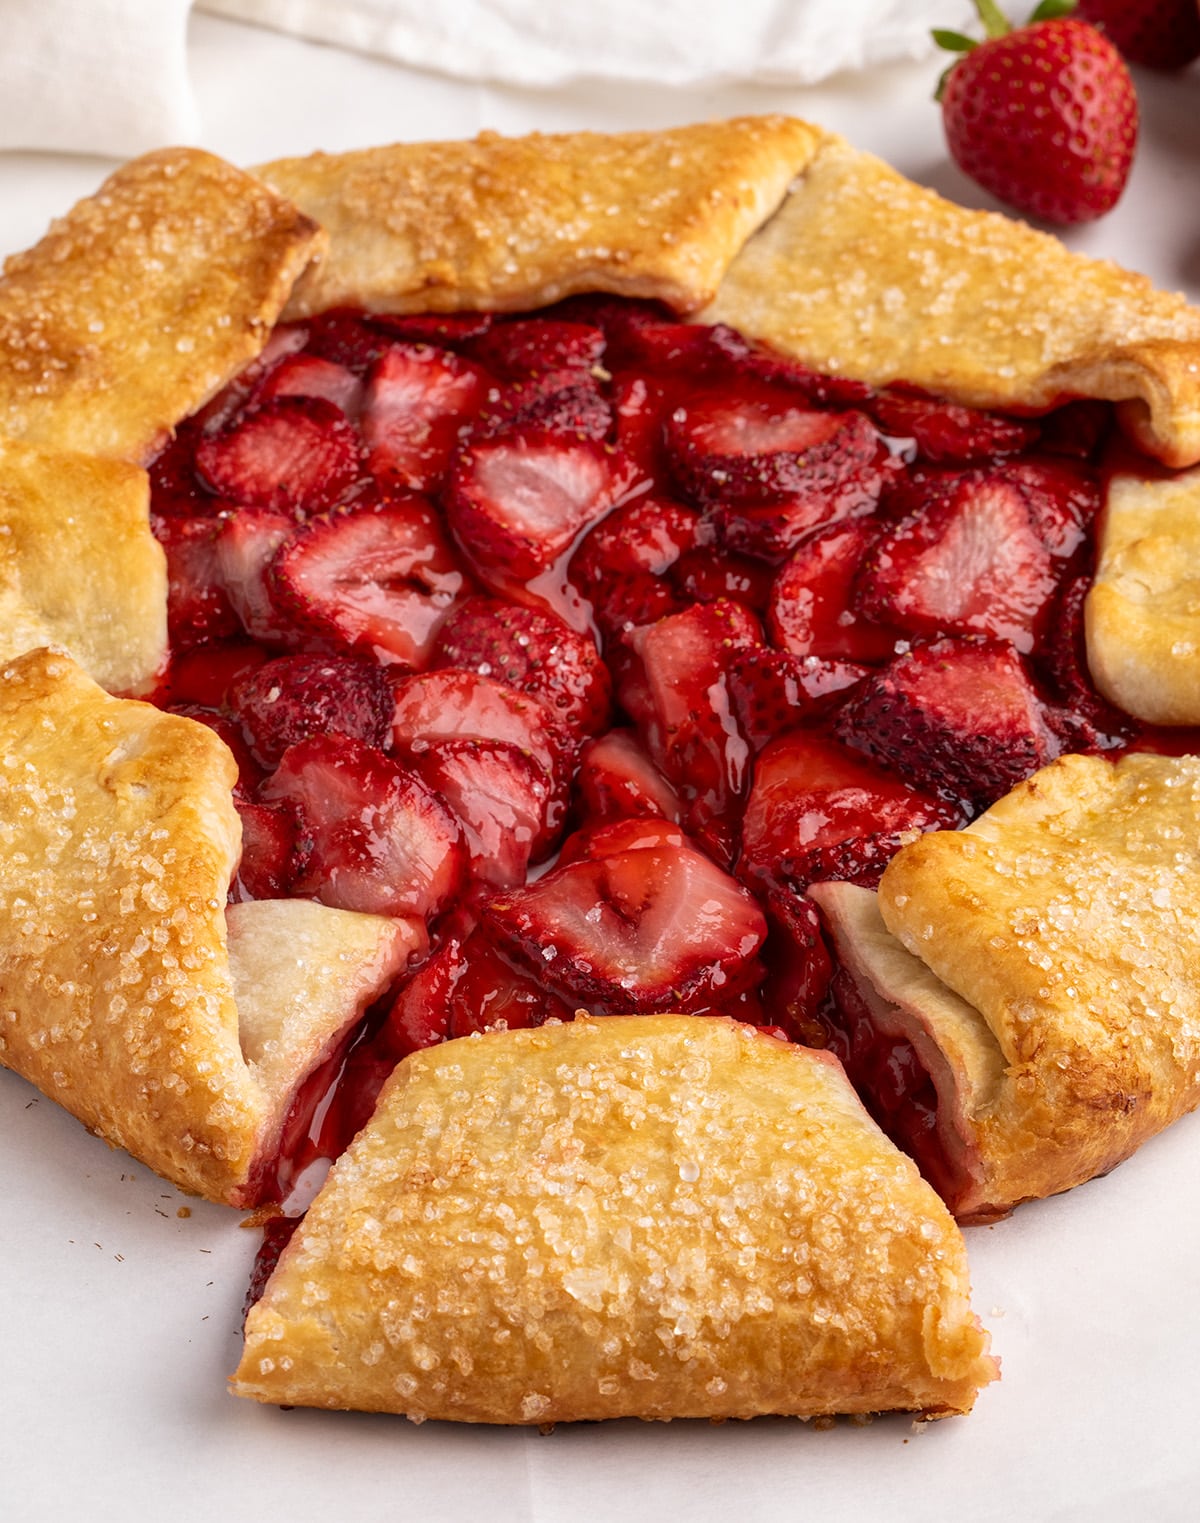
The humble galette, often overlooked in favor of its more structured pie cousin, offers a rustic charm and an approachable elegance that makes it a perfect canvas for showcasing seasonal fruits. This particular recipe for a gluten-free strawberry galette elevates the classic dessert with a flaky, golden crust embracing a vibrant, lightly sweetened strawberry filling. It’s a testament to the beauty of simplicity, proving that a dessert can be both visually appealing and deeply satisfying without requiring intricate pastry skills. The inherent ease of a galette lies in its freeform nature; there’s no need for a precise pie dish or elaborate crimping. Instead, a simple round of dough is folded around the filling, creating a beautiful, unfussy presentation that allows the natural flavors of the ingredients to take center stage. This recipe is particularly well-suited for the peak season of fresh berries, offering a way to celebrate their inherent sweetness and vibrant color.
The Appeal of the Galette: Ease Meets Elegance
The primary allure of a galette, especially for those new to baking or seeking a less time-intensive dessert, is its forgiving nature. Unlike a traditional pie, which demands a perfectly shaped crust nestled within a pie plate, a galette is inherently rustic. The dough is simply rolled into a circle, the filling is piled in the center, and the edges are folded inward, creating a charming, freeform tart. This relaxed approach to pastry making removes much of the intimidation associated with pie crusts, making it an accessible option for home bakers of all skill levels.
This gluten-free strawberry galette, however, goes beyond mere ease of preparation. It’s meticulously designed to deliver a superior flavor and texture profile. The strawberry filling, while bursting with the natural essence of the fruit, is kept delicately sweet, allowing the inherent tartness and aroma of the berries to shine. This balance is crucial for a seasonal dessert, ensuring that the focus remains on the quality of the fruit.
Furthermore, the recipe addresses common challenges associated with gluten-free baking, particularly when it comes to achieving a crisp and flaky crust. The absence of gluten can sometimes lead to a denser or more crumbly texture. This galette recipe, however, incorporates techniques to counteract this, resulting in a crust that is both sturdy enough to hold the filling and delightfully flaky. The strategy involves rolling the dough slightly thicker than one might for a conventional pie, providing a robust foundation. Additionally, a light brush of honey on the dough before the filling is added acts as a crucial barrier, helping to seal the pastry and prevent a dreaded soggy bottom, even with the moisture inherent in the strawberries. This thoughtful approach ensures that each bite offers a satisfying contrast between the crisp pastry and the luscious fruit.
Core Ingredients for a Stellar Gluten-Free Galette
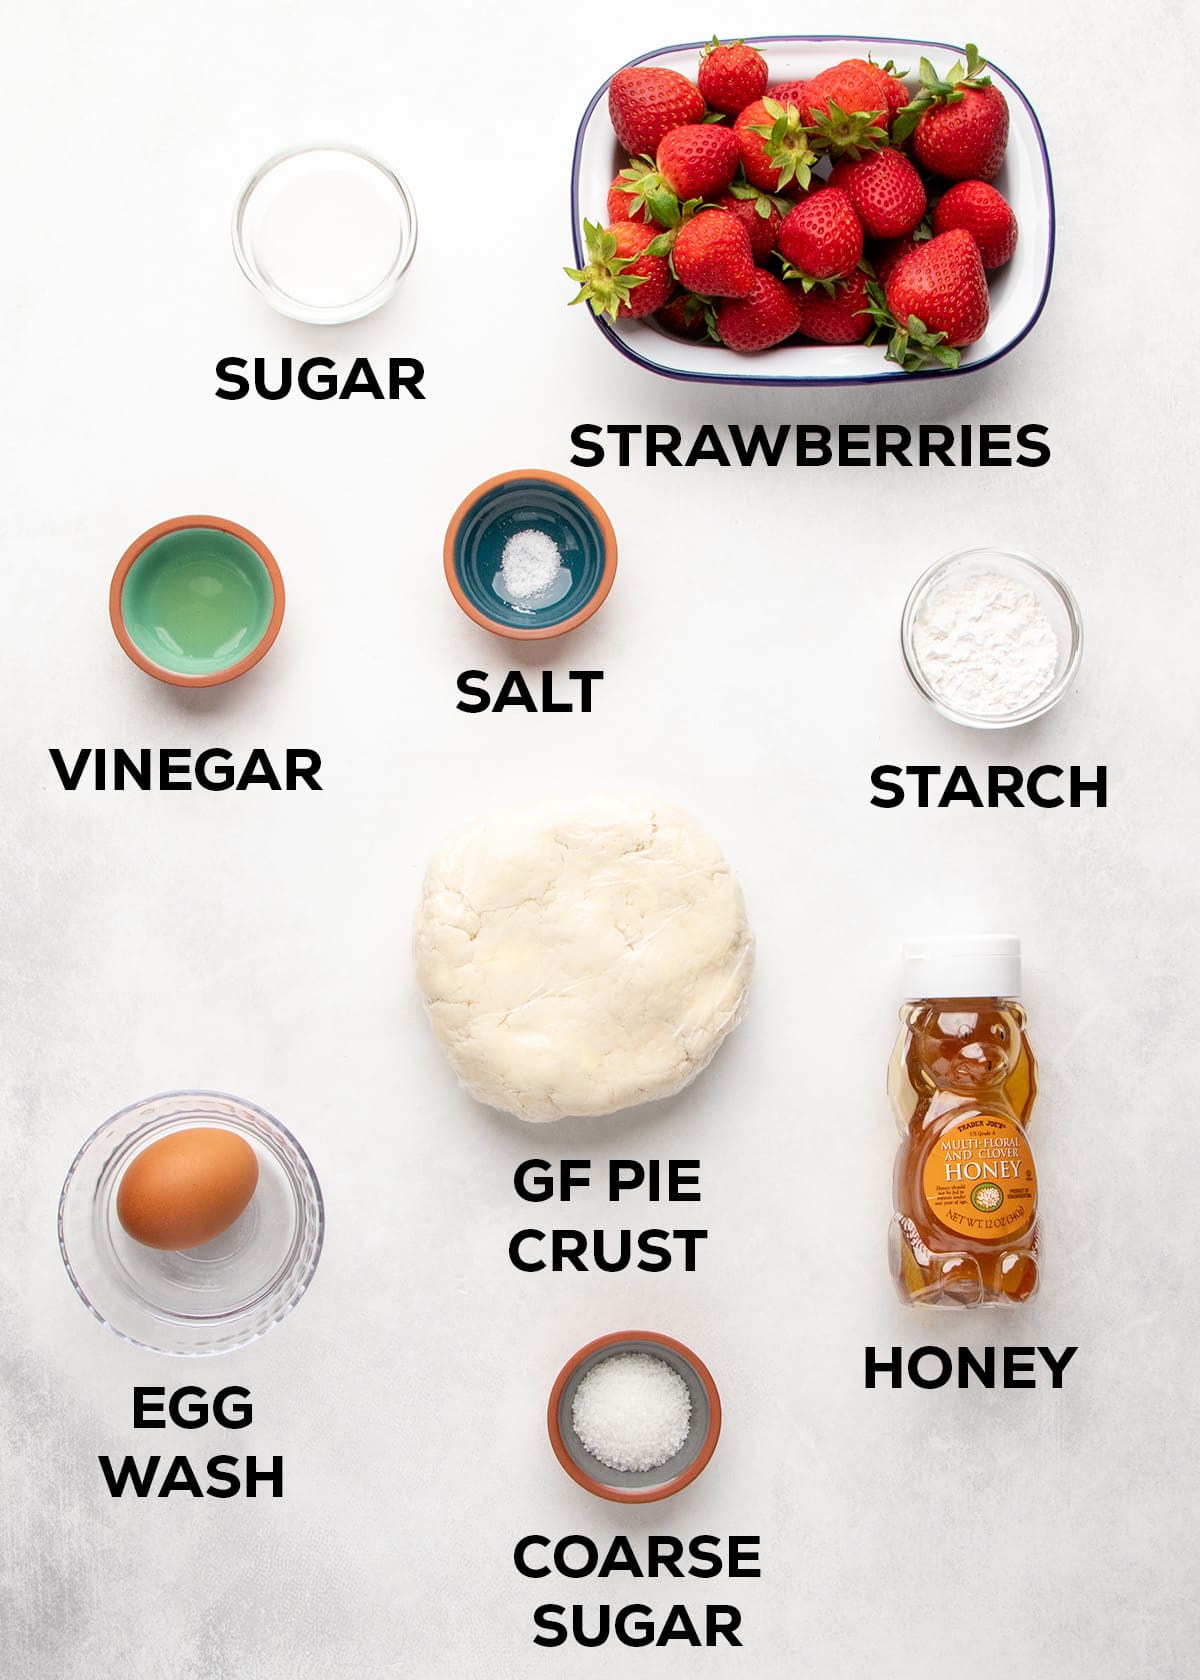
Creating this delightful gluten-free strawberry galette relies on a carefully selected set of ingredients, each playing a vital role in the final outcome. For those embarking on this culinary journey, understanding the purpose of each component can enhance the appreciation for the recipe’s design.
The foundation of this galette is, of course, the gluten-free pie crust. While the recipe provides guidance on its preparation, it’s important to note that the success of gluten-free baking often hinges on the quality of the flour blend used. The article mentions that blends like Better Batter’s original blend and Nicole’s Best multipurpose blend are highly recommended. Bob’s Red Mill 1-to-1 Gluten Free Baking Flour is also a viable option, though it may require an adjustment in xanthan gum content. Xanthan gum is a critical ingredient in gluten-free baking, acting as a binder and emulsifier, mimicking the elasticity that gluten provides. For those who prefer a homemade blend, the article directs readers to a resource for creating their own custom flour mixes, empowering bakers to tailor the recipe to their specific needs and preferences.

The star of the filling is, naturally, fresh strawberries. The recipe specifies washing, hulling, and thickly slicing them. This preparation method is key to preventing the berries from breaking down too much during baking, allowing them to retain some textural integrity and release their juices gradually. A touch of salt is incorporated to enhance the natural sweetness of the strawberries and balance the overall flavor profile. Granulated sugar is used to provide a subtle sweetness, but the recipe wisely advises adjusting this amount based on the natural sweetness of the berries themselves, encouraging a tasting approach. A small amount of vinegar is added, which may seem unconventional, but it serves to brighten the berry flavor and cut through the sweetness, adding a layer of complexity.
To achieve the characteristic glossy, thickened filling, tapioca starch is the preferred agent. Tapioca starch, also known as tapioca flour, is lauded for its ability to create a clear, smooth gel without imparting a gummy texture, which can sometimes be an issue with other starches. The recipe acknowledges that cornstarch, arrowroot, or potato starch can be used as alternatives, though tapioca starch is highlighted for its superior performance in this context. The process of allowing the berries to rest with the sugar, salt, and vinegar allows them to release their juices, which then interact with the tapioca starch to form a beautiful, cohesive sauce during baking.
For the exterior of the galette, a touch of honey is used to brush the dough before filling. This serves a dual purpose: it aids in browning, contributing to that coveted golden hue, and it helps to seal the dough, further preventing sogginess. An egg wash is then applied to the folded crust edges just before baking, which gives the pastry a beautiful sheen and a rich, golden-brown finish. Finally, a sprinkle of coarse-grained sugar over the crust adds a delightful crunch and an extra hint of sweetness, creating a pleasing textural contrast.
For those seeking to adapt the recipe, substitutions are readily available. Dairy-free bakers can replace the butter in the crust with a blend of vegan butter and shortening, aiming to replicate the moisture content of dairy butter. The honey can be substituted with Lyle’s Golden Syrup or a homemade simple syrup, offering flexibility for different preferences or ingredient availability.
The Art of Crafting a Gluten-Free Galette: A Step-by-Step Guide
The creation of a gluten-free strawberry galette is a process that unfolds in distinct, manageable stages, each contributing to the final masterpiece. This recipe breaks down the complex task of gluten-free baking into clear, actionable steps, empowering home cooks to achieve professional-quality results.
Making the Crust Dough
The journey begins with the preparation of the gluten-free pie crust. The initial step involves thoroughly whisking together the dry ingredients in a large bowl. This ensures an even distribution of the gluten-free flour blend, baking powder, salt, and any optional sugar, preventing clumps and ensuring consistent texture throughout the dough.
Next, cold, chopped butter is added to the dry ingredients. The butter is then worked into the flour mixture by tossing to coat, followed by a technique of pressing each piece of butter into a thin shard between the thumb and forefinger. This method is crucial for developing flakiness, as it creates layers of butter within the dough that melt during baking, producing steam and lifting the pastry.
Ice-cold water is then incorporated. It’s important to use water that is chilled to the point of being icy, but to filter out any actual ice cubes. The water is added gradually, just enough to bring the dough together. The goal is to hydrate all the flour without overworking the dough, which can lead to a tough crust. The dough should hold together when pressed, with no excessively dry spots.
Once the dough has come together, it’s wrapped in plastic wrap and pressed into a disk. This disc shape makes it easier to roll out later. The dough is then chilled in the refrigerator for approximately 30 minutes, or until firm. This chilling period is essential for solidifying the butter, which is key to achieving a flaky crust.
Preparing the Strawberry Filling
While the crust dough chills, attention turns to the vibrant strawberry filling. One pound of fresh strawberries is washed, dried, and hulled. They are then thickly sliced to maintain their shape during the baking process.
The sliced strawberries are placed in a bowl and seasoned with a dash of salt, granulated sugar, and a hint of vinegar. This mixture is allowed to rest, a process that draws out the natural moisture and intensifies the berry flavor.
Following this resting period, tapioca starch is mixed into the strawberry mixture. The starch will absorb some of the released moisture, contributing to the formation of a glossy sauce. The mixture is left to sit, allowing the starch to soften and the berries to release more of their juice, creating a luscious base for the galette.
Shaping and Filling the Galette
With the dough chilled and the filling prepared, the assembly of the galette can commence. The chilled dough is rolled out on a lightly floured surface. The key is to use just enough extra flour to prevent sticking, while minimizing its incorporation into the dough. The dough is rolled from the center outwards to create a round shape, approximately 13 to 14 inches in diameter and about 1/4-inch thick. This thickness is deliberately chosen to provide structural integrity without compromising flakiness.
The rolled-out dough is then carefully transferred to a sheet of parchment paper. A light brushing of honey is applied to the bottom of the dough. This honey layer serves to enhance browning and creates a barrier, further preventing the crust from becoming soggy during baking.
The strawberry filling is then spooned into the center of the prepared crust, leaving a 2-inch border of bare dough. This border will be folded over the filling. The edges of the dough are then folded up and over about a quarter of the filling, creating pleats as you go. The goal is to enclose most of the filling while leaving a significant portion exposed. Gentle pressure is applied to the folded crust to help it adhere to itself and the filling.
Finishing and Baking the Galette
The raw galette is then brushed with an egg wash over the entire top of the folded crust. This not only contributes to a beautiful golden-brown color and a glossy finish but also helps the coarse sugar adhere. A sprinkle of coarse-grained sugar is then distributed over the crust, adding a delightful textural element and a touch of sweetness.
Before baking, the assembled galette, still on its parchment paper, is placed on a small cutting board or large plate and chilled in the refrigerator. This crucial step ensures the dough is cold before it enters the hot oven. Cold butter melts more slowly in the oven, creating steam and resulting in a crispier, flakier pastry.
The oven is preheated to 375°F (190°C). The chilled galette, placed on a parchment-lined rimmed baking sheet, is then baked in the center of the preheated oven for approximately 35 minutes. The galette is ready when the exposed crust is a rich golden brown and the strawberry filling is visibly bubbling and has thickened into a glossy sauce.
Cooling and Serving
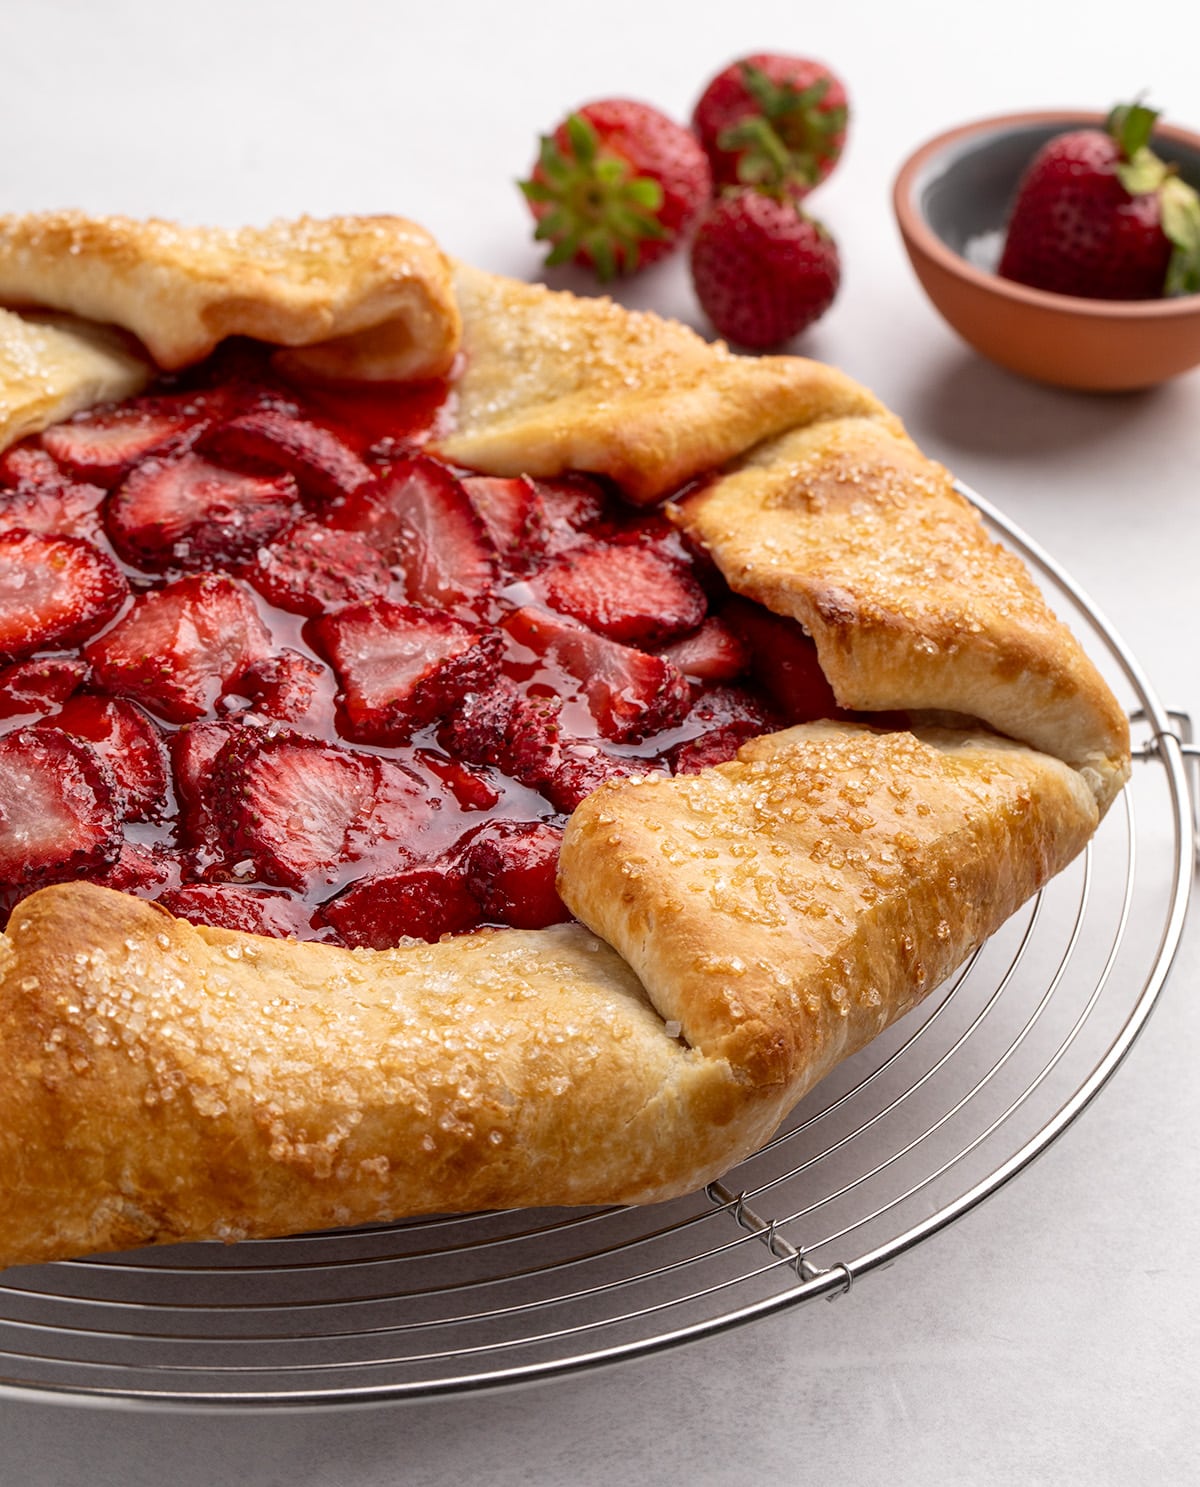
Once baked, the galette is left to cool on the baking sheet for a period, allowing the filling to set slightly and the pastry to stabilize. It is then transferred to a wire rack to cool further for about 20 minutes. This allows the filling to fully set, making it easier to slice. The galette is then sliced into wedges and served, either warm or at room temperature.
Expert Insights for a Perfect Galette
To elevate your gluten-free strawberry galette experience, several expert tips can ensure exceptional results. These insights address common concerns and offer creative avenues for customization.
Adjusting Sweetness for Optimal Flavor
The sweetness of berries can vary significantly based on ripeness, variety, and season. This recipe suggests starting with 1/4 cup of granulated sugar for the filling. However, the most critical advice is to taste the strawberries before adding the sugar. If they are particularly sweet and fragrant, the initial amount may suffice. Conversely, if the berries are on the tarter side, or if a sweeter filling is desired, up to an additional 1/4 cup of sugar can be added. This tasting step ensures that the final galette strikes the perfect balance between the natural fruit flavor and added sweetness.
Strategic Crust Preparation
For those who prefer to plan ahead, the gluten-free pie crust dough can be made up to a week in advance and stored in the refrigerator. Proper wrapping in plastic wrap is essential to prevent the dough from drying out. If the dough has been refrigerated for more than a couple of hours, it’s advisable to let it sit at room temperature for about 15 minutes before rolling. This brief tempering period will make the dough more pliable and less prone to cracking during the rolling process.
The Battle Against a Soggy Crust
A common concern in fruit-based desserts is the potential for a soggy crust, especially when dealing with particularly juicy or overripe fruits, or when using frozen fruit. The moisture released from the fruit can seep into the pastry, hindering its ability to crisp up during baking. To combat this, the recipe offers two proactive strategies. Firstly, if the fruit appears excessively wet, draining some of the excess liquid before filling the pastry can be beneficial. Secondly, if a significant amount of moisture is anticipated, adding up to an extra tablespoon of tapioca starch to the filling can help absorb the excess liquid and ensure a crisp crust.
Embracing Fruit Versatility
While this recipe highlights strawberries, the galette format is incredibly versatile and can be adapted to a wide array of fruits. Raspberries, blueberries, or a combination of these berries can be substituted directly for strawberries, offering delightful variations. Ripe stone fruits such as peaches, nectarines, or plums also lend themselves beautifully to galettes, provided their flesh is soft enough to cook at a similar rate to berries.
For fruits that are firmer and contain less moisture, such as apples, a slight adjustment in preparation is needed. Apples should be peeled, cored, and sliced thinly to ensure they become tender within the baking time of the pastry. It’s also important to note that apples contain more pectin than berries or stone fruits, which naturally helps them thicken. Therefore, less starch may be required when using apples.
Ingredient Substitutions for Dietary Needs and Preferences
The recipe is designed with adaptability in mind, offering straightforward substitutions to accommodate various dietary requirements and personal preferences.
Achieving a Dairy-Free Delight
For individuals following a dairy-free diet, the primary dairy component in this recipe is the butter used in the pie crust. The article suggests a practical substitution: using a combination of half a block of vegan butter and half a portion of butter-flavored Crisco or Spectrum brand shortening. This blend is recommended because it is believed to best replicate the moisture content and textural properties of dairy butter, ensuring a comparable flaky crust.
The Role and Alternatives to Tapioca Starch
Tapioca starch, also known as tapioca flour, is identified as the preferred thickening agent for the strawberry filling. Its advantage lies in its ability to create a gel that is both slightly viscous and clear, without becoming glue-like or opaque, thus preserving the vibrant appearance of the fruit. However, the recipe acknowledges that other starches can be successfully employed as alternatives. Cornstarch, arrowroot starch, and potato starch are all viable options that can achieve a similar thickening effect, though they may result in slightly different textures or opacities in the final filling.
Sweetening Substitutions for Honey
The recipe calls for honey to brush the dough before filling, contributing to browning and acting as a sealant. For those who do not have honey on hand or prefer an alternative, Lyle’s Golden Syrup is suggested as a direct substitute. Alternatively, a simple homemade simple syrup can be prepared. This involves heating equal parts granulated sugar and water until the sugar dissolves and the mixture boils gently for about 60 seconds. This clear, slightly thickened syrup can then be used in place of honey for brushing the dough. Any leftover simple syrup can be stored in a sealed container in the refrigerator for up to 14 days.
Storage and Preparation Strategies
The versatility of this gluten-free strawberry galette extends to its storage and preparation options, allowing for convenience and enjoyment over an extended period.
Preparing Ahead for Future Enjoyment
For ultimate convenience, the entire galette can be assembled in its raw state and then frozen. The assembled galette is placed on a baking sheet and frozen until completely firm. Once solid, it is tightly wrapped in freezer-safe material and returned to the freezer. When ready to bake, the galette can be transferred directly from the freezer to the oven. While this may require a slight increase in baking time, it eliminates the need for thawing, ensuring a freshly baked treat whenever the craving strikes.
Managing Leftovers for Extended Freshness
Any leftover slices of the galette can be stored in the refrigerator for up to five days. For longer storage, the galette can be kept in the freezer for up to three months. To revive any lost flakiness after refrigeration or freezing, it is recommended to warm the slices in a 300°F (150°C) toaster oven until they are heated through. This gentle reheating process helps to re-crisp the pastry, ensuring that the galette remains as delightful as when it was first baked.
