

This post may contain affiliate links. Please read our disclosure policy.
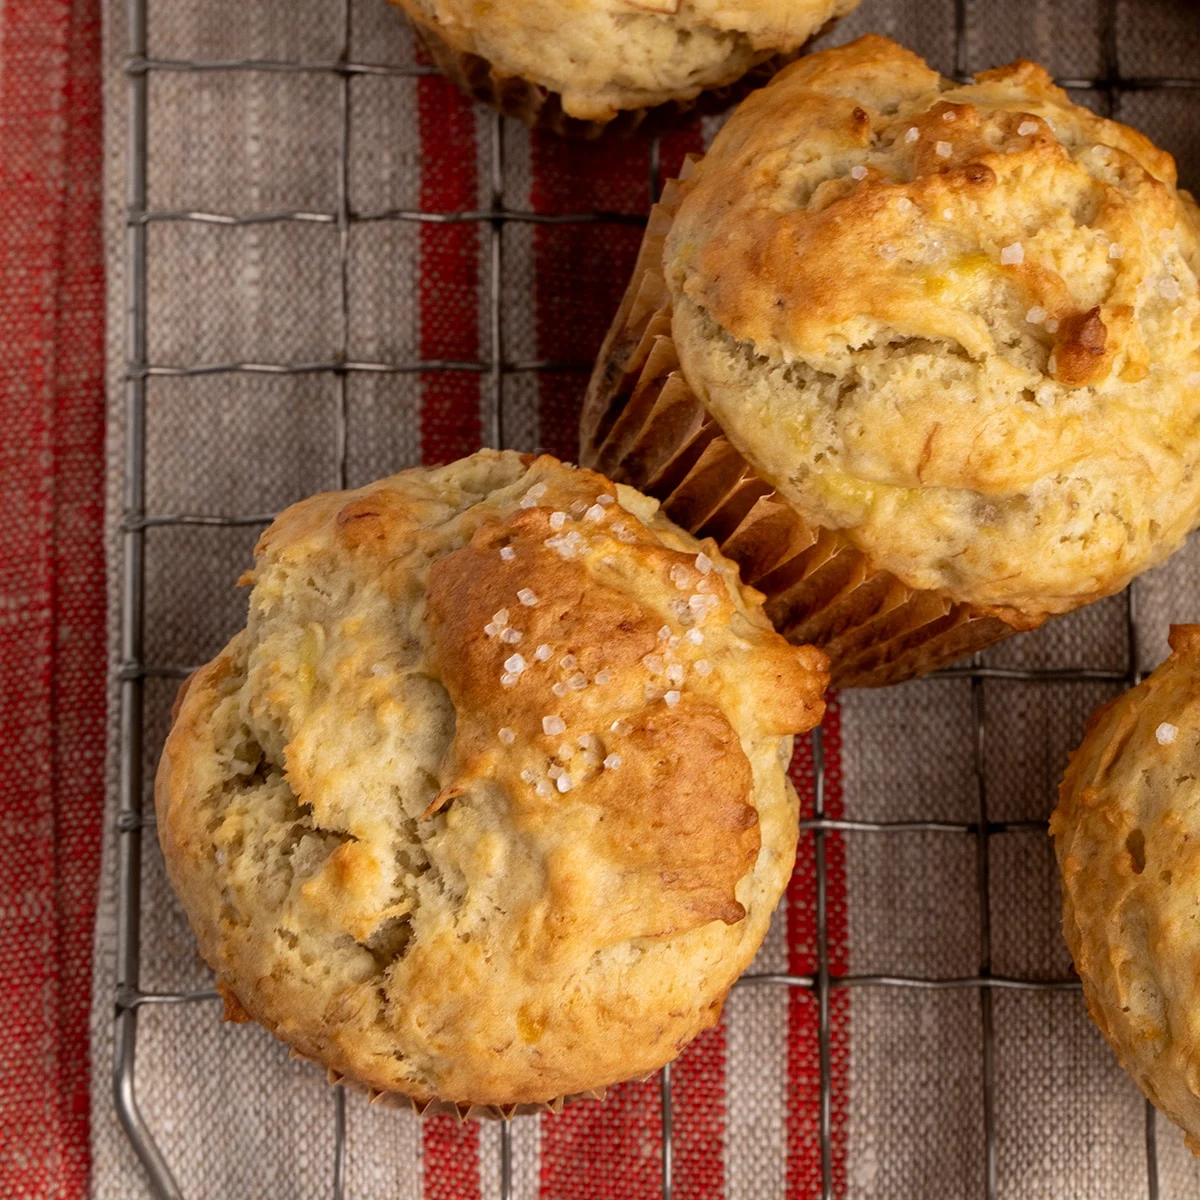
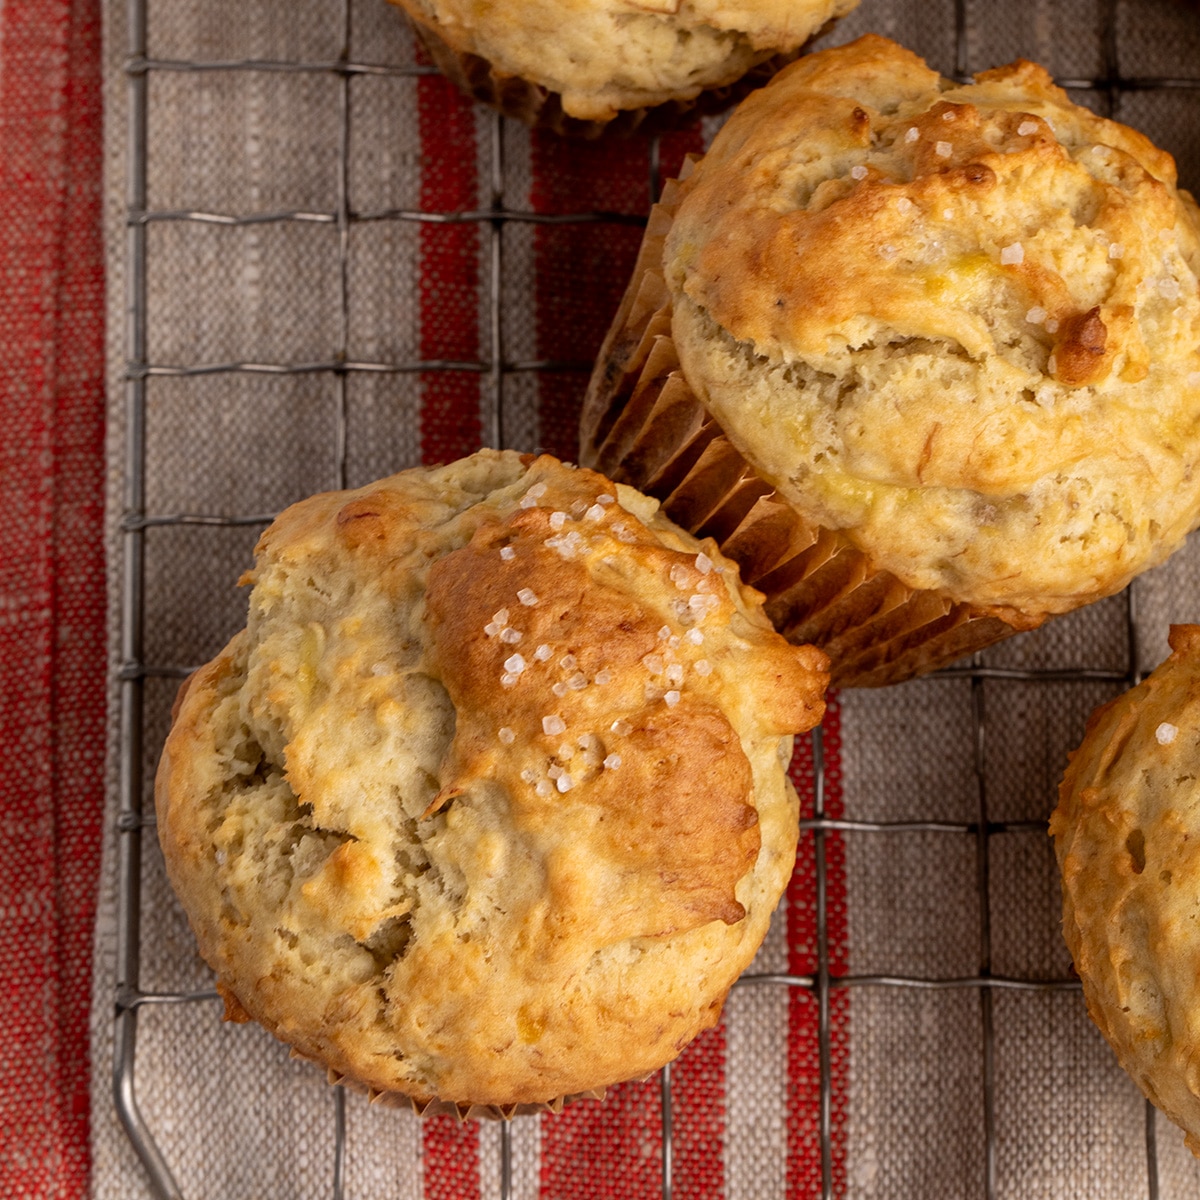
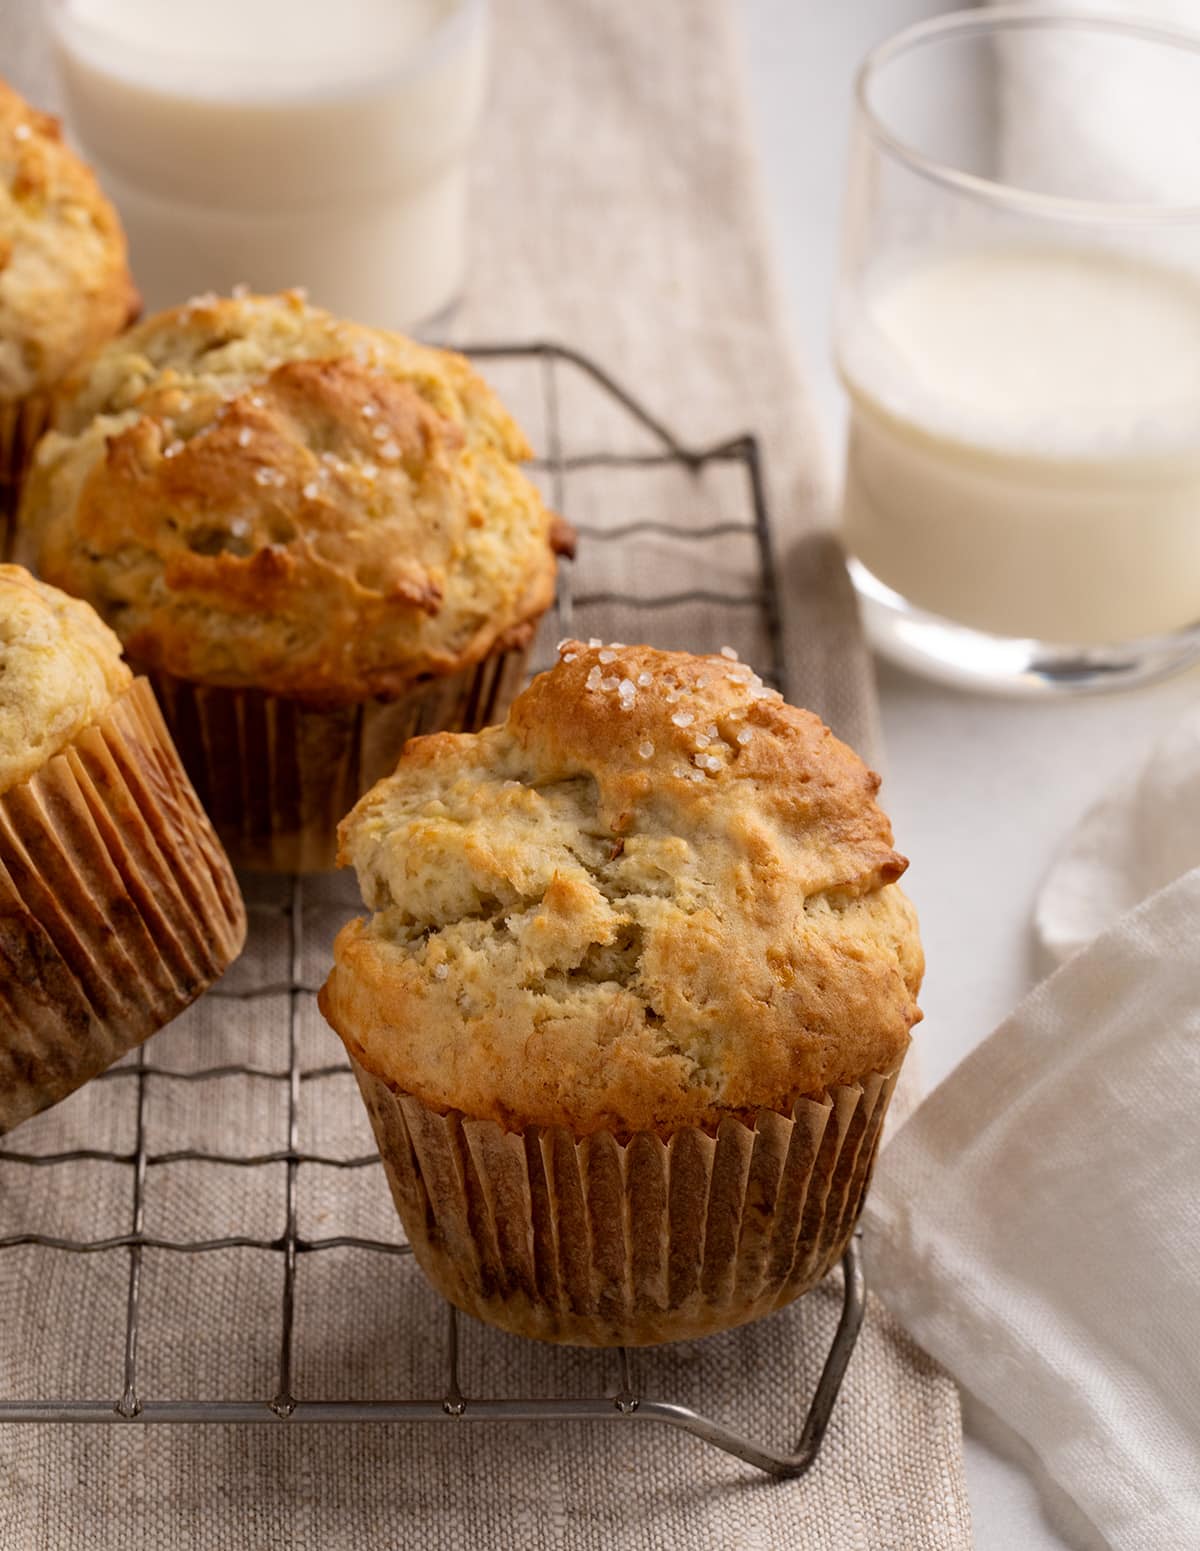
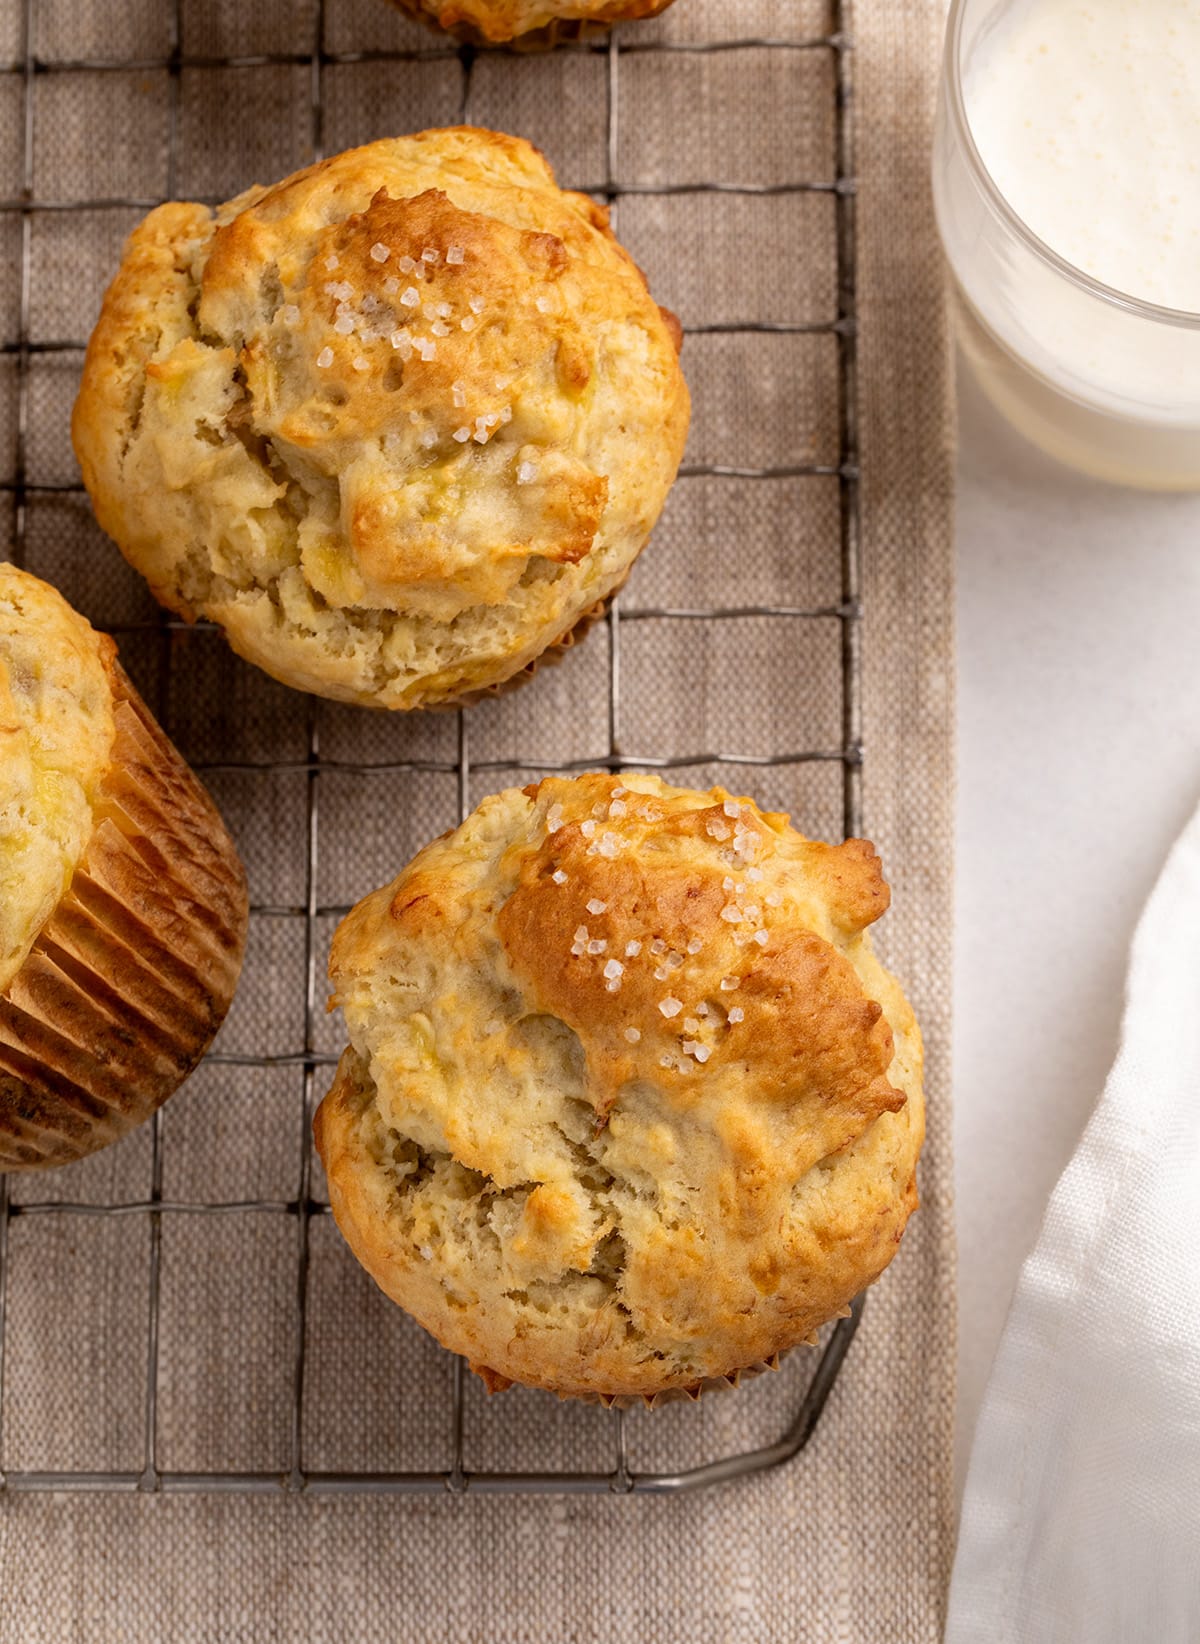
Even with nearly 2 cups of mashed banana, these gluten-free banana muffins bake up tall and golden, with deep banana flavor and a soft, fluffy crumb that never turns heavy or gummy.
Why This Recipe Works: A Culinary Breakthrough in Gluten-Free Baking
The quest for a truly exceptional gluten-free banana muffin has long been a challenge for home bakers and culinary scientists alike. Traditional muffin recipes, reliant on gluten for structure and texture, often result in gluten-free alternatives that are either dense, crumbly, or possess an undesirable gummy consistency. This particular recipe, however, appears to have cracked the code, achieving a remarkable balance of intense banana flavor and a light, airy crumb that rivals its gluten-containing counterparts.
The success of this recipe can be attributed to several key factors meticulously addressed in its formulation. Firstly, the generous inclusion of 1 ¾ cups of mashed ripe bananas is not merely for flavor but is strategically incorporated to contribute moisture and sweetness. However, the recipe’s genius lies in its careful batter composition, which prevents this substantial amount of fruit from overwhelming the structure and leading to a heavy texture.
A critical technique employed is the timing of the banana addition. By folding in the mashed bananas last, after most of the batter has been mixed, the recipe minimizes the release of excess moisture. This gentle incorporation prevents the formation of a gummy texture, a common pitfall in gluten-free baking, particularly with moist ingredients like fruit.
Furthermore, the fat component is expertly managed. A combination of melted butter and oil is utilized, a dual approach that imparts rich flavor from the butter while ensuring lasting moisture from the oil. This synergistic effect contributes significantly to the muffin’s tender crumb.
The baking process itself is a testament to precise temperature control. The muffins are initially baked at a high temperature (425°F) for a short duration. This initial blast of heat promotes rapid leavening and encourages the batter to rise quickly, creating those coveted tall, domed tops. Subsequently, the oven temperature is reduced to 350°F, allowing the interiors to bake through thoroughly without the risk of the exteriors burning. This two-stage baking method is a sophisticated technique that ensures optimal texture and appearance.
The Symphony of Ingredients: A Closer Look at the Recipe’s Components
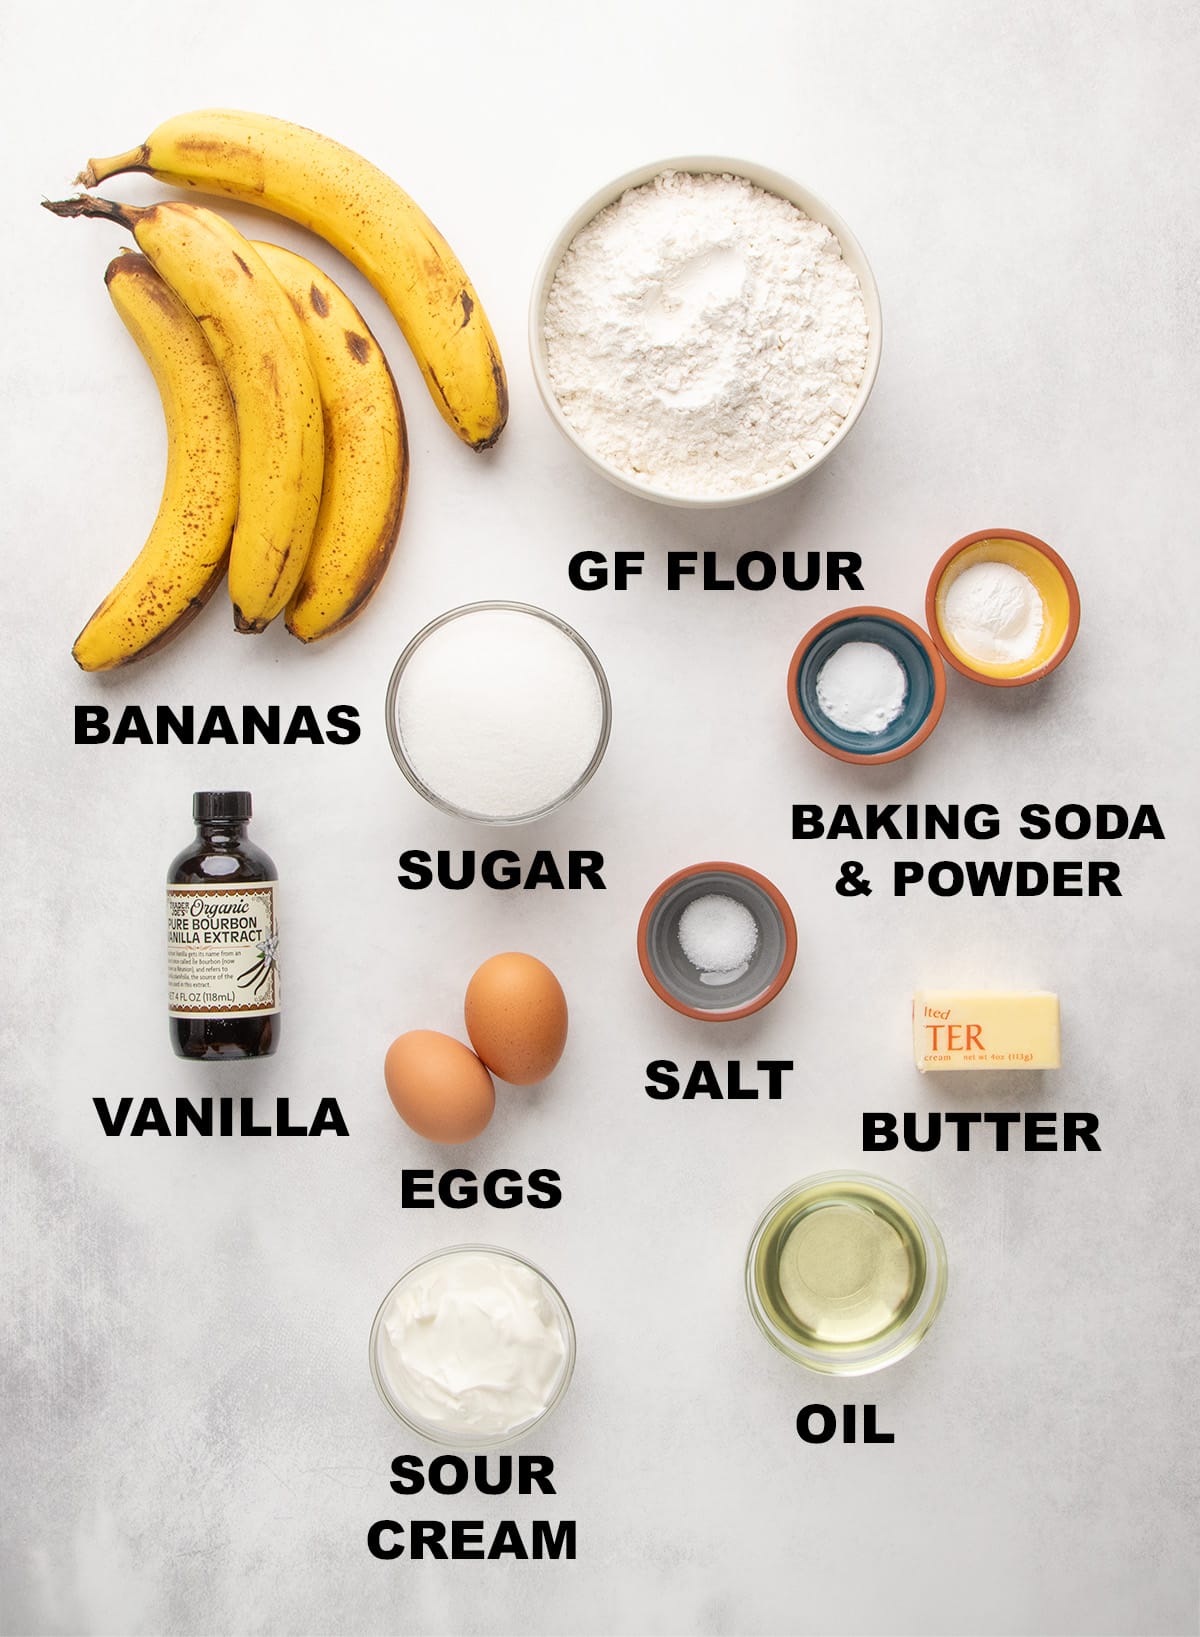
The creation of these exemplary gluten-free banana muffins hinges on the careful selection and interplay of specific ingredients. Each element plays a vital role in achieving the desired outcome, transforming simple components into a culinary delight.
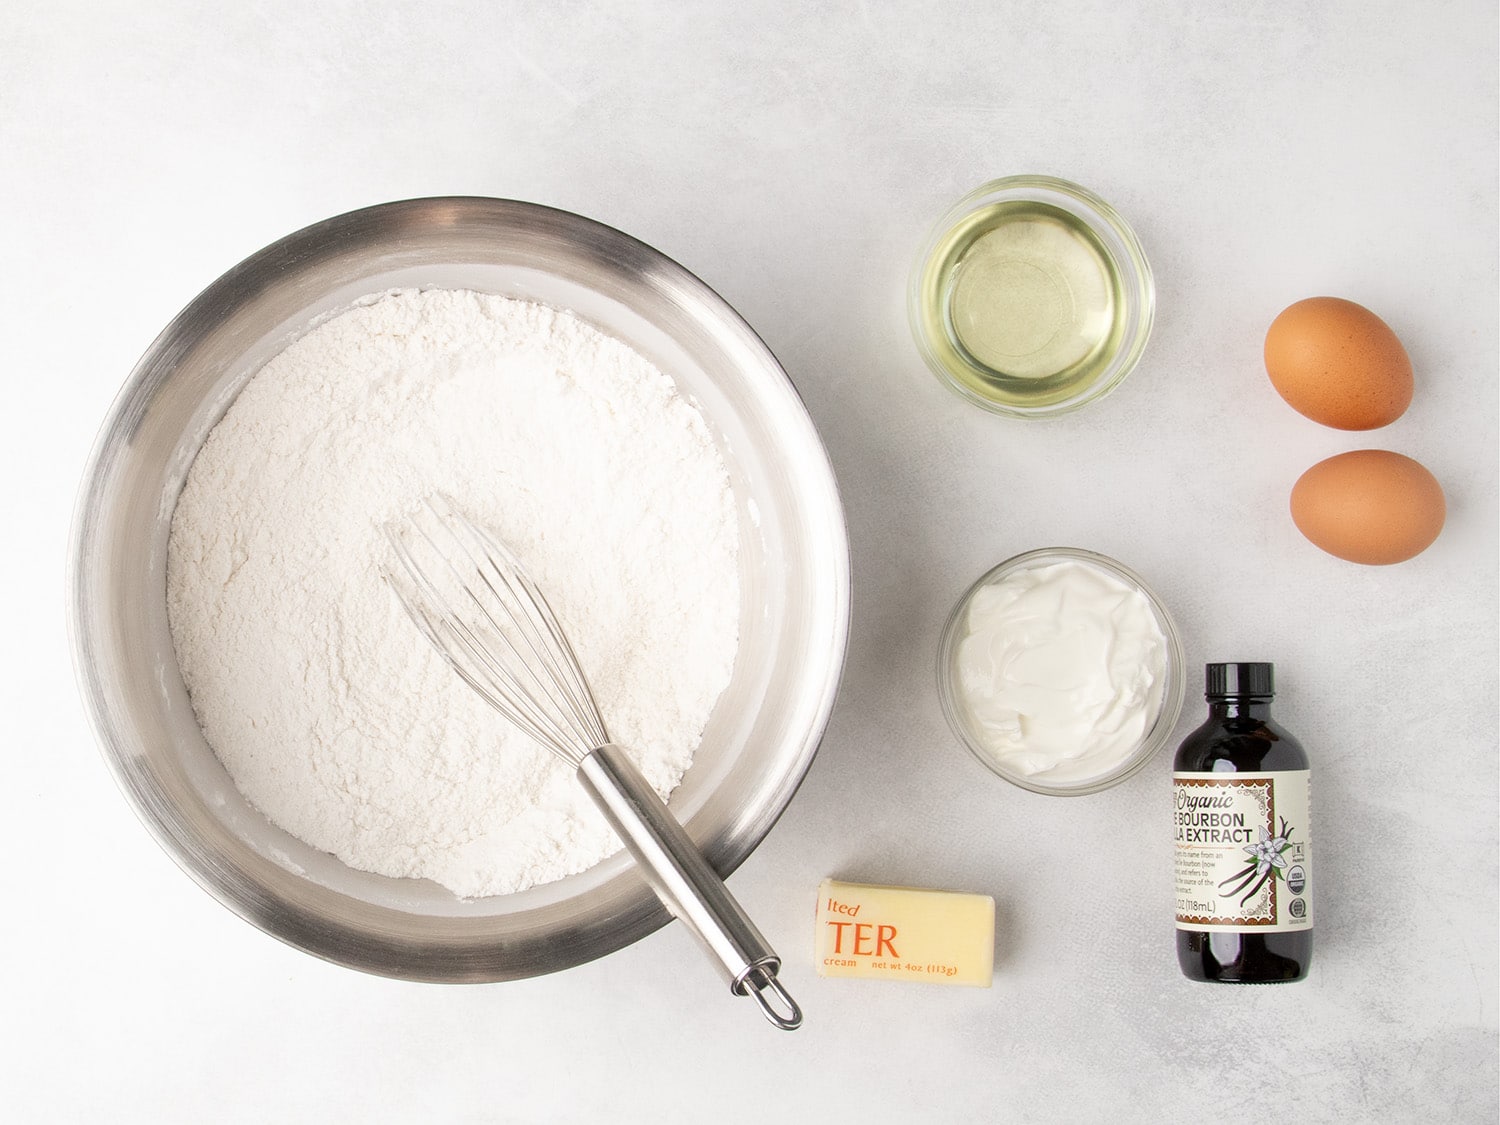
- Mashed Ripe Bananas: The undisputed star of the show, ripe bananas provide intense natural sweetness and a distinct banana aroma. The riper the banana, the more pronounced the flavor and the easier it is to mash to a smooth consistency. The quantity, nearly two cups, is substantial and directly contributes to the muffin’s moistness and characteristic flavor profile.
- Gluten-Free Flour Blend: The foundation of any gluten-free baked good, the flour blend is crucial. The recipe specifically recommends certain blends, such as Better Batter’s original blend (without added xanthan gum), Nicole’s Best multipurpose blend (with 1 1/3 teaspoons added xanthan gum), or Bob’s Red Mill 1-to-1 Gluten Free Baking Flour (with an additional 1/4 teaspoon xanthan gum). These recommendations highlight the importance of a well-formulated blend that mimics the properties of wheat flour, providing structure without the gluten. The addition of xanthan gum, a common gluten substitute, is carefully calibrated to prevent excessive crumbling and improve the dough’s elasticity.
- Xanthan Gum: As mentioned, this is often integral to gluten-free flour blends. Its role is to bind ingredients, mimic gluten’s elasticity, and prevent the final product from being crumbly. The precise amount can vary depending on the specific flour blend used, underscoring the need for careful adherence to recipe guidelines.
- Baking Powder and Baking Soda: These chemical leaveners work in tandem to provide lift and create a light, airy texture. Baking soda, an alkali, reacts with acidic ingredients (like sour cream or bananas) to produce carbon dioxide gas, while baking powder contains both an acid and a base, providing a double action leavening effect.
- Salt: A fundamental flavor enhancer, salt balances the sweetness and brings out the nuanced flavors of the other ingredients.
- Sugar: Granulated sugar contributes sweetness and aids in browning. The amount used is balanced to complement the natural sweetness of the bananas.
- Melted Butter: Provides richness, flavor, and contributes to a tender crumb. The use of melted butter ensures it can be easily incorporated into the batter.
- Oil: Often a neutral-flavored oil like vegetable or canola oil, it adds significant moisture and contributes to a softer texture that can last longer than recipes relying solely on butter.
- Sour Cream: A secret weapon for moist and tender baked goods, sour cream adds fat and acidity. The acidity reacts with baking soda to enhance leavening, and the fat content contributes to a luxurious mouthfeel. For dairy-free adaptations, strained dairy-free plain yogurt can be a suitable substitute.
- Eggs: Act as binders, providing structure and richness. The recipe calls for two eggs, a standard amount for many muffin recipes, contributing to the overall stability and texture of the muffins. For egg-free variations, several effective substitutes are available, including chia eggs, commercial egg replacers, or liquid egg substitutes.
- Vanilla Extract: Enhances the overall flavor profile, adding warmth and depth to the banana notes.
The Culinary Journey: A Step-by-Step Guide to Gluten-Free Banana Muffin Perfection
The process of creating these gluten-free banana muffins is designed for clarity and efficiency, ensuring even novice bakers can achieve excellent results. The recipe breaks down the baking into distinct, manageable stages.
Step 1: The Foundation – Combining Dry Ingredients
The initial step involves meticulously whisking together the gluten-free flour blend, xanthan gum (if not already present in the blend), baking powder, baking soda, salt, and sugar in a large mixing bowl. This thorough whisking is crucial to ensure the leavening agents and other dry components are evenly distributed, preventing pockets of unincorporated ingredients and guaranteeing a consistent rise throughout the muffins.
Step 2: Introducing the Wet Ingredients
A well is created in the center of the dry ingredients. Into this well, the melted butter, oil, eggs, sour cream, and vanilla extract are added. The instruction to begin mixing only the wet ingredients in the center before incorporating the dry is a subtle but important technique. It helps to emulsify the wet ingredients without overworking the gluten-free flour, which can lead to toughness. This method also simplifies the process by avoiding the need for a separate bowl for wet ingredients.
Step 3: The Merging of Elements
Mixing continues, gradually drawing the dry ingredients into the wet. The batter will likely be quite thick at this stage, too thick for complete integration into a smooth batter. This stage is about bringing the components together, not achieving perfect smoothness.
Step 4: The Gentle Embrace of Banana
All of the mashed bananas are then added to the partially mixed batter. Using a spatula, the bananas are gently folded in. This folding action is key. It ensures the bananas are incorporated without being over-mixed or mashed further, which could release too much moisture and lead to the dreaded gummy texture. As the bananas are folded in, the batter will loosen considerably.
Step 5: Portioning for Grandeur
For the most impressive, tall muffins, a specific lining strategy is recommended. The batter is scooped into muffin liners, filling every other well of the muffin tin. This provides ample space for the muffins to expand upwards without pressing against each other, promoting a taller, more aesthetically pleasing muffin. Each liner should be filled to the very brim with batter.
Step 6: The Initial Surge – High Heat Baking
The baking process commences at a high temperature of 425°F for the first 5 minutes. This initial burst of heat is critical. It rapidly activates the baking powder, causing the batter to puff up quickly. Simultaneously, it helps to set the outer layer of the muffins, forming the characteristic domed top.
Step 7: The Gradual Completion – Lower Heat Baking
Immediately after the initial 5 minutes, the oven temperature is swiftly reduced to 350°F. The muffins continue to bake for approximately another 15 minutes, or until a gentle press in the center of the muffin causes the top to spring back. This lower temperature allows the interior of the muffins to bake through completely without the risk of the exteriors becoming burnt. The golden-brown color indicates they are perfectly baked.
Step 8: The Cooling Transition
Upon removal from the oven, the muffins are left to cool in the tin for a brief 5 minutes. This short resting period allows them to firm up slightly. They are then transferred to a wire rack to cool completely. This ensures air circulation around the muffins, preventing any residual steam from creating a soggy bottom.
Expert Insights: Tips for Elevating Your Muffin Game
Achieving bakery-quality gluten-free banana muffins at home is attainable with a few insider tips. These nuanced techniques can make a significant difference in the final outcome.
For the Tallest Muffins
The secret to impressively tall muffins lies in understanding oven dynamics. The initial high heat (425°F) for the first 5 minutes is non-negotiable for achieving maximum oven spring. This rapid expansion is what gives the muffins their height. Following this with a lower temperature (350°F) ensures the interior cooks without burning the exterior. Additionally, baking in alternating muffin wells, as detailed in the recipe, prevents the muffins from impeding each other’s rise, contributing to their individual height.
Prompt Removal from the Tin
Once baked, it’s imperative to remove the muffins from the tin promptly, ideally within 5 minutes. Leaving them in the hot tin for extended periods can cause them to steam in their liners. This trapped moisture can lead to an unpleasantly chewy exterior, compromising the desired tender crumb. Transferring them to a wire rack facilitates even cooling and maintains their texture.
Navigating Dietary Nuances: Ingredient Substitutions for Diverse Needs
The beauty of this recipe lies in its adaptability. For individuals with specific dietary restrictions, several modifications can be made without sacrificing the muffin’s integrity.
Dairy-Free Adaptation
For those avoiding dairy, the butter can be replaced with melted and cooled virgin coconut oil. For a neutral flavor, triple-filtered coconut oil is recommended. The sour cream can be substituted with a dairy-free sour cream alternative or by straining plain dairy-free yogurt until it achieves a Greek-yogurt-like consistency. This ensures the fat and acidity are maintained, crucial for texture and leavening.
Egg-Free Alternatives
For egg allergies or preferences, several reliable substitutes can be employed. One effective option is the "chia egg," made by mixing one tablespoon of ground chia seeds with two tablespoons of water and allowing it to gel. Commercial egg replacers, such as Bob’s Red Mill egg replacer or "Just Egg" liquid egg replacer, are also viable options that can successfully bind and provide structure to the muffins.
The Art of Preservation: Storing Your Gluten-Free Banana Muffins
Proper storage is key to maintaining the freshness and delightful texture of these gluten-free banana muffins.
Room Temperature Storage: After ensuring the muffins have cooled completely to prevent condensation, they should be stored in an airtight container at room temperature. In this manner, they can remain fresh for up to 5 days.
Reviving Day-Old Muffins: If a muffin feels slightly dry, a simple revival technique can be employed. Briefly run the muffin under cold water, then warm it in a toaster oven at 300°F for a couple of minutes. This reintroduces moisture and revitalizes the texture.
Long-Term Freezing: For extended storage, cooled muffins can be frozen. First, place them on a baking sheet until solid to prevent them from clumping together. Once frozen, transfer them to a zip-top bag for storage in the freezer for up to 2 months. Thawing can be done at room temperature or by microwaving for approximately 25 seconds. For the best texture upon reheating, a low toaster oven setting is recommended.
For those seeking additional banana-based gluten-free recipes, the author also offers a delightful almond flour banana muffin variation.
Frequently Asked Questions: Addressing Common Baking Queries
Can I make these muffins using frozen bananas?
Yes, frozen bananas can be used. It is essential, however, to ensure they are fully thawed before incorporating them into the batter. As frozen bananas defrost, they release water. It is important to use both the thawed fruit and its accumulated liquid to maintain the correct moisture balance in the recipe.
Why did my muffins sink as they cooled?
A sinking muffin is often a sign of underbaking. The exterior may appear cooked, but the interior remains raw. This can occur if the oven temperature is too high, causing the outside to set before the inside has a chance to fully cook and stabilize. Utilizing an oven thermometer and baking until the muffin centers spring back when gently pressed are reliable indicators of doneness.
Can I use this recipe to make mini muffins?
Absolutely. For mini muffins, a 24-cup mini muffin tin is recommended. Fill each well to the top. Begin checking for doneness at around 15 minutes, and bake at 350°F from the start. They are ready when the tops are springy to the touch.
Can I add chocolate chips or nuts?
Indeed. Up to ½ cup of chocolate chips or 2 to 3 ounces of chopped nuts, such as walnuts or pecans, can be added to the batter. For a touch of spice, consider stirring 1 teaspoon of ground cinnamon into the dry ingredients for a warm, aromatic variation.
Nutritional Information
Serving: 1 muffin | Calories: 234kcal | Carbohydrates: 37g | Protein: 2g | Fat: 8g | Saturated Fat: 3g | Polyunsaturated Fat: 1g | Monounsaturated Fat: 3g | Trans Fat: 0.1g | Cholesterol: 32mg | Sodium: 190mg | Potassium: 107mg | Fiber: 2g | Sugar: 16g | Vitamin A: 178IU | Vitamin C: 2mg | Calcium: 42mg | Iron: 0.2mg
Nutrition information is automatically calculated and should be considered an approximation.
