

These gluten-free breakfast bars are more than just a convenient snack; they are a carefully crafted culinary creation that evokes the comforting essence of a warm, brown sugar and cinnamon oatmeal bowl. Designed with a focus on familiar flavors and a satisfyingly chewy texture, these bars are particularly appealing to children, making them a welcome addition to busy family mornings. The recipe prioritizes a balanced sweetness and a pleasing chew, distinguishing it from traditionally crunchier granola bar alternatives.
The Science Behind the Perfect Chew: Why This Recipe Excels
The success of these gluten-free breakfast bars lies in the thoughtful combination of key ingredients. The use of both oat flour and whole rolled oats is central to achieving the desired "oatmeal" flavor profile without relying on textural elements like nuts, which can be problematic for those with allergies or dietary restrictions. The oat flour provides a smooth, tender crumb, while the whole rolled oats contribute a subtle, pleasant chewiness that enhances the overall mouthfeel.
Complementing the oat base, brown sugar and cinnamon impart a gentle caramel sweetness and a universally loved aroma. A touch of honey serves as a crucial binder, ensuring the bars hold their shape without becoming overly sticky. This careful balance results in a texture and sweetness level that is distinct from many gluten-free granola bars, which can sometimes be overly sweet or crumbly.
A unique aspect of this recipe is the baking technique. By utilizing a lower oven temperature, the bars bake to a pale, soft, and wonderfully chewy consistency, rather than developing a deep, caramelized crust. This method ensures that the bars retain their intended texture and flavor. Furthermore, they are formulated to be sturdy enough for on-the-go consumption, resisting the common pitfall of crumbling, and they freeze exceptionally well, offering a practical solution for meal prepping and ensuring a quick breakfast option is always on hand.

Understanding the Core Components: Recipe Ingredients
To recreate these delightful gluten-free breakfast bars, a specific set of ingredients is required. The recipe card provides precise measurements, but the fundamental components include:
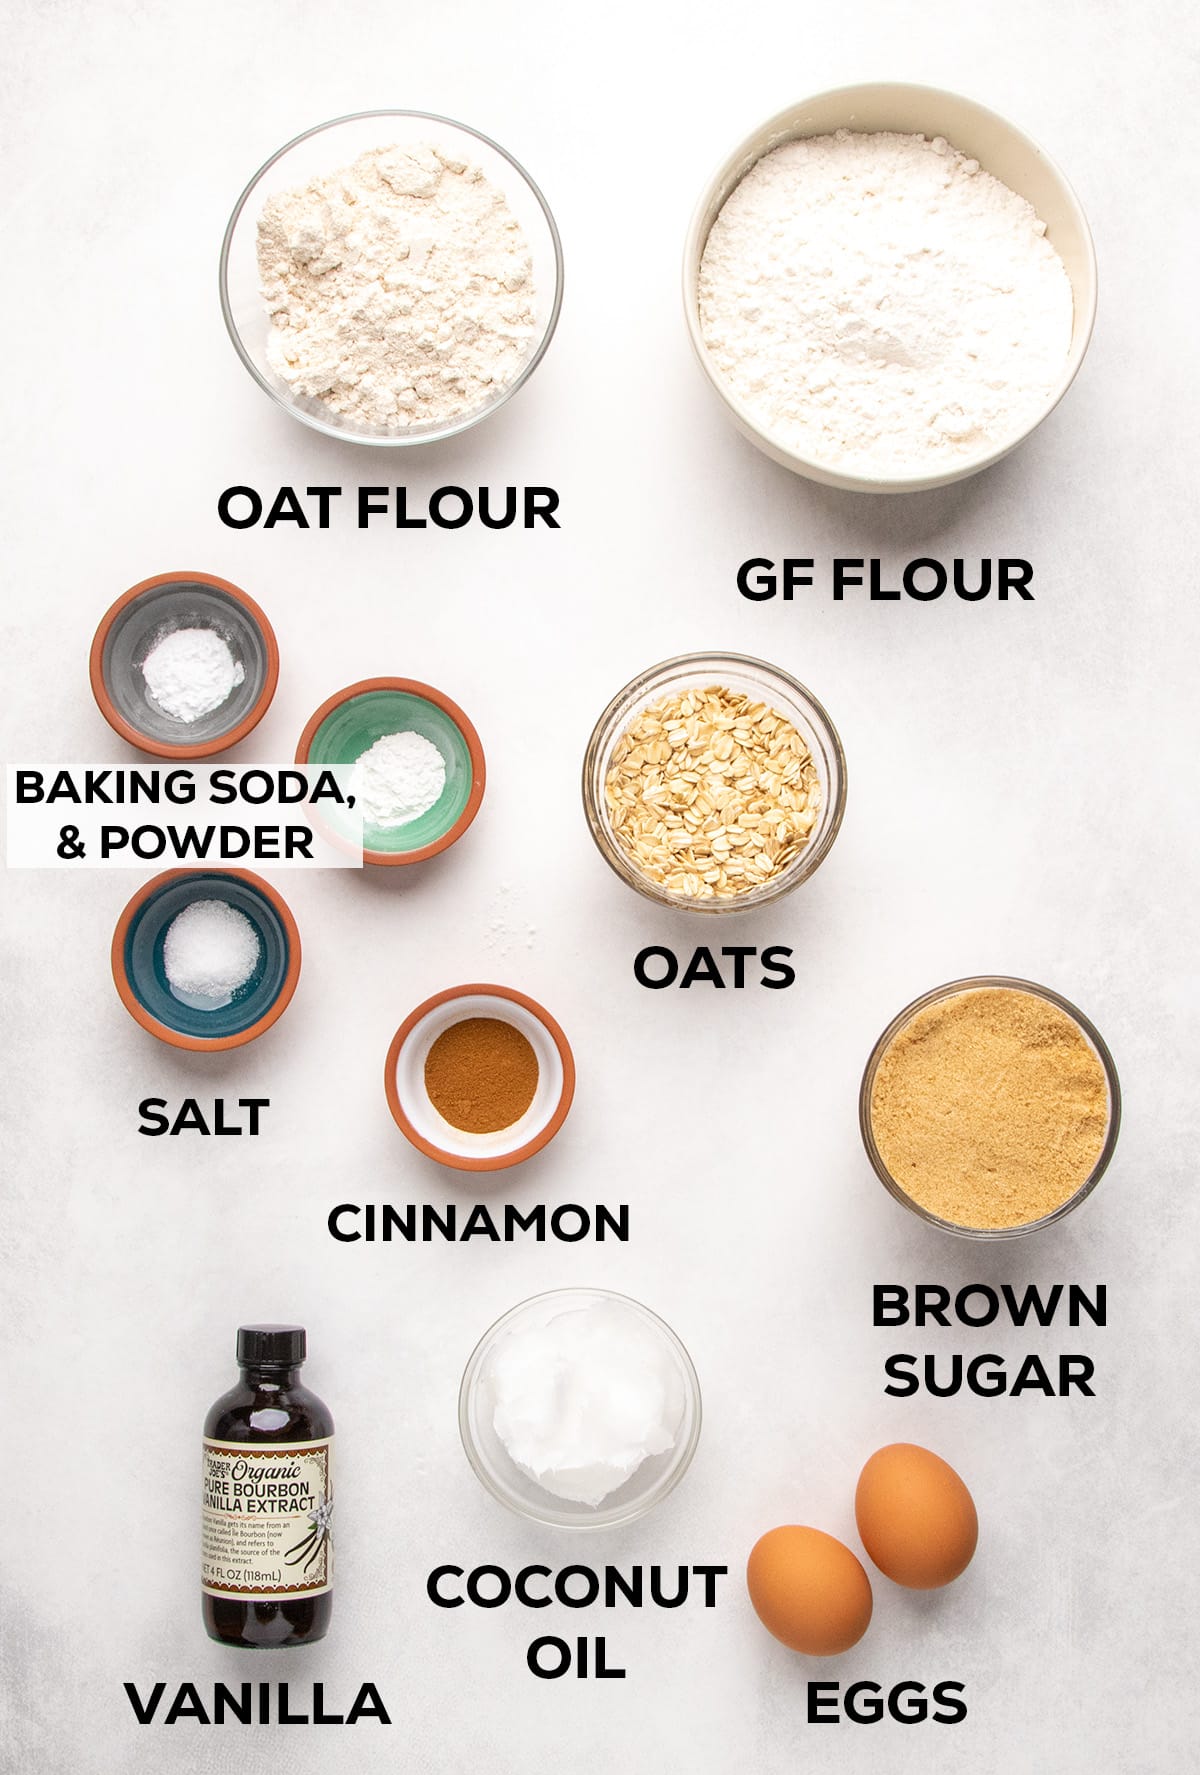
- Gluten-Free Flour Blend: A carefully selected blend is crucial for achieving the right texture. The recipe specifically recommends Better Batter’s original all-purpose blend or Nicole’s Best multipurpose blend, noting the importance of adding one teaspoon of xanthan gum to the latter. For those using Bob’s Red Mill 1-to-1 gluten-free baking flour, an additional 1/4 teaspoon of xanthan gum is advised due to its lower binder content. Alternatively, home bakers can create their own high-quality gluten-free flour blends, following established recipes.
- Oat Flour: This ingredient is essential for delivering the authentic oatmeal flavor and contributing to the soft crumb.
- Rolled Oats: Whole rolled oats add texture and reinforce the oatmeal essence.
- Leavening Agents: Baking powder and baking soda work in tandem to provide a slight lift and contribute to the tender texture.
- Salt: Balances the sweetness and enhances the overall flavor profile.
- Cinnamon: The quintessential spice for oatmeal, providing warmth and aroma.
- Brown Sugar: Contributes moisture, a subtle caramel note, and sweetness.
- Honey: Acts as a binder and adds a delicate sweetness.
- Eggs: Bind the ingredients and contribute to the structure and richness.
- Coconut Oil: Provides fat for tenderness and moisture. Refined coconut oil is recommended for its neutral flavor and solidifying properties upon cooling.
- Vanilla Extract: Enhances the overall flavor.
For those opting for the optional glaze, additional ingredients include:
- Confectioners’ Sugar: The base for the sweet, drizzly topping.
- Milk (or water): To achieve the desired glaze consistency.
- Unsalted Butter (or vegan alternative): Adds richness and smoothness to the glaze.
A Step-by-Step Guide to Crafting Gluten-Free Breakfast Bars
The preparation of these bars is a straightforward process, designed for home bakers of all skill levels.
Step 1: Combining Dry Ingredients
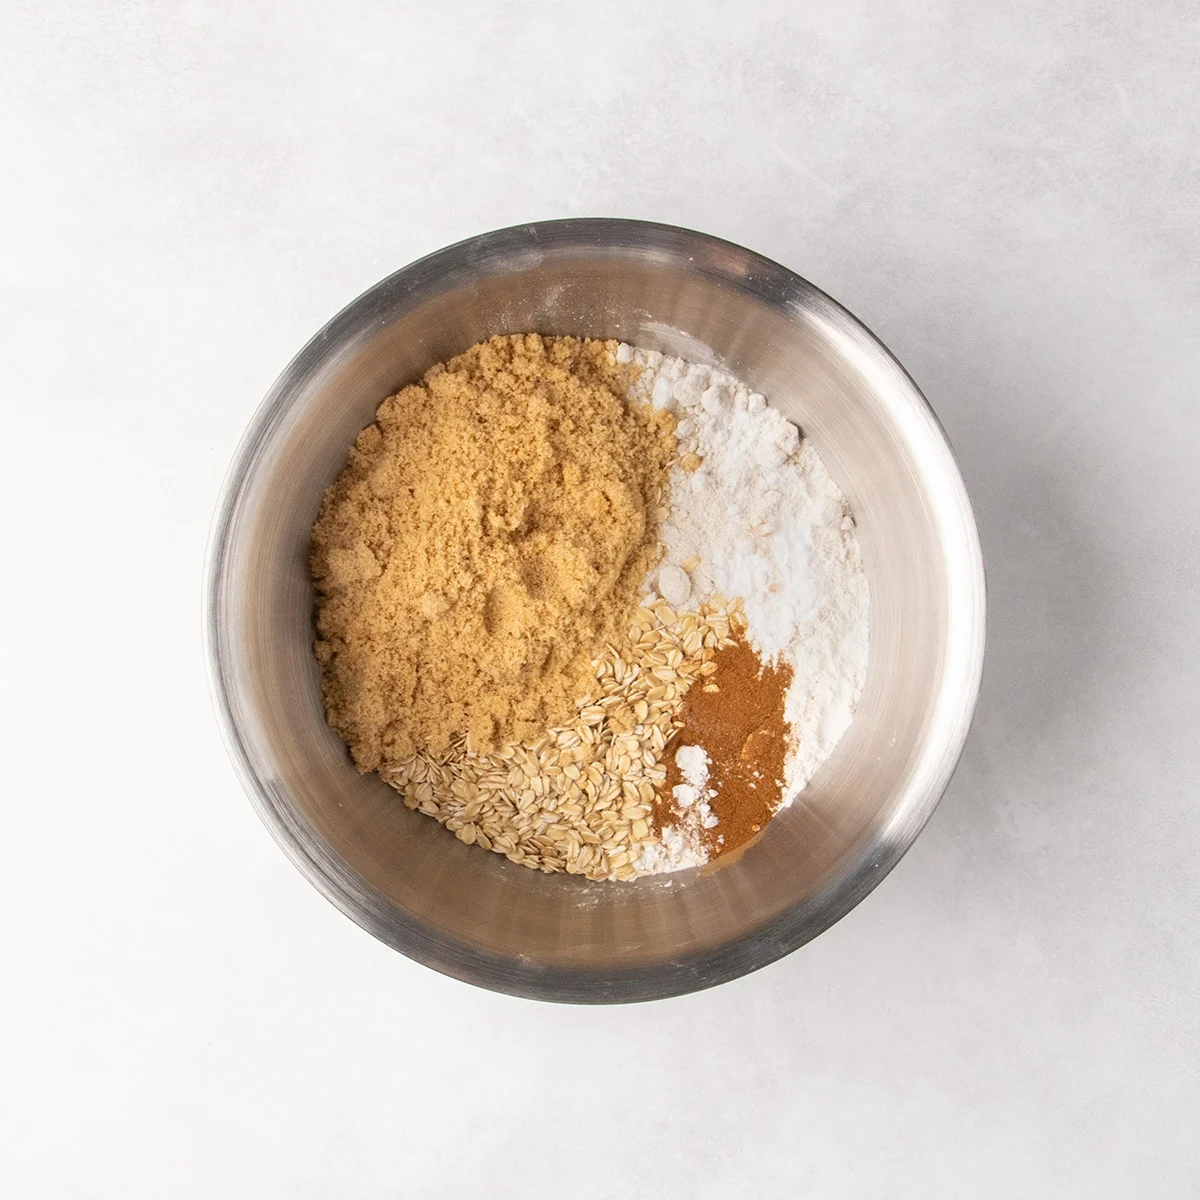
The initial step involves thoroughly whisking together all the dry ingredients in a large mixing bowl. This includes the gluten-free flour blend (with xanthan gum if applicable), oat flour, baking powder, baking soda, salt, cinnamon, light brown sugar, and rolled oats. This thorough mixing ensures that the leavening agents and salt are evenly distributed, preventing any pockets of bitterness or unevenness. It also minimizes the amount of mixing required once the wet ingredients are added, which can help maintain a tender crumb. It is crucial to break up any lumps in the brown sugar, as residual moisture can cause it to clump, impacting the final texture.
Step 2: Incorporating Wet Ingredients
Next, the liquid ingredients – beaten eggs, melted coconut oil, and vanilla extract – are added to the dry mixture. The ingredients are mixed until just combined, forming a dough that should hold together when squeezed. The dough is intentionally not overly wet; its consistency should be such that it can be pressed into a cohesive mass. If any dry pockets remain, a small amount of lukewarm water can be drizzled in sparingly, but caution is advised to prevent over-moistening, which can lead to the bars spreading excessively during baking.
Step 3: Rolling the Dough
The dough is then turned out onto a piece of parchment paper. It is roughly pressed into a 1-inch thick square. A rolling pin is then used to evenly roll the dough from the center outwards, aiming for an 8-inch square that is approximately 3/4-inch thick. If the dough cracks easily during this process, it should be gathered back together, pressed firmly, and the rolling attempted again. This ensures a uniform thickness for even baking.
Step 4: Shaping and Cutting the Bars
To achieve the signature thick, upright bars, the edges of the rolled dough square are sharpened using a metal bench scraper or another straight-edged tool. This creates 3/4-inch tall walls. Similar to how sharp edges help gluten-free biscuits rise vertically, these defined edges encourage the breakfast bars to bake upwards rather than spreading outwards. The dough is then cut into nine equal-sized squares, with an emphasis on maintaining sharp, clean edges. If achieving clean cuts proves difficult, refrigerating the dough for a short period can firm it up, making it easier to slice.
Step 5: Baking the Bars
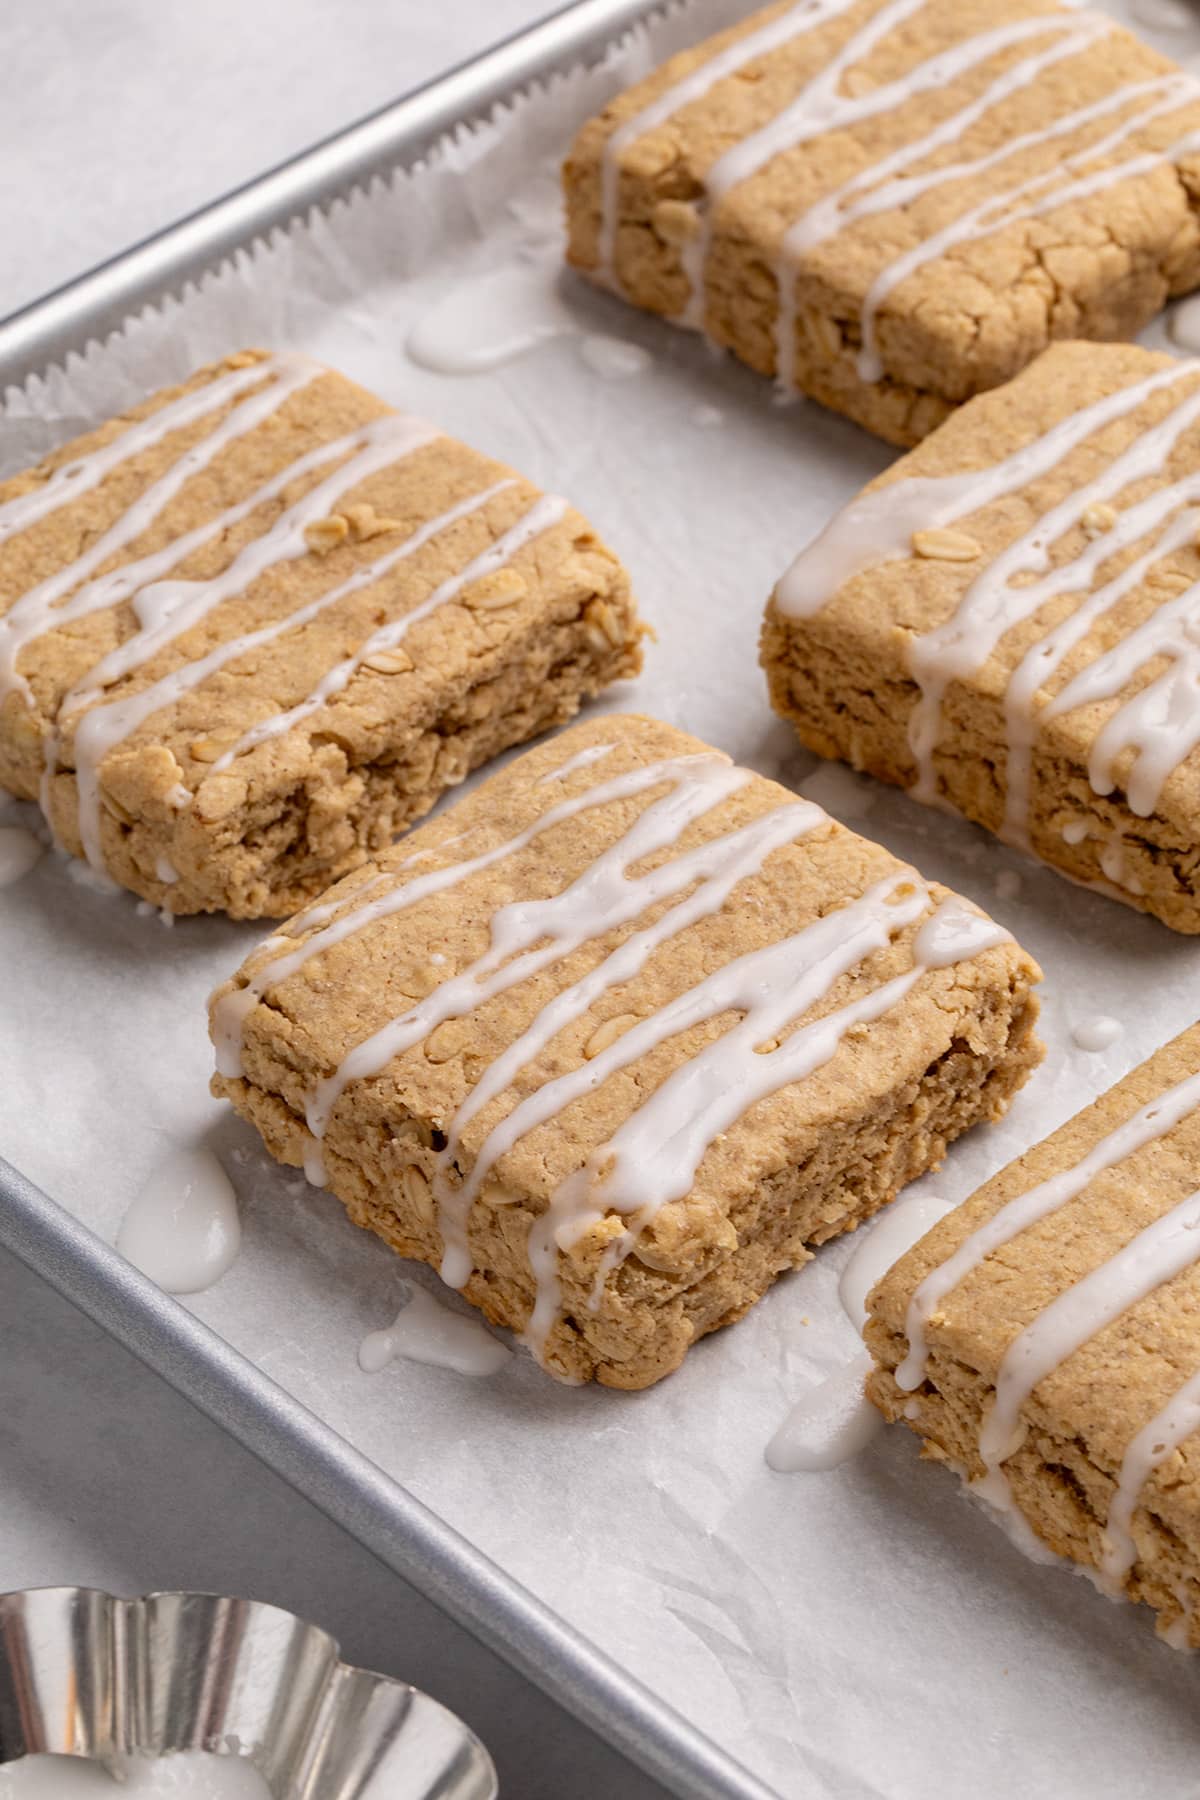
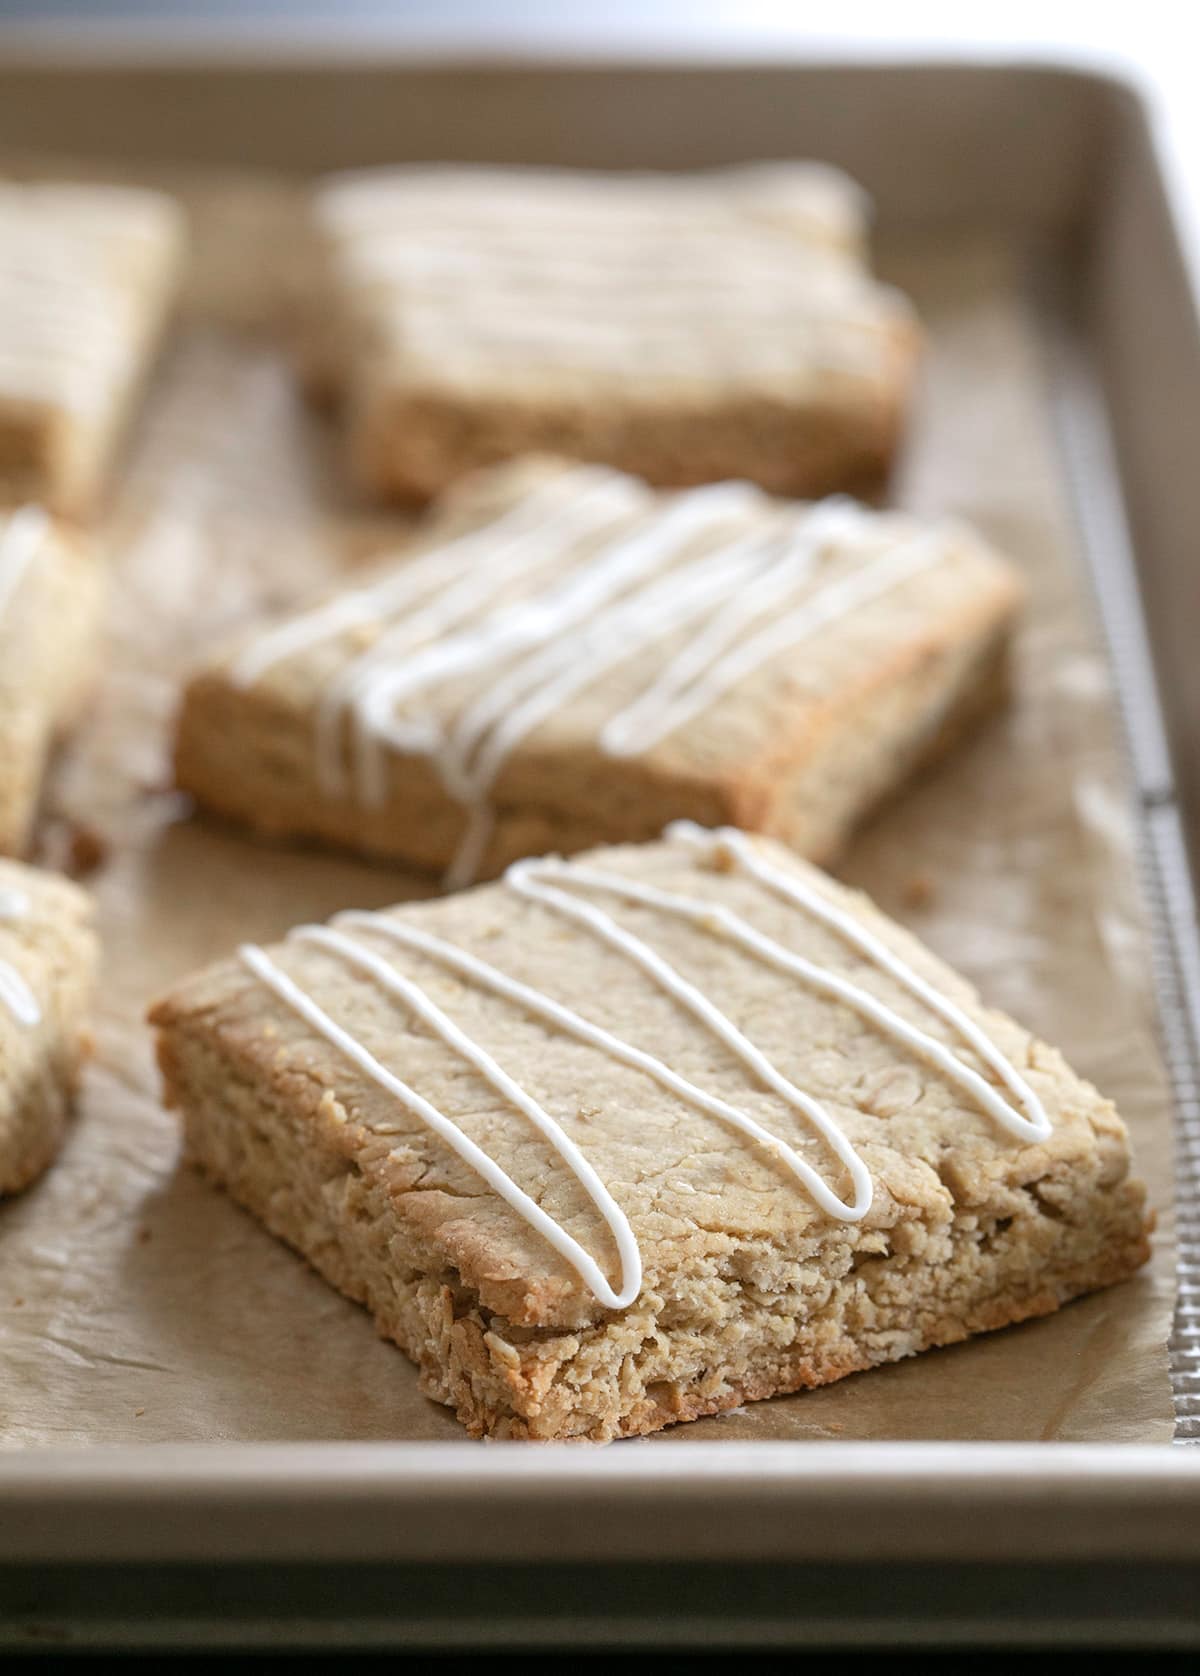
The shaped bars are placed on a parchment-lined baking sheet, spaced approximately one inch apart to allow for even heat circulation. They are baked in a preheated oven at 325°F (160°C) in the center rack. The baking time is typically 12 to 14 minutes, or until the bars have risen slightly (about 1/4 inch) and feel firm to the touch. The low and slow baking method is key to achieving the pale, soft, and chewy texture that mimics the experience of enjoying a warm bowl of oatmeal with brown sugar and cinnamon. Once the bars have cooled completely, an optional confectioners’ sugar glaze can be drizzled over them for an extra touch of sweetness and visual appeal.
Expert Insights for Optimal Results
Achieving the perfect gluten-free breakfast bar is within reach with a few expert tips. Unlike traditional bars that are cut after baking, these are shaped beforehand, contributing to their superior sturdiness and portability.
Strategic Hydration: Add Water Sparingly
The dough for these bars should possess a thick, somewhat dry consistency, yet it must be cohesive enough to hold together when compressed. If dry patches are visible, introduce lukewarm water incrementally. Over-moistening is a common pitfall that can cause the bars to spread rather than maintain their intended structure during baking.
The Importance of Sharp Edges
After rolling the dough into a square, the use of a bench scraper or a similar straight edge to define clean, upright sides is critical. These sharp edges act as a cue for the dough, encouraging it to rise vertically during baking, thus preserving its thickness and preventing excessive outward spread.
Selecting the Right Coconut Oil
For optimal texture and flavor, opt for refined coconut oil that remains solid at cool room temperatures. Liquid coconut oil can result in a greasier final product. The solidifying properties of refined coconut oil as the bars cool contribute to their tender, non-greasy finish.
Adapting the Recipe: Ingredient Substitutions for Diverse Needs
Recognizing that dietary needs can vary, this recipe offers several flexible substitution options.
Dairy-Free Modifications
The core bar recipe is inherently dairy-free, utilizing coconut oil instead of butter. For a dairy-free glaze, substitute nondairy milk or water. Unsalted butter in the glaze can be replaced with vegan butter alternatives such as Earth Balance buttery sticks or block-style vegan butters like Melt or Miyoko’s.
Egg-Free Alternatives
For those avoiding eggs, the recipe can be adapted using "chia eggs." Prepare each chia egg by mixing one tablespoon of ground chia seeds with two tablespoons of water and allowing it to gel. Alternatively, commercially available egg replacers like Bob’s Red Mill egg replacer or Just Egg liquid egg replacer can be used, following their respective package instructions.
Coconut Oil Variations
Individuals who dislike the taste of coconut can opt for triple-filtered coconut oil, which is flavorless and odorless. If coconut oil is not an option, vegetable shortening can be used as a direct substitute. While melted unsalted butter can be used, it may result in a slightly drier bar due to its lower fat content compared to oil.
Oat-Free Options
For those with oat sensitivities, alternative ingredients can be employed. To replace oat flour, consider grinding quinoa flakes into a fine powder. For the rolled oats, rolled buckwheat is a suitable substitute. These alternatives aim to replicate the textural and flavor contributions of oats.
Maintaining Freshness: Storage Instructions
These gluten-free breakfast bars maintain their quality exceptionally well. When stored in an airtight container or individually wrapped in plastic wrap, they can be kept at room temperature for at least three days. It’s worth noting that in warmer environments, the glaze may become slightly tacky at room temperature. For longer storage, individually wrap each bar in freezer-safe material and freeze for up to three months. To thaw, allow them to come to room temperature or microwave on half power for approximately 30 seconds.
The nutritional information provided excludes the glaze, offering an approximate breakdown of calories, macronutrients, and micronutrients per serving. This detailed nutritional data underscores the recipe’s commitment to providing wholesome, informative options for gluten-free consumers.
The development and refinement of such recipes are often the result of extensive testing and a deep understanding of gluten-free baking challenges. The creator, Nicole Hunn, emphasizes a philosophy of "good, for gluten free" not being sufficient, striving instead for gluten-free products that rival their traditional counterparts in taste and quality. This dedication to excellence is evident in the thoughtful construction and delicious outcome of these breakfast bars.
