
These gluten-free red velvet cupcakes are a testament to the art of baking, offering a rich, buttery flavor with a subtle hint of chocolate and a remarkably tender crumb. Developed by Nicole Hunn, a renowned gluten-free recipe developer, this recipe aims to replicate the classic red velvet experience without compromising on taste or texture, making it an ideal choice for birthdays, holidays, and everyday celebrations. The vibrant red hue also makes them a perfect addition to Valentine’s Day festivities.
The Science Behind the Success
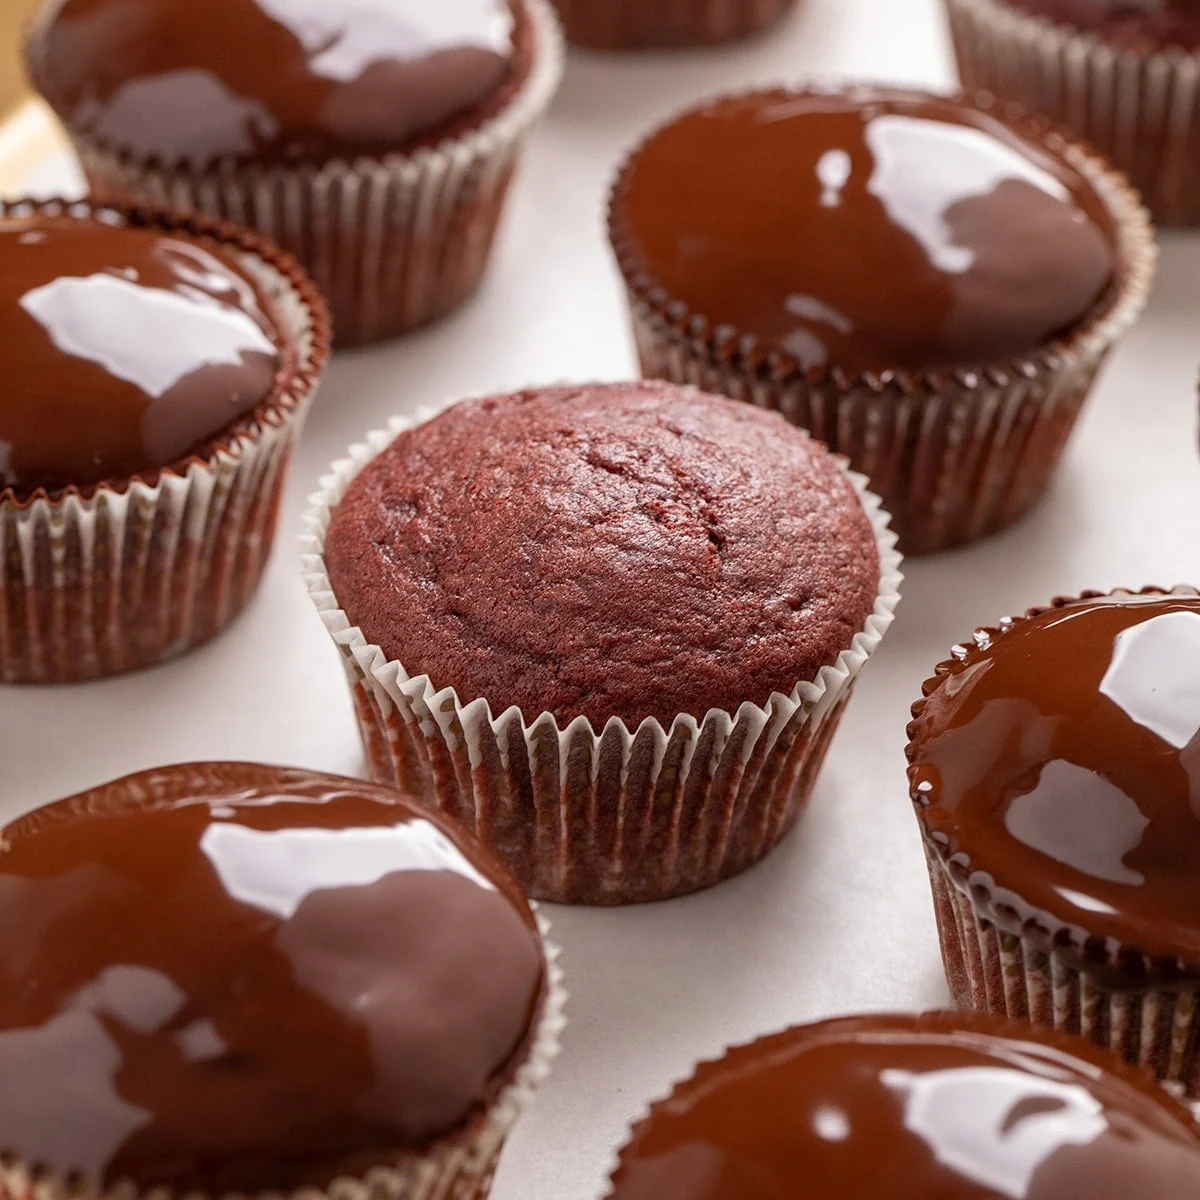
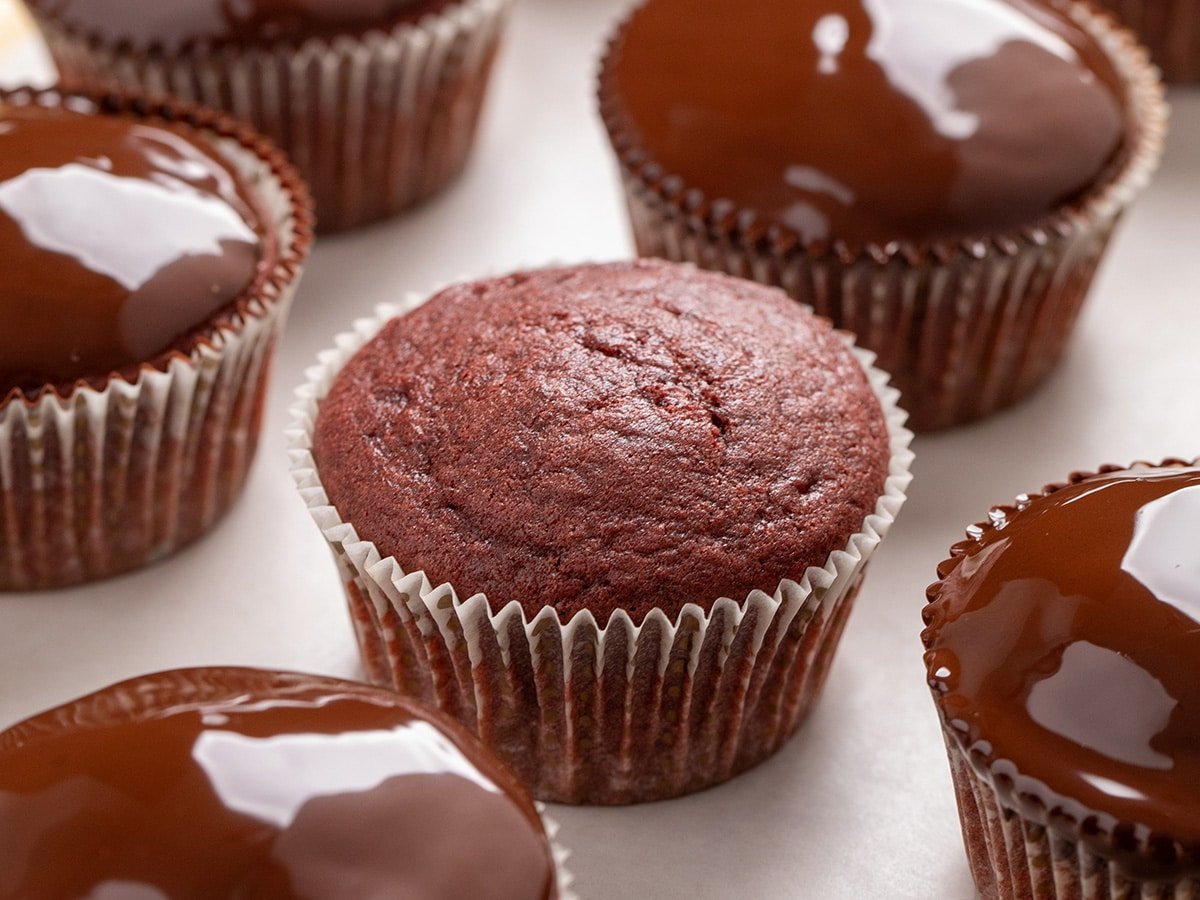
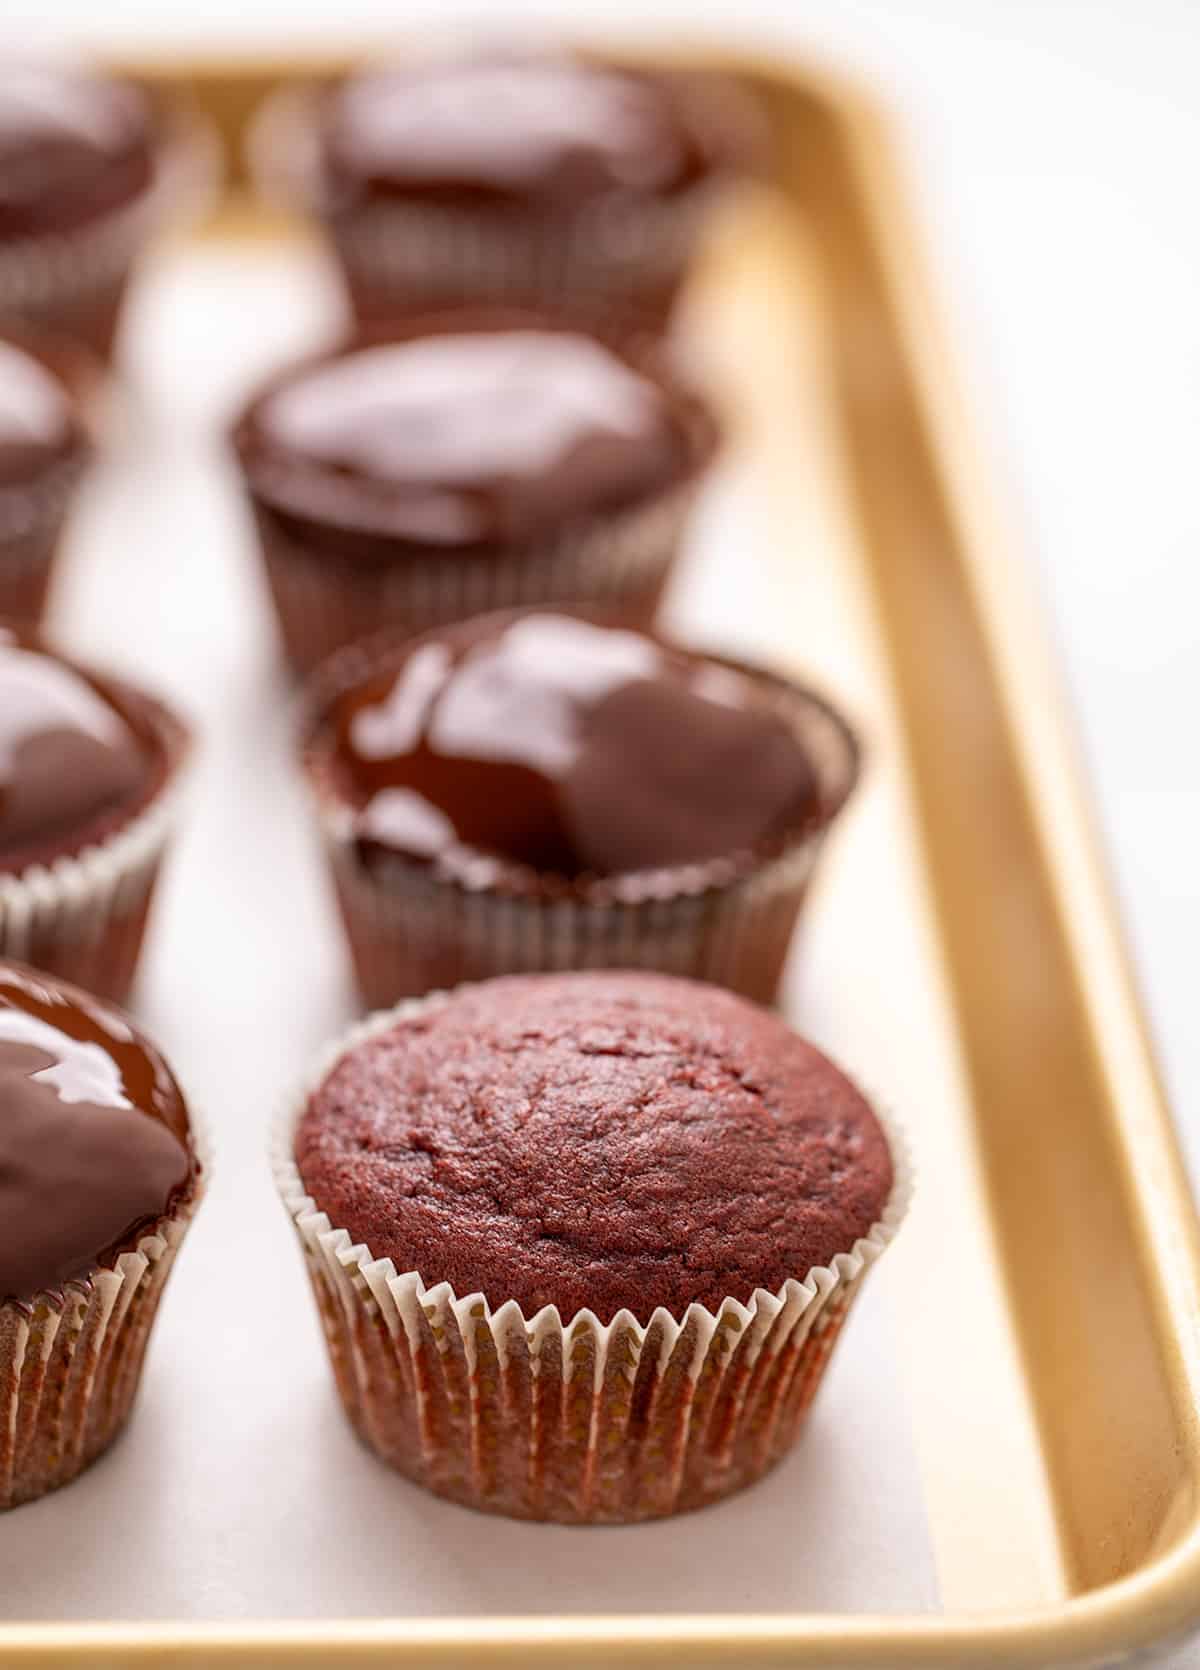
The success of these gluten-free red velvet cupcakes lies in a carefully balanced combination of ingredients and techniques. The signature red velvet flavor is achieved through a blend of real buttermilk and apple cider vinegar, which contribute a gentle tang that perfectly complements the modest chocolate notes. The striking red-brown color is a result of natural cocoa powder, enhanced by highly-pigmented gel food coloring. Unlike some gluten-free recipes that adapt a standard cake batter for cupcakes, this recipe features a distinct ingredient balance specifically formulated to ensure cupcakes that bake up with a flat top, ideal for glazing or frosting, and maintain exceptional moisture.
A Versatile Treat
While the recipe includes a simple yet elegant two-ingredient chocolate glaze for an added touch of richness and shine, the cupcakes are equally delightful when frosted with any preferred gluten-free frosting. This versatility ensures that the cupcakes can be customized to suit individual tastes and dietary needs.

Understanding the Ingredients
Each ingredient in this recipe plays a crucial role in achieving the desired outcome:
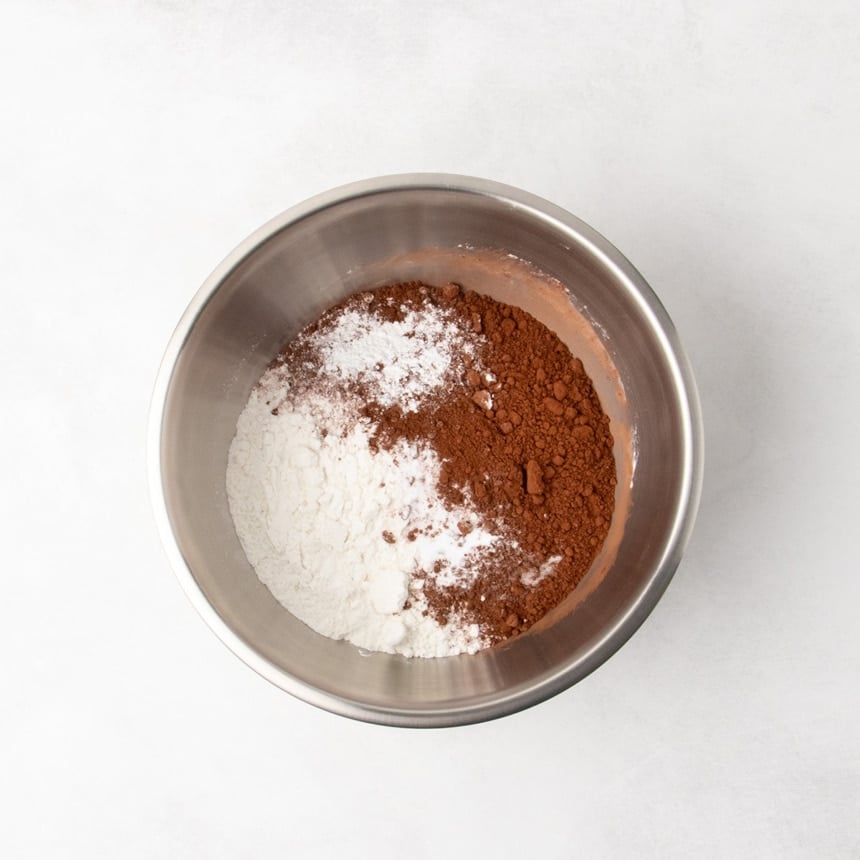
- Gluten-Free Flour Blend with Xanthan Gum: The foundation of the cupcake, a well-formulated gluten-free flour blend provides structure. The addition of xanthan gum is critical for mimicking the elasticity and binding properties that gluten provides, preventing a crumbly texture.
- Baking Powder and Baking Soda: These leavening agents work in tandem to provide lift and create a tender crumb. Baking soda, when activated by the acidic ingredients like buttermilk and vinegar, contributes to the characteristic texture and aids in browning.
- Salt: Enhances the overall flavor profile and balances the sweetness.
- Cocoa Powder: Provides the subtle chocolate undertones that define red velvet. Natural cocoa powder is recommended for its flavor and contribution to the color.
- Butter: Room temperature butter is essential for creaming with sugar, incorporating air for a light texture without causing the cupcakes to dome excessively.
- Granulated Sugar: Sweetens the cupcakes and contributes to their tender texture through the creaming process.
- Eggs: Act as binders and contribute to the richness and structure of the cupcakes.
- Vanilla Extract: Adds a warm, aromatic depth to the flavor.
- Buttermilk: Crucial for tenderizing the crumb and providing moisture. Its acidity reacts with baking soda for leavening and contributes to the characteristic tang of red velvet.
- Apple Cider Vinegar: Further enhances the tang and activates the baking soda, contributing to the delicate crumb.
- Gel Food Coloring (Super Red): Provides the iconic vibrant red hue. Gel coloring is preferred for its concentrated pigment, allowing for intense color without adding excessive liquid.
A Step-by-Step Culinary Journey
The creation of these gluten-free red velvet cupcakes is an accessible process, even for novice bakers:
- Whisk the Dry Ingredients: In a large bowl, combine the gluten-free flour blend, baking powder, baking soda, salt, and cocoa powder. Whisking thoroughly ensures that the leavening agents and other dry components are evenly distributed, preventing pockets of concentrated ingredients.
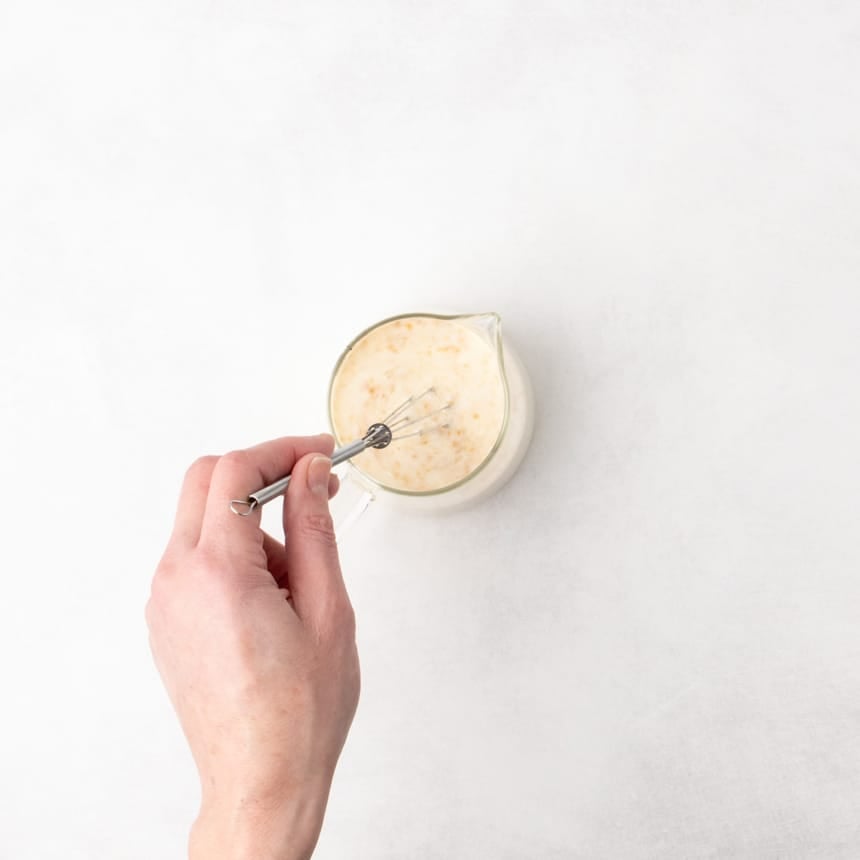
- Prepare the Buttermilk Mixture: In a separate bowl or measuring cup, whisk together the buttermilk, vanilla extract, and apple cider vinegar. This step helps to prevent clumping and ensures the ingredients are well incorporated.
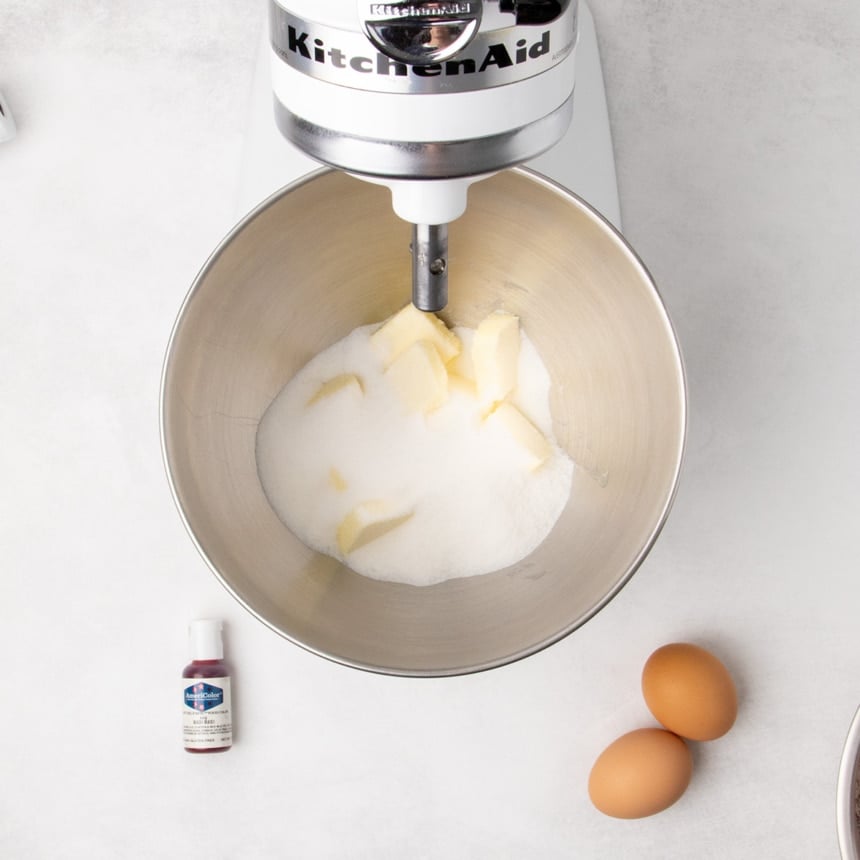
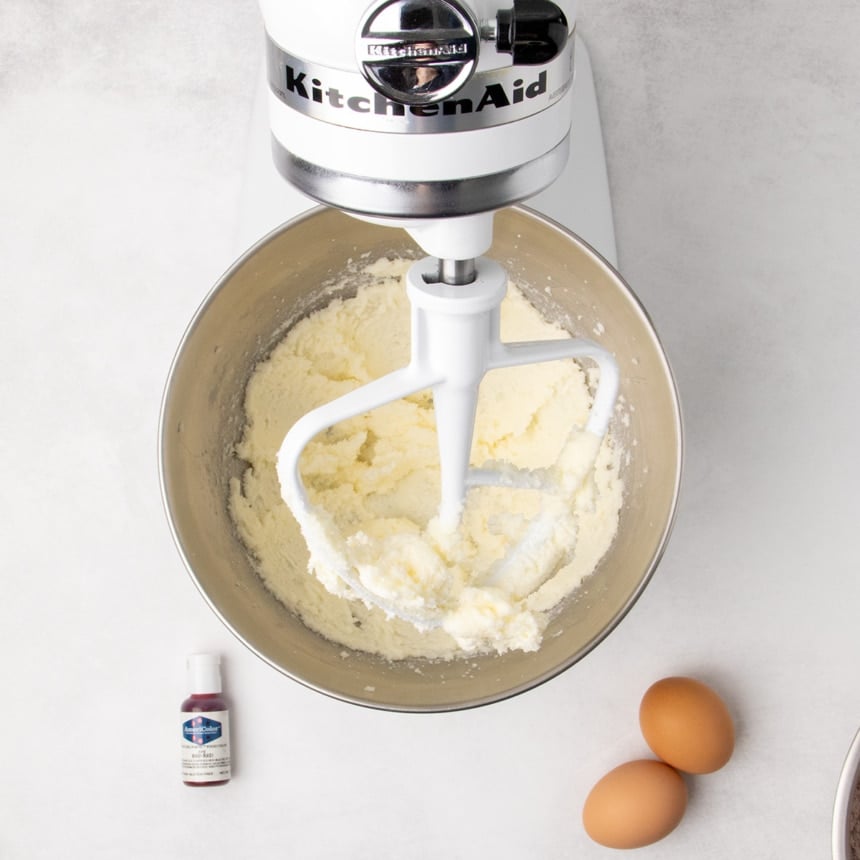
- Cream the Butter and Sugar: In the bowl of a stand mixer fitted with the paddle attachment, or using a handheld mixer, cream the softened butter and granulated sugar together. This process should take less than two minutes. The goal is to slightly dissolve the sugar crystals into the butter, introducing a small amount of air for a light and tender crumb, while avoiding over-creaming, which can lead to domed cupcakes. Ensure the butter is at room temperature (68-70°F or 20-21°C) for optimal creaming.
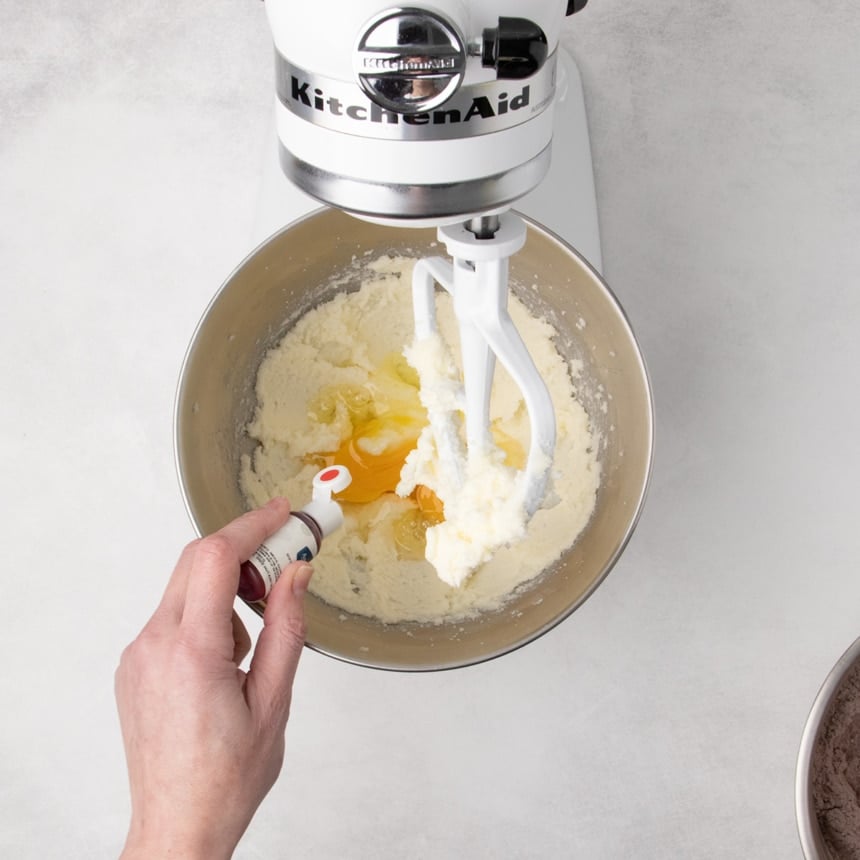
- Incorporate Eggs and Food Coloring: Add the eggs one at a time, beating well after each addition until the mixture is smooth. Then, incorporate the gel food coloring. A small amount of "super red" gel food coloring is usually sufficient, but the batter should appear brighter than the desired final cupcake color, as the hue can fade during baking.
- Combine Wet and Dry Ingredients: Gradually add the dry ingredients to the wet ingredients in three alternating additions with the buttermilk mixture, beginning and ending with the dry ingredients. Mix on low speed until just combined. This method ensures all ingredients are evenly incorporated without overmixing, which can toughen the gluten-free structure.
- Divide the Batter: The resulting batter should be smooth, soft, and a rich reddish-brown. Fill prepared cupcake liners, nestled in muffin tins, about two-thirds full. Overfilling will cause the cupcakes to rise into a dome, contrary to the desired flat top.
- Bake the Cupcakes: Bake in a preheated oven at 325°F (160°C). This lower temperature is key to a slow, even bake that prevents doming and burning the bottoms. Allow the cupcakes to cool in the tin for a very brief period before transferring them to a wire rack to cool completely. This prevents steaming within the liners, which can lead to a chewy texture or shrinkage.
- Prepare the Chocolate Glaze (Optional): For an optional, but highly recommended, chocolate glaze, melt chopped chocolate and shortening together in the microwave. This simple glaze adds richness and a beautiful sheen without creating a hard, brittle shell.
- Glaze the Cupcakes: Once the cupcakes are completely cooled, dip the tops into the prepared chocolate glaze. Allow the excess glaze to drip off, then place the cupcakes upright to set.
Expert Insights for Baking Perfection
Several key tips can elevate the success of these gluten-free red velvet cupcakes:
- Avoid Overmixing the Batter: While creaming butter and sugar is important for texture, over-creaming can incorporate too much air, leading to domed cupcakes. Limit creaming to about two minutes. Similarly, after adding the dry and wet ingredients, mix only until just combined to prevent a tough texture.
- The Power of Gel Food Coloring: Liquid food coloring is generally not recommended as it requires a larger quantity to achieve a vibrant color, potentially altering the flavor and texture. High-quality gel food coloring, such as Americolor’s "Super Red," provides intense color with minimal addition. Remember that the color will fade during baking, so aim for a batter that appears brighter than your desired final product.
- Strategic Baking of Multiple Tins: To bake a full batch of cupcakes efficiently, particularly if you have two standard muffin tins, consider "nesting" one tin within the other. Place a full tin on the oven rack and then place a second, empty tin on top of it, or vice versa, ensuring they are stable. Alternatively, allow the batter for the second tin to rest while the first bakes. While the second batch might rise slightly higher, the difference is usually negligible.
Adapting to Dietary Needs
This recipe is thoughtfully designed to accommodate common dietary restrictions:
- Dairy-Free Adaptation: For a dairy-free version, substitute buttermilk with a mixture of 6 tablespoons of non-dairy milk and 1/2 cup of non-dairy sour cream or plain Greek-style yogurt. For the butter, opt for a solid block-style vegan butter, such as Melt or Miyoko’s. Avoid tub margarines, which have a higher oil content. Ensure any chocolate used for the glaze is also dairy-free.
- Egg-Free Substitution: The two eggs can be replaced with a commercial egg replacer like Bob’s Red Mill Egg Replacer, a chia egg (1 tablespoon chia seeds mixed with 3 tablespoons water, left to sit for 5-10 minutes), or a liquid egg substitute like JustEgg.
- Food Dye-Free Option: For those who prefer to avoid food coloring, simply omit it from the recipe. The flavor of the cupcakes will remain unaffected.
- Shortening Alternatives: Spectrum or Crisco brand shortening are recommended for the chocolate glaze. Virgin coconut oil, which is solid at cool room temperatures, can be used as a substitute.
Storage and Enjoyment
Proper storage ensures the longevity and freshness of these delicious cupcakes. Baked and cooled cupcakes will remain fresh in an airtight container at room temperature for approximately two days. Once glazed, the protective layer of chocolate can help them stay moist for closer to three days. For longer storage, freezing is an option. While the chocolate glaze may develop a white bloom (a visual effect that does not impact taste) in the freezer, the cupcakes will still be enjoyable after thawing at room temperature. Unglazed cupcakes can be quickly defrosted in the microwave for about 20 seconds.
Frequently Asked Questions
- Can these cupcakes be adapted into a cake? While the flavor profile is similar, the ingredient ratios for a cake differ. For a red velvet cake, refer to the dedicated gluten-free red velvet cake recipe.
- Can milk and lemon juice substitute for buttermilk? No, this common substitution does not replicate the moisture content or viscosity of authentic buttermilk. Plain kefir or a mixture of equal parts sour cream and milk by volume are better alternatives.
- Is apple cider vinegar replaceable? Yes, white vinegar or fresh lemon juice can be used in equal amounts as a substitute for apple cider vinegar.
These gluten-free red velvet cupcakes offer a delightful and inclusive baking experience, proving that dietary restrictions need not mean a compromise on taste or celebratory spirit.
