

This comprehensive guide unveils an exceptionally easy gluten-free peanut butter cookie recipe, meticulously crafted to deliver a satisfyingly crispy and crunchy texture, complete with the quintessential crosshatch pattern. For those who consider themselves true peanut butter aficionados, this recipe promises an intensely rich and authentic peanut butter flavor, making it a standout option for any occasion. The recipe emphasizes a high peanut butter-to-flour ratio, ensuring an unparalleled depth of taste and a delightful textural experience.

The Science Behind the Perfect Gluten-Free Peanut Butter Cookie
The success of this gluten-free peanut butter cookie recipe lies in its deliberate ingredient balance and preparation methods. Each batch, yielding approximately 24 cookies, boasts nearly a full pound of smooth peanut butter, significantly outranking the flour content by over 80%. This strategic emphasis on peanut butter is the primary driver behind the cookies’ robust flavor profile and their signature crispy texture.
The iconic crosshatch pattern, a hallmark of traditional peanut butter cookies, serves a crucial functional purpose beyond aesthetics. Historically, this indentation was designed to ensure even baking throughout the cookie, allowing heat to penetrate to the center, thus preventing a doughy interior. To further enhance structural integrity and prevent unwanted splintering around the edges during baking, the recipe suggests pressing the cookie dough into flattened disks prior to imprinting the crosshatch design. This preparatory step aids in maintaining a pleasingly rounded shape.

Essential Ingredients for Peak Peanut Butter Perfection
The following ingredients form the foundation of these exceptional gluten-free peanut butter cookies. Understanding the role of each component is key to achieving the desired outcome:
- Peanut Butter: The star ingredient. Opt for a no-stir variety, as natural peanut butter, with its separated oil, can lead to a greasy and crumbly dough that does not bake as intended. Stabilized peanut butter, typically blended with shortening, ensures a creamy consistency crucial for this recipe.
- Butter: Unsalted butter is recommended to control the salt content. It is melted with the peanut butter to create a smooth base and contribute to the cookie’s crispness.
- Gluten-Free Flour Blend: A high-quality gluten-free all-purpose flour blend that includes xanthan gum is essential. Brands like Better Batter’s original blend or Nicole’s Best multipurpose flour are highly recommended. If using a blend that tends to be lower in xanthan gum, such as Bob’s Red Mill 1-to-1, consider adding an extra ¼ teaspoon of xanthan gum for optimal structure.
- Granulated Sugar: Provides sweetness and contributes to the cookie’s crisp texture.
- Brown Sugar: Adds moisture, chewiness, and a subtle caramel note. It’s important to break up any clumps to ensure even distribution.
- Eggs: Act as binders, contributing to the dough’s structure and richness.
- Vanilla Extract: Enhances the overall flavor profile, complementing the peanut butter.
- Baking Soda: A leavening agent that helps the cookies spread and achieve a light, crispy texture.
- Salt: Balances the sweetness and enhances the peanut butter flavor.
A Step-by-Step Culinary Journey to Deliciousness
Creating these gluten-free peanut butter cookies is a straightforward process, with each step contributing to the final delightful result.

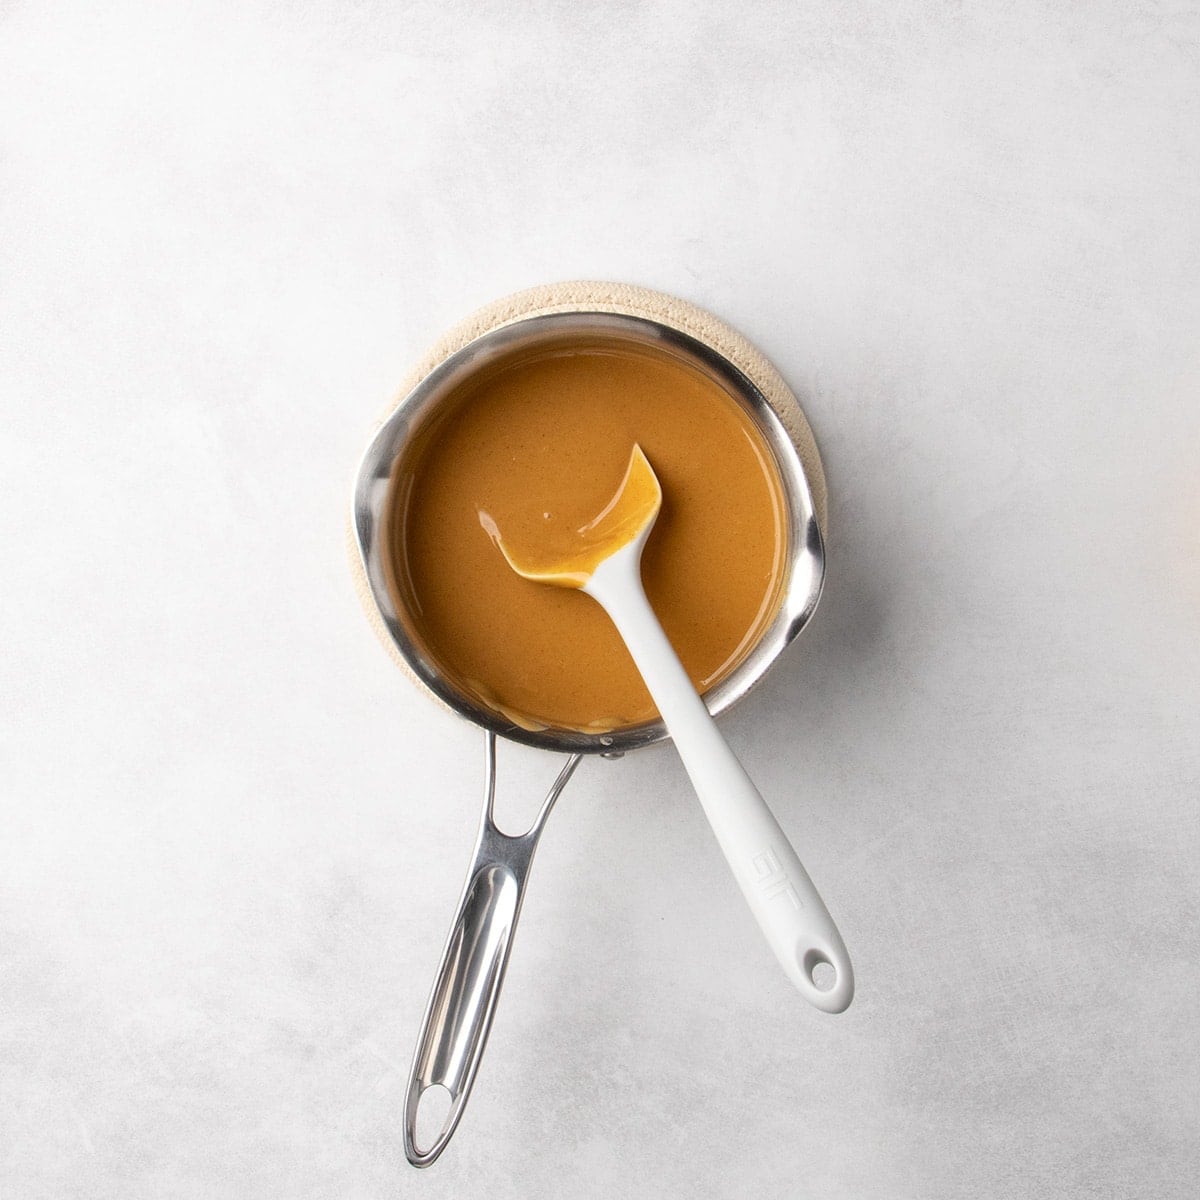
Step 1: Preparing the Peanut Butter and Butter Base
Begin by melting the butter and peanut butter together. This combination is crucial for creating a smooth, homogenous base that will easily incorporate into the dry ingredients. The melted mixture should then be set aside to cool slightly. This cooling period is vital to prevent the heat from scrambling the eggs when they are introduced later in the process. The melted blend forms a rich, liquid foundation that promises a luscious cookie texture.
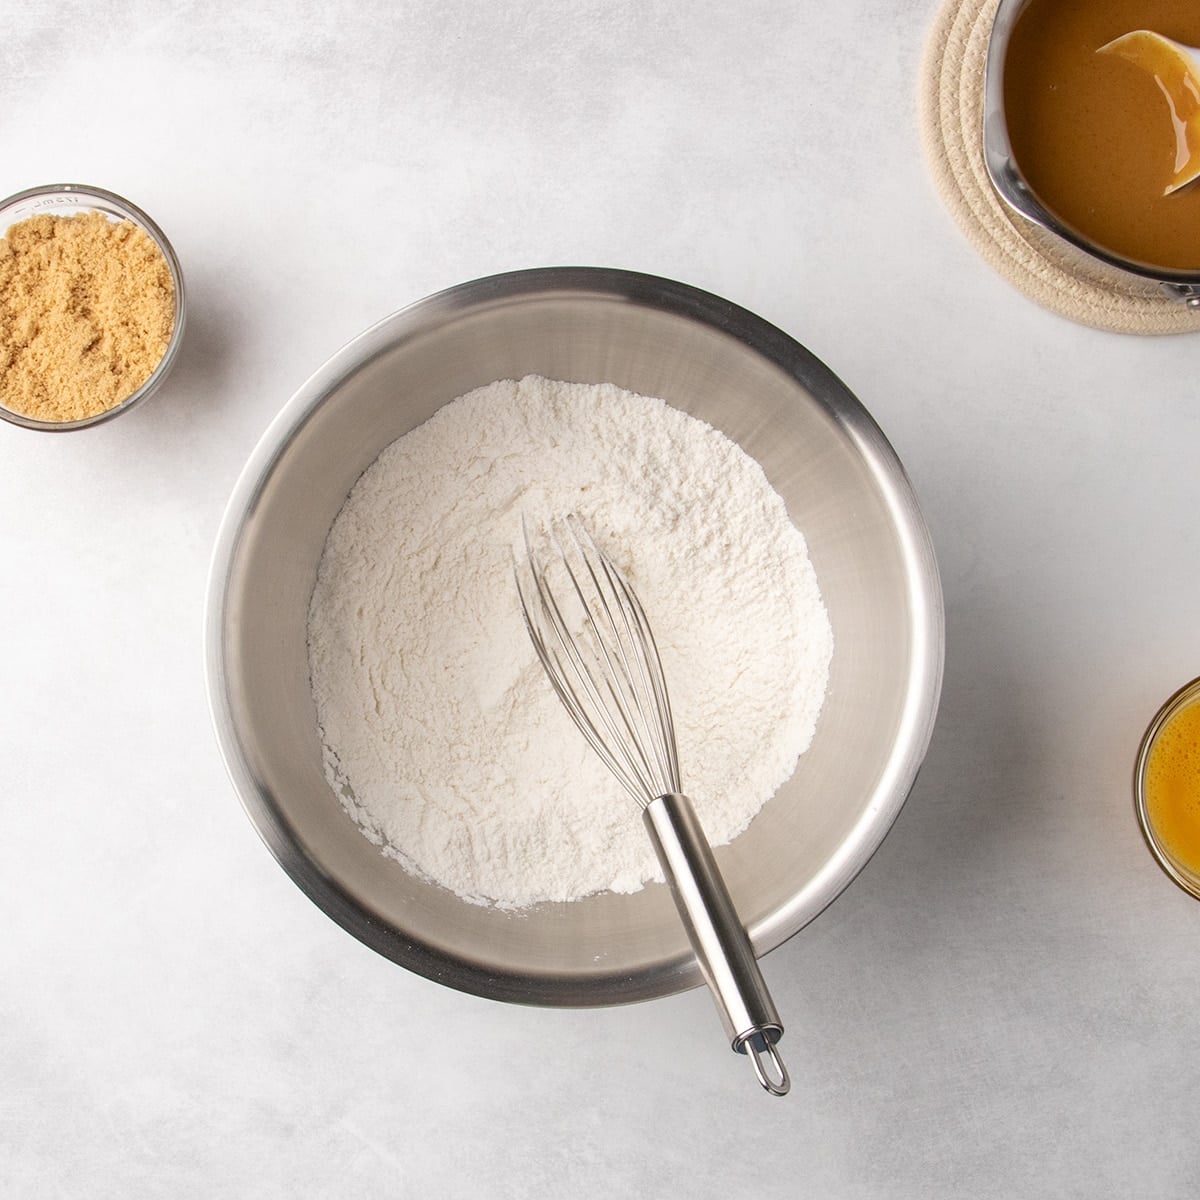
Step 2: Combining the Dry Ingredients
In a large mixing bowl, thoroughly whisk together the gluten-free flour blend, baking soda, salt, and granulated sugar. This ensures that all dry components are evenly distributed, which is critical for consistent baking. Next, incorporate the brown sugar. Due to its propensity for clumping, it’s advisable to mix it in separately, using the back of a spoon to break down any lumps and ensure a smooth incorporation. This meticulous blending of dry ingredients sets the stage for a well-structured dough.

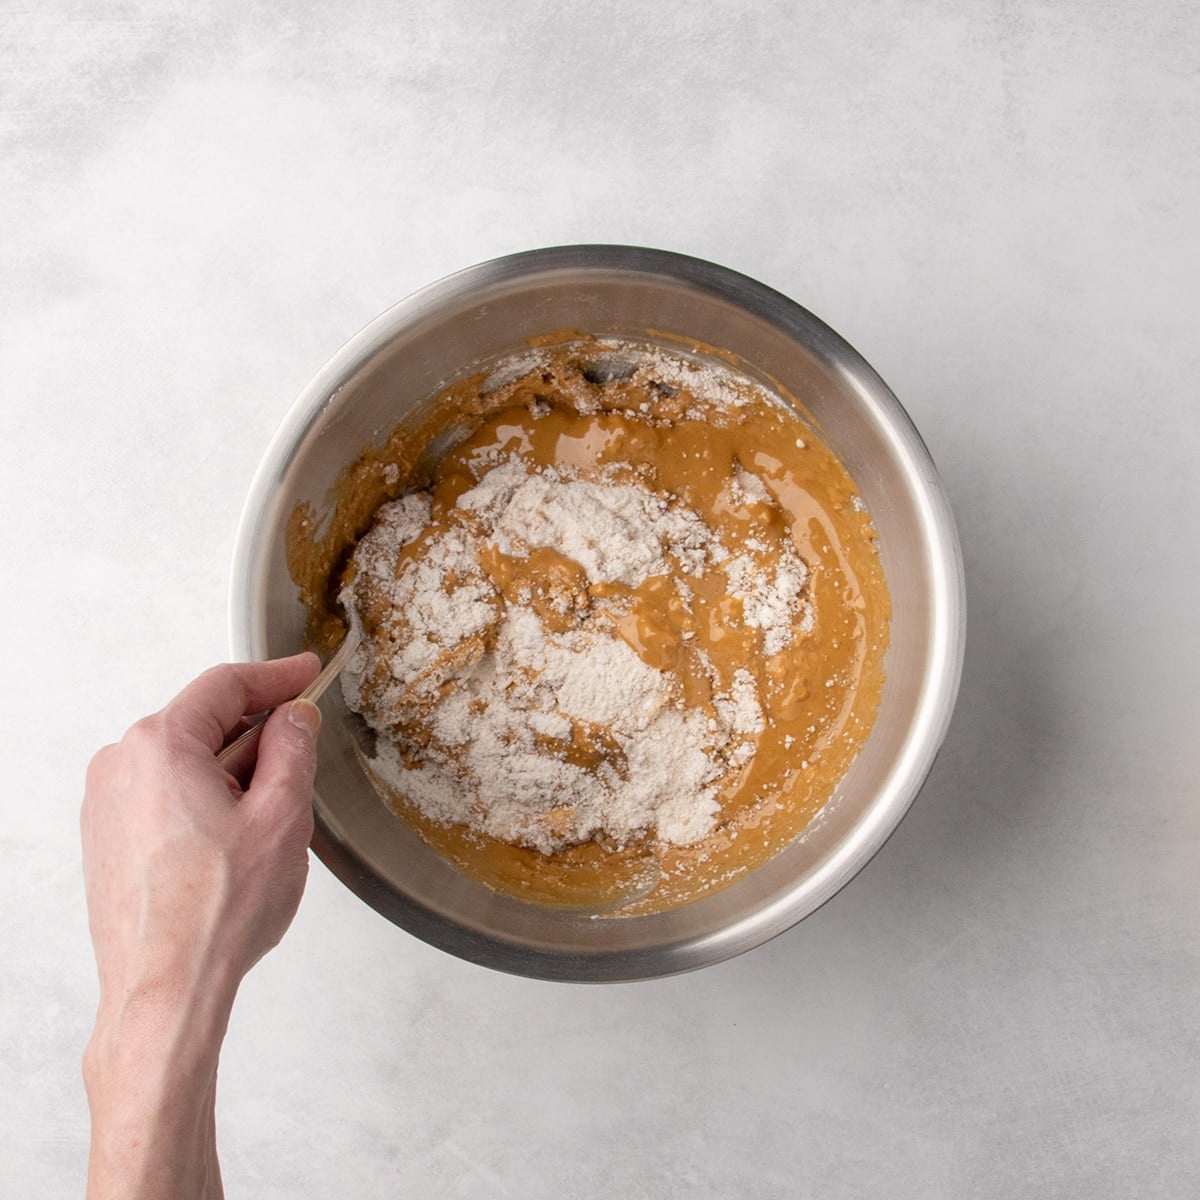
Step 3: Integrating the Peanut Butter Mixture
Create a well in the center of the combined dry ingredients. Pour the cooled, melted peanut butter and butter mixture into this well. The dough at this stage will likely appear very thick and may have a somewhat lumpy consistency. This is normal and indicative of the high peanut butter content.
Step 4: Achieving Dough Consistency
Employing the back of your mixing spoon, gently stir the peanut butter mixture into the dry ingredients. Continue to mix until a cohesive dough begins to form. The dough should be thick and sticky but should not feel excessively oily. If the dough appears too greasy or oily, a brief chilling period of no more than 10 minutes in the refrigerator can help absorb excess moisture and prevent the dough from becoming too stiff.
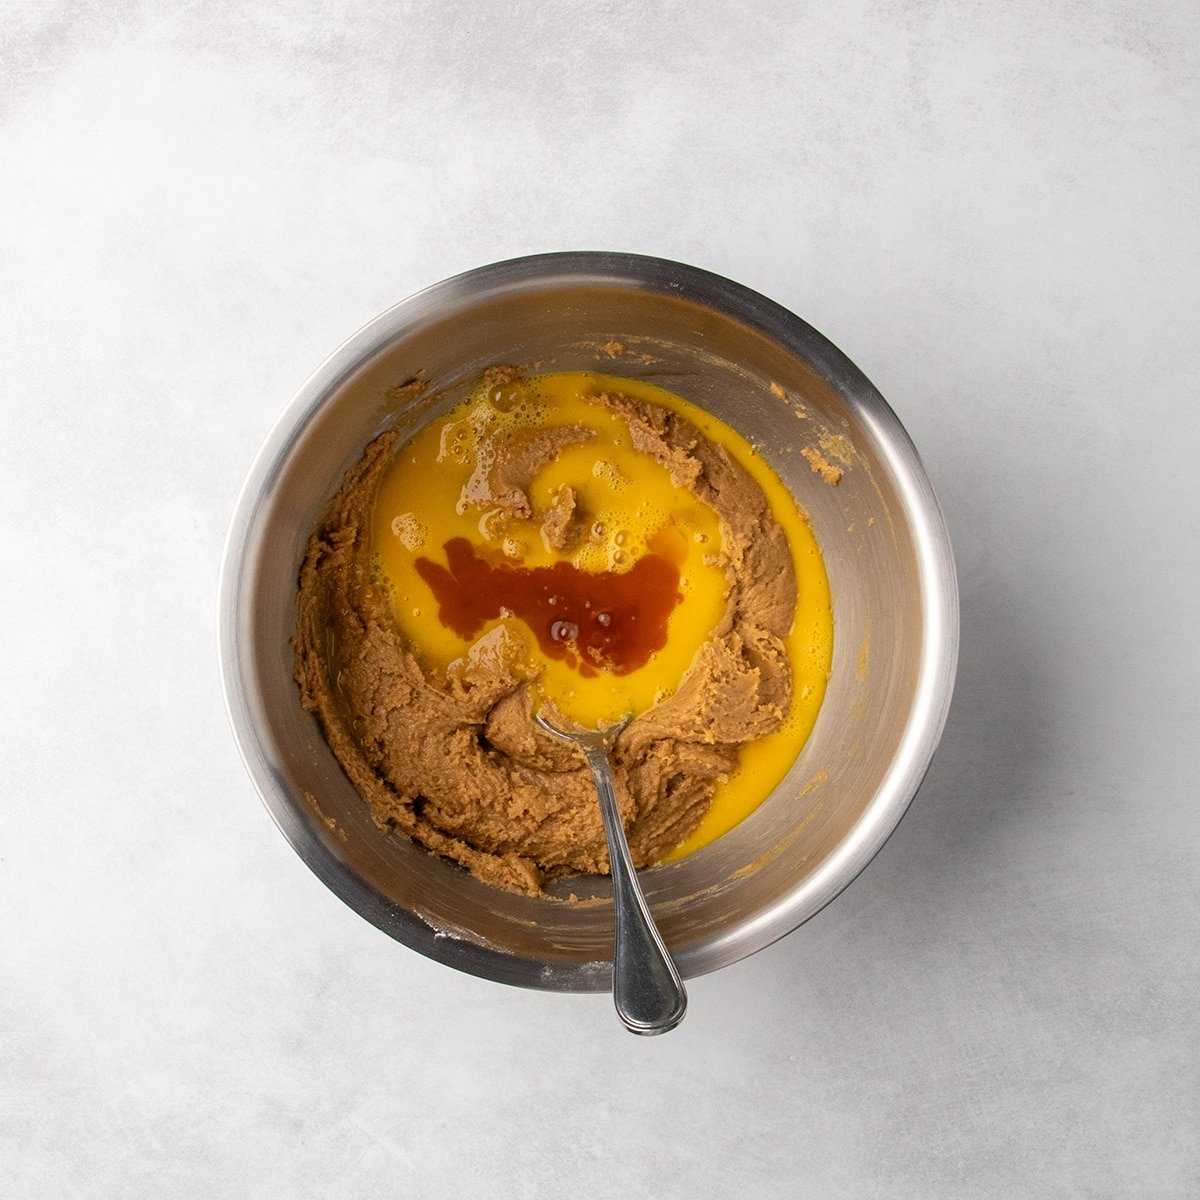
Step 5: Incorporating Eggs and Vanilla
In a separate small bowl, lightly beat the eggs. Add the beaten eggs and vanilla extract to the main dough mixture. Continue to mix until the wet and dry ingredients are fully combined. The addition of the eggs will help to smooth out the dough, transforming it into a softer, more pliable consistency. The goal is a dough that is sticky but manageable.
Step 6: Shaping the Cookie Dough
Scoop or portion the cookie dough into approximately 2-tablespoon-sized balls, each weighing about one ounce. Gently roll each portion into a smooth round ball between your palms. To help maintain a consistent round shape and prevent cracking, cup the dough ball gently in the palm of your non-dominant hand. Use the fingers of your dominant hand to flatten the ball into a disk. This technique is particularly important as the dough doesn’t spread extensively during baking, making the initial shaping crucial for the final cookie form.
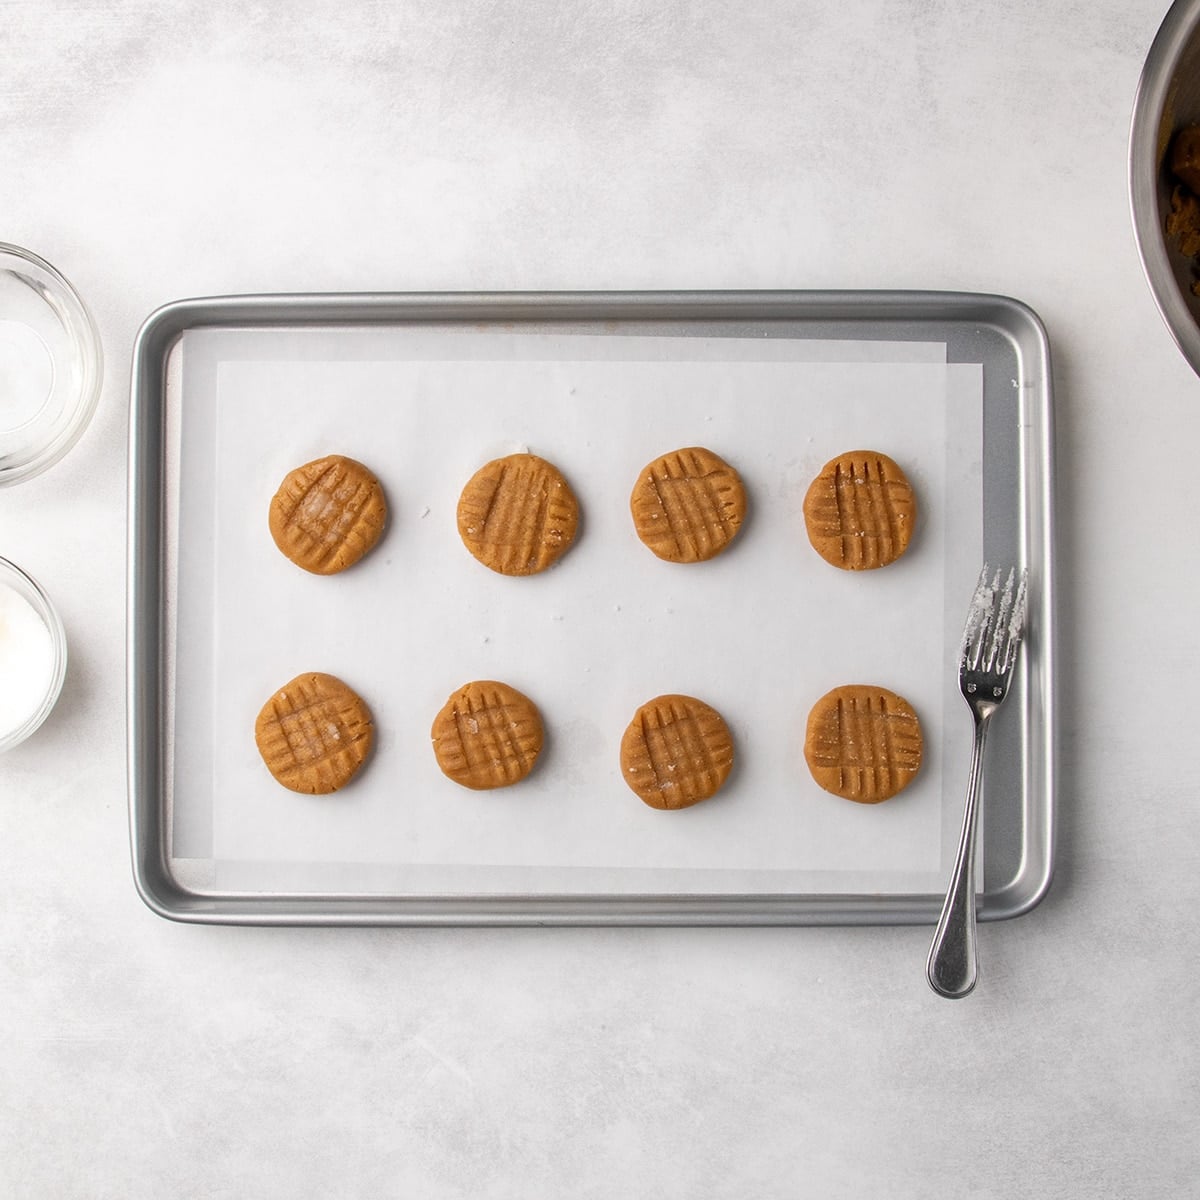
Step 7: Creating the Classic Crosshatch Pattern
To achieve the iconic crosshatch design, slightly wet the tines of a small fork. For added visual appeal and a subtle crunch, you may dip the wet tines into a small amount of granulated sugar. Gently press the fork into the center of each flattened dough disk, creating parallel lines. Rotate the fork 90 degrees and press again in the opposite direction to form the characteristic "#" pattern. This technique not only adds a traditional aesthetic but also contributes to even baking.
Step 8: Baking the Perfect Cookies
Preheat your oven to 350°F (175°C). Arrange the shaped cookie dough balls on a parchment-lined baking sheet, ensuring adequate space between each cookie to allow for slight spreading. Bake for approximately 15 minutes, or until the cookies are a pale golden brown all over. To prevent the bottoms from over-browning before the tops are adequately baked, consider reducing the oven temperature to around 325°F (160°C) for the final few minutes of baking. The cookies will continue to crisp as they cool. Therefore, judging doneness should primarily be based on their color rather than their firmness to the touch.

Expert Insights for Unparalleled Results
Achieving the perfect gluten-free peanut butter cookie involves understanding a few nuanced tips.
Avoiding "Natural" Peanut Butter
It is imperative to avoid using "natural" peanut butter, which typically consists of only peanuts and salt, leading to oil separation and a greasy consistency. This type of peanut butter can render the cookie dough greasy and crumbly, negatively impacting the baking process and the final texture. Stick to the no-stir variety, which is formulated for stability and a creamy texture.

The Art of Shaping for Stability
The high fat content from the generous amount of peanut butter makes the cookie dough prone to cracking during shaping and baking. To mitigate this, gentle handling is key. Cupping the dough in one hand and using the fingers of the other to flatten it into a disk helps maintain its round shape. This careful shaping, combined with the crosshatch pattern, ensures structural integrity and a visually appealing cookie.
Dairy-Free and Egg-Free Adaptations
For those with dietary restrictions, this recipe offers flexible substitutions. For a dairy-free version, replace regular butter with block-style vegan butter alternatives such as Miyoko’s, Melt, or Trader Joe’s brand. To make the cookies egg-free, consider using two "chia eggs" (chia seeds mixed with water), a commercial egg replacer like Bob’s Red Mill egg replacer, or JustEgg liquid egg substitute. While flax eggs can be used, they may introduce a competing earthy flavor.
Peanut Butter-Free Alternatives
In instances where peanuts are not an option, the recipe adapts well to no-stir almond butter. Opt for creamy, no-stir varieties like Barney Butter for the best results, ensuring a similar smooth texture and bake.
Storage and Preservation of Crispiness
These gluten-free peanut butter cookies are designed to maintain their delightful crispness for at least five days when stored in an airtight glass container at room temperature. Glass is preferred for its non-porous nature, which effectively prevents moisture absorption that could lead to softening.
For extended storage, the cookies can be frozen for up to three months in a freezer-safe container. It is crucial to minimize air exposure to prevent freezer burn. Thaw the cookies at room temperature before serving. The raw cookie dough can also be frozen, provided it is fully shaped into cookies before freezing. Defrost the dough at room temperature and then bake as usual.
Nutritional Considerations
The nutritional information provided is an approximation calculated automatically, serving as a general guideline. Each cookie, based on the recipe, typically contains approximately 184 calories, 19g of carbohydrates, 4g of protein, and 10g of fat, including 3g of saturated fat.

Frequently Asked Questions
Why are my cookies not crunchy?
A lack of crunch typically indicates that the cookies were underbaked. Ensure they are baked until they achieve a golden-brown color all around. The crisping process continues as they cool, so judging by color is more accurate than touch.

How do these differ from flourless peanut butter cookies?
This recipe utilizes gluten-free flour, resulting in a distinctly crispy and crunchy cookie throughout. Flourless peanut butter cookies, on the other hand, are made without any flour and typically have a chewier center with a crisp exterior.

Why is my cookie dough oily?
An oily dough often suggests that the melted peanut butter and butter mixture was added to the dry ingredients before it had cooled sufficiently. Allowing the dough to rest in the refrigerator for a short period can help the flour absorb excess oil.

Why is my cookie dough crumbly?
Over-chilling the cookie dough can lead to a crumbly texture. If this occurs, allow the dough to warm slightly at room temperature, which should make it more pliable and easier to shape.
This easy gluten-free peanut butter cookie recipe offers a delightful solution for those seeking authentic flavor and satisfying texture without gluten. Its straightforward preparation and adaptable nature make it a valuable addition to any home baker’s repertoire.
