

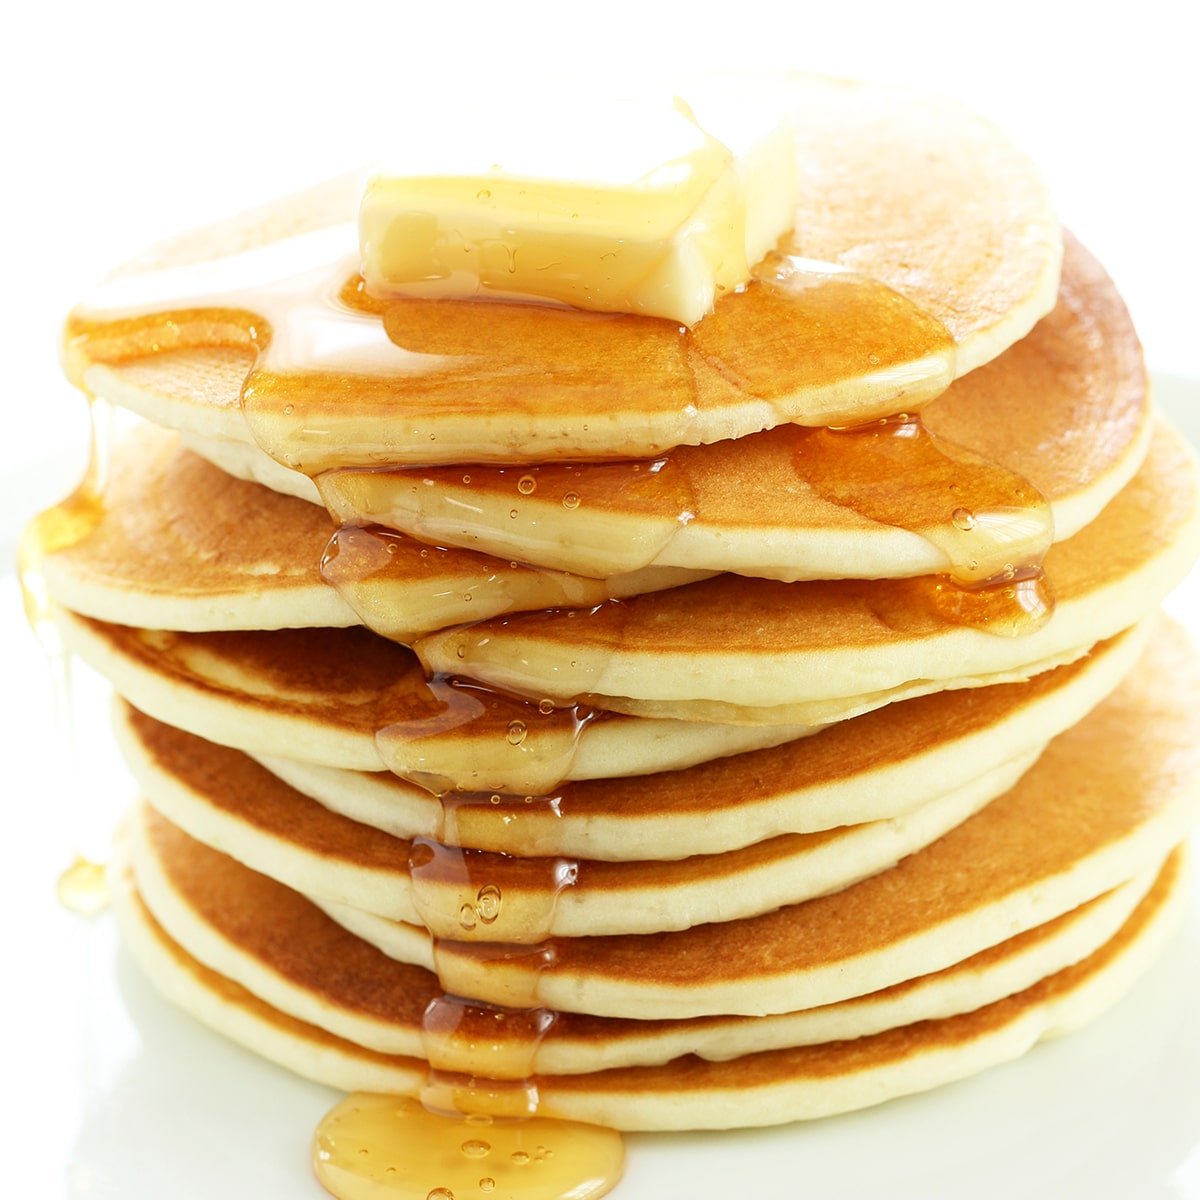
Achieving a truly satisfying pancake experience without gluten can often feel like a culinary quest, fraught with challenges of texture and flavor. However, a groundbreaking approach has emerged, promising to deliver the light, tender, and fluffy pancakes that many fondly remember, all while adhering to a gluten-free diet. This innovative recipe centers on a meticulously crafted, shelf-stable gluten-free Bisquick-style mix, designed for convenience and versatility. By simply adding milk and an egg, home cooks can whip up a crowd-pleasing breakfast in mere minutes, a testament to the advancements in gluten-free baking.
The Science Behind the Perfect Gluten-Free Pancake
The success of this gluten-free pancake recipe hinges on a nuanced understanding of ingredient interactions and baking science. Unlike traditional pancakes that rely on the gluten network for structure and elasticity, gluten-free versions require careful formulation to mimic these qualities. The key lies in a balanced blend of gluten-free flours and the judicious use of binders and leavening agents.
Why This Recipe Works:
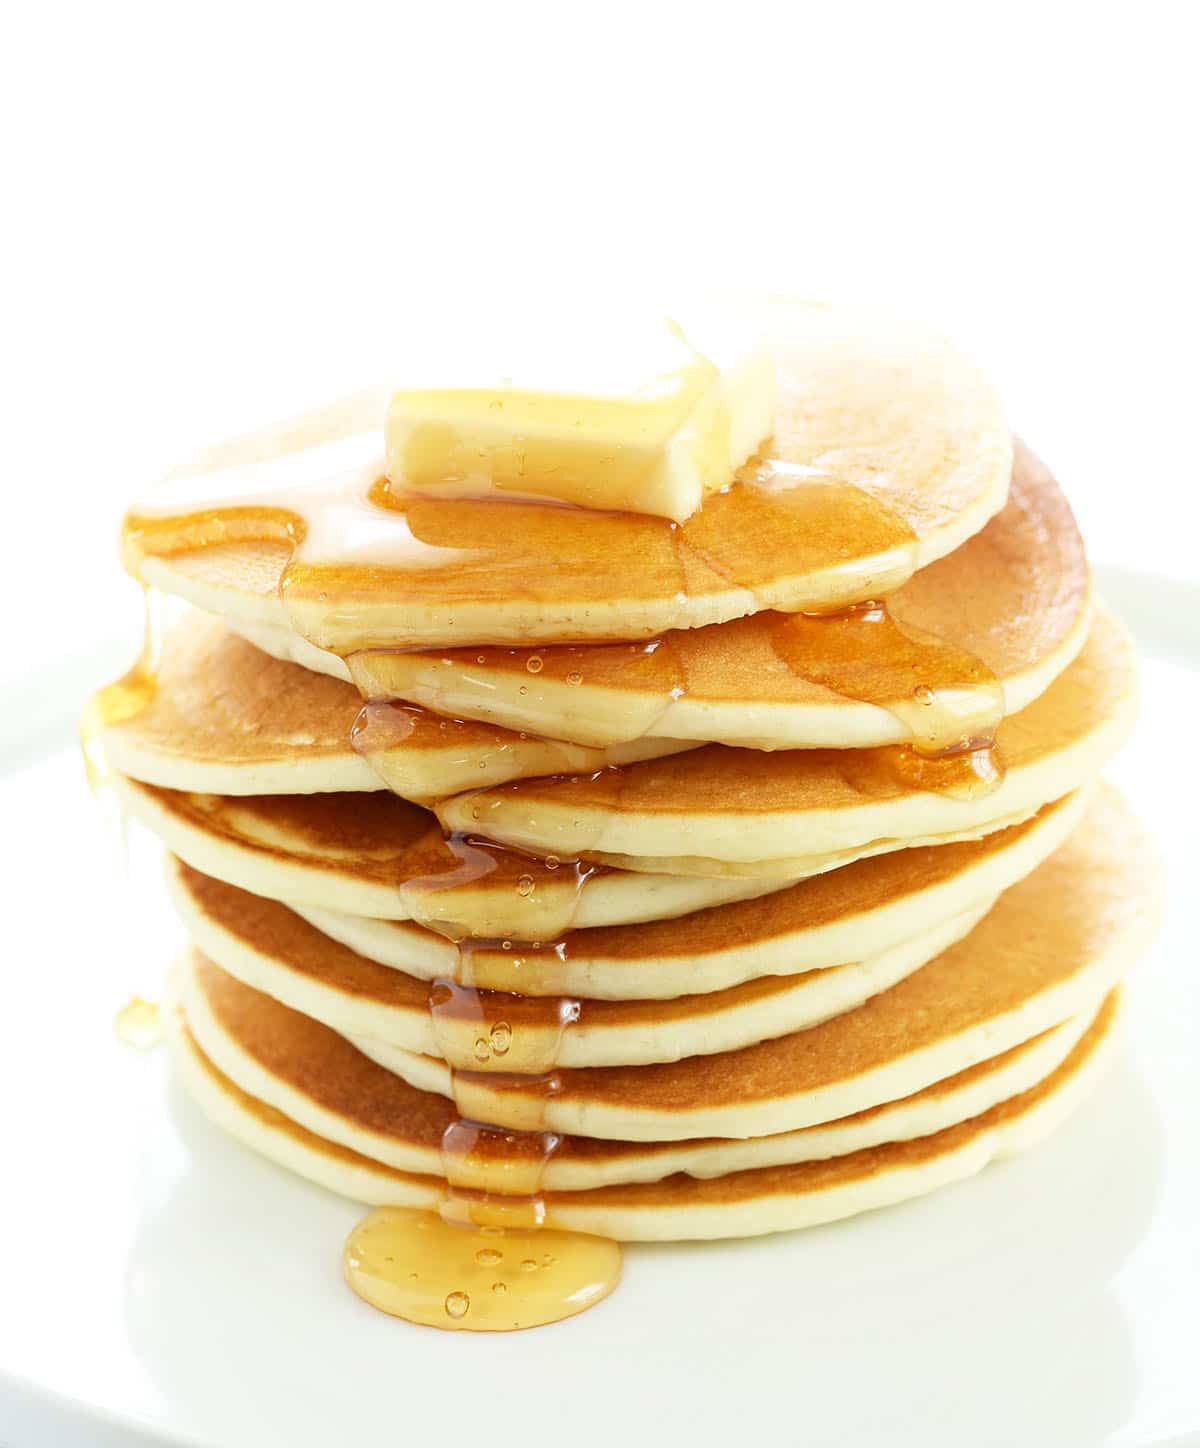
The brilliance of this recipe lies in its ability to deliver a consistently fluffy and tender crumb without the often-encountered pitfalls of gluten-free baking. The batter maintains an easily pourable consistency, a crucial factor often compromised by excessive xanthan gum, which can lead to a gummy texture. This recipe navigates this challenge by employing a minimal or even optional amount of xanthan gum, ensuring the batter remains manageable and the pancakes retain a desirable lightness.
Furthermore, the pre-portioned dry mix offers a significant advantage in terms of convenience and consistency. This mix can be prepared in advance and stored, making it a readily available solution for a quick, from-scratch breakfast. Its versatility extends beyond pancakes; it can seamlessly integrate into other baked goods where a Bisquick-style mix would typically be used, such as gluten-free breakfast casseroles. This adaptability underscores the recipe’s broader appeal and utility in a gluten-free kitchen.
For those seeking variations, the recipe thoughtfully addresses the creation of thicker, diner-style gluten-free buttermilk pancakes. By doubling the dry mix and dividing it, and then adapting the liquid ingredients, cooks can achieve a different, yet equally satisfying, pancake profile. This adaptability demonstrates a commitment to catering to diverse preferences within the gluten-free community.
Key Ingredients and Their Crucial Roles
The seemingly simple ingredient list for pancakes belies the importance of each component in achieving the desired outcome. Understanding the function of each element is key to mastering this gluten-free rendition.
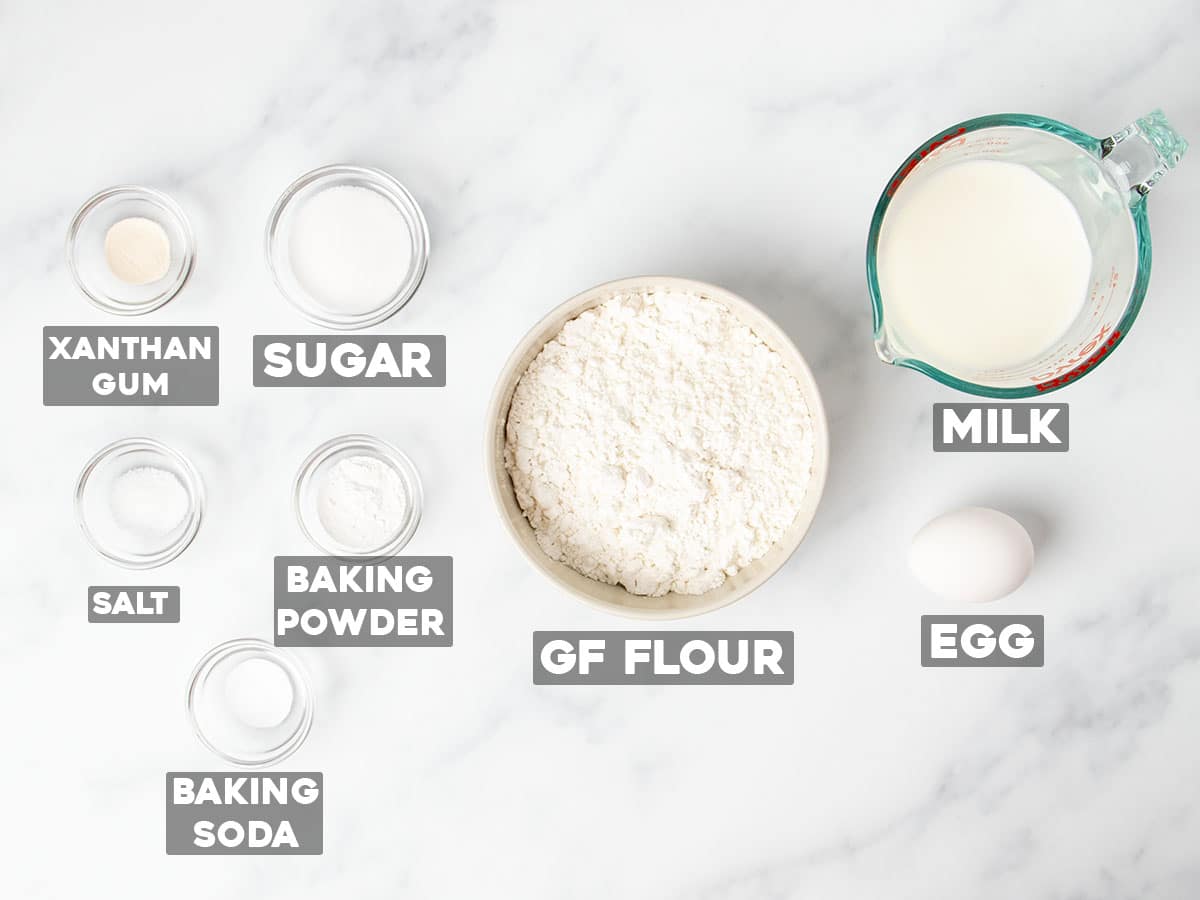
- Gluten-Free Flour Blend: The foundation of any gluten-free baked good, the flour blend dictates the texture and structure. The article emphasizes the importance of selecting a blend that is not overly reliant on xanthan gum. For optimal results, blends like Bob’s Red Mill 1-to-1 are recommended due to their balanced gum content, which is sufficient to bind without making the batter overly thick. Alternatively, a homemade gum-free blend can be utilized, offering greater control over the flour composition.
- Baking Powder and Baking Soda: These are the primary leavening agents responsible for the airy lift and fluffy texture of the pancakes. Ensuring these ingredients are fresh and active is paramount for achieving proper rise. Expired leaveners are a common culprit behind flat, dense pancakes.
- Sugar: Beyond providing a subtle sweetness, sugar contributes to the browning process and helps create a tender crumb. It caramelizes during cooking, enhancing the overall flavor profile and visual appeal of the pancakes.
- Salt: A small amount of salt is essential for balancing the sweetness and enhancing the overall flavor of the pancakes. It acts as a flavor enhancer, bringing out the best in the other ingredients.
- Xanthan Gum (Optional): While often a staple in gluten-free baking, xanthan gum needs careful consideration in pancake recipes. A small amount, such as 1/4 teaspoon, can help create a smooth batter that holds its shape and prevents the edges from becoming too thin and feathery. However, excessive xanthan gum can lead to a gummy texture and a batter that thickens too rapidly. The article provides guidance on adjusting the liquid content if xanthan gum is omitted.
- Milk: This liquid component hydrates the dry ingredients, activates the leaveners, and contributes to the overall tenderness of the pancakes. For dairy-free options, unsweetened, unflavored non-dairy milks with a similar consistency to cow’s milk, such as carton coconut milk, are recommended.
- Egg: The egg acts as a binder, adding richness and structure to the pancakes. It also contributes to the overall fluffiness and helps create a cohesive batter. For egg-free alternatives, chia eggs, commercial egg replacers, or plant-based egg substitutes like "Just Egg" can be employed.
Step-by-Step Guide to Perfect Pancakes
The creation of these gluten-free pancakes is a straightforward process, broken down into easily manageable steps. Visual cues throughout the process aid in ensuring accuracy and success.
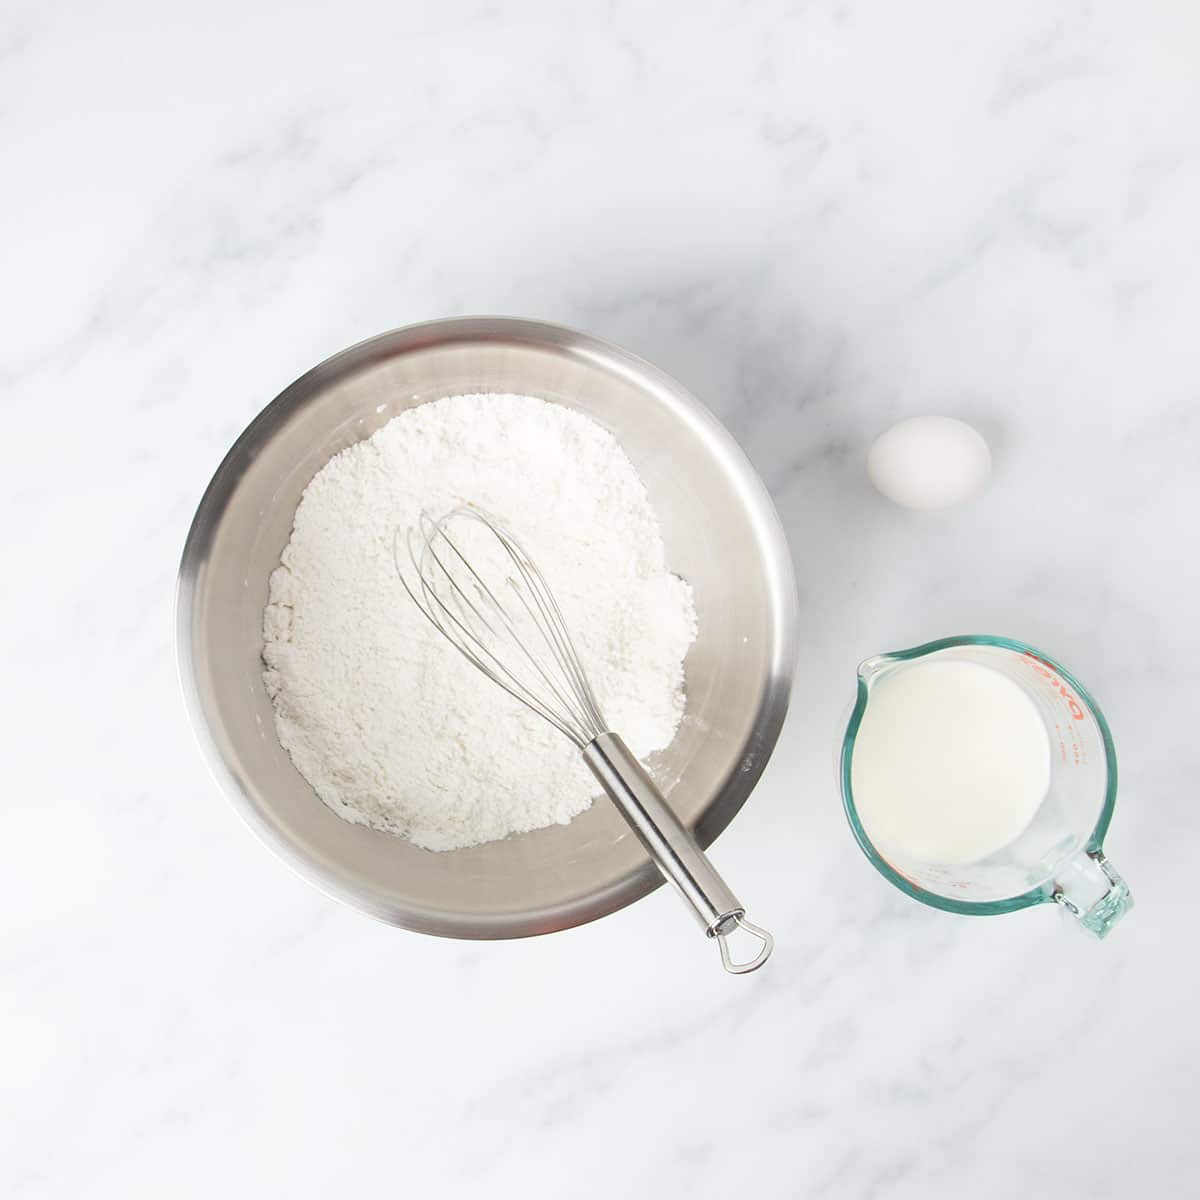
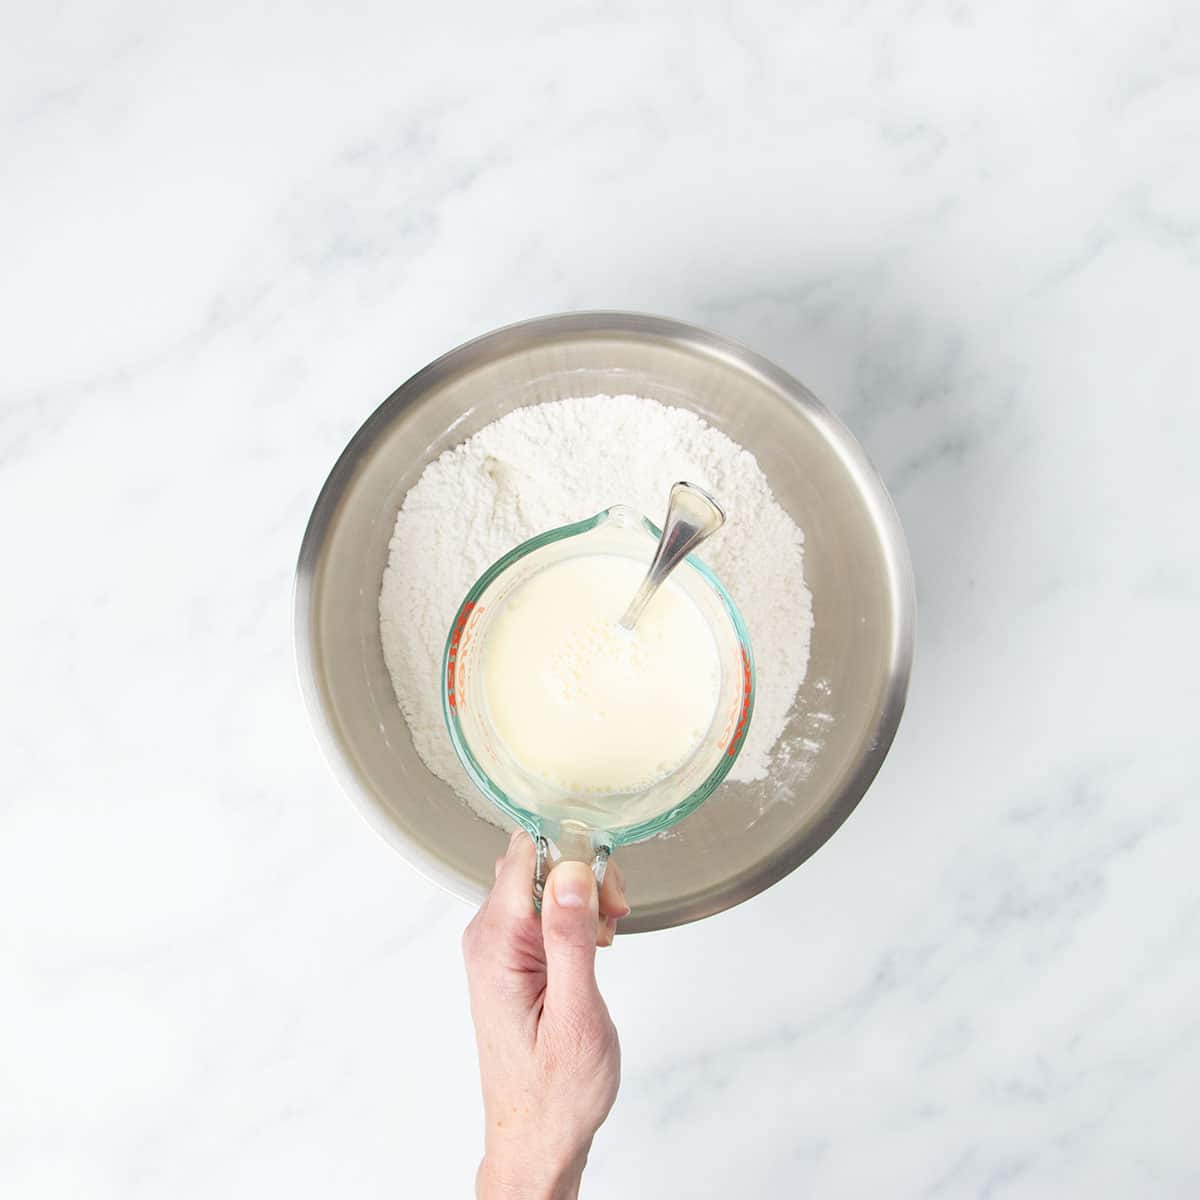
- Whisk the Dry Ingredients: In a large bowl, thoroughly combine the gluten-free flour blend, baking powder, baking soda, salt, sugar, and xanthan gum (if using). This step is crucial for ensuring even distribution of leavening agents, which prevents pockets of unevenly cooked batter and promotes a consistent rise.
- Mix the Wet Ingredients: In a separate bowl or measuring cup, whisk together the milk and egg until well combined. This ensures the egg is fully incorporated, leading to a smoother batter.
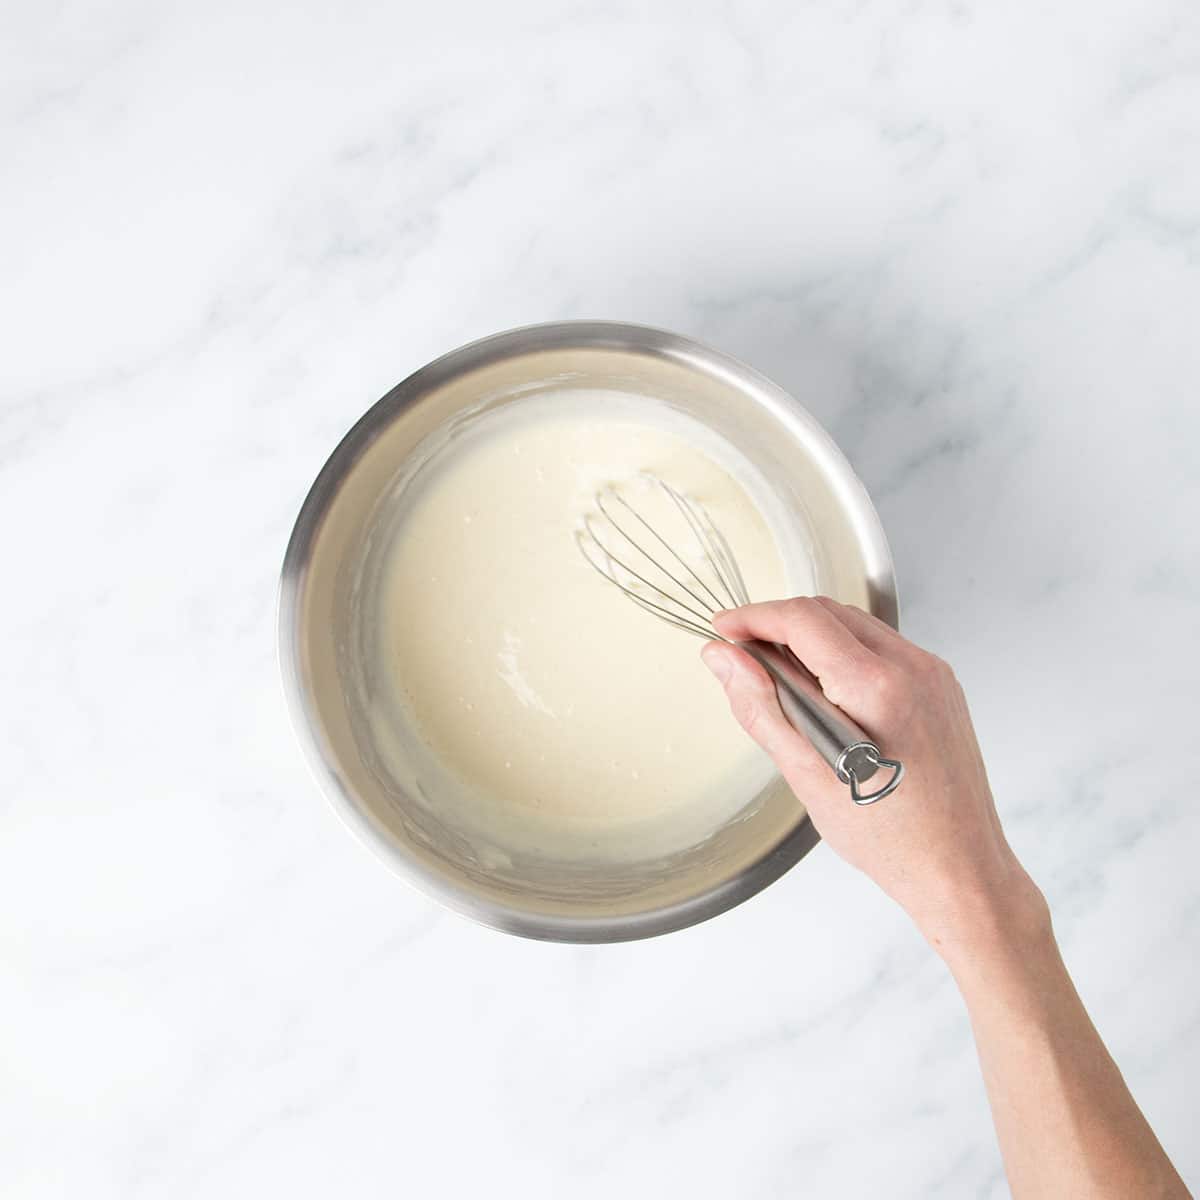
- Combine and Mix: Gradually pour the wet ingredients into the dry ingredients, whisking until a smooth batter forms. The batter should thicken slightly as it rests but should not continue to thicken to the point of being unpourable, a common issue with excessive xanthan gum.
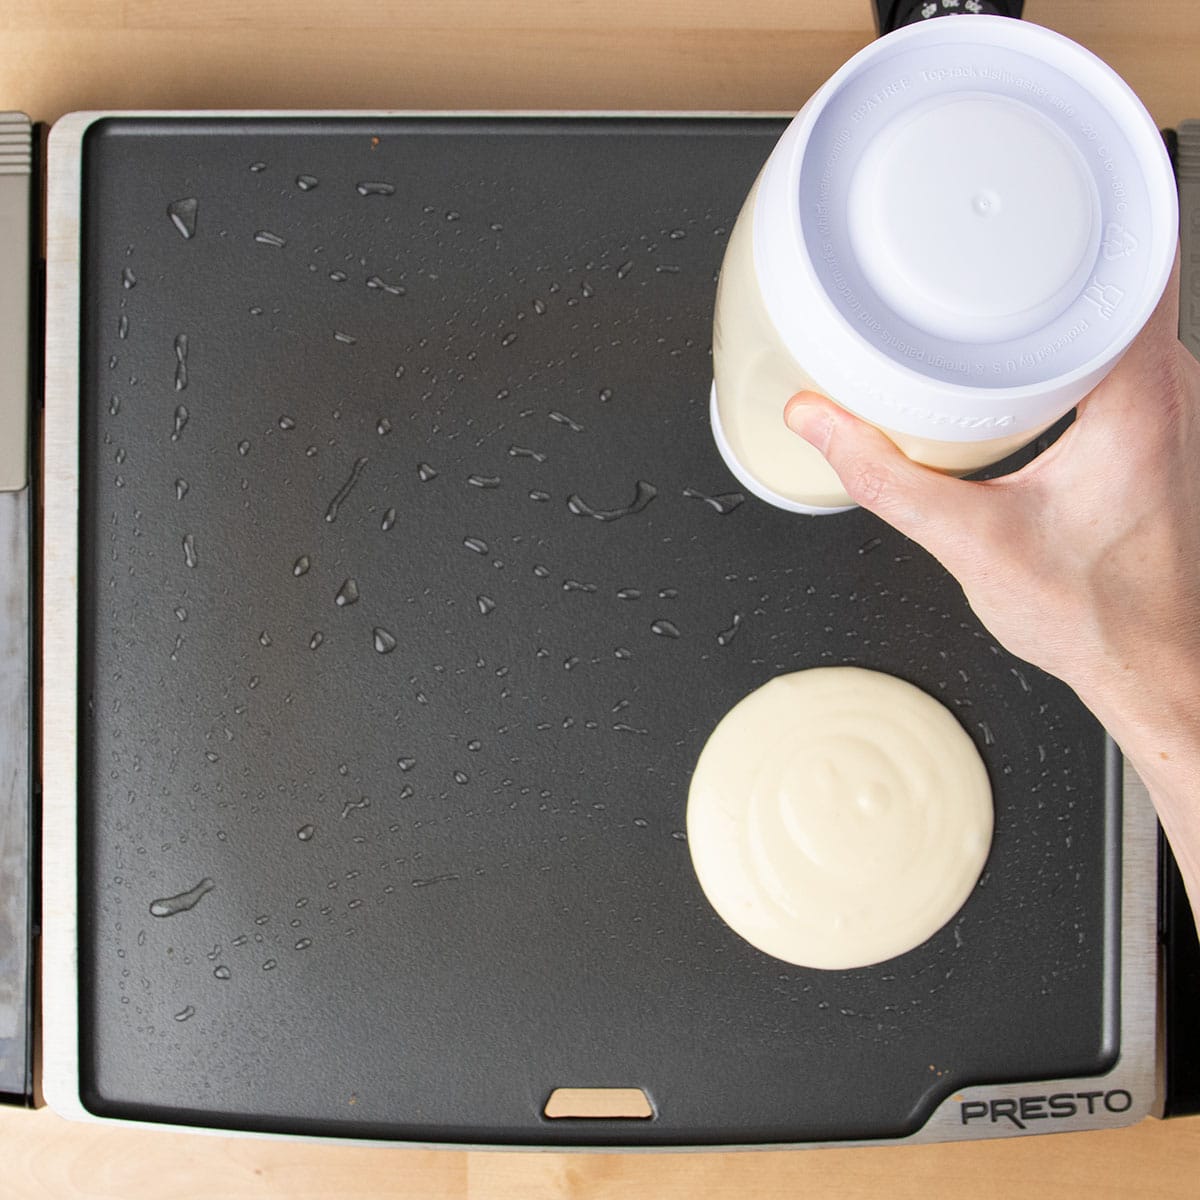
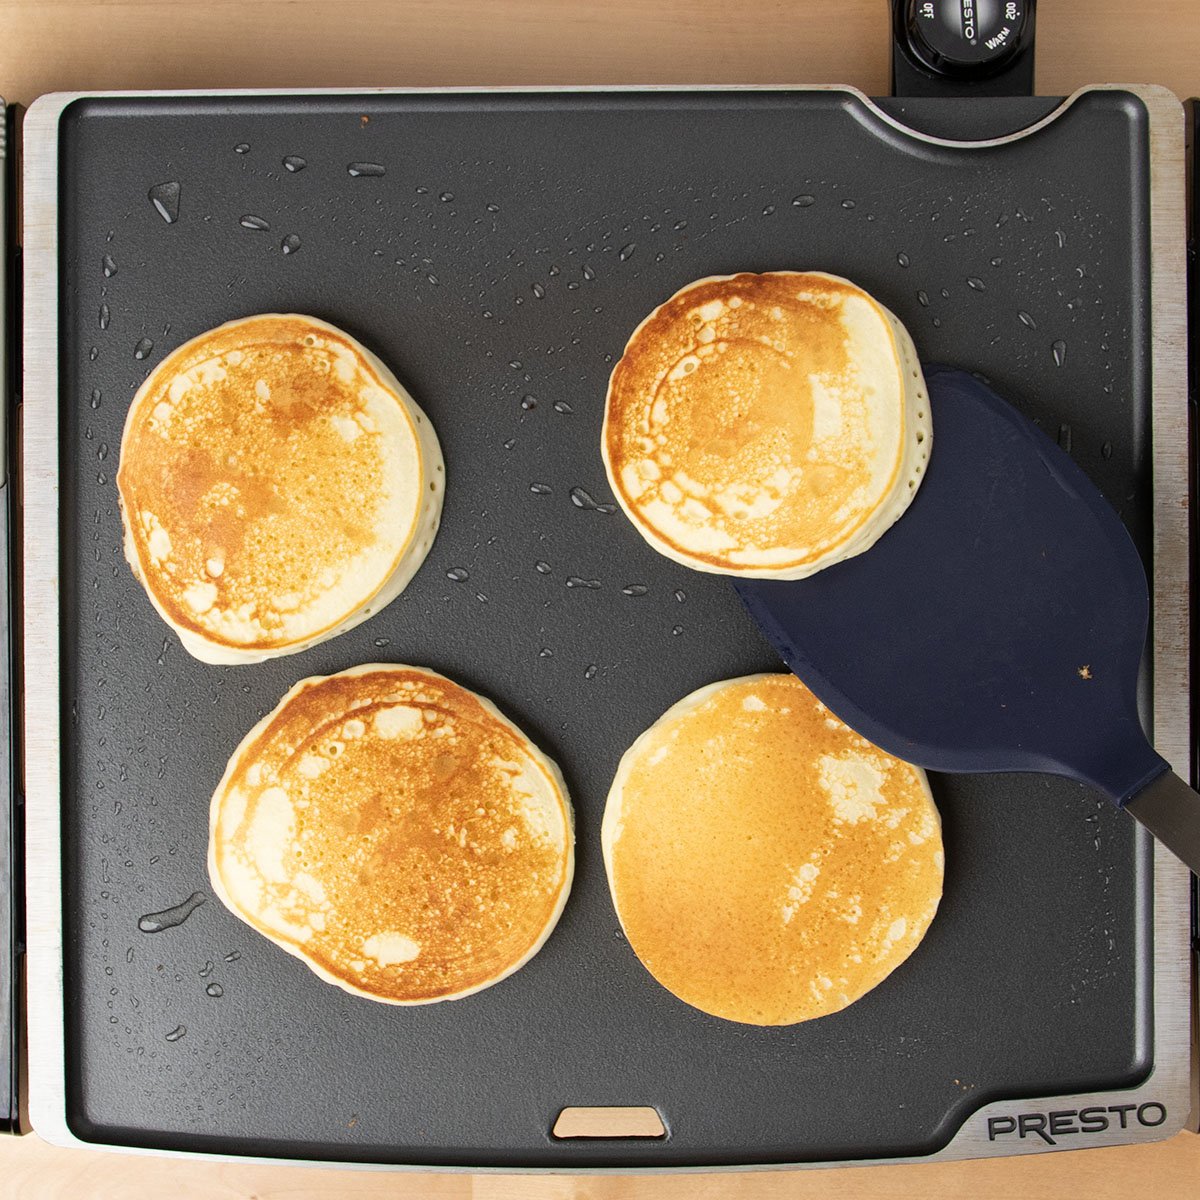
- Preheat Your Pan: Heat a nonstick griddle or skillet over medium heat and lightly grease it. A properly preheated pan is essential for preventing sticking and ensuring the pancakes begin to cook immediately upon contact, leading to even browning and preventing them from soaking up excess grease.
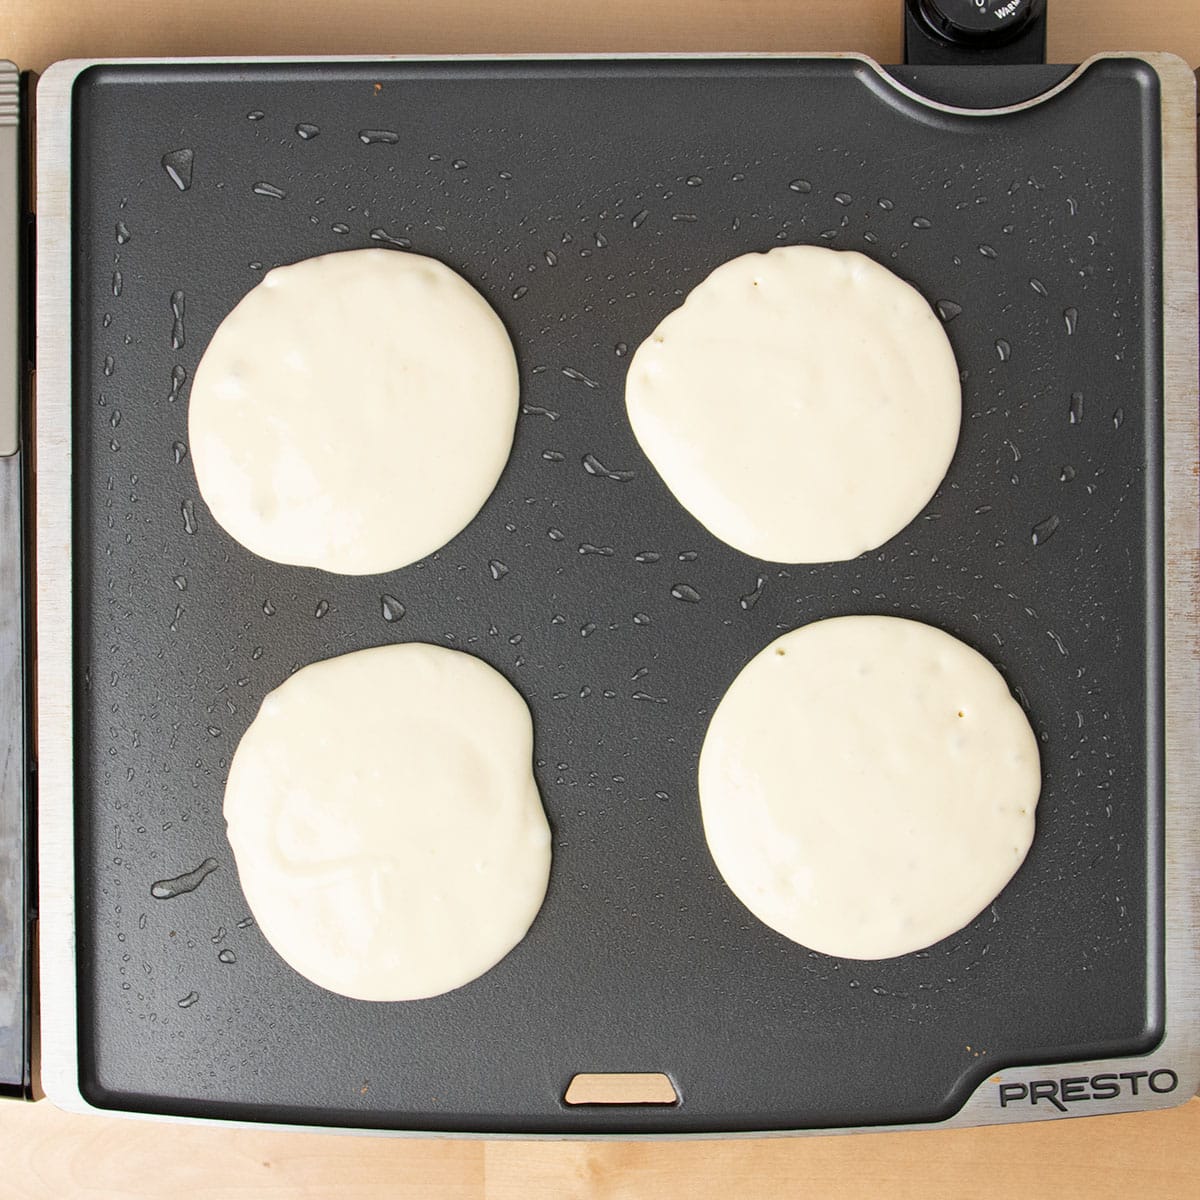
- Portion and Cook: Ladle approximately 1/4 cup of batter for each pancake to maintain uniform size. Cook until bubbles begin to form and break on the surface and the edges appear set. This indicates that the pancake is ready to be flipped.
- Flip and Finish: Carefully flip the pancakes when the edges are cooked and bubbles are present. Cook the second side until golden brown. Gentle flipping and brief cooking on each side, perhaps even a second flip, can enhance the depth of flavor through browning. Serve warm.
Expert Insights for Gluten-Free Pancake Perfection
Beyond the basic recipe, several expert tips can elevate the gluten-free pancake experience.
Avoiding Overly Gummy Textures
A common pitfall in gluten-free pancake recipes is the use of flour blends with excessive xanthan gum. Such blends can lead to a batter that becomes excessively thick and a finished pancake that is gummy and unpleasantly chewy. The article strongly advises against such blends, recommending instead those with a more balanced gum content or those specifically formulated to be gum-free.
The Subtle Art of Xanthan Gum
While optional, a small amount of xanthan gum can significantly improve the texture and handling of gluten-free pancake batter. It acts as a stabilizer, preventing the batter from spreading too thinly and feathering at the edges. However, its use should be minimal. If omitting xanthan gum, a reduction in milk is recommended to compensate for the absorbed moisture.

The Nonstick Advantage
The choice of cooking surface plays a vital role in achieving perfectly browned and easily flipped pancakes. A well-seasoned nonstick pan or griddle is ideal. Even with a nonstick surface, a light greasing is recommended to ensure the pancakes release cleanly and develop a beautiful golden-brown crust without frying.
Elevating to Buttermilk Heights
For those who crave a richer, tangier, and even fluffier pancake, the recipe points towards a dedicated gluten-free buttermilk pancake variation. This typically involves using real buttermilk, an additional egg, and melted butter in the batter, creating a more decadent breakfast experience.
Ingredient Adaptations for Dietary Needs
This versatile recipe readily accommodates common dietary restrictions.
- Dairy-Free Options: Cow’s milk can be seamlessly substituted with unsweetened, unflavored non-dairy milk alternatives that possess a similar consistency. Unsweetened coconut milk, almond milk, or oat milk are excellent choices.
- Egg-Free Solutions: For those avoiding eggs, a range of effective substitutes are available. Chia eggs, commercial egg replacers like Bob’s Red Mill, or liquid egg substitutes such as "Just Egg" can be used to achieve similar binding and structural properties.
Crafting a Shelf-Stable Dry Mix
A key element of this recipe’s convenience is the pre-made dry mix. This mix can be prepared in larger batches and stored for future use.
Making a Bulk Batch:
The recipe provides measurements for a standard batch of dry mix (approximately 1 ½ cups + 3 tablespoons by volume or 235 grams). For greater convenience, this can be multiplied by two, three, or four to create a larger supply. This bulk mix can be stored in a sealed container in a cool, dry pantry for up to three months or frozen for up to six months. When ready to bake, simply measure out the required amount of dry mix (235 grams for a full batch) and proceed with adding the wet ingredients.
Storage, Freezing, and Reheating Strategies
The freshly made pancakes can be stored and reheated with ease.
- Short-Term Storage: Allow cooled pancakes to stack in groups of two or three before placing them in an airtight container in the refrigerator. They will remain fresh for up to two days.
- Freezer-Friendly: For longer storage, wrap stacks of pancakes and freeze them for up to three months. Thawing can be done at room temperature, overnight in the refrigerator, or briefly in the microwave.
- Reheating: Pancakes can be revived in a toaster or a warm oven until thoroughly heated. A light spritz of water before toasting can help restore moisture and texture.
The dry mix itself also benefits from proper storage. Keeping it in a sealed container in a cool, dark pantry ensures its quality for up to three months, or freezing it extends its shelf life to six months. It’s important to allow the mix to come to room temperature before using it in recipes.

Addressing Common Pancake Puzzles: Frequently Asked Questions
Why are my pancakes flat?
Flat pancakes are often the result of expired leavening agents, such as baking powder and baking soda. These ingredients are crucial for providing the necessary lift.
Why are my pancakes burning?
An overheated pan is the most common cause of burnt pancakes. Reducing the heat slightly and watching for signs of smoking oil or butter can help prevent this.
Why do my pancakes stick to the pan?
Pancakes can stick if the pan is not nonstick or if it is not sufficiently heated. Using a well-heated nonstick skillet and lightly greasing it, even if it is nonstick, is recommended.
Can I use this recipe to make waffles?
While this recipe yields excellent pancakes, it is not ideally suited for waffles. Waffles require a different batter consistency for a crispier exterior. A dedicated gluten-free waffle recipe is recommended for that specific purpose.
