
For many who adhere to a gluten-free diet, the simple pleasure of a chewy, crusty New York-style bagel might seem like a distant memory. However, a groundbreaking recipe developed by Nicole Hunn, the culinary force behind Gluten Free on a Shoestring, promises to bring this beloved classic back to the gluten-free table. This innovative approach employs a two-pronged strategy: a cold rise for an easily manageable dough and a crucial molasses bath before baking, ensuring that signature chewy crust.
Hunn, a self-proclaimed born-and-raised New Yorker, emphasizes the deep personal significance of authentic bagels. "Chewy, crusty New York-style bagels have always been very important to me," she states. "Now I bring them to you, gluten free!" This sentiment underscores the culinary challenge and the ultimate triumph of recreating such an iconic texture and flavor profile without gluten.
The Science Behind the Chew: Key Ingredients and Techniques
The success of these gluten-free bagels hinges on a meticulous selection of ingredients and a precise execution of techniques. The recipe incorporates several elements designed to mimic the browning and texture of traditional bagels. Ingredients that promote browning in the oven are vital for achieving that appealing golden hue. An egg white wash not only contributes to a glossy finish but also helps the bagels maintain their shape during the cooling process. Crucially, the inclusion of extra tapioca starch is identified as the secret weapon for achieving that sought-after chewy interior.

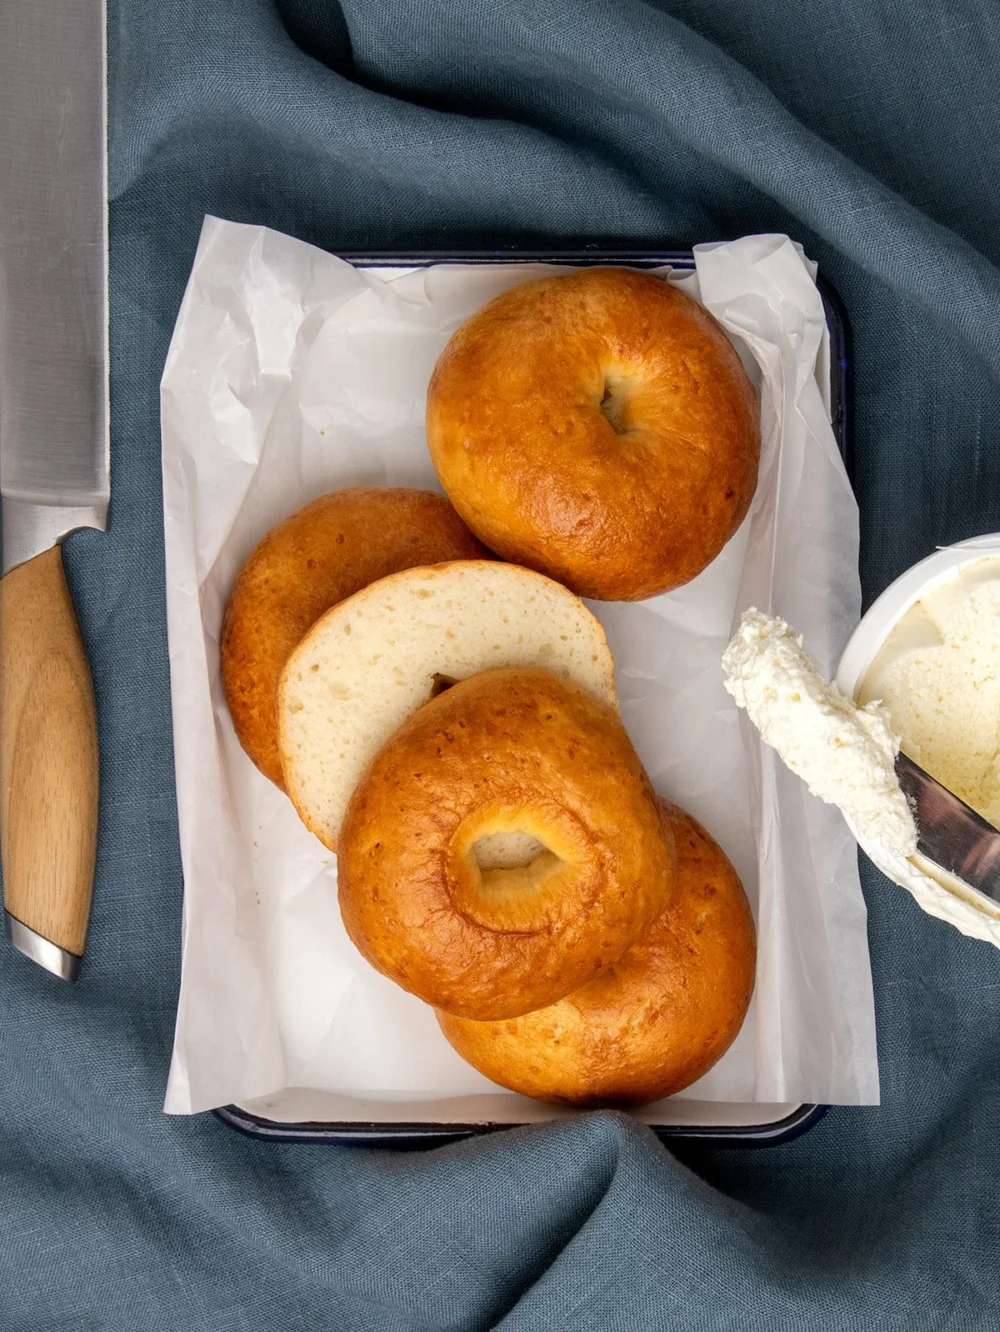
These bagels are presented as a versatile food item, perfect for a simple breakfast with butter or cream cheese, or as the foundation for a more elaborate sandwich. The recipe details highlight the importance of specific ingredients and their roles:
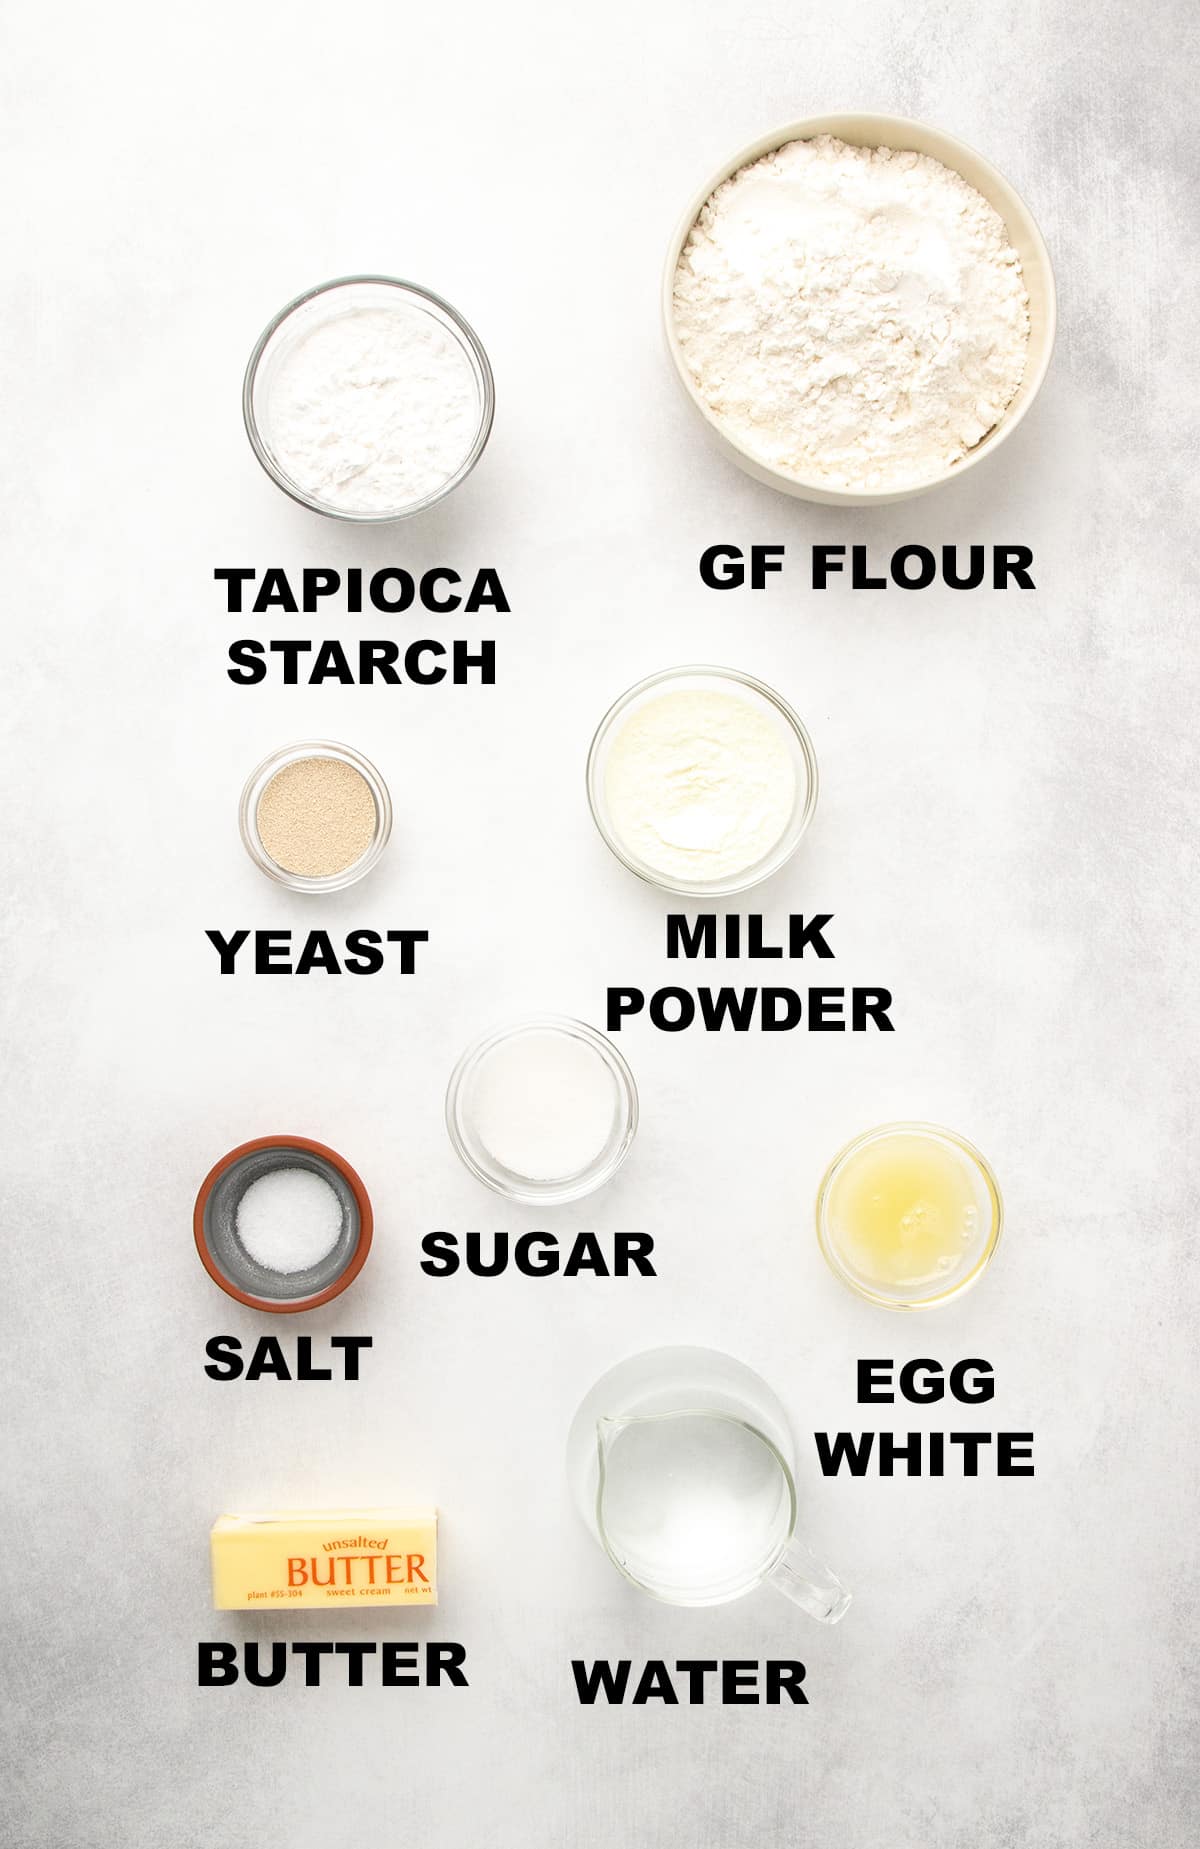
- Gluten-Free Flour Blend with Xanthan Gum: Forms the structural base of the bagel, mimicking the properties of wheat flour. The xanthan gum is essential for binding and providing elasticity in the absence of gluten.
- Tapioca Starch: A key ingredient that contributes significantly to the chewiness and creates a smoother dough texture, preventing the common grittiness sometimes found in gluten-free baked goods.
- Milk Powder: Adds richness and aids in browning, contributing to the desirable golden crust.
- Yeast: The leavening agent responsible for the rise and airy texture of the bagels.
- Sugar: Feeds the yeast, promoting fermentation, and also contributes to browning and flavor.
- Salt: Enhances flavor and controls yeast activity.
- Butter: Adds richness, tenderness, and contributes to the overall flavor profile.
- Water: Activates the yeast and hydrates the dry ingredients, forming the dough.
- Egg White: Used in the dough for structure and in the wash for a glossy, appealing finish.
A Step-by-Step Guide to Gluten-Free Bagel Perfection
The recipe outlines a detailed process, emphasizing techniques that are critical for success in gluten-free baking, especially with yeast-leavened products.

1. Crafting the Dough: The Foundation of Flavor
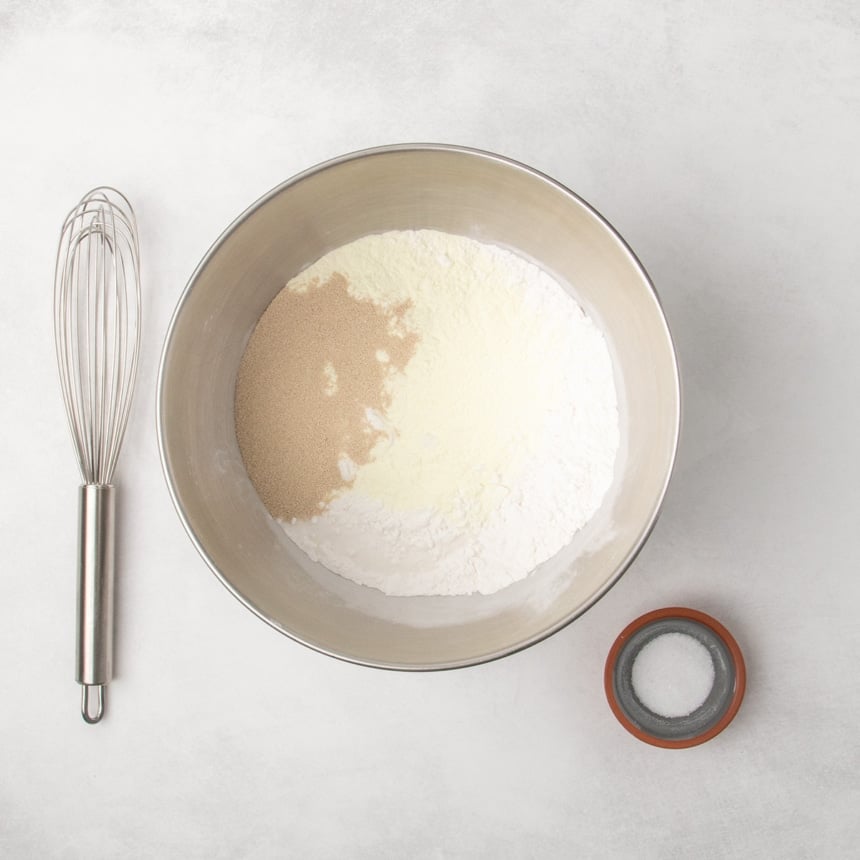
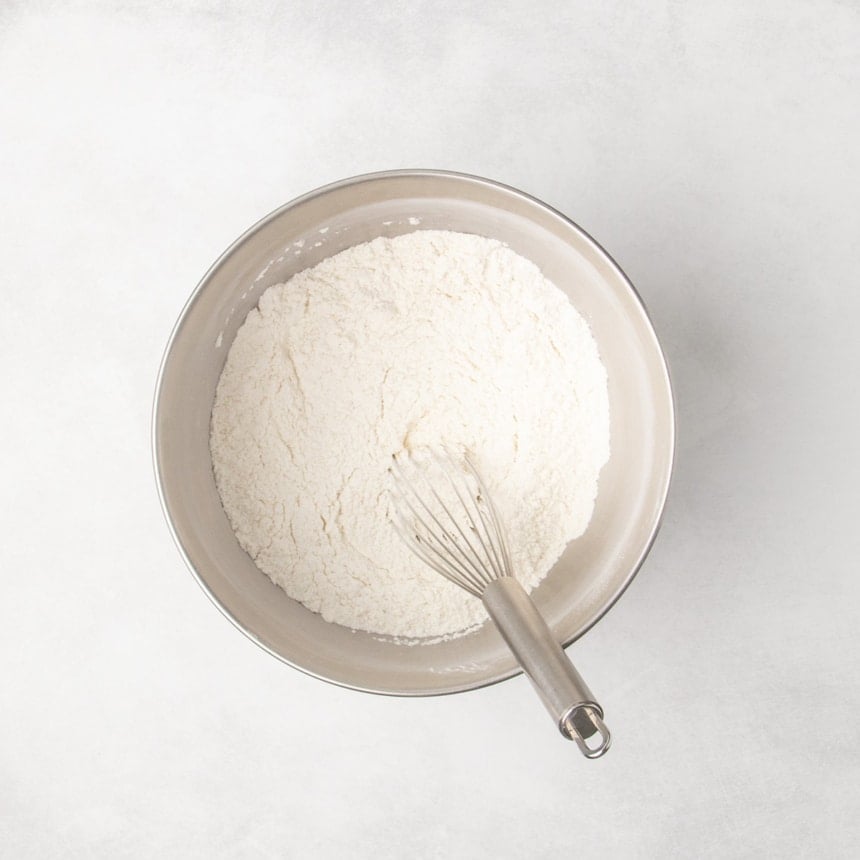
The process begins with combining the dry ingredients in the bowl of a stand mixer. It’s crucial to whisk together the gluten-free flour blend, tapioca starch, milk powder, yeast, and sugar before incorporating the salt. This ensures even distribution and prevents direct contact between the salt and yeast, as salt can inhibit yeast activity.
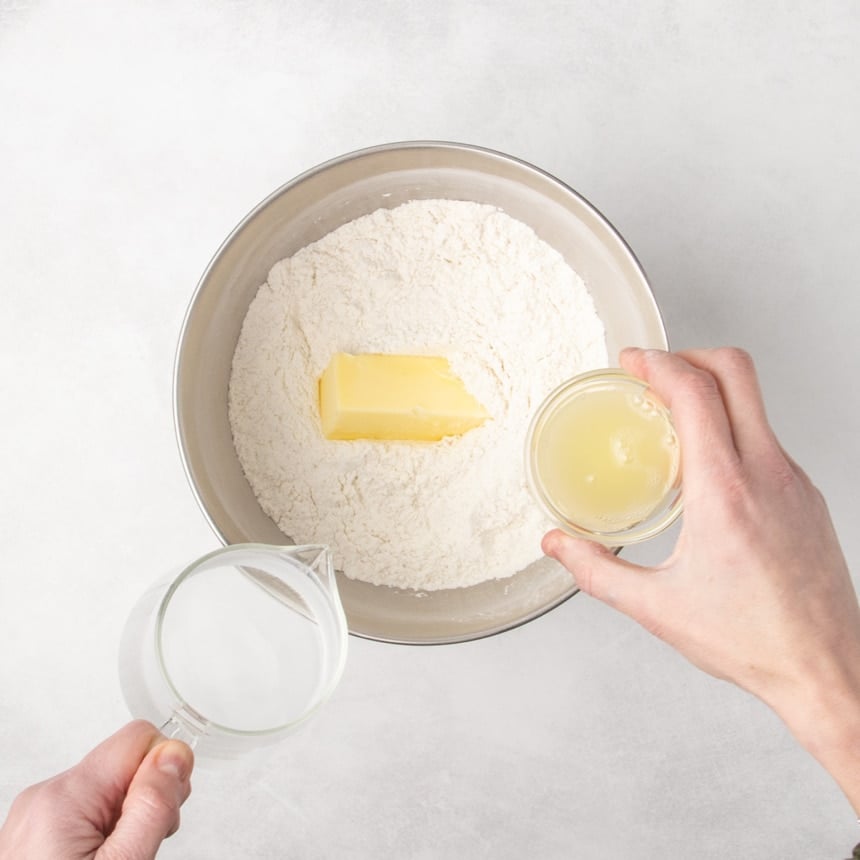
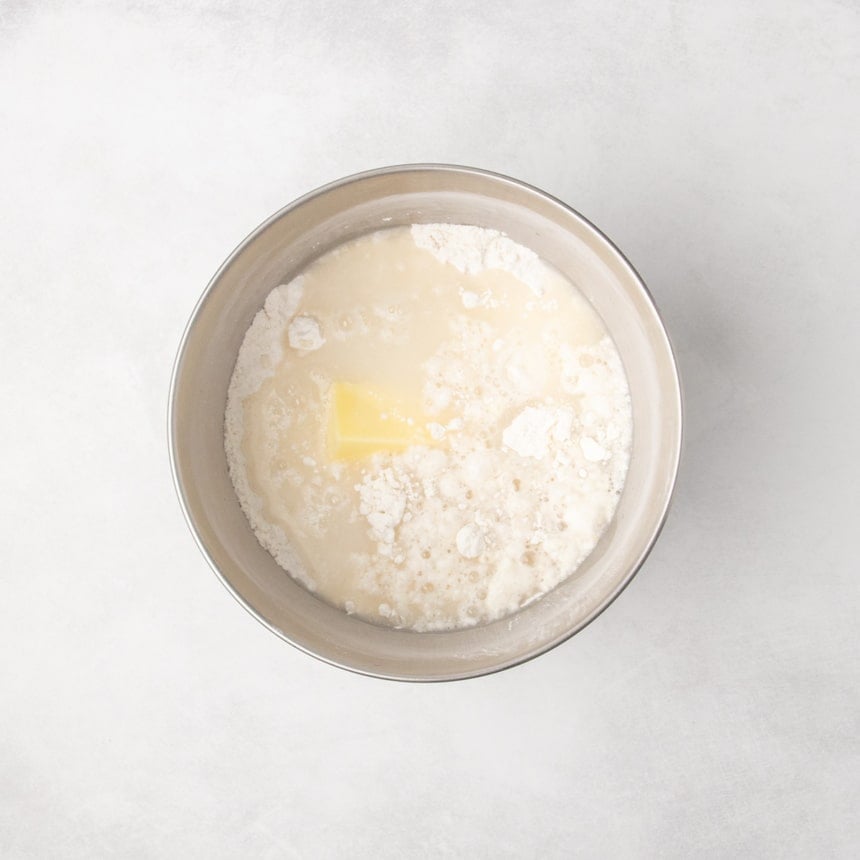
Next, the wet ingredients are introduced: softened butter, a room-temperature egg white, and warm water. The mixture is then combined, initially with a spatula if the bowl is large, before being transferred to the stand mixer.
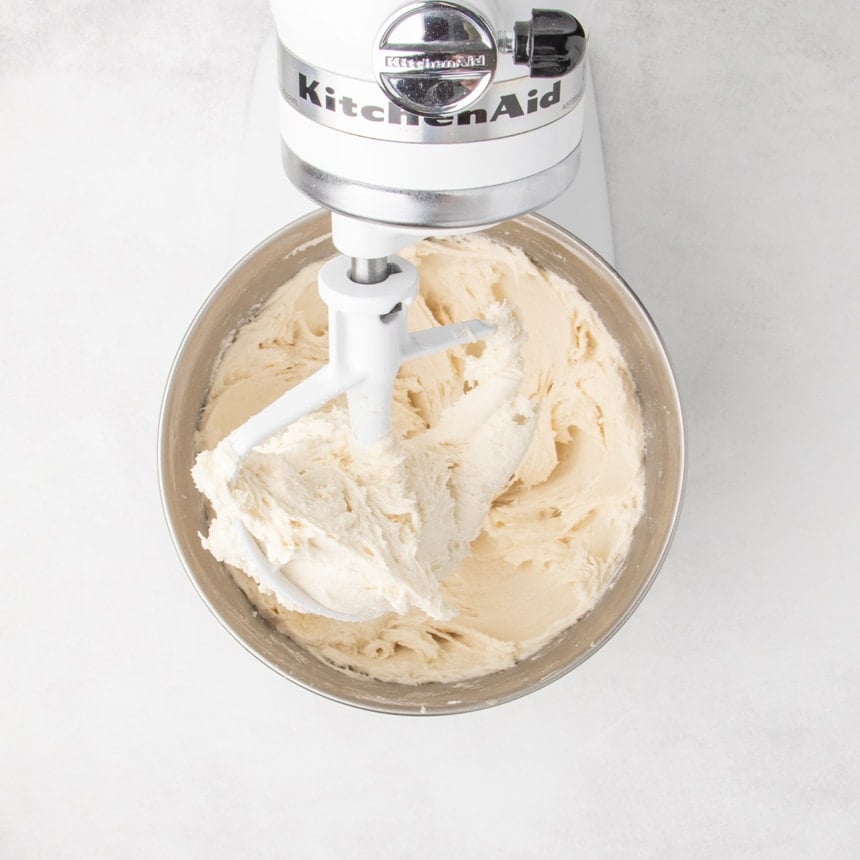
2. The Magic of the Mixer: Developing Texture
The dough is mixed using a stand mixer with a paddle attachment. Initially, on medium-low speed, the ingredients are combined until the flours are moistened and the dough begins to clump around the paddle. The speed is then increased to medium-high for approximately four minutes. During this stage, the dough should cling to the sides of the bowl and develop an airy, whipped appearance. This mechanical aeration is critical for achieving the desired texture in gluten-free bread products.
3. The Crucial Cold Rise: Enhancing Manageability and Flavor
A significant step in this recipe is the chilling of the unshaped dough. After mixing, the dough is transferred to a container, covered tightly, and refrigerated for at least 30 minutes, and up to two days. This cold rise serves multiple purposes. It allows the dough to develop a more complex yeasty flavor. Furthermore, it gives the flours ample time to absorb moisture, and the butter to firm up, making the dough considerably easier to handle and shape. This is a departure from traditional bagel-making, where doughs are often proofed at room temperature.
4. Shaping for Success: From Dough Balls to Bagel Rings
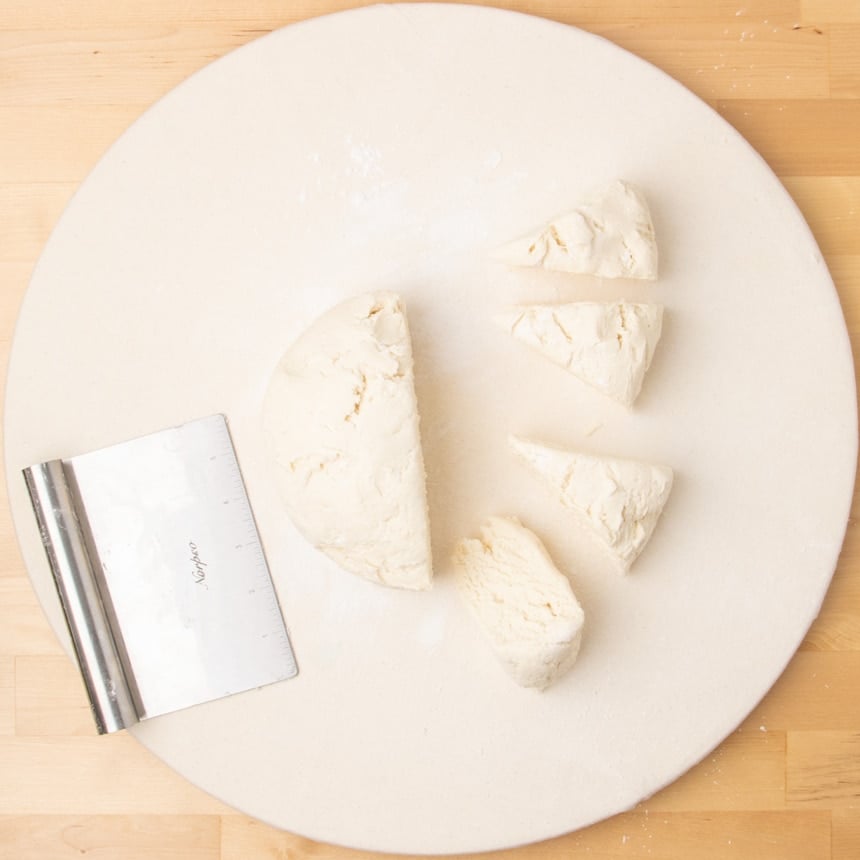
Once chilled, the dough is turned out onto a lightly floured surface. The recipe specifies using tapioca starch for dusting, which helps prevent sticking without drying out the dough excessively. The dough is divided into eight equal portions, each weighing a little over four ounces. Evenly divided dough is essential for consistent rising and baking.
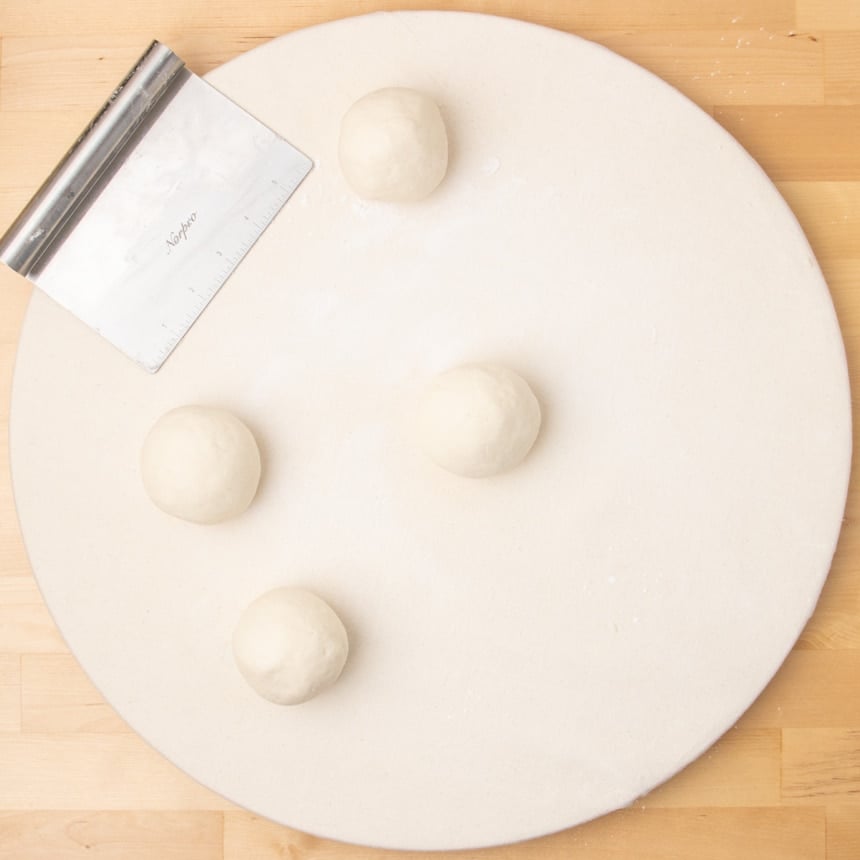
The shaping technique involves working with one piece of dough at a time. The dough is formed into a smooth ball by cupping a hand around it and moving it in a circular motion on the surface. This technique, often referred to as "rounding," creates surface tension.
To create the characteristic bagel hole, each ball is gently pressed into a disk. A floured finger is then pushed through the center from both sides, and the dough is rotated around the finger to widen the hole. The article notes that while some methods involve rolling a cylinder and joining the ends, this can lead to separation during cooking.
5. The Second Rise: Preparing for the Boil
The shaped bagels are placed on parchment-lined baking sheets, spaced about two inches apart. They are then lightly covered with plastic wrap and allowed to rise. This second rise is crucial but differs from traditional bread recipes; the gluten-free dough will not double in size. Instead, it should increase by approximately 50%. Over-proofing is a concern, as over-risen dough can absorb too much water and disintegrate during the boiling process. Signs of over-proofing include a dimpled appearance.
6. The Molasses Bath: The Key to the Chewy Crust
The defining step for achieving that authentic bagel texture is the boiling process. A rolling boil is created in a pot of water with unsulfured molasses. This bath is critical as it gelatinizes the starches on the exterior of the bagel, limiting oven spring and imparting the characteristic chewy crust. Each risen bagel is boiled for less than one minute in total, flipped halfway through, and then returned to the baking sheet.
7. The Final Transformation: Baking to Golden Perfection
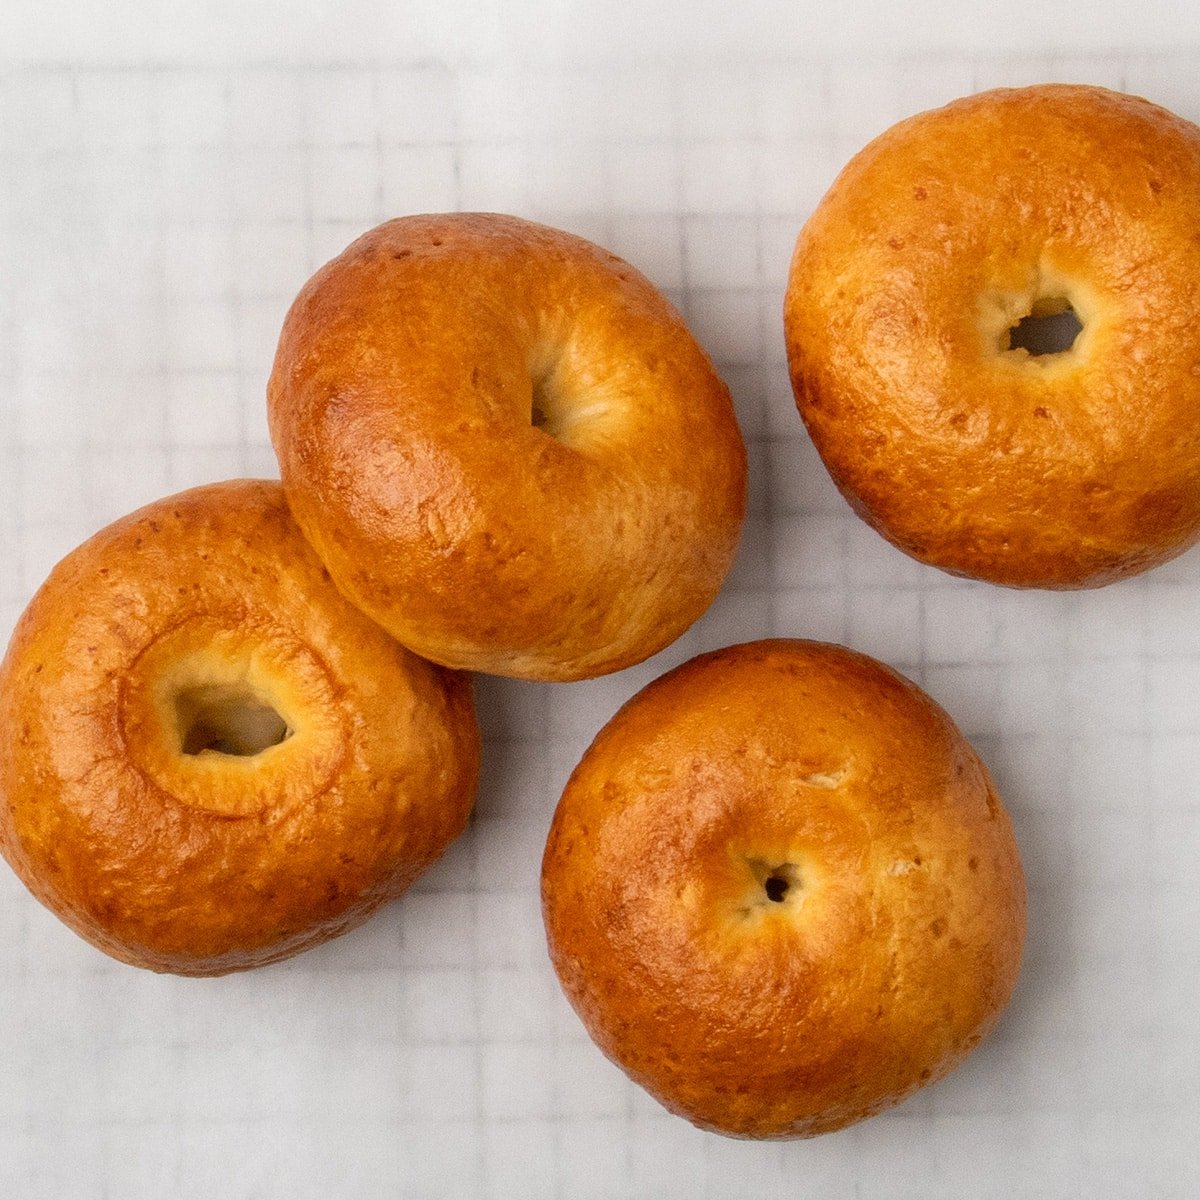
Before baking, the boiled bagels are brushed with an egg wash. This provides a beautiful sheen and aids in browning. The bagels are then baked at 375°F (190°C) for approximately 25 minutes. Rotating the baking sheet halfway through the baking time ensures even cooking. The bagels are done when they are a rich golden brown and register around 180°F (82°C) on an instant-read thermometer. A gentle press should result in a springy texture, and they should feel relatively light for their size. The molasses in the boiling water may cause some darkening on the bottoms, which is noted as not affecting the taste.
Expert Insights and Troubleshooting
Hunn offers several expert tips to guide bakers through the process and address potential challenges.
Mastering the Flour Blend
The choice of gluten-free flour blend is paramount. Hunn specifically recommends blends that are well-balanced, such as Nicole’s Best multipurpose blend, Vitacost’s Multi-Blend Gluten Free Flour (with added xanthan gum), or Better Batter’s original all-purpose blend (without added xanthan gum). She emphasizes that lower-quality blends may not yield successful results in shaped yeast breads. For those interested in creating their own blends, resources are available on her blog.
Stand Mixer Alternatives
While a stand mixer with a paddle attachment is ideal for over-aerating the dough, alternative methods exist. A powerful handheld mixer can also be used. For those without electric mixers, a food processor with a plastic dough blade can be employed. The process involves pulsing the ingredients, scraping down the sides, and repeating until a relatively smooth dough is achieved, cautioning against over-processing.
Preventing Over-Proofing
The subtle but critical difference in the rise of gluten-free dough is highlighted. The advice to look for a 50% increase in size and to avoid over-proofing, which can lead to dough disintegration, is a key takeaway for gluten-free bakers.

The Indispensable Boil
The article reiterates the importance of the boiling step. It’s not merely a stylistic choice; it’s a fundamental technique that sets the starches on the outside, controlling oven spring and creating the definitive chewy texture that distinguishes a true bagel from a mere roll with a hole.
Adaptations for Dietary Needs
The recipe also provides valuable substitutions for those with specific dietary requirements.
Dairy-Free Options
For a dairy-free version, coconut milk powder can be used in place of regular milk powder. Vegan butter, such as Miyoko’s, Melt, or Trader Joe’s brands, is recommended as a substitute for dairy butter.
Egg-Free Adaptations
Those avoiding eggs can replace the egg white in the dough with an equal weight of aquafaba (chickpea brine), whisked until foamy. For the egg wash, melted butter or cream can be used to achieve a similar glossy finish.
Storage and Enjoyment
Freshly baked bagels are best consumed within a day. For longer storage, tight wrapping in plastic wrap will preserve them for two to three days, with toasting recommended. For extended preservation, freezing is an excellent option. After cooling, slicing the bagels in half horizontally and freezing them in airtight containers for up to three months is suggested. They can be defrosted at room temperature or briefly microwaved, then toasted to enjoy.
This comprehensive recipe and accompanying guidance represent a significant advancement in gluten-free baking, offering a tangible pathway to experiencing the authentic taste and texture of New York-style bagels without compromise.
