

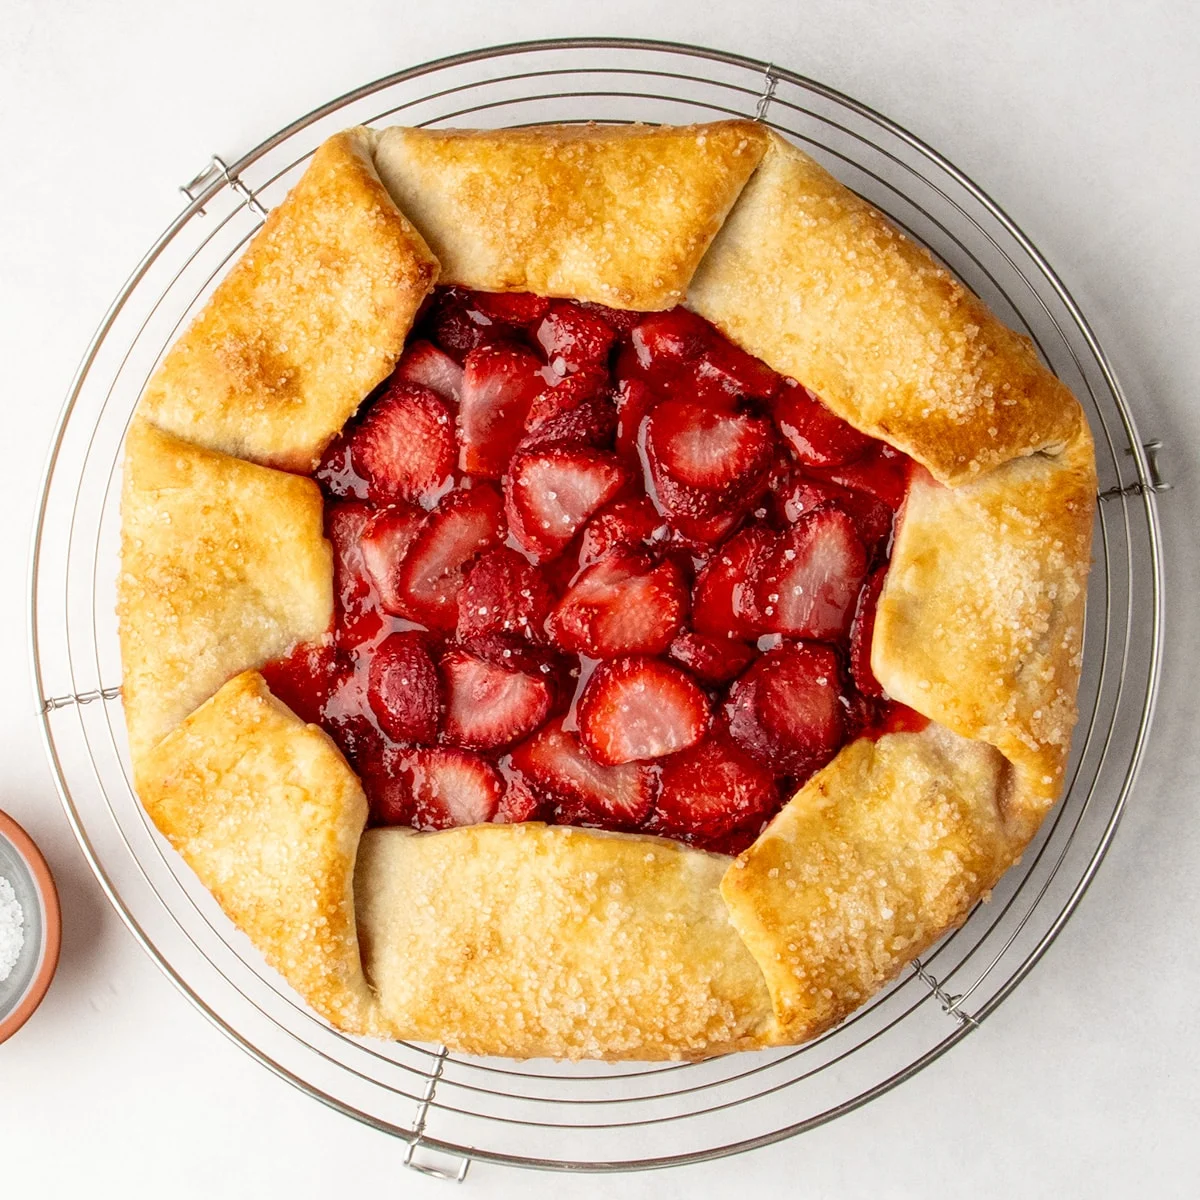
This rustic, simple gluten-free galette offers a delightful culinary experience, marrying a perfectly flaky, golden crust with a vibrant strawberry filling. The filling, lightly sweetened, bursts with the natural flavor of fresh berries, making it an ideal dessert, especially during peak strawberry season. Its rustic charm makes it suitable for any occasion, from casual gatherings to more formal events, without the fuss often associated with traditional pies. The beauty of a galette lies in its inherent simplicity and forgiving nature, allowing the quality of the ingredients to truly shine.
The Art of the Galette: Simplicity Meets Elegance
The galette distinguishes itself from a conventional pie by its relaxed structure. Instead of a rigid pie dish, a galette is baked directly on a baking sheet, with the dough folded artfully around the filling. This method not only simplifies the baking process but also lends the dessert a rustic, homemade aesthetic. This particular recipe capitalizes on this inherent ease, transforming a potentially intimidating baking task into an accessible and rewarding endeavor. The recipe’s success hinges on a few key principles: a sturdy yet flaky gluten-free crust, a filling that balances sweetness with tartness, and techniques to prevent a soggy bottom, a common pitfall in fruit tarts.
Why This Recipe Excels
The triumph of this gluten-free galette recipe lies in its thoughtful approach to common baking challenges. The galette format itself eliminates the need for intricate pie crust shaping, making it significantly more approachable. The core of its appeal is the filling, a celebration of fresh strawberries. While this recipe focuses on strawberries, the underlying technique is versatile, readily adaptable to other seasonal fruits such as ripe stone fruits like peaches, nectarines, or plums, or even thinly sliced apples. The key is to let the natural sweetness and tartness of the fruit dictate the overall flavor profile.
Crucially, this recipe addresses the perennial concern of a soggy crust, especially in gluten-free baking. By ensuring the berries thicken into a glossy, syrupy consistency, the recipe minimizes excess moisture. The crust is intentionally rolled slightly thicker than one might use for a traditional pie, providing an extra layer of structural integrity without sacrificing its signature flakiness. Furthermore, a light brush of honey on the dough before the filling is added acts as a barrier, further protecting the crust from moisture and contributing to its beautiful golden hue and delicate crispness.
Key Ingredients for a Perfect Galette
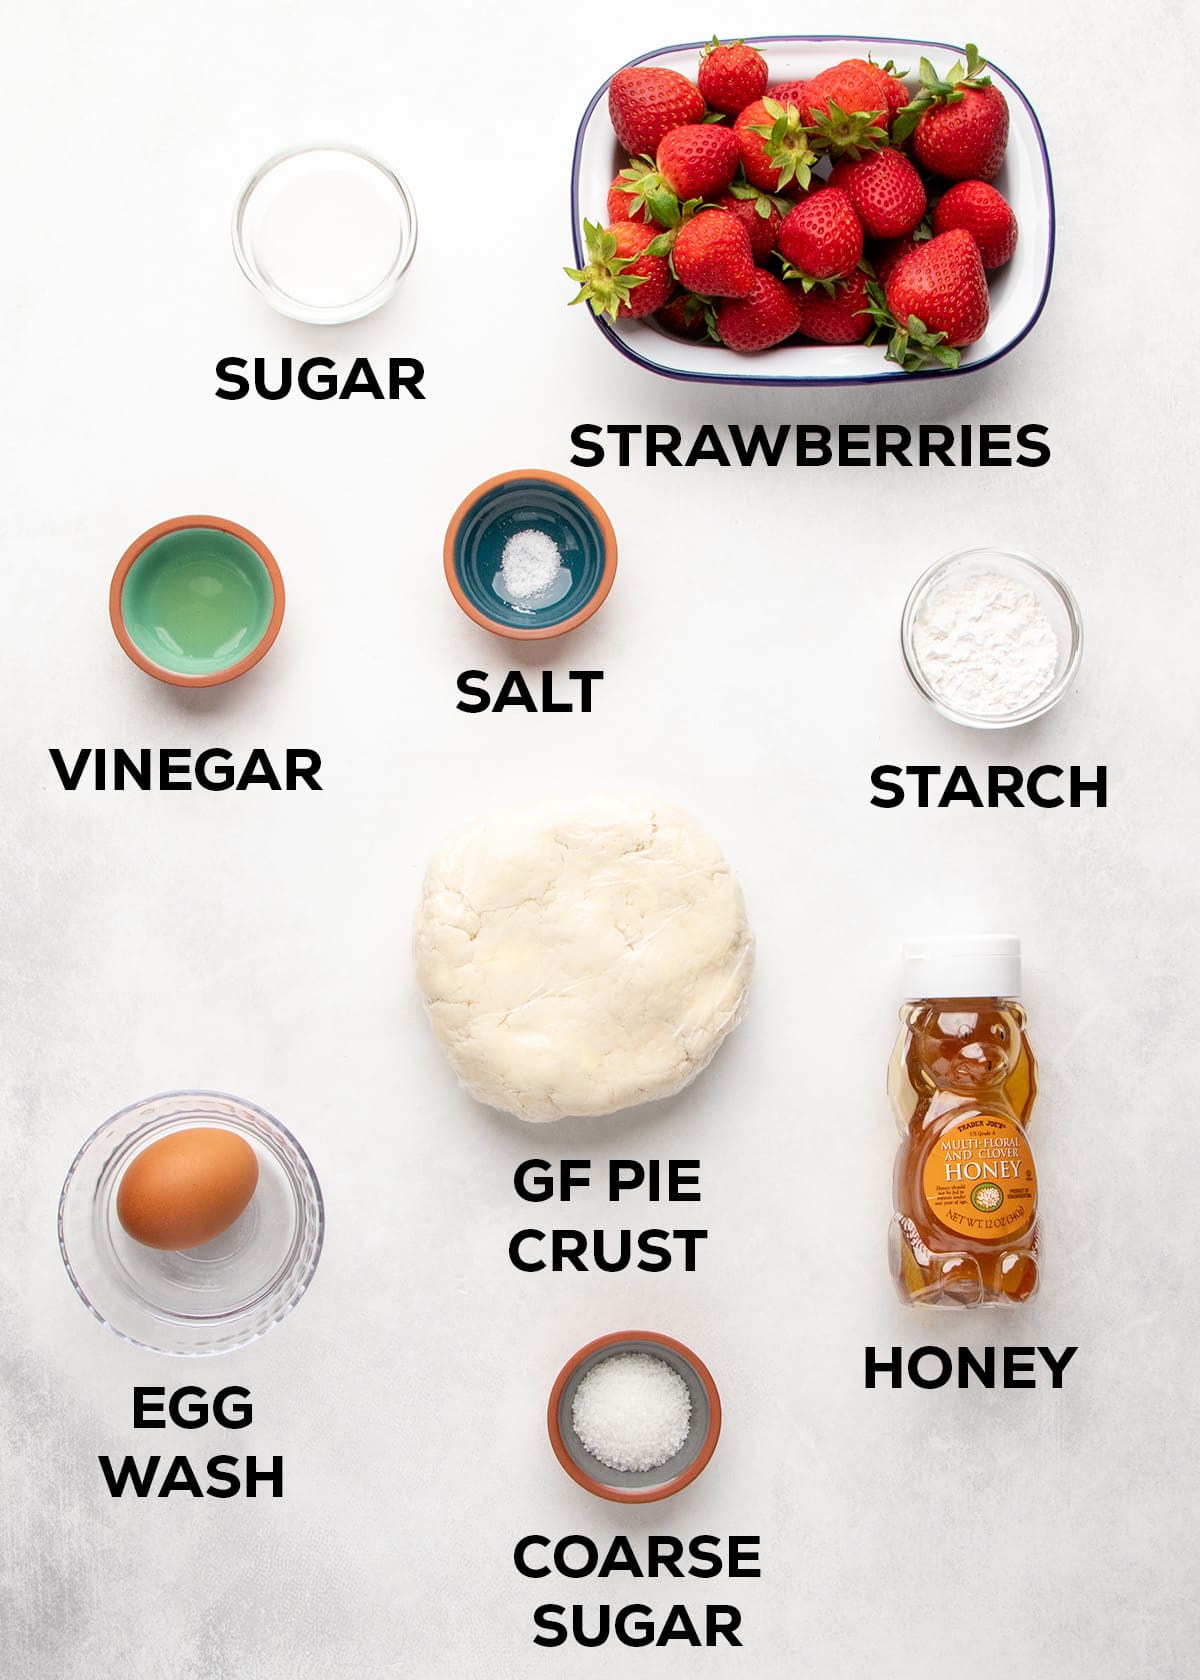
Crafting this gluten-free strawberry galette requires a specific set of ingredients, each playing a vital role in the final outcome. For precise measurements, the accompanying recipe card should be consulted.

For the Crust:
- A high-quality gluten-free flour blend that includes xanthan gum is essential for achieving the desired texture and binding.
- Cold, unsalted butter is paramount for creating flaky layers.
- Ice-cold water is crucial for bringing the dough together without overworking it, ensuring the butter remains cold and distinct.
- A pinch of salt enhances the overall flavor profile.
- Optional sugar can be added for a slightly sweeter crust.
For the Filling:
- Fresh, ripe strawberries are the star. Their quality directly impacts the flavor of the galette.
- Granulated sugar, adjusted to the sweetness of the berries, provides a gentle sweetness.
- A small amount of vinegar, such as apple cider vinegar, brightens the strawberry flavor and balances the sweetness.
- A dash of salt subtly enhances the fruit’s natural sweetness.
- Tapioca starch (or tapioca flour) serves as a thickening agent, transforming the berry juices into a glossy, appealing syrup without imparting an undesirable texture.
For Finishing:
- An egg wash, made from a whole egg beaten with a splash of water or milk, provides a beautiful sheen and golden-brown color to the crust.
- Coarse-grained sugar, such as turbinado or sanding sugar, adds a delightful crunch and visual appeal.
- Honey is used to brush the dough before adding the filling, aiding in browning and acting as a moisture barrier.
Step-by-Step Guide to Crafting the Gluten-Free Strawberry Galette
The process of creating this gluten-free galette is designed to be straightforward, even for novice bakers.
1. Preparing the Crust Dough:
Begin by whisking together the dry ingredients for the crust in a large bowl. This ensures an even distribution of flour, xanthan gum, baking powder, salt, and any optional sugar, preventing clumps. Next, add cold, chopped butter to the dry ingredients. Work the butter into the flour mixture by pressing each piece into thin shards between your thumb and forefinger. This technique helps create distinct layers of butter within the dough, which will melt during baking to produce a flaky crust. Gradually incorporate ice-cold water, mixing until the dough just comes together. It’s important not to add too much water, as this can lead to a soggy crust. The dough should hold together when pressed.
2. Chilling the Crust:
Once the dough is formed, wrap it tightly in plastic wrap, pressing it into a flat disk. This shape makes it easier to roll out later. Refrigerate the disk for at least 30 minutes, or until firm. This chilling period allows the gluten-free flour blend to hydrate properly and the butter to solidify, which is crucial for flakiness.
3. Preparing the Strawberry Filling:
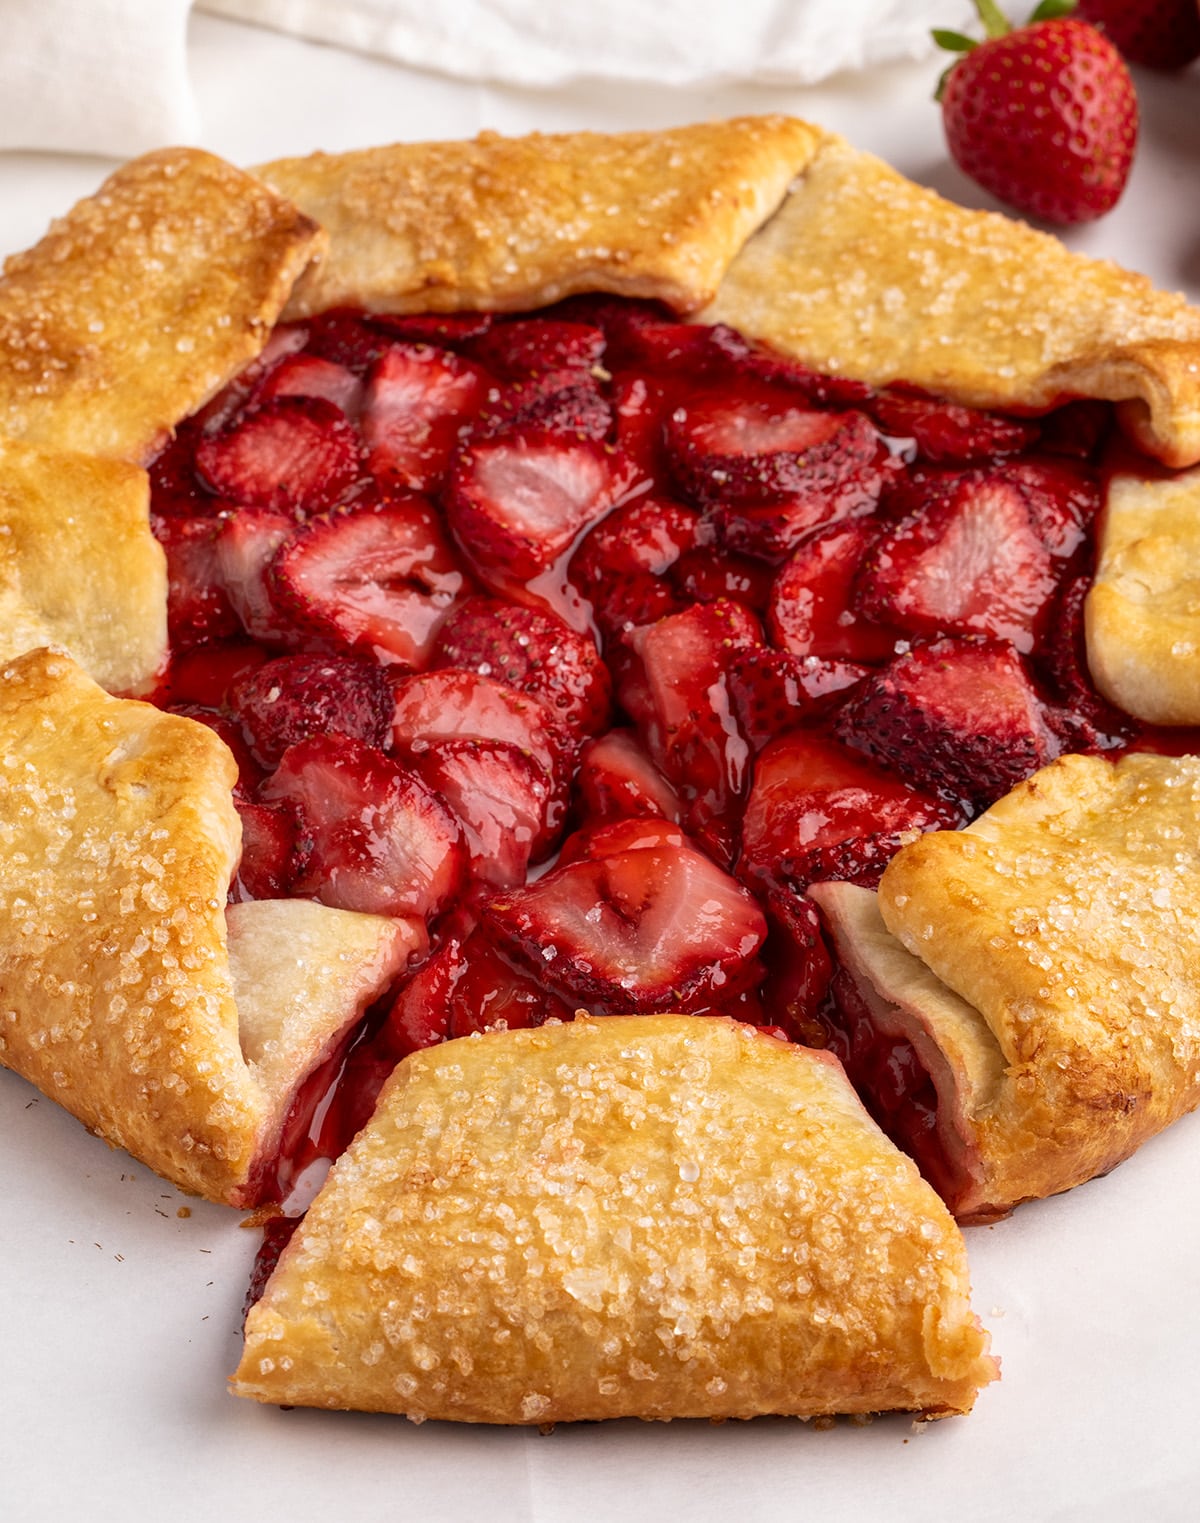
While the dough chills, prepare the strawberry filling. Wash, hull, and thickly slice approximately one pound of strawberries. Slicing them ensures they retain their shape during baking. In a bowl, combine the sliced strawberries with a pinch of salt, granulated sugar, and a dash of vinegar. Allow the mixture to rest for about 10-15 minutes; this process draws out the natural juices from the berries, concentrating their flavor. After resting, gently mix in the tapioca starch. Let the mixture sit for another few minutes to allow the starch to soften and begin absorbing the released juice, creating a glossy syrup.
4. Rolling and Preparing the Crust:
Preheat your oven to 375°F (190°C). Lightly flour a clean work surface and roll out the chilled gluten-free dough into a rough circle, about 13 to 14 inches in diameter and approximately 1/4-inch thick. Use minimal extra flour to prevent the dough from becoming tough. Carefully transfer the rolled-out dough onto a piece of parchment paper. Brush the bottom surface of the dough with a thin layer of honey. This acts as a natural sealant, preventing the berry juices from seeping into the crust, and contributes to a beautifully caramelized bottom.
5. Assembling the Galette:
Spoon the prepared strawberry filling into the center of the dough, leaving a 2-inch border of bare crust all around. Gently fold this border up and over the edges of the filling, creating pleats as you go. The goal is to enclose about one-quarter of the filling, leaving the majority exposed. Press down gently on the folded crust to help it adhere to itself and the filling, ensuring a secure structure.
6. Finishing Touches and Chilling:
Brush the entire surface of the folded crust with an egg wash. This will give it a rich, golden-brown color and a glossy finish. Sprinkle the crust generously with coarse-grained sugar for added texture and sweetness. At this stage, it’s crucial to chill the assembled galette. Place the galette, still on its parchment paper, onto a small cutting board or baking sheet and refrigerate for about 15-20 minutes. This final chilling step ensures the butter in the crust is cold before baking, maximizing flakiness.
7. Baking the Galette:
Place the chilled galette on its parchment paper onto a rimmed baking sheet. Bake in the preheated oven for approximately 35-40 minutes, or until the crust is deeply golden brown and the strawberry filling is bubbling and appears slightly syrupy.
8. Cooling and Serving:
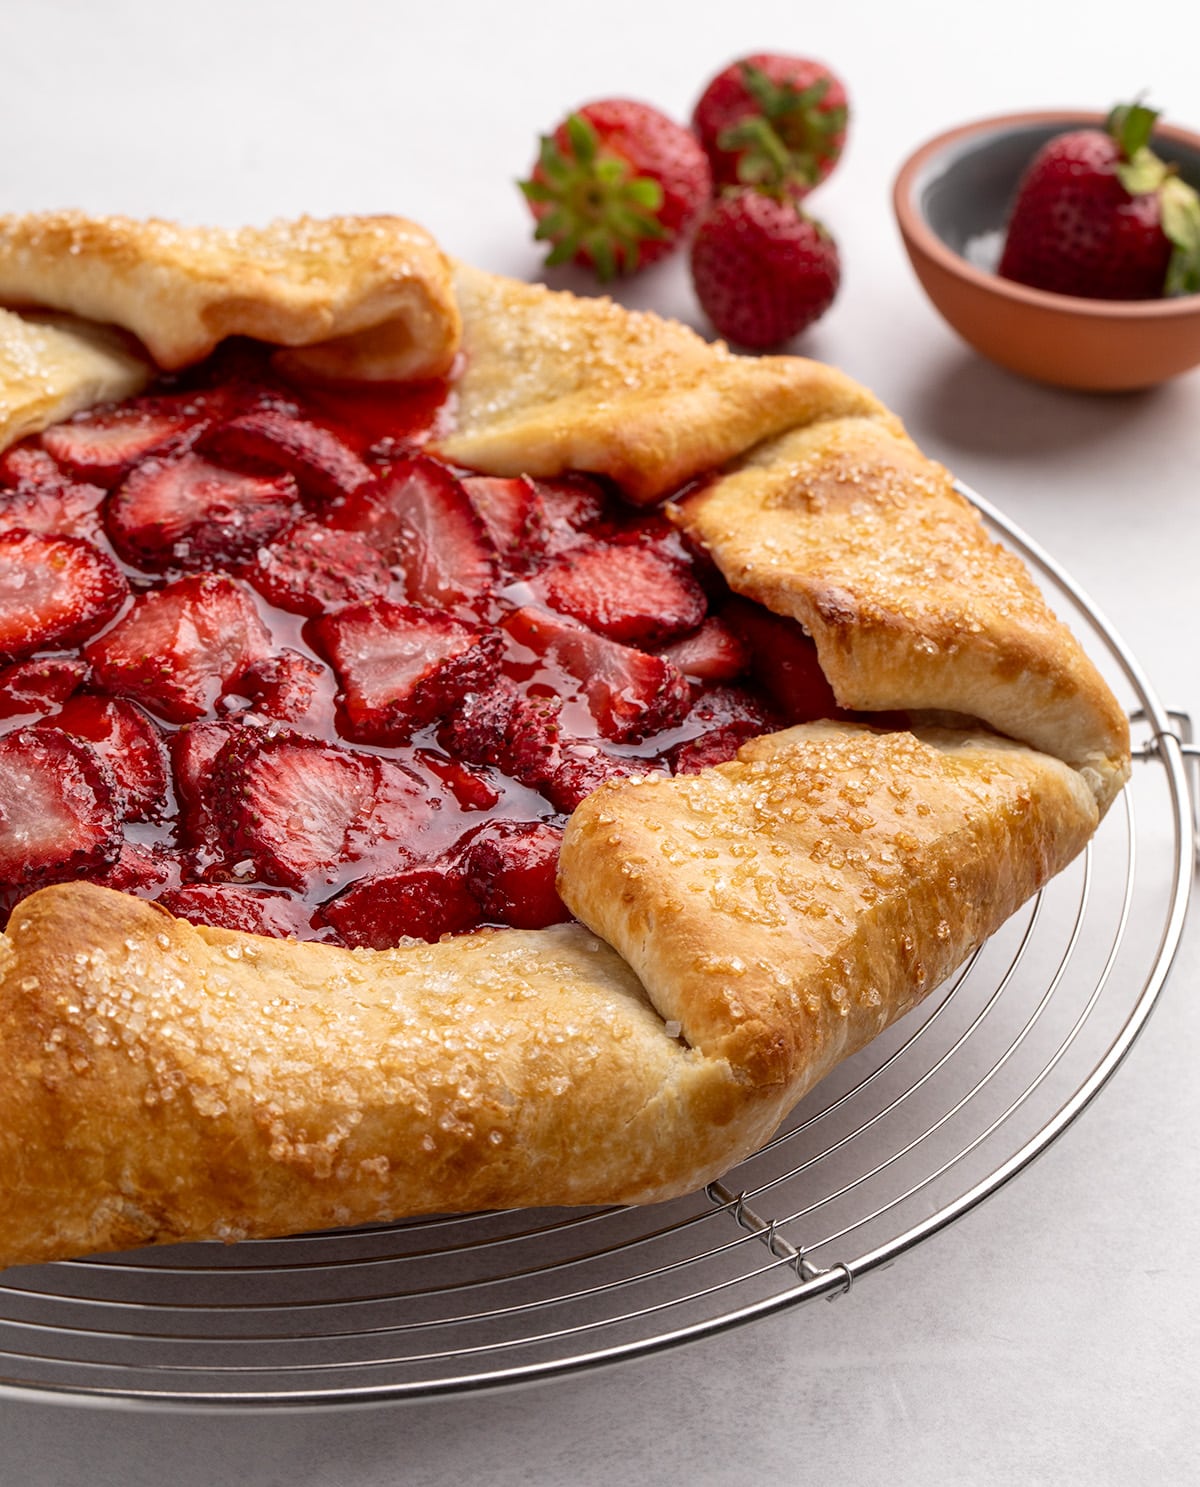
Once baked, allow the galette to cool on the baking sheet for about 10-15 minutes. This allows the filling to set properly. Then, carefully transfer it to a wire rack to cool for another 15-20 minutes before slicing and serving. This gradual cooling process is essential for the galette to hold its shape.
Expert Tips for Galette Perfection
Adjusting Sweetness: The sweetness of strawberries can vary significantly. Taste your berries before adding sugar to the filling. If they are very sweet, start with the lower end of the sugar range; if they are tart, you may need to add a bit more, up to an additional 1/4 cup.
Crust Preparation Ahead: The gluten-free pie crust dough can be made up to a week in advance and stored in the refrigerator, tightly wrapped. If the dough has been refrigerated for an extended period (more than a few hours), allow it to sit at room temperature for about 15 minutes before rolling to prevent cracking.
Preventing a Soggy Crust: For particularly juicy or overripe berries, or when using frozen fruit, extra moisture can be a concern. Consider draining some of the excess liquid from the berries before adding them to the filling. Alternatively, you can increase the tapioca starch by up to one tablespoon to absorb any extra liquid.
Exploring Fruit Variations: The versatility of the galette format allows for a wide array of fruit fillings. Beyond strawberries, consider raspberries, blueberries, or a mix of berries. Ripe stone fruits like peaches, nectarines, and plums are excellent substitutes. For firmer fruits like apples, slice them thinly after peeling and coring to ensure they cook through at the same rate as the pastry. Apples contain more pectin than berries, so you may need less starch for thickening.
Ingredient Substitutions and Adaptations
Dairy-Free Option: To make this recipe dairy-free, the butter in the crust can be substituted with a blend of half block-style vegan butter and half vegetable shortening (such as Spectrum or Crisco). This combination aims to replicate the moisture and texture of dairy butter.
Tapioca Starch Alternatives: While tapioca starch is favored for its ability to create a clear, non-gummy filling, other starches can be used. Cornstarch, arrowroot starch, or potato starch are viable alternatives.
Honey Substitutions: For brushing the crust, Lyle’s Golden Syrup is a good alternative to honey. Alternatively, you can create a simple syrup by combining 1/2 cup granulated sugar with 1/2 cup lukewarm water in a saucepan. Heat over medium heat, stirring until the sugar dissolves, and bring to a gentle boil for about 60 seconds. Remove from heat. This simple syrup can be stored in the refrigerator for up to two weeks.
Storage and Preparation for Future Enjoyment
Advance Preparation: The fully assembled galette can be prepared ahead of time and frozen. Place the raw galette on a baking sheet and freeze until solid. Once frozen, wrap it tightly in freezer-safe material and return it to the freezer. When ready to bake, do not thaw the galette; bake it directly from frozen, potentially adding a few extra minutes to the baking time.
Leftover Storage: Any leftover slices of the galette can be stored, wrapped in plastic wrap, in the refrigerator for up to five days, or in the freezer for up to three months. To refresh the pastry and restore its crispness, gently reheat slices in a 300°F (150°C) toaster oven until warmed through.
This gluten-free strawberry galette stands as a testament to the elegance of simplicity in baking. Its rustic charm, coupled with a delicious and satisfying flavor profile, makes it a standout dessert that is both accessible and impressive.
