

This post may contain affiliate links. Please read our disclosure policy.
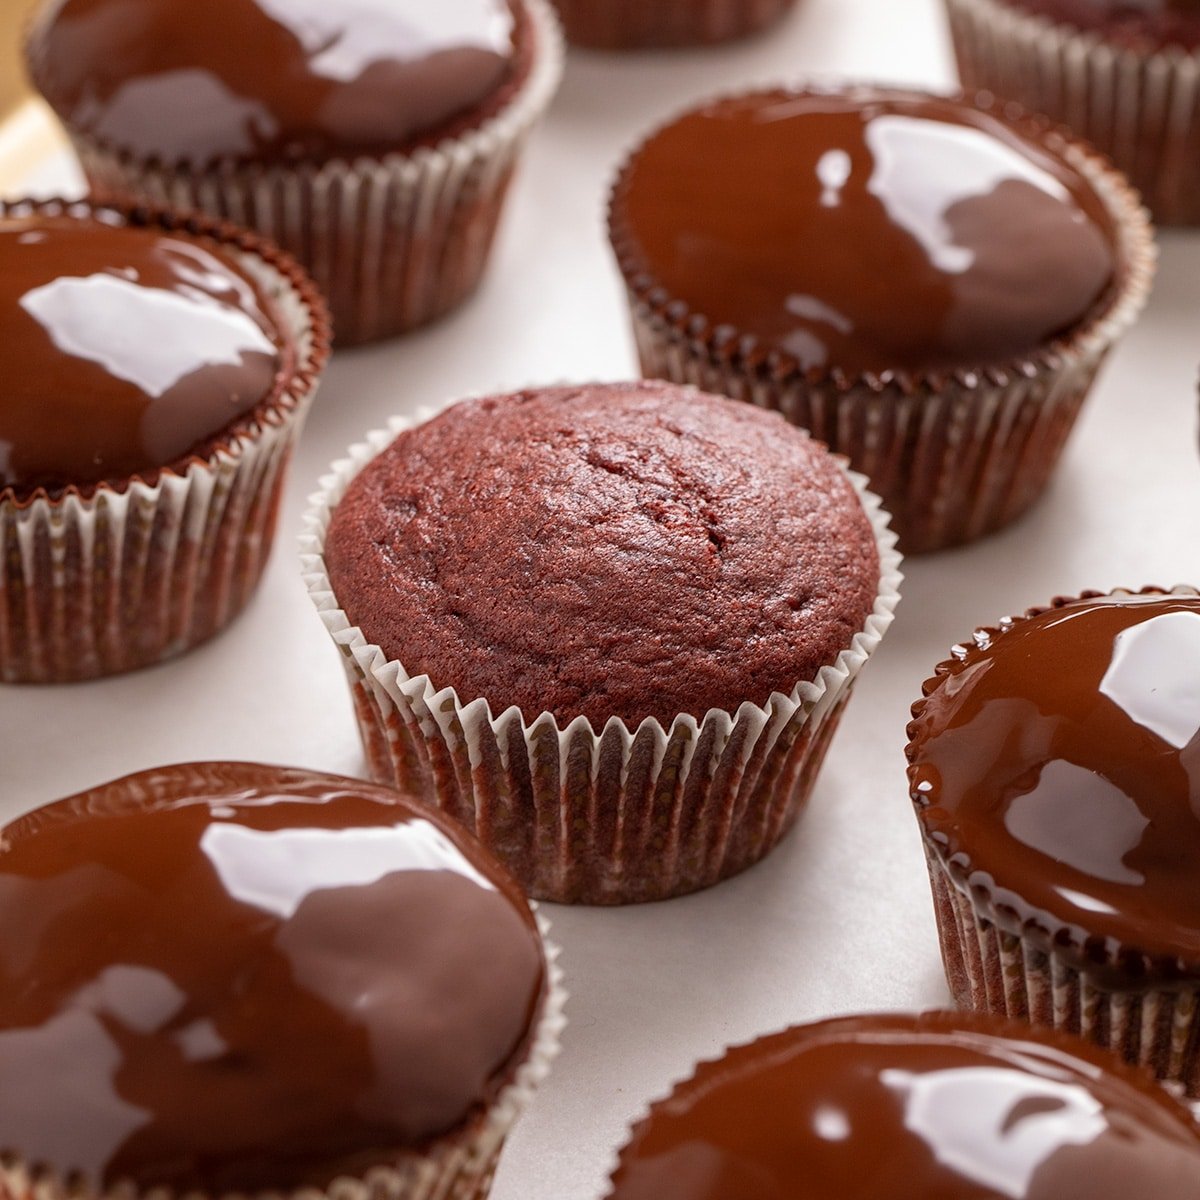
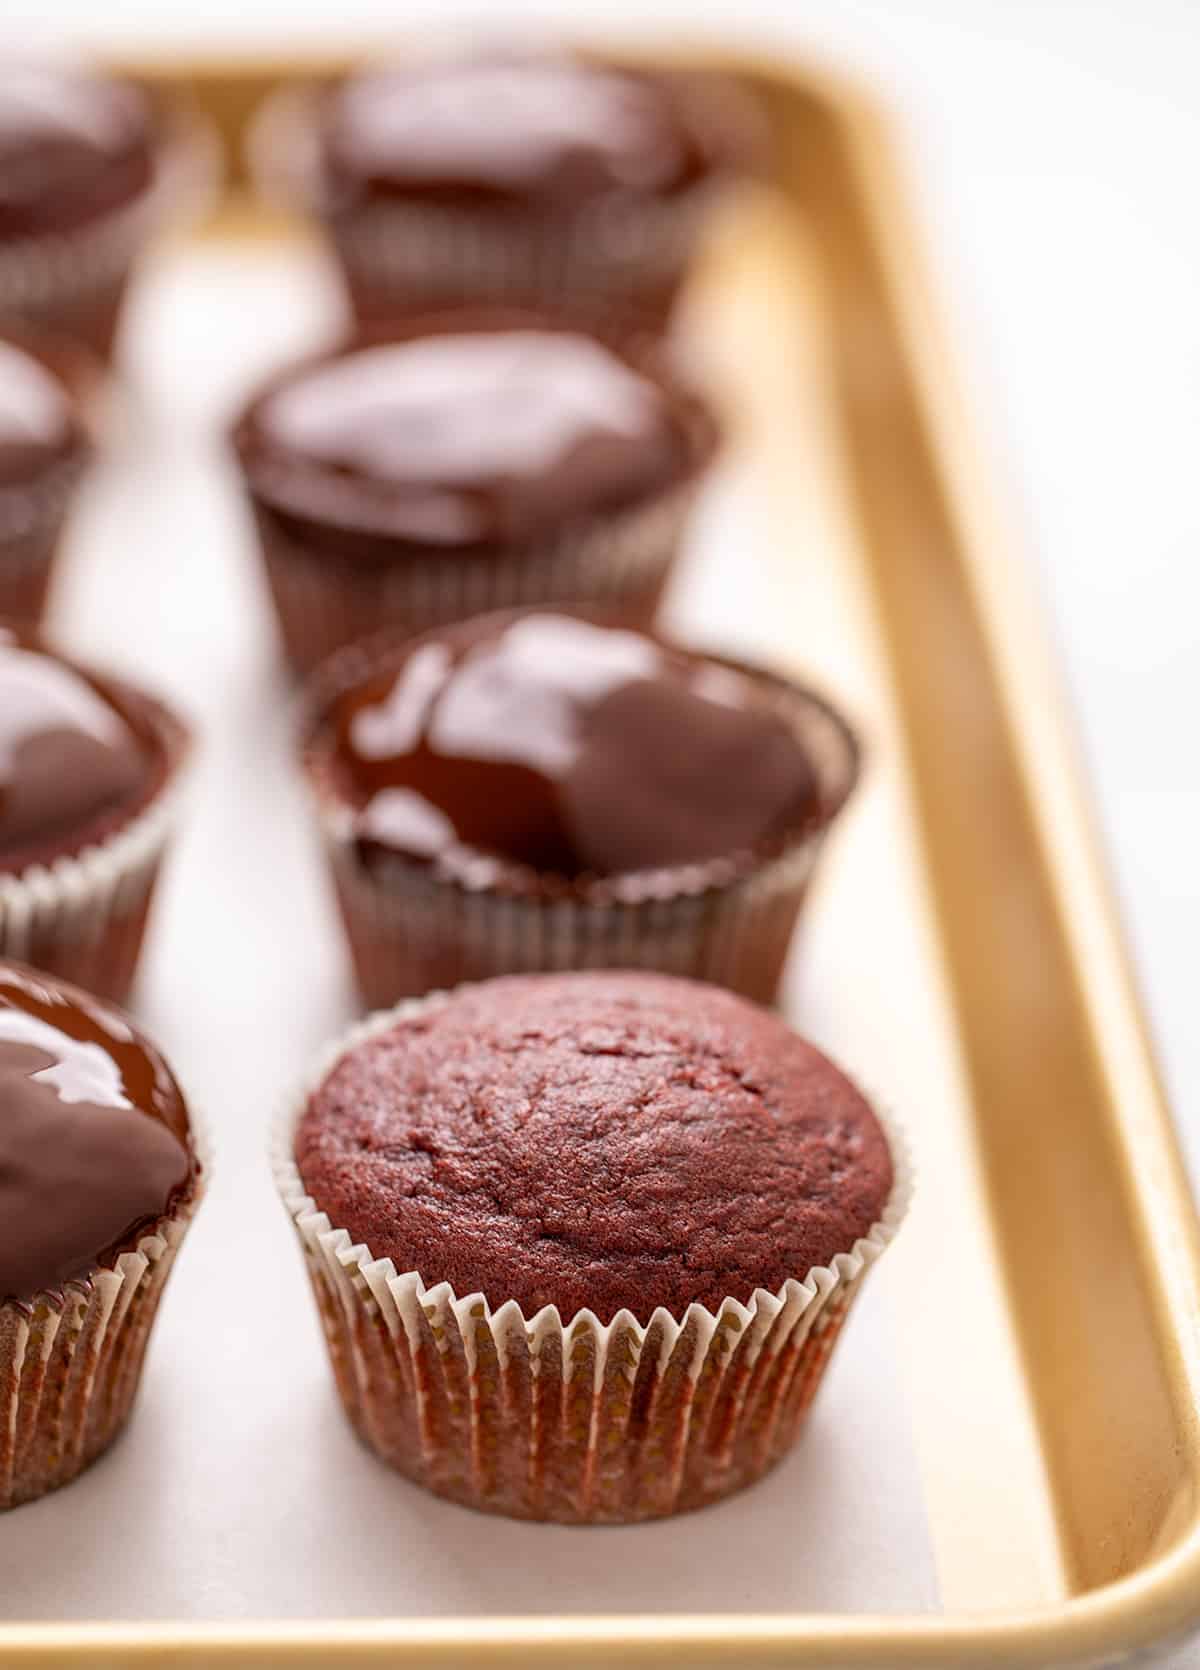
These gluten-free red velvet cupcakes are buttery and rich with a light chocolate flavor and a wonderfully tender crumb. Originally developed to satisfy a son’s birthday preference for red velvet while still appeasing chocolate enthusiasts, this recipe has become a beloved staple, particularly for festive occasions like Valentine’s Day. The vibrant hue and classic flavor profile make these cupcakes a crowd-pleaser for any celebration.
The Science Behind the Perfect Gluten-Free Red Velvet Cupcake
The success of these gluten-free red velvet cupcakes lies in a carefully balanced combination of ingredients designed to replicate the authentic red velvet experience without gluten. The signature tangy undertone, characteristic of red velvet, is achieved through the judicious use of real buttermilk and apple cider vinegar. The striking red-brown color is a result of natural cocoa powder, enhanced by the potent pigmentation of gel food coloring. Unlike its cake counterpart, this cupcake recipe features a slightly adjusted ingredient ratio, specifically formulated to ensure a flat top and exceptional moistness, making them ideal for glazing or frosting.
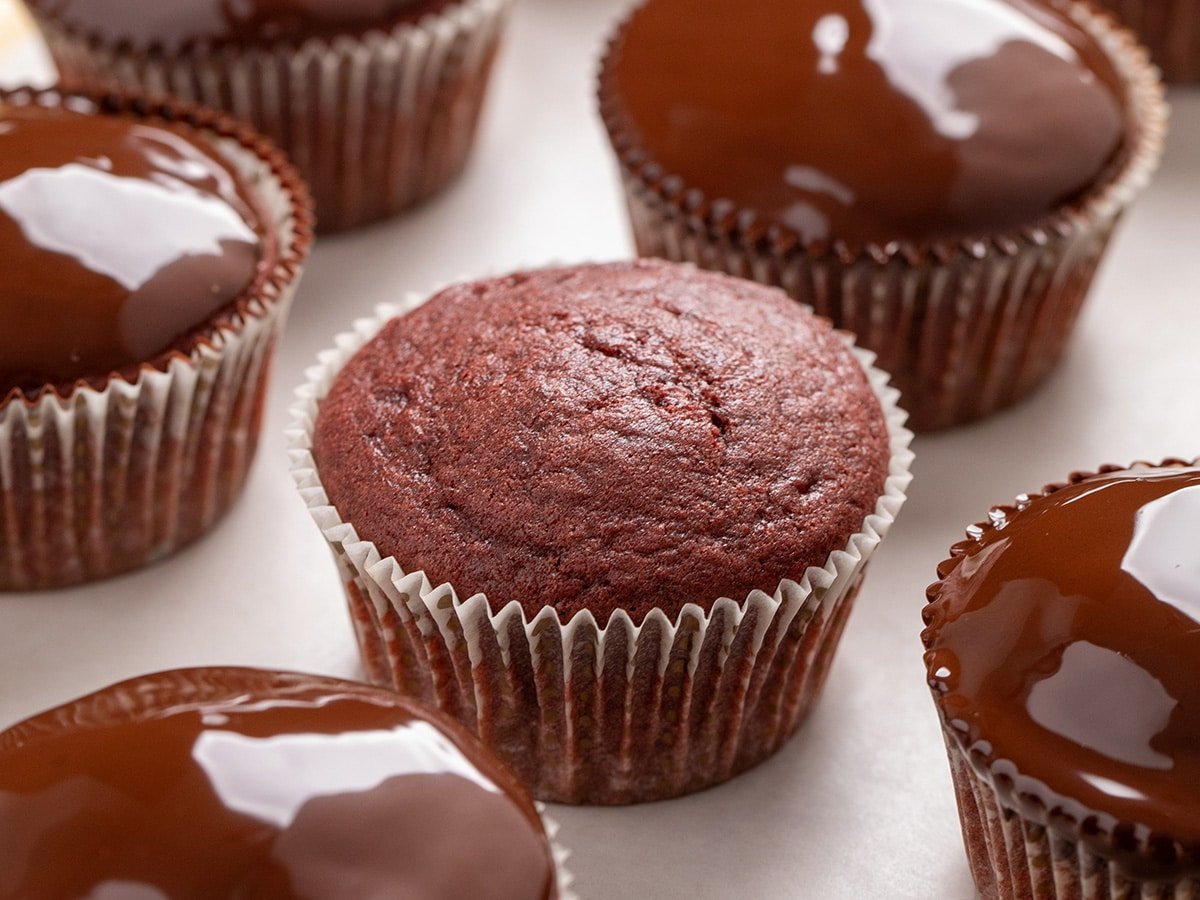
For those seeking an extra touch of indulgence, a simple two-ingredient chocolate glaze offers a glossy finish and complementary richness. Alternatively, bakers can opt for their favorite gluten-free frosting to personalize these delightful treats.
A Deeper Dive into the Key Ingredients
Crafting these cupcakes requires an understanding of each ingredient’s role in achieving the desired texture and flavor.
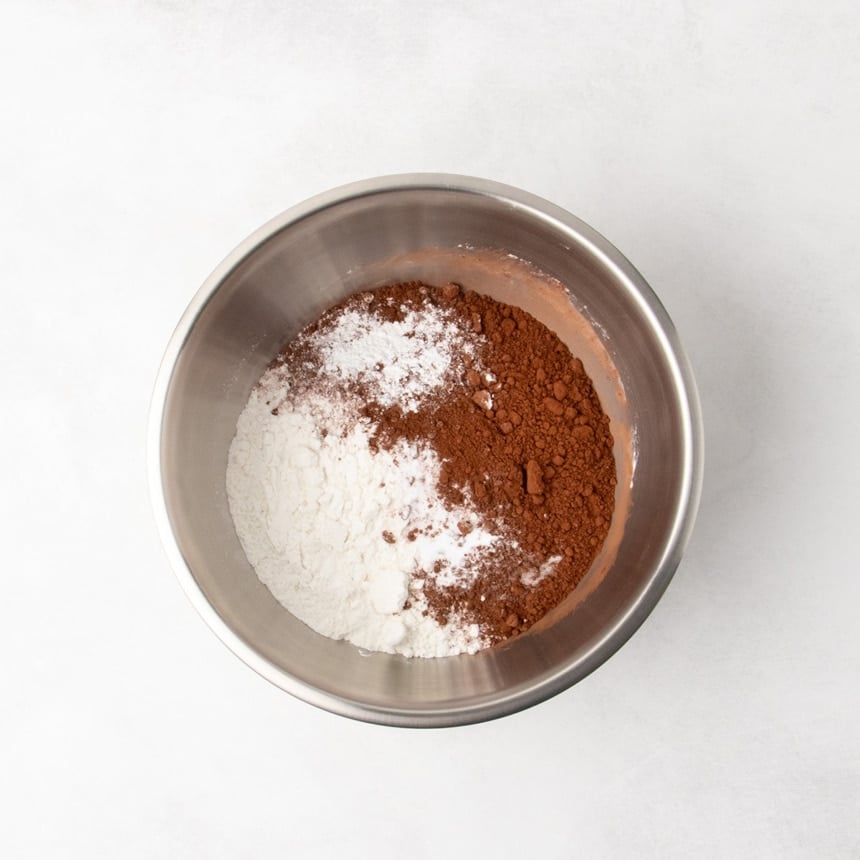
- Gluten-Free Flour Blend: A high-quality gluten-free all-purpose flour blend is crucial. Blends containing xanthan gum are recommended to provide the necessary structure and binding that gluten typically offers. For optimal results, consider blends like Better Batter original, Nicole’s Best multipurpose blend, or Bob’s Red Mill 1-to-1 baking flour with an added half teaspoon of xanthan gum.
- Cocoa Powder: Natural cocoa powder contributes to the subtle chocolate notes and the characteristic red-brown hue. It’s important to note that Dutch-processed cocoa will yield a darker color and a different flavor profile.
- Buttermilk: This acidic liquid tenderizes the crumb and reacts with the leavening agents, contributing to a lighter texture. Its tanginess is essential for the authentic red velvet flavor.
- Apple Cider Vinegar: Similar to buttermilk, apple cider vinegar adds acidity, which tenderizes the batter and enhances the red color from the cocoa powder.
- Gel Food Coloring: Highly concentrated gel food coloring, particularly a "super red" shade, is recommended. Unlike liquid food coloring, gel versions provide intense color without altering the batter’s consistency or flavor. It’s important to note that the vibrant red color will slightly fade during baking, so the batter should appear redder than the desired final cupcake color.
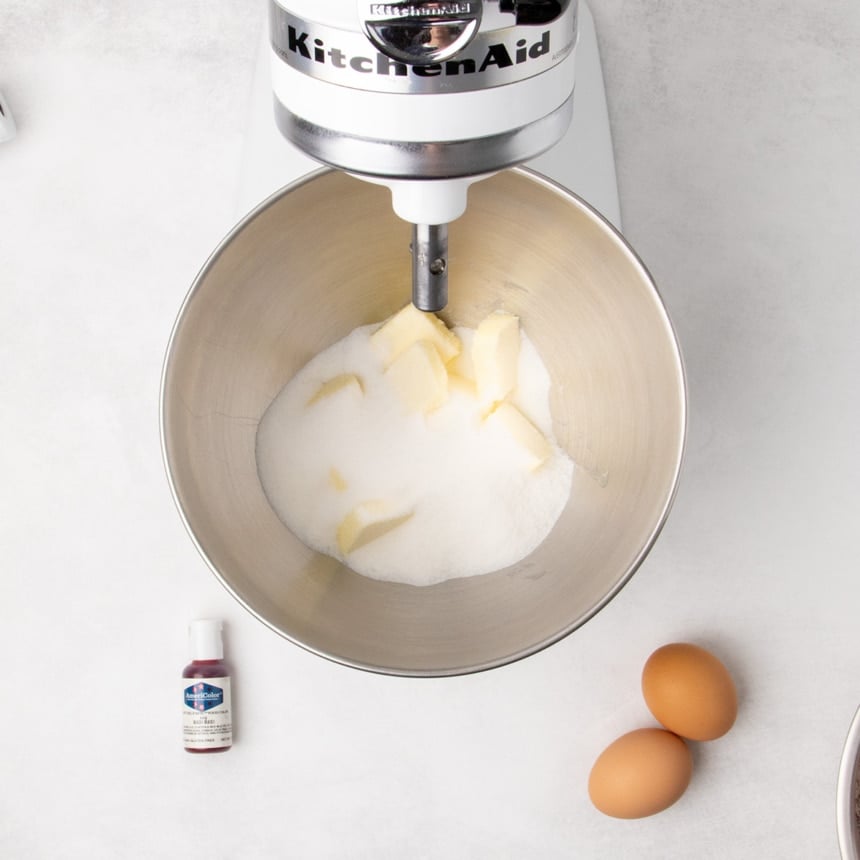
- Butter: Room temperature butter (between 68-70°F or 20-21°C) is essential for creaming with sugar. This process incorporates air for a lighter texture and helps dissolve the sugar crystals, preventing a tough crumb.
- Sugar: Granulated sugar provides sweetness and contributes to the tender texture when creamed with butter.
- Eggs: Eggs act as binders and add richness and structure to the cupcakes.
- Shortening (for glaze): Shortening, such as Spectrum or Crisco, is used in the chocolate glaze to create a smooth, glossy finish that sets without becoming overly hard.
Step-by-Step Guide to Baking Perfection
The process of creating these gluten-free red velvet cupcakes is straightforward, with visual cues provided throughout to ensure success.
Preparing the Batter
- Whisk Dry Ingredients: In a medium bowl, thoroughly whisk together the gluten-free flour blend, baking powder, baking soda, salt, and cocoa powder. This ensures even distribution of leavening agents and prevents pockets of concentrated ingredients.
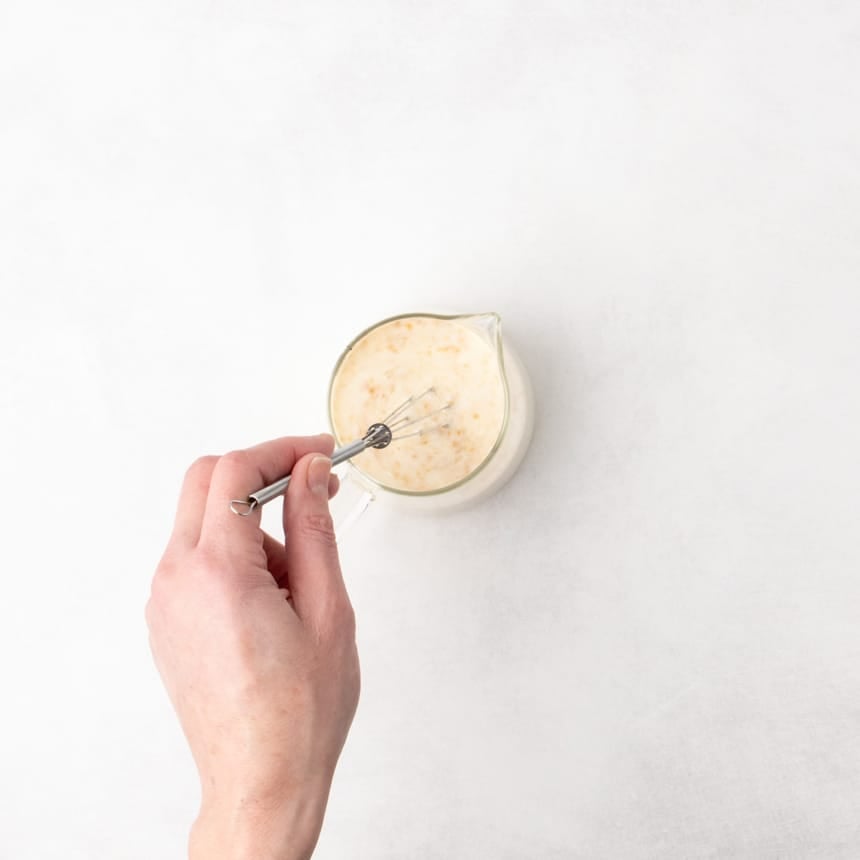
- Combine Wet Ingredients: In a separate small bowl or liquid measuring cup, combine the buttermilk, vanilla extract, and apple cider vinegar. Whisk until well blended. This step helps prevent clumping and ensures the acidity is evenly distributed.
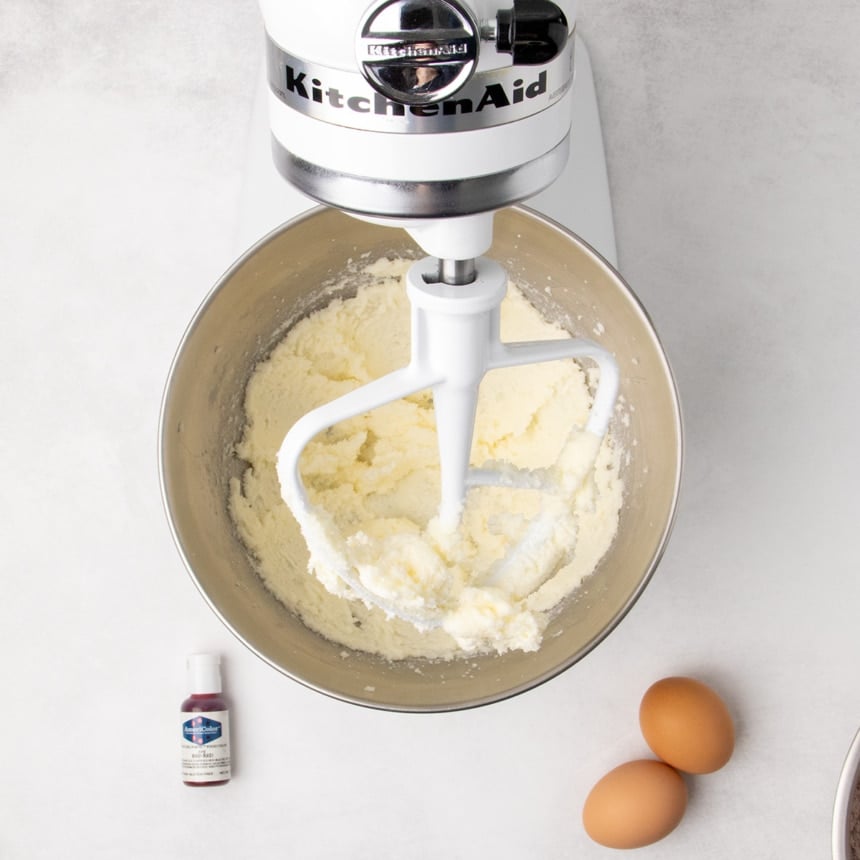
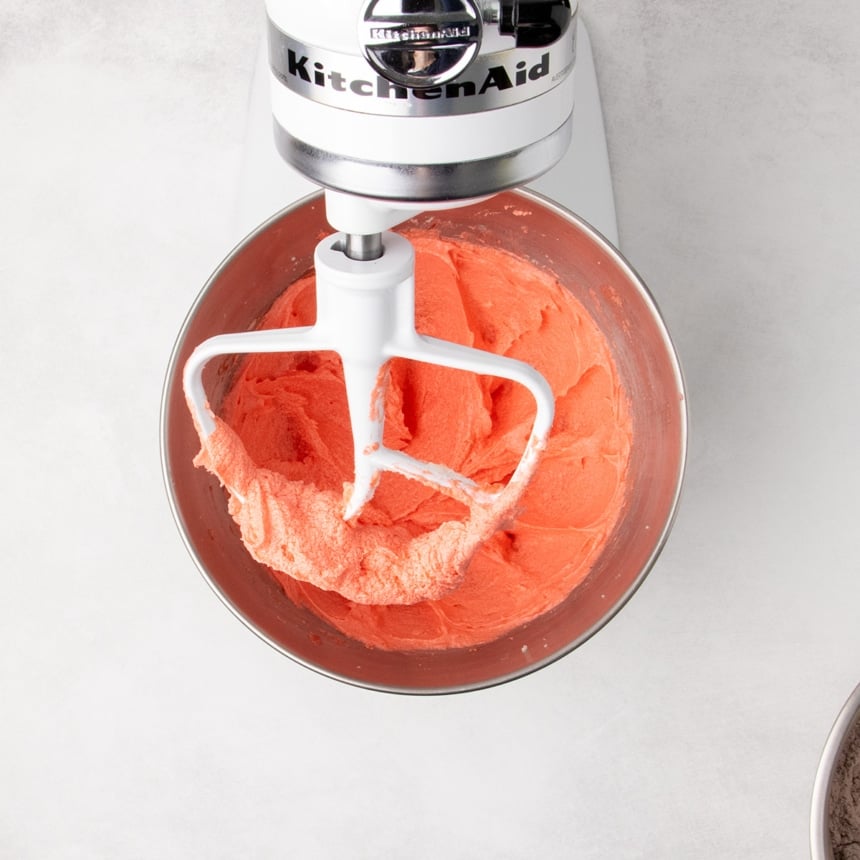
- Cream Butter and Sugar: In the bowl of a stand mixer fitted with the paddle attachment, or using a handheld mixer, cream together the softened butter and granulated sugar for no more than two minutes. The goal is to dissolve the sugar crystals and incorporate a small amount of air, not to whip the mixture into a fluffy mound, which can lead to domed cupcakes.
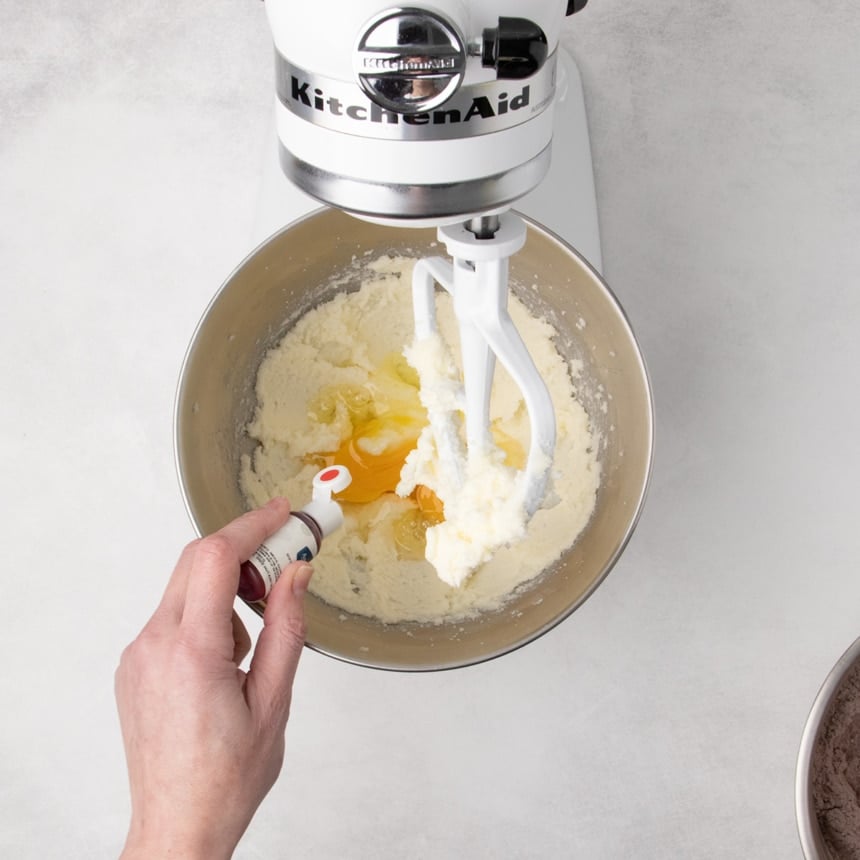
- Incorporate Eggs and Food Coloring: Beat in the eggs one at a time, ensuring each is fully incorporated before adding the next. Then, add approximately 1/4 teaspoon of gel food coloring and mix until the batter is a vibrant red. Remember, the color will lighten during baking.
- Alternate Dry and Wet Ingredients: Gradually add the dry ingredients to the wet ingredients in three additions, alternating with the buttermilk mixture in two additions. Begin and end with the dry ingredients. Mix on low speed until just combined after each addition. Overmixing can lead to a tough texture.
Baking and Finishing Touches
- Prepare Muffin Tins: Line standard 12-cup muffin tins with paper liners.
- Portion the Batter: Fill each liner about two-thirds full with the red velvet batter. Overfilling will cause the cupcakes to rise into a dome shape, which is not ideal for glazing.
- Bake: Bake the cupcakes in a preheated oven at 325°F (160°C). This lower temperature encourages even baking and prevents the bottoms from burning, while also promoting a flat top.
- Cool: Allow the cupcakes to cool in the tins for a very brief period before transferring them to a wire rack to cool completely. This prevents residual steam from making them chewy or causing them to shrink.
- Prepare the Chocolate Glaze (Optional): Melt chopped chocolate and shortening together in the microwave in short intervals, stirring until smooth and glossy.
- Glaze the Cupcakes: Once the cupcakes are completely cool, dip the tops into the chocolate glaze. Allow the excess to drip off before returning them to the wire rack to set.
Expert Tips for Red Velvet Success
Achieving consistently excellent gluten-free red velvet cupcakes involves a few key considerations:

Mastering the Creaming Process
The creaming of butter and sugar is a critical step. Over-creaming can introduce too much air, leading to cupcakes that rise with a domed top, similar to muffins. The objective is to gently dissolve the sugar and create a cohesive, slightly aerated mixture. Limit creaming to approximately two minutes.
The Art of Food Coloring
For the signature red velvet hue, gel food coloring is paramount. Liquid versions are not concentrated enough and would require excessive amounts, potentially affecting the flavor and texture. Highly pigmented gel colors, such as Americolor’s "super red," offer the best results with minimal usage. It is crucial to remember that the color intensifies during the baking process, so the batter should appear significantly redder than the desired final product.
Efficient Baking with Nesting Tins
To bake a larger batch of cupcakes efficiently, particularly in ovens with limited rack space, the technique of nesting muffin tins can be employed. Place one fully prepared tin of cupcakes on a lower oven rack and nest a second, empty tin within another empty tin, placing it on the same rack. This allows for even baking of the first batch while the batter for the second batch rests. While the second batch might rise slightly higher, the difference is generally minimal.
Adapting the Recipe for Dietary Needs
This versatile recipe can be adapted to accommodate various dietary restrictions:
Dairy-Free Modifications
For a dairy-free version, substitute buttermilk with a mixture of 6 tablespoons of non-dairy milk and 1/2 cup of non-dairy sour cream or plain Greek-style yogurt. When selecting vegan butter, opt for block-style varieties like Melt or Miyoko’s, as tub margarines typically contain a higher oil content. Ensure any chocolate used for the glaze is also dairy-free.
Egg-Free Alternatives
To make the cupcakes egg-free, consider using chia eggs (1 tablespoon chia seeds mixed with 3 tablespoons water per egg), Bob’s Red Mill Egg Replacer, or a liquid egg substitute like JustEgg.
Food Dye-Free Option
For those who wish to avoid food coloring entirely, simply omit it from the recipe. This will not impact the flavor or texture of the cupcakes.
Shortening Substitutions
Spectrum or Crisco brand shortening are recommended for the chocolate glaze. Virgin coconut oil, which is solid at cool room temperatures, can be used as an alternative.
Storage and Longevity
Proper storage ensures these delicious cupcakes remain fresh.
- Room Temperature: Baked and cooled cupcakes can be stored in an airtight container at room temperature for approximately two days. The chocolate glaze helps to seal in moisture, potentially extending their freshness to three days.
- Freezing: For longer storage, freeze the cupcakes. Note that the chocolate glaze may develop a white bloom upon thawing, but this does not affect the taste. Allow the cupcakes to defrost at room temperature. Unglazed cupcakes can be microwaved for about 20 seconds to thaw.
Frequently Asked Questions
Can these cupcakes be adapted into a cake?
While the flavor profile is similar, the ingredient ratios for a cake differ. For a gluten-free red velvet cake, consult the dedicated recipe.
What can I use if I don’t have buttermilk?
Instead of store-bought buttermilk, a combination of plain kefir or an equal volume of sour cream and milk can be used. Milk and lemon juice do not replicate the necessary moisture content or viscosity.
Are there alternatives to apple cider vinegar?
Yes, an equal amount of white vinegar or fresh lemon juice can be substituted for apple cider vinegar.
This comprehensive guide empowers bakers to create exceptional gluten-free red velvet cupcakes, offering a delicious and inclusive treat for any occasion.
