

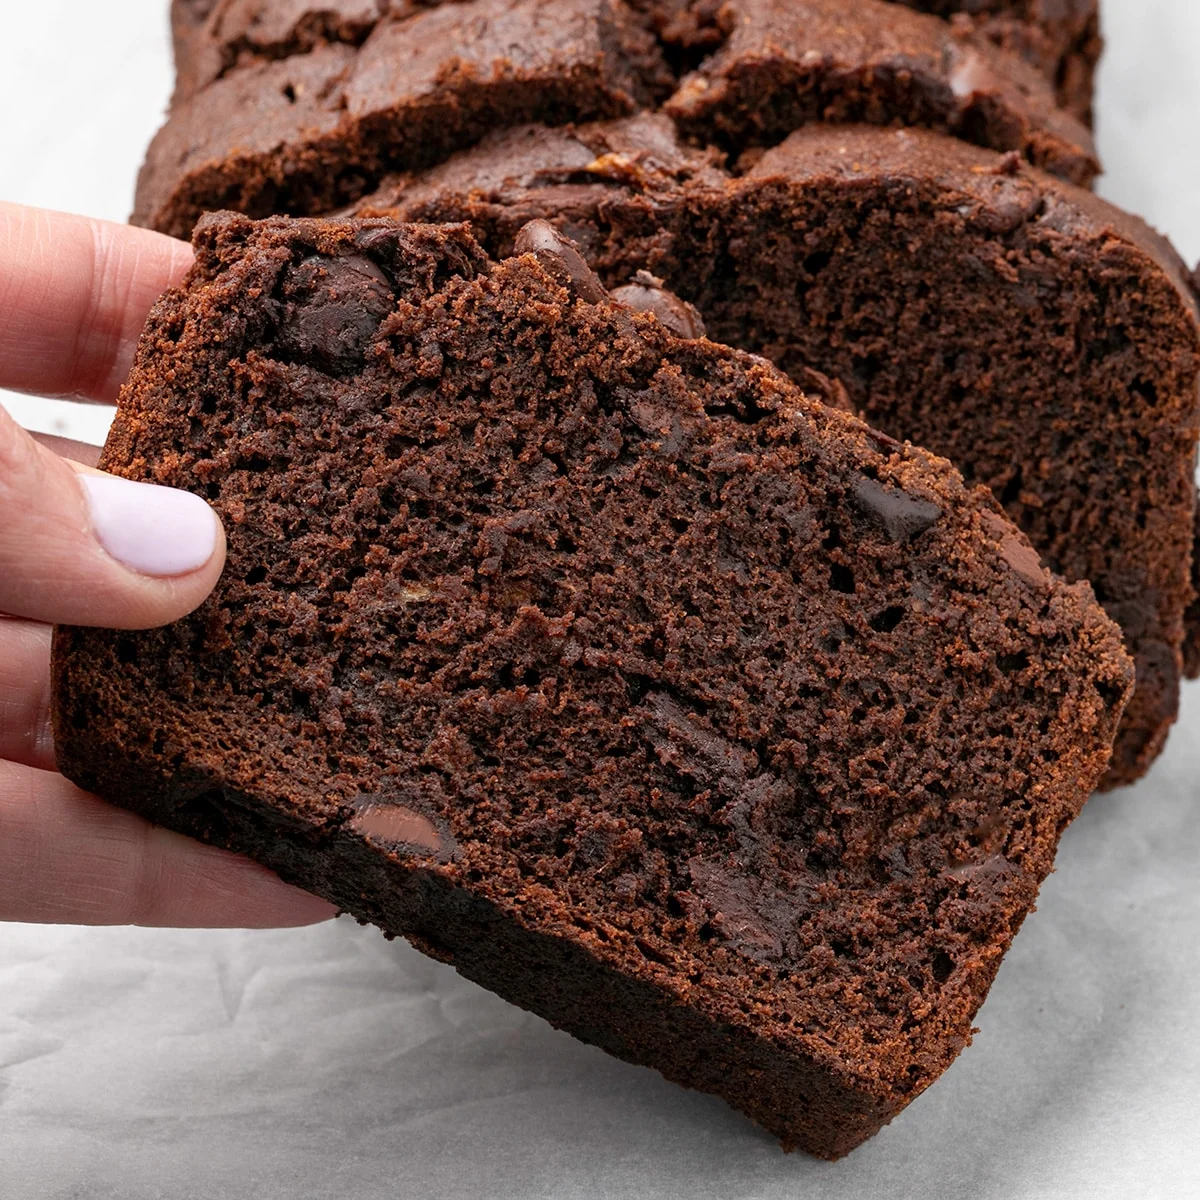
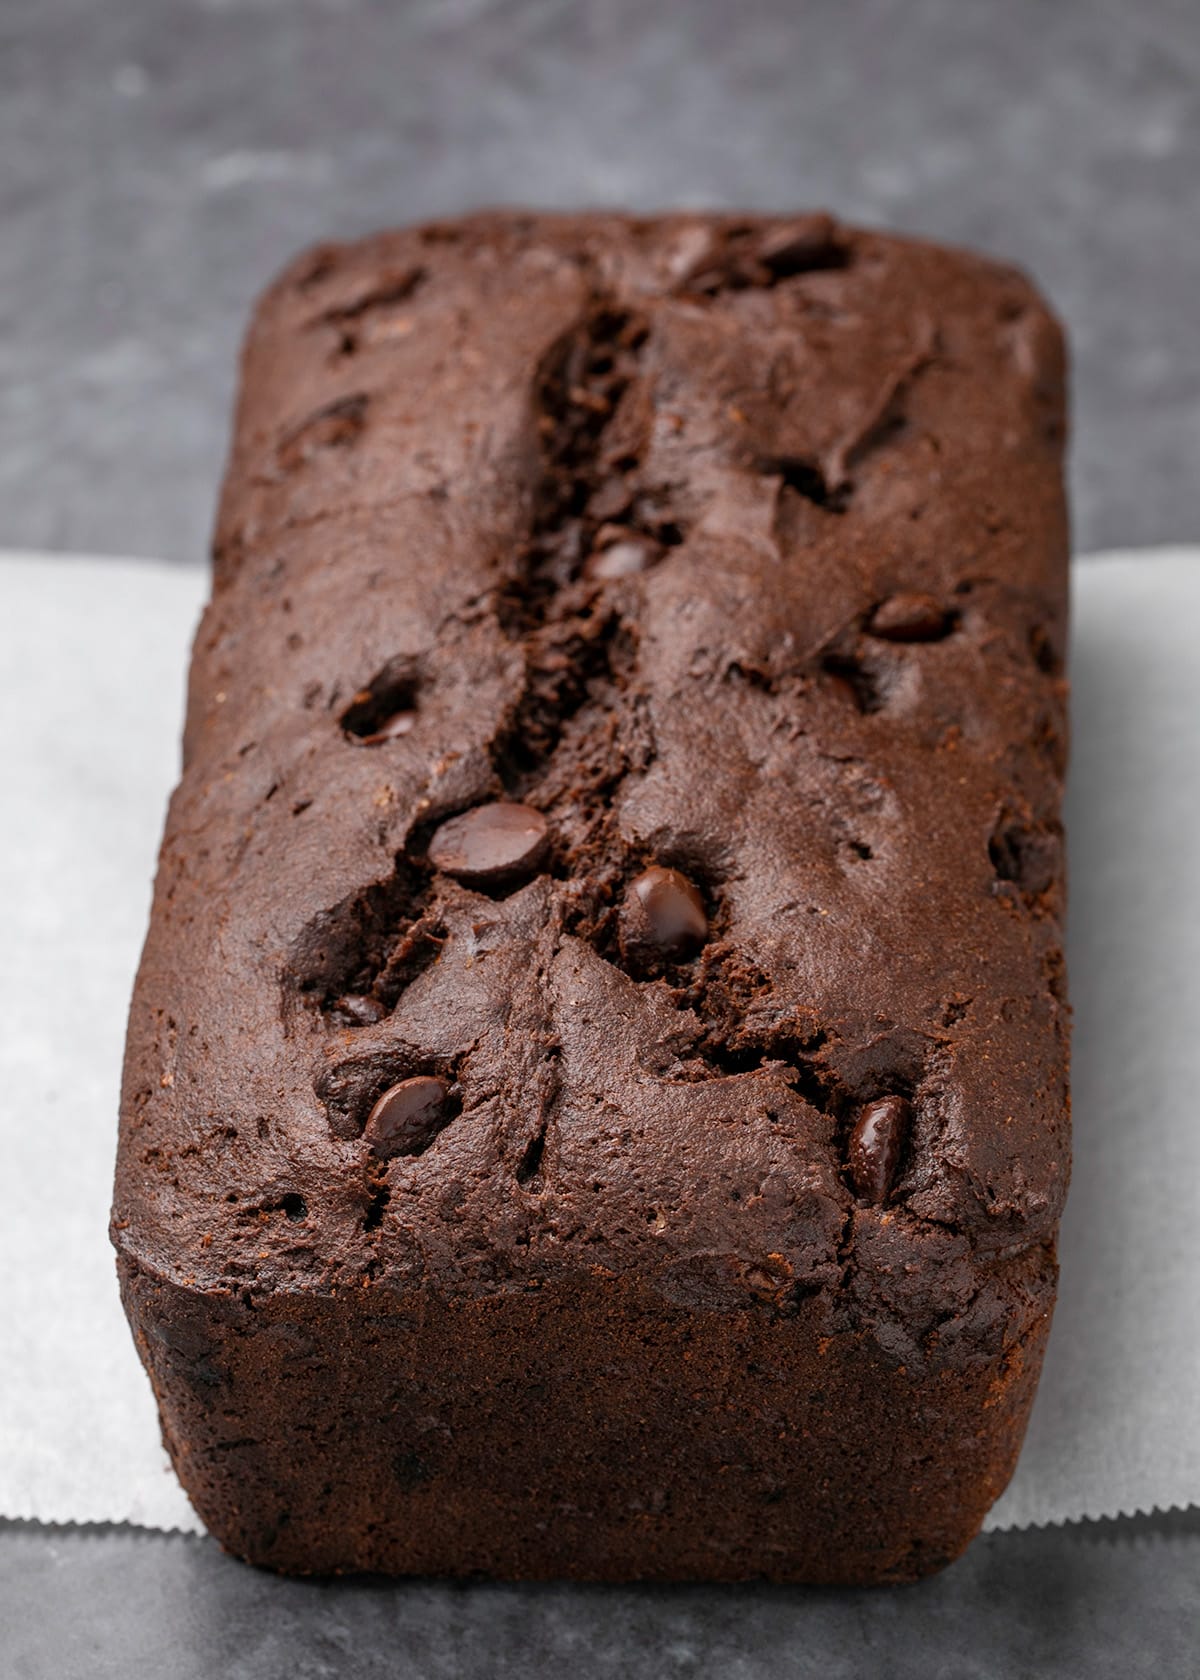
This gluten-free chocolate banana bread offers a decadent fusion of deep chocolate flavor with the comforting sweetness of ripe bananas. The resulting loaf is remarkably soft, tender, and fudgy, studded generously with chocolate chips throughout, creating a delightful textural contrast in every bite. This recipe elevates the humble banana bread into a sophisticated treat, suitable for any occasion, from a morning indulgence to an afternoon pick-me-up.
The Science Behind the Flavor: Why This Recipe Excels
What sets this gluten-free chocolate banana bread apart is its nuanced approach to flavor and texture. It transcends the simple addition of chocolate chips to a standard gluten-free banana bread. Instead, the recipe strategically employs both cocoa powder and melted chocolate. This dual approach imbues the loaf with a profound chocolate depth, contributing to a richer, slightly denser crumb that is characteristic of high-quality chocolate baked goods.
The integration of mashed bananas is equally crucial. By beating them thoroughly into the wet ingredients, the recipe ensures that the bananas release ample moisture. This moisture is vital for softening and enriching the otherwise thick chocolate batter, preventing the bread from becoming dry or crumbly, a common challenge in gluten-free baking.
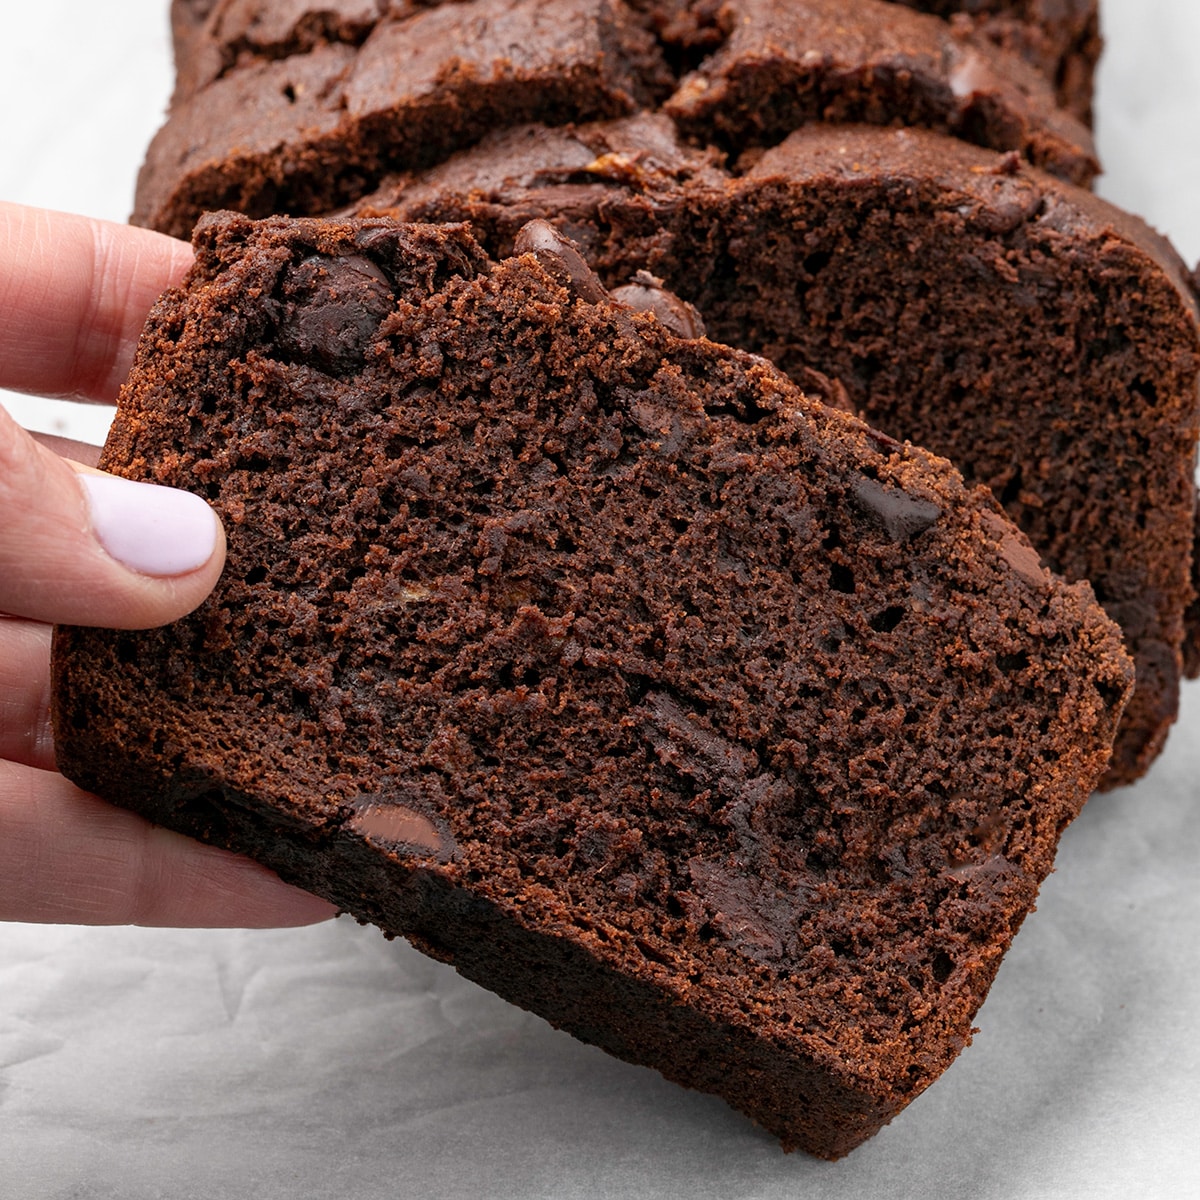
To further enhance the banana presence and add textural intrigue, small chunks of ripe banana are folded in towards the end of the process, alongside the chocolate chips. This ensures that the distinct flavor of banana remains discernible, preventing it from being entirely overshadowed by the intense chocolate notes. This careful balance is key to the recipe’s success.
Key Ingredients and Their Roles
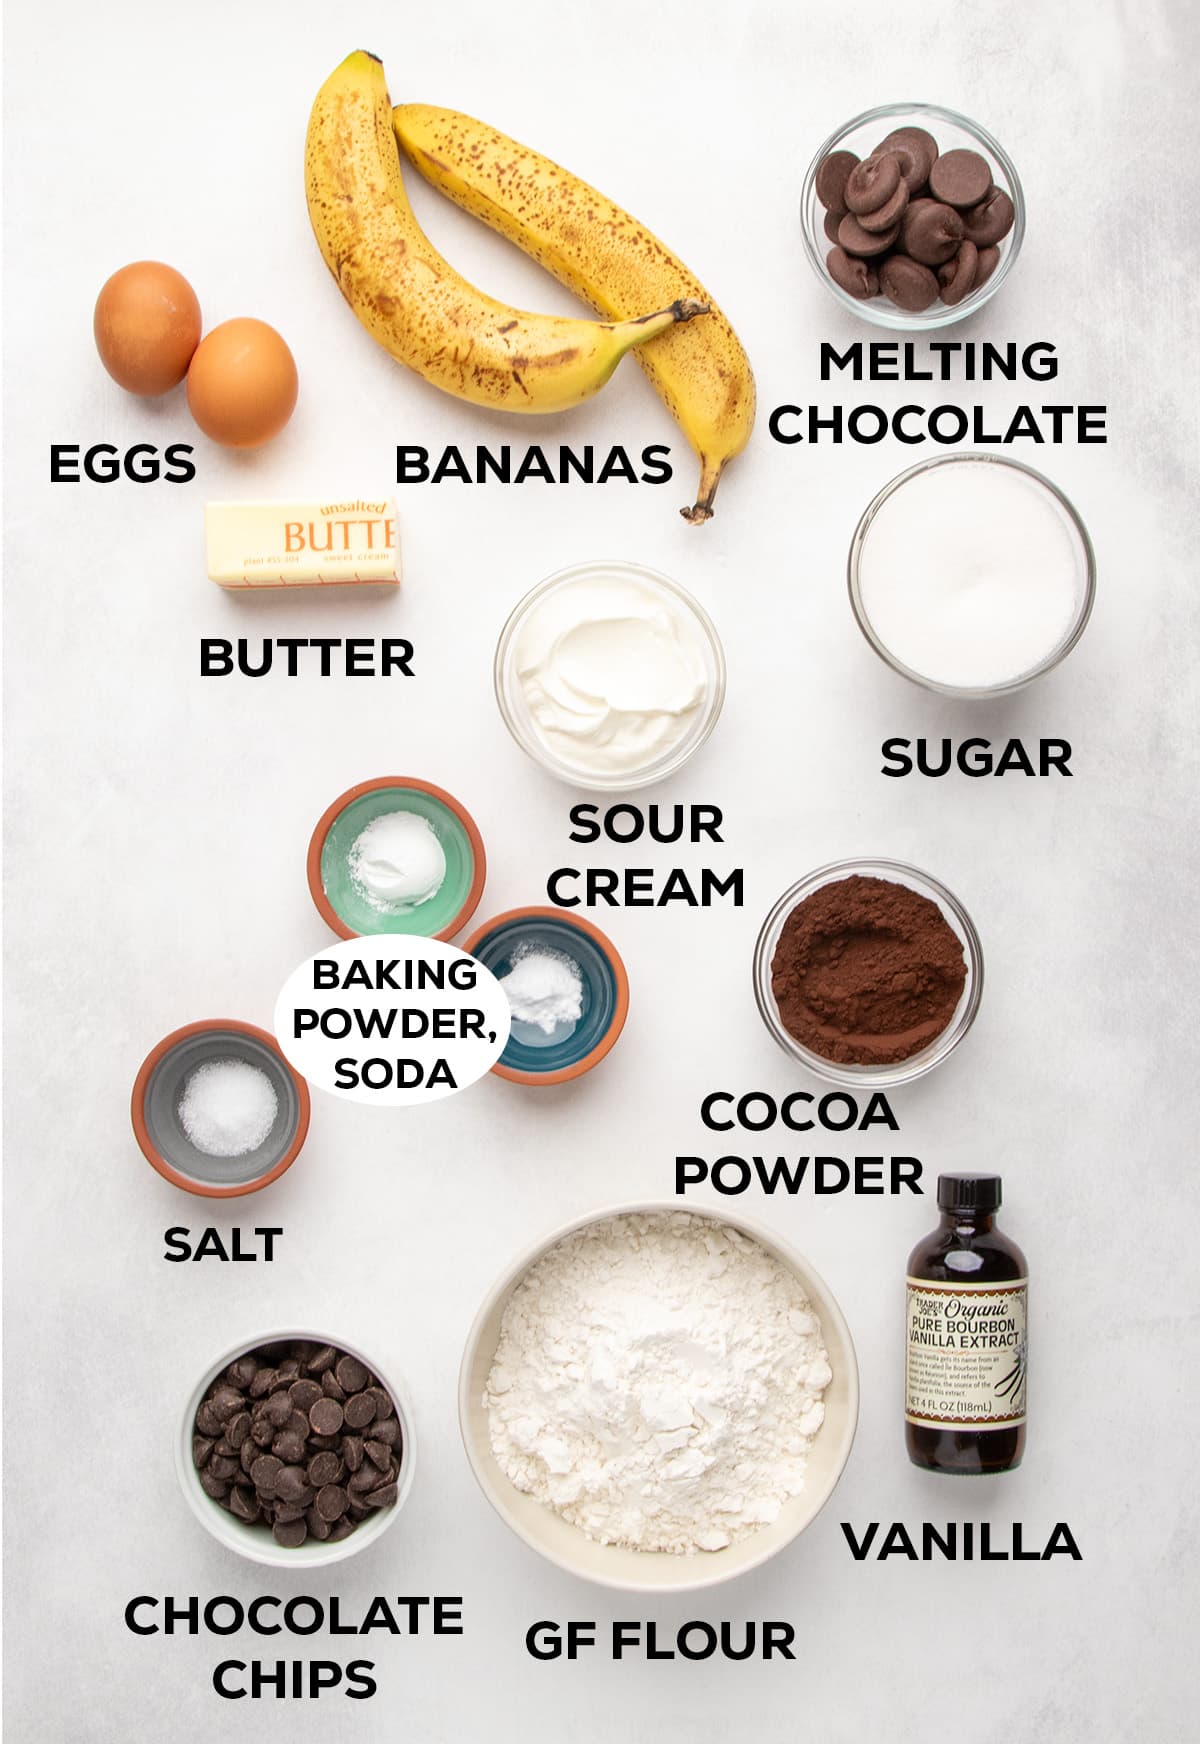
The creation of this exceptional gluten-free chocolate banana bread relies on a thoughtful selection of ingredients, each playing a specific role in achieving the desired outcome. For precise measurements, refer to the recipe card provided.
- Melted Chocolate and Cocoa Powder: These form the foundation of the bread’s rich chocolate profile. Using a combination ensures both a deep flavor and a satisfying fudgy texture. The type of chocolate is important; a chocolate with a higher cacao butter content, ideally around 65% and formulated for melting, will yield the best results. Unsweetened or dark chocolate is recommended, though semi-sweet baking bars can also be effective.
- Mashed Bananas: The ripeness of the bananas is paramount. Overripe bananas, characterized by their brown, speckled peels, possess a higher sugar content and softer texture, making them ideal for baking. They contribute natural sweetness and essential moisture.
- Gluten-Free Flour Blend: The choice of gluten-free flour blend significantly impacts the final texture. A blend containing xanthan gum is generally recommended for structure and binding. Specific recommendations include Better Batter’s original blend (without added xanthan gum), Nicole’s Best multipurpose blend (with xanthan gum), or Bob’s Red Mill 1-to-1 Gluten Free Baking Flour (with an additional ½ teaspoon of xanthan gum to prevent excessive crumbliness).
- Eggs: Eggs provide structure, richness, and act as a leavening agent. The recipe notes that using two eggs, rather than one, results in a taller loaf with improved structure and cleaner slicing.
- Sour Cream: Sour cream adds moisture and a subtle tang, contributing to a tender crumb. For dairy-free alternatives, a nondairy sour cream is an excellent substitute.
- Sugar: Granulated sugar contributes to sweetness and aids in moisture retention and browning.
- Butter: Butter adds richness and flavor, contributing to the overall tender texture of the bread. For dairy-free versions, a block-style vegan butter is recommended over tub varieties, which tend to have a higher oil content.
- Leavening Agents (Baking Powder and Baking Soda): These work in conjunction with other ingredients to ensure a proper rise and light texture.
- Salt: Salt enhances the overall flavor profile, balancing the sweetness and chocolate notes.
- Vanilla Extract: Vanilla extract adds depth and complexity to the flavor.
A Step-by-Step Guide to Baking Perfection
The process of creating this gluten-free chocolate banana bread is straightforward, involving several key stages that ensure optimal results.
- Melting the Chocolate: Begin by gently melting the chocolate. This can be achieved by placing it in a heat-safe bowl and microwaving it on reduced power in 30-second intervals, stirring thoroughly between each interval. This emulsifies the ingredients, ensuring a smooth incorporation into the batter.
- Combining Dry Ingredients: In a separate bowl, whisk together the cocoa powder, gluten-free flour blend (with xanthan gum if not already included), baking powder, baking soda, and salt. This pre-mixing ensures that the dry ingredients are evenly distributed, which is particularly important for cocoa powder, as it can resist easy combination with liquids.
- Beating Wet Ingredients: In a large mixing bowl, combine the mashed bananas, granulated sugar, vanilla extract, sour cream, eggs, and the melted chocolate and butter mixture. Beat these ingredients together until well combined, using either a handheld mixer or a stand mixer fitted with the paddle attachment. Unlike some other banana bread recipes, the goal here is to encourage the mashed bananas to release their moisture, contributing significantly to the bread’s overall moistness.
- Integrating Wet and Dry Ingredients: Gradually add the whisked dry ingredients to the wet ingredients. Beat them together until a relatively smooth batter forms. The batter will be quite thick at this stage.
- Adding Mix-Ins: Gently fold in the chocolate chips and the small chopped banana chunks using a silicone spatula. Exercise care to avoid mashing the banana pieces. Simultaneously, scrape down the sides of the bowl to incorporate any remaining dry ingredients.
- Preparing the Loaf Pan: Transfer the thick batter into a greased and lined standard loaf pan. Use a moistened spatula to spread the batter into an even layer for uniform baking. To facilitate controlled steam release during baking, score the top of the loaf lengthwise down the center, about ¼ inch deep.
- Baking the Loaf: Bake the bread on the center rack of a preheated oven at 350°F (175°C). After 30 minutes, rotate the pan halfway through to ensure even baking. Continue baking for approximately another 25 minutes, or until the loaf is firm to the touch and a toothpick inserted into the center comes out clean. Due to the dark color of the bread, visual cues for doneness can be deceptive; therefore, paying close attention to these doneness indicators is crucial.
- Cooling and Slicing: Allow the bread to cool in the pan for 10 minutes. Then, carefully lift it out using the paper liner and place it on a wire rack to cool completely. Removing the paper liner promotes air circulation around the entire loaf. Complete cooling can take around 45 minutes, as the thick batter requires time for the starches to set. Slicing too early can result in a collapsed loaf.
Expert Insights for Optimal Results
Several expert tips can further enhance the success and quality of this gluten-free chocolate banana bread.
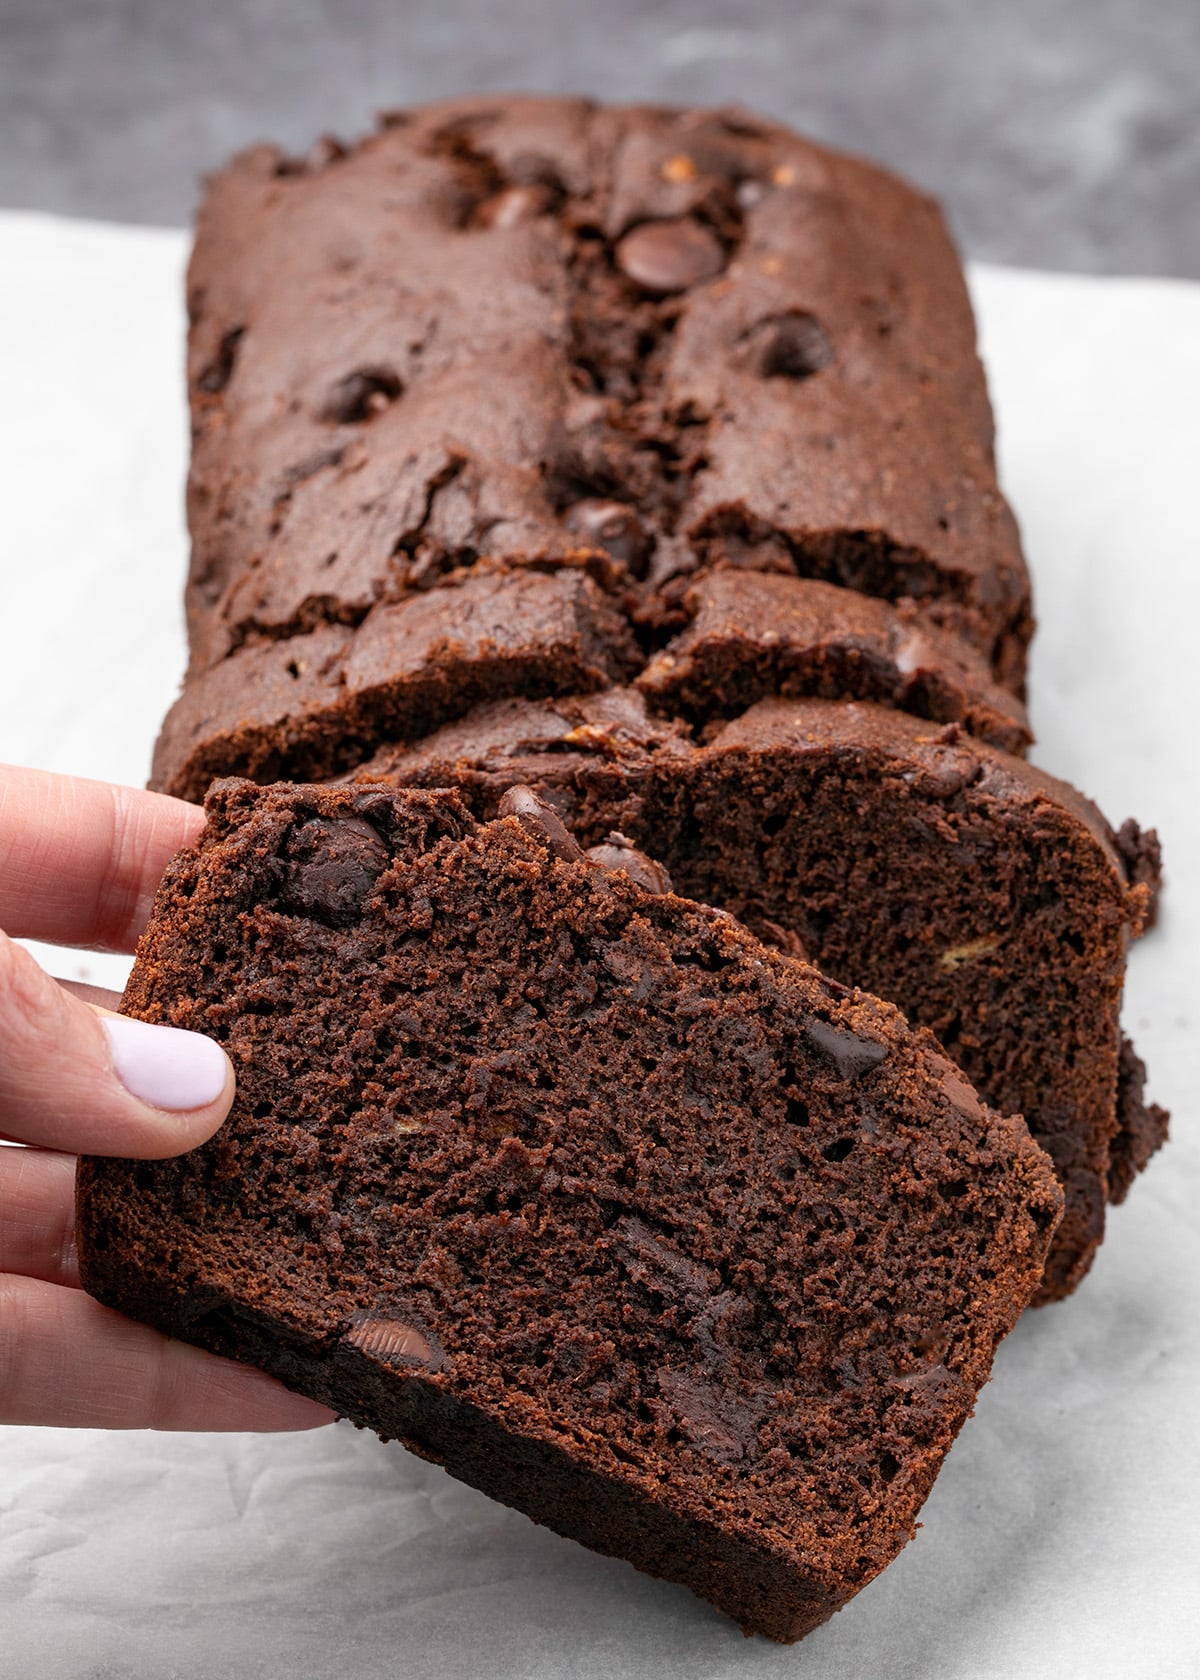
The Impact of Egg Quantity
While the recipe functions well with a single egg, utilizing two eggs is recommended for those who prefer a loftier loaf with a more robust structure. The additional egg contributes to a higher rise and also adds further moisture, promoting extended tenderness.
The Advantage of Light-Colored Bakeware
The choice of loaf pan plays a significant role in baking consistency. Light-colored, nonstick pans, particularly those made from cast aluminum, are preferred. Darker pans absorb more heat, potentially leading to the exterior of the bread burning before the interior is fully baked. This is especially critical for dark-colored baked goods like this chocolate banana bread, where subtle signs of burning can be difficult to detect.
The Nuances of Banana Ripeness
The recipe emphasizes the use of naturally ripened bananas. While bananas can be encouraged to ripen more quickly by placing them in a paper bag with an apple, oven-ripening is ineffective and can result in blackened peels without developing the necessary sugars.
Addressing Dietary Needs: Substitutions and Adaptations
This recipe offers flexibility for those with specific dietary requirements.
Egg-Free Baking Solutions
For an egg-free version, a "chia egg" or "flax egg" can be used as a substitute. This involves mixing one tablespoon of ground white chia seeds with two tablespoons of lukewarm water and allowing it to gel. Alternatively, for each egg, one teaspoon of xanthan gum combined with two tablespoons of plain Greek yogurt can be employed.
Dairy-Free Modifications
To make the bread dairy-free, opt for nondairy sour cream and a block-style vegan butter. Brands like Melt or Miyoko’s Kitchen are often recommended for their suitability as butter substitutes. It’s advisable to avoid vegan butters sold in tubs, as their higher oil content can affect the baking outcome.
Storage and Preservation
Proper storage ensures the longevity and quality of the gluten-free chocolate banana bread.
- Room Temperature Storage: Wrapped tightly, the bread can be stored at room temperature for two to three days.
- Freezer Storage: For extended preservation, avoid refrigeration, which can dry out the bread. Instead, individually wrap each slice and freeze for up to three months.
- Refreshing Frozen Slices: To revive frozen slices, allow them to defrost gently in a microwave on low power or at room temperature. Lightly sprinkle the defrosted bread with lukewarm water and warm it through in a 300°F (150°C) toaster oven until heated.
Frequently Asked Questions
Can sour cream be replaced with milk?
While milk cannot be directly substituted for sour cream in this recipe, plain Greek-style yogurt is an excellent alternative. If Greek-style yogurt is unavailable, regular plain yogurt can be strained in a fine-mesh sieve to remove excess moisture, achieving a consistency similar to sour cream or Greek yogurt.
Why did my bread sink after cooling?
A sinking baked good typically indicates that it was baked on the exterior but remained undercooked internally. As the bread cools and steam escapes, the uncooked interior collapses, causing the loaf to sink. This often occurs when an oven is too hot, causing the outside to set before the inside is fully baked and capable of supporting its own structure. Using an oven thermometer is recommended, as many ovens tend to run hotter than their thermostats indicate.
