

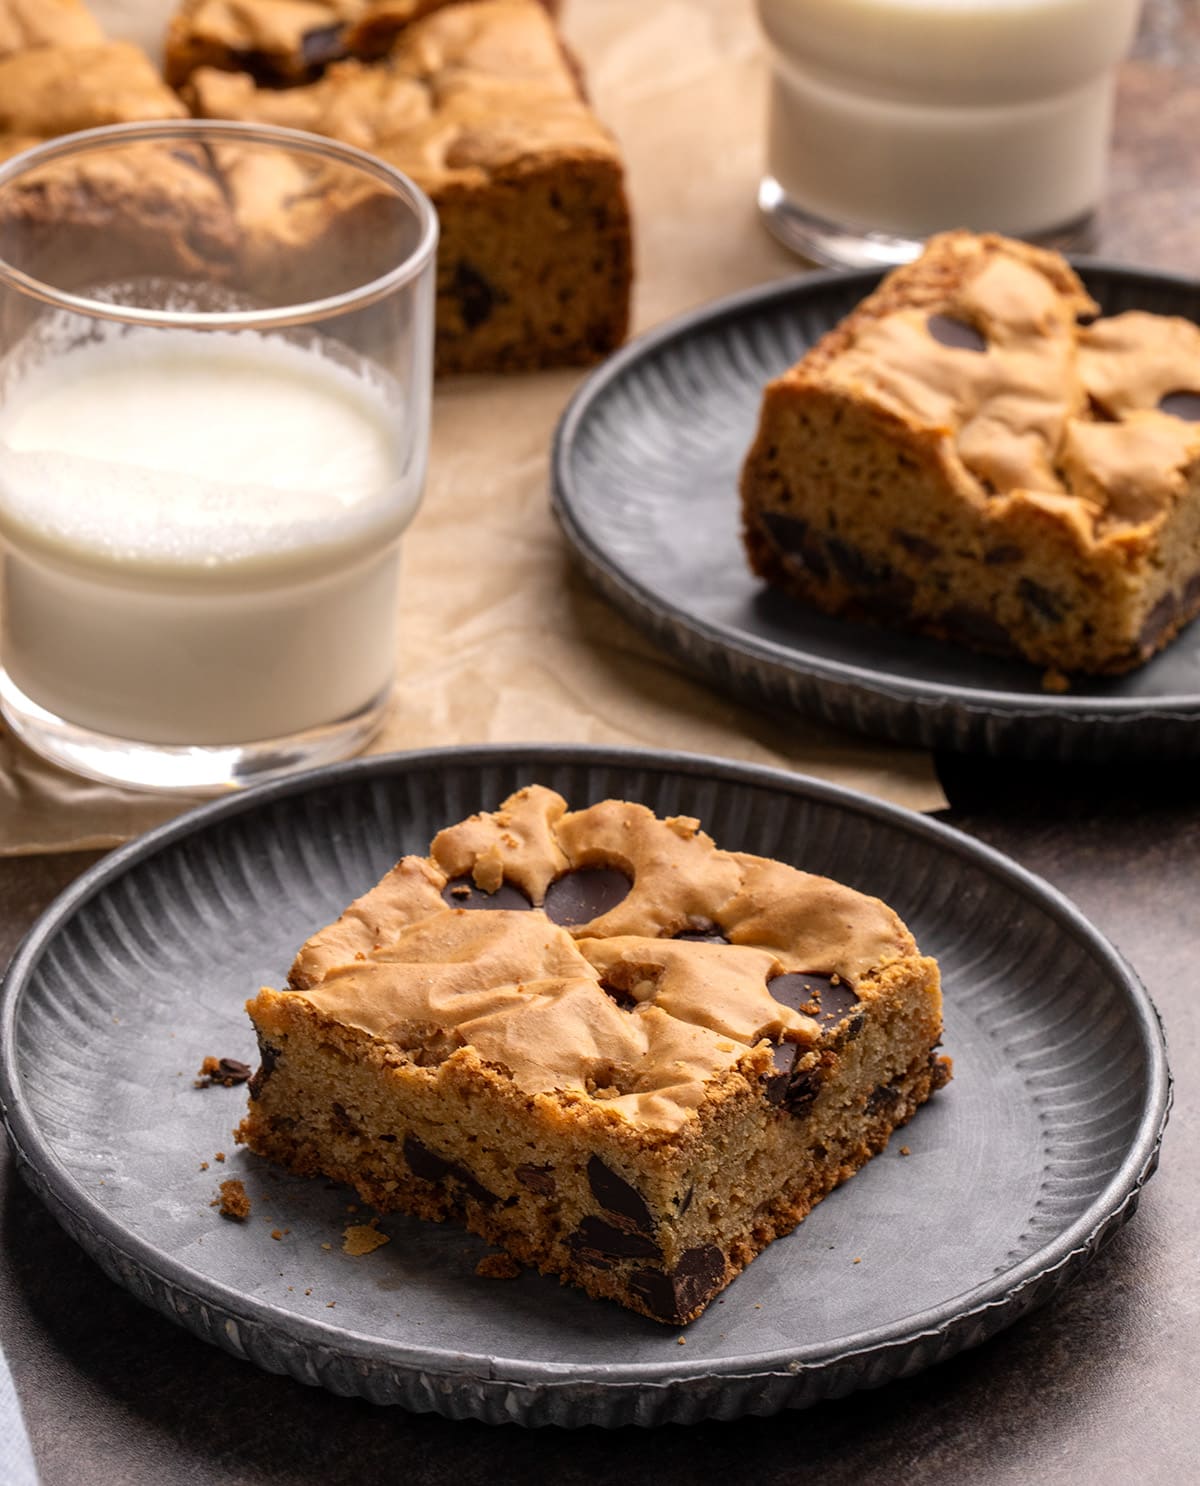
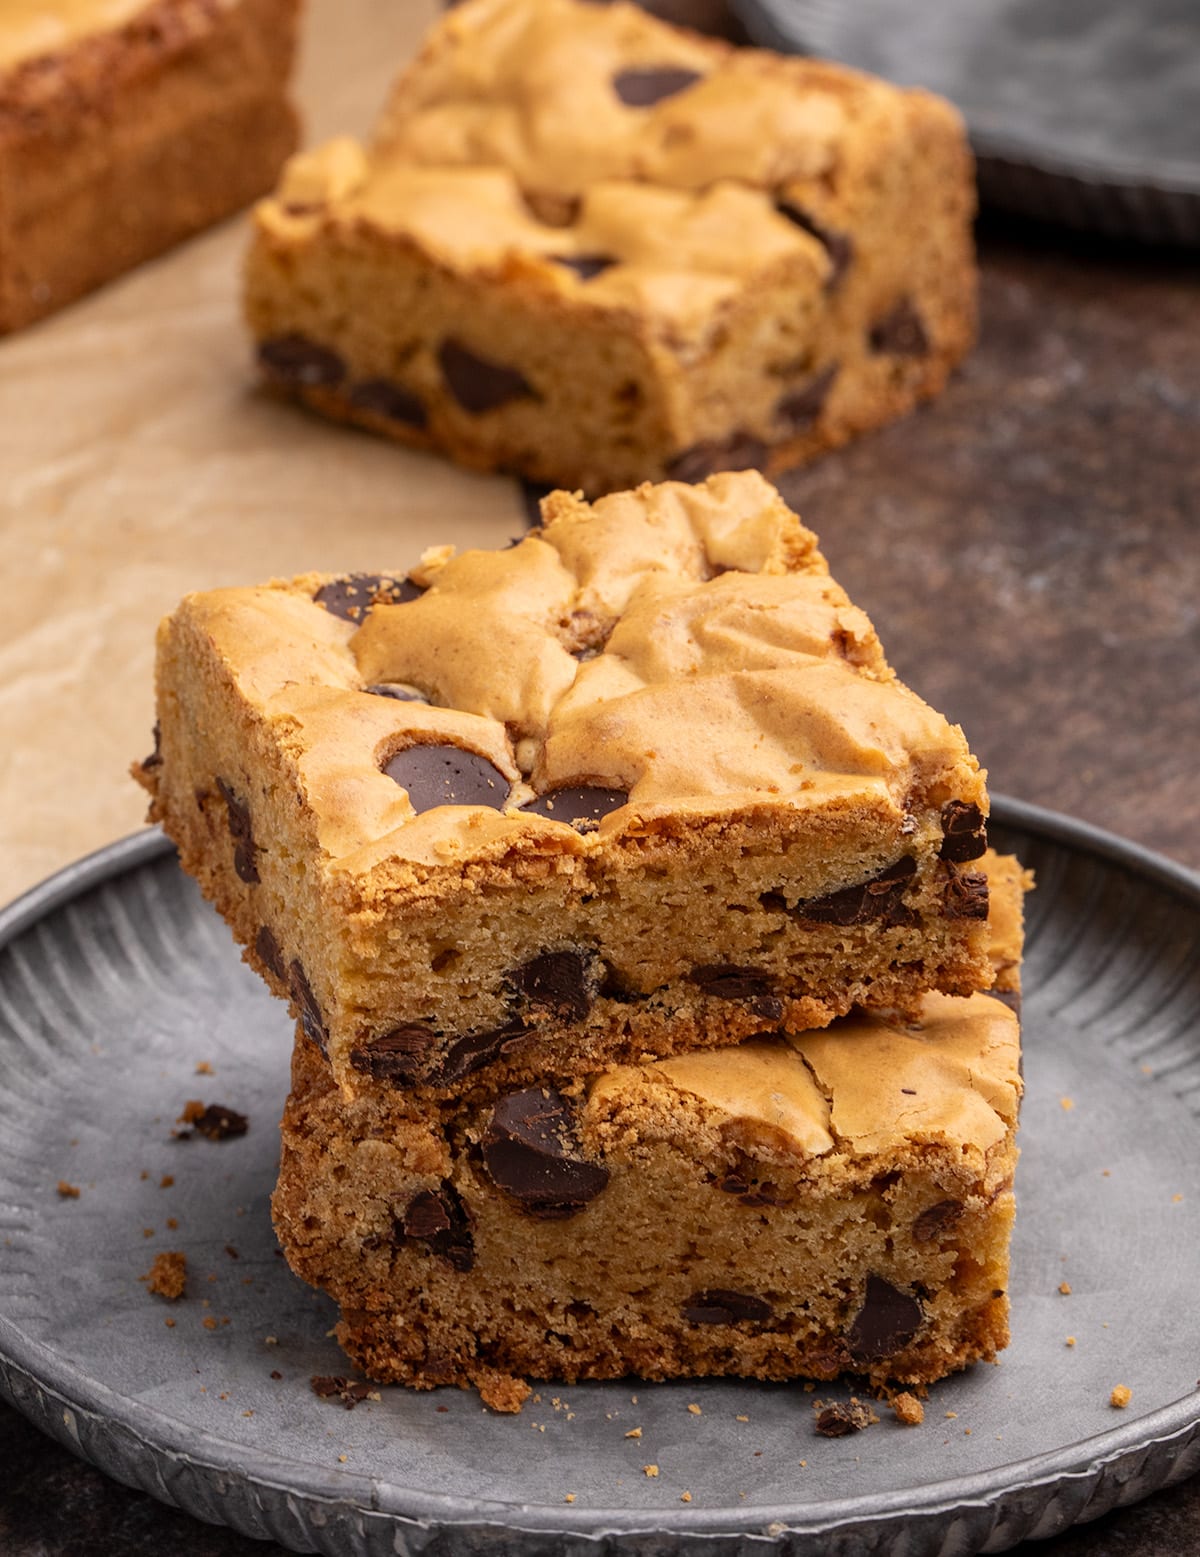
This recipe for thick and chewy gluten-free cookie bars offers the beloved texture and flavor of classic chocolate chip cookies, conveniently baked in a single pan for an effortless dessert experience. Achieving the perfect balance of chewiness and a delightful brownie-like crackly top, these bars are set to become a staple in any gluten-free kitchen. The innovation lies in adapting a universally loved cookie into a bar format, eliminating the need for individual shaping and baking, a process often associated with time-consuming preparation and inconsistent results.
The Science Behind the Perfect Gluten-Free Cookie Bar
The success of these gluten-free cookie bars hinges on a few key culinary techniques borrowed from both cookie and brownie recipes. Unlike traditional cookie dough baked directly in a pan, which can often result in a dense and tough final product, this recipe employs melted butter. This method, commonly used in gluten-free brownies and blondies, is crucial for achieving that desirable chewy texture. However, the recipe cleverly incorporates a higher proportion of flour compared to typical brownie recipes, preventing the bars from becoming overly fudgy.
The choice of sugars also plays a vital role in both texture and flavor. A combination of white and light brown sugars is utilized to replicate the familiar, comforting taste of classic chocolate chip cookies. This dual-sugar approach contributes to the sweetness, moisture retention, and the development of the characteristic chewy texture. The interplay between these sugars and the melted butter is fundamental to the overall success of the bars, ensuring they are neither too cakey nor too brittle.
Recipe Essentials for Gluten-Free Cookie Bar Perfection
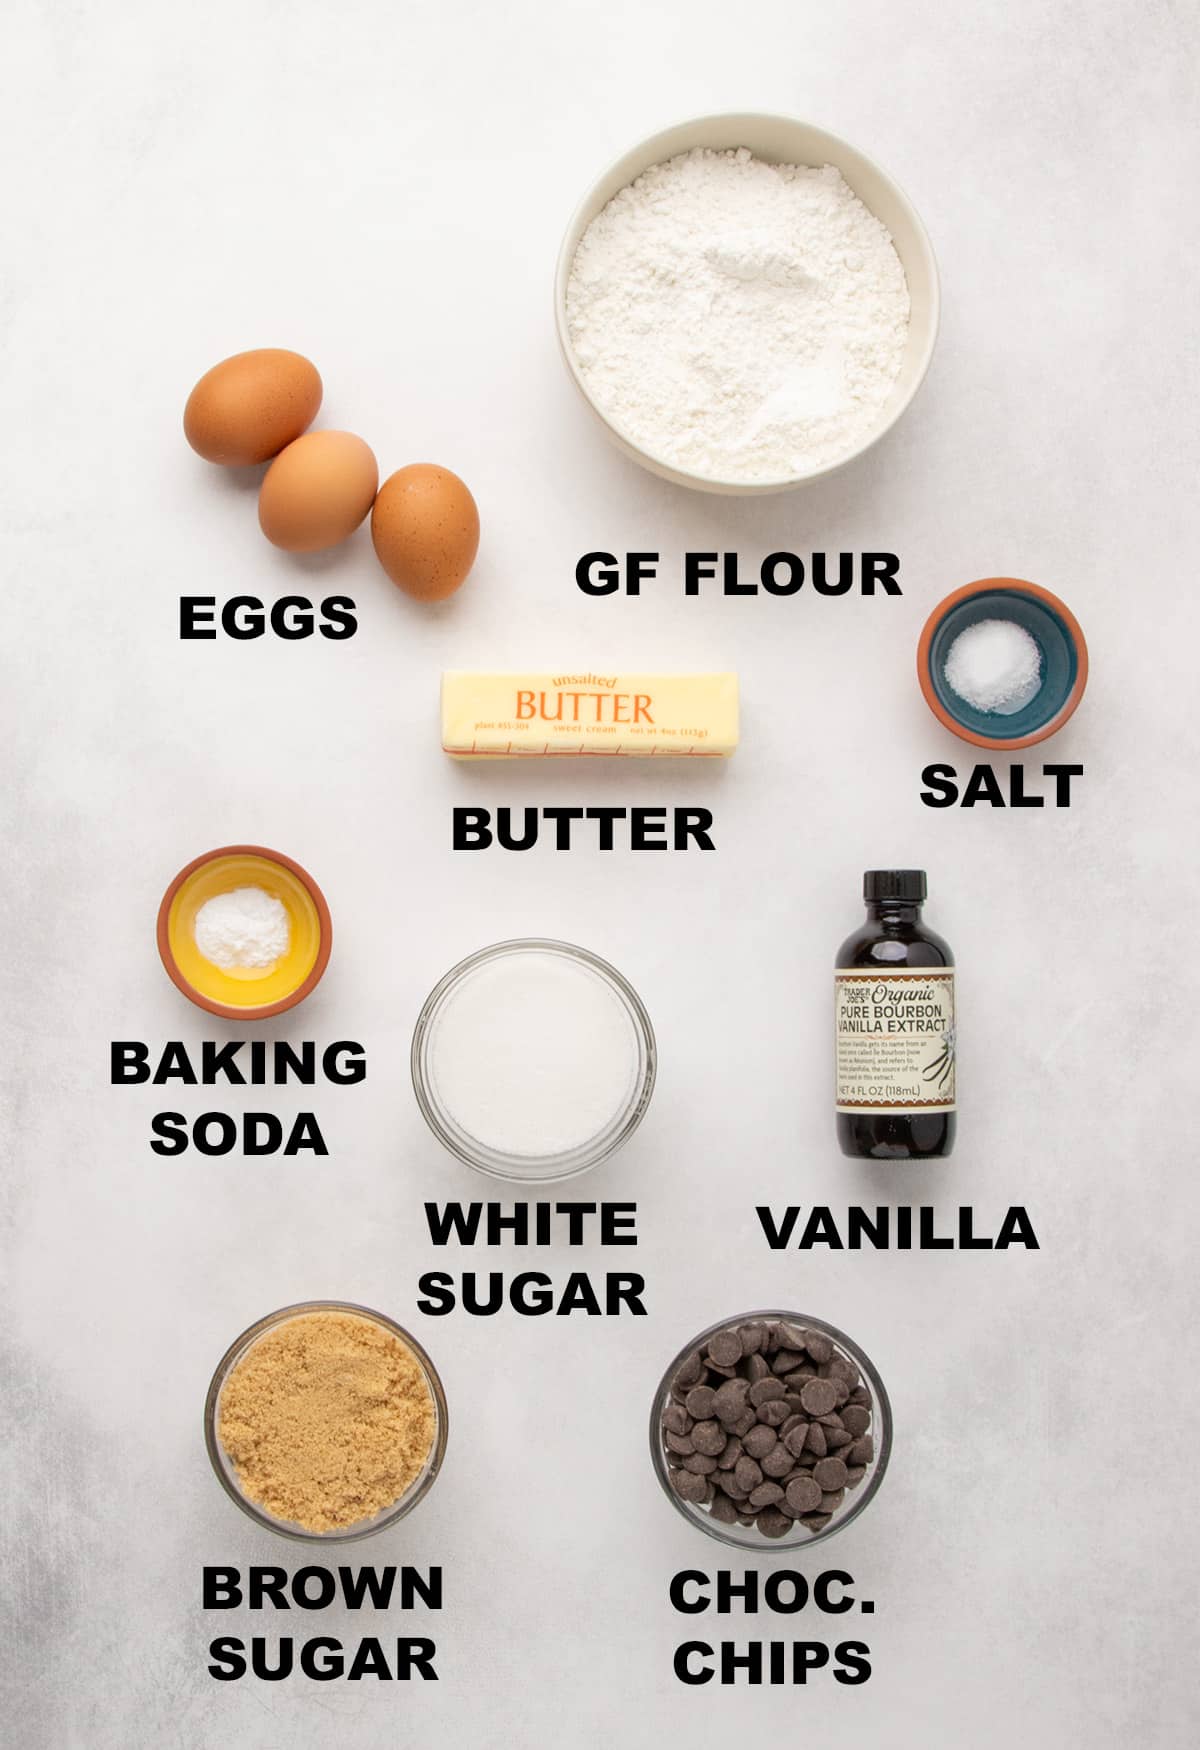
To embark on the creation of these delectable gluten-free cookie bars, a specific set of ingredients is required. For precise measurements, the accompanying recipe card should be consulted. The core components typically include:

- Gluten-Free Flour Blend: A high-quality, all-purpose gluten-free flour blend is essential. For optimal results, blends containing a mix of rice flour, tapioca starch, and potato starch are often recommended. The inclusion of xanthan gum is crucial for providing structure and elasticity in the absence of gluten.
- Butter: Unsalted butter is the foundation for richness and flavor. Using melted butter contributes significantly to the chewy texture.
- Sugars: A combination of granulated white sugar and light brown sugar is used. The brown sugar adds moisture and a deeper caramel note, while the white sugar contributes to crispness and sweetness.
- Eggs: Eggs bind the ingredients together, contribute to leavening, and play a role in the development of the crackly top. An extra egg yolk can further enhance richness and chewiness.
- Leavening Agent: Baking soda is typically used to provide lift and spread to the cookie bars.
- Salt: Salt enhances the overall flavor profile, balancing the sweetness of the sugars and chocolate.
- Vanilla Extract: Pure vanilla extract adds depth and aroma to the cookie bars.
- Chocolate Chips: High-quality semi-sweet or dark chocolate chips are paramount. Using a generous amount ensures pockets of melted chocolate throughout the bars.
Step-by-Step Guide to Crafting Gluten-Free Cookie Bars
The process of creating these gluten-free cookie bars is designed for simplicity and efficiency, allowing home bakers to achieve professional-quality results with minimal effort.
1. Melting the Butter and Sugars:
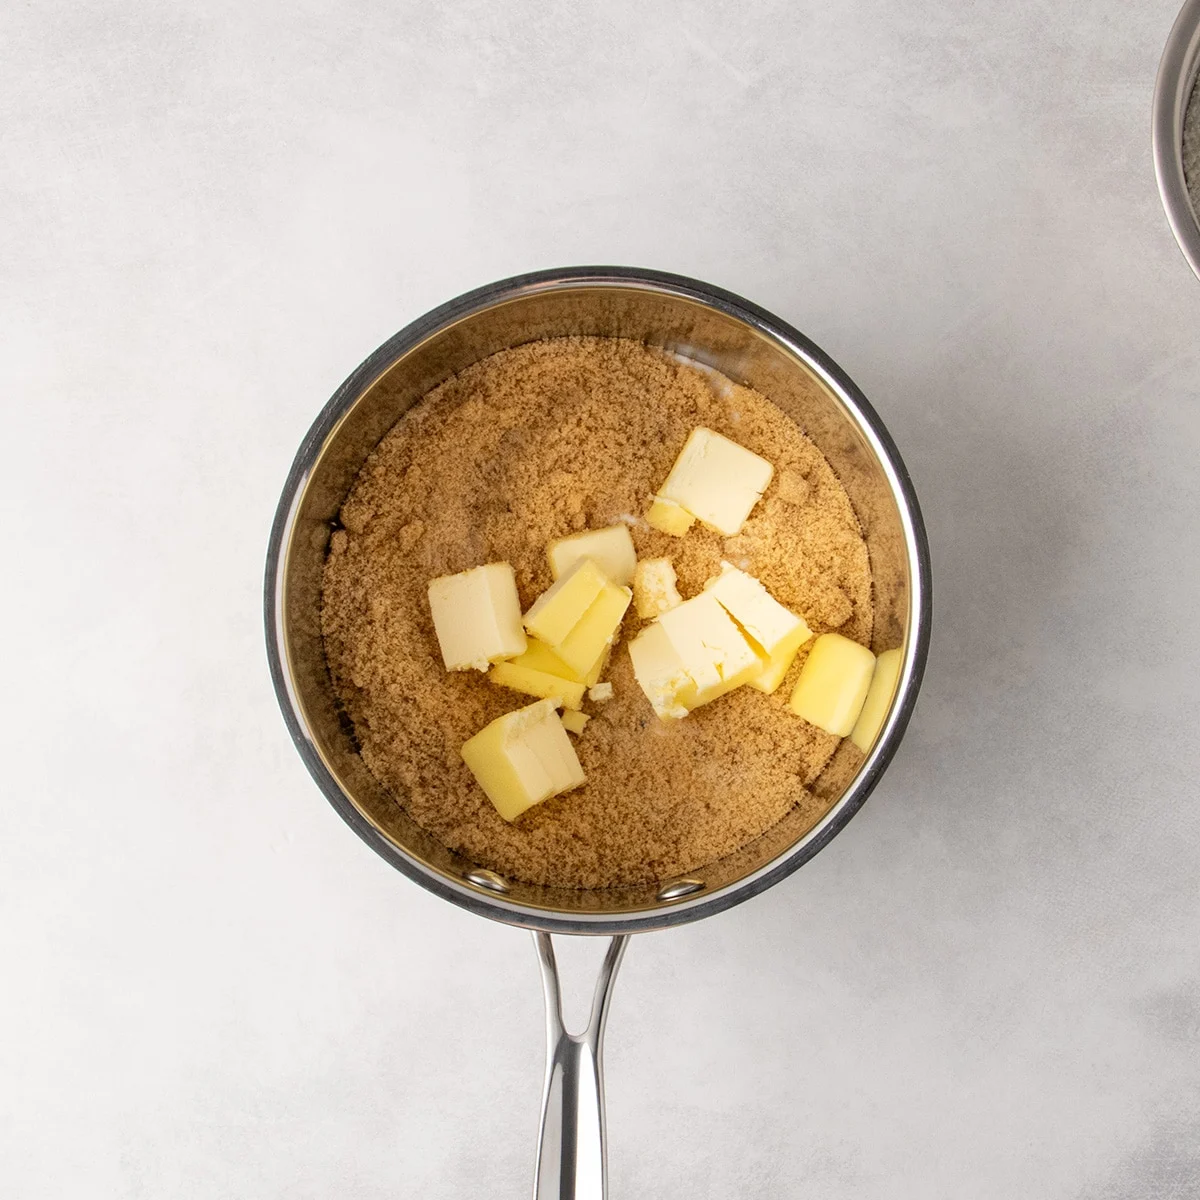
The initial step involves gently melting the butter and sugars together over medium-low heat. This process is critical for dissolving the sugars into the butter, a key factor in achieving the desirable shiny and crackly surface on the baked bars. It’s important to allow this mixture to cool slightly after simmering to prevent the eggs from cooking when added in the subsequent step. The goal is a smooth, homogenous liquid that forms the base of the batter.
2. Incorporating the Eggs:
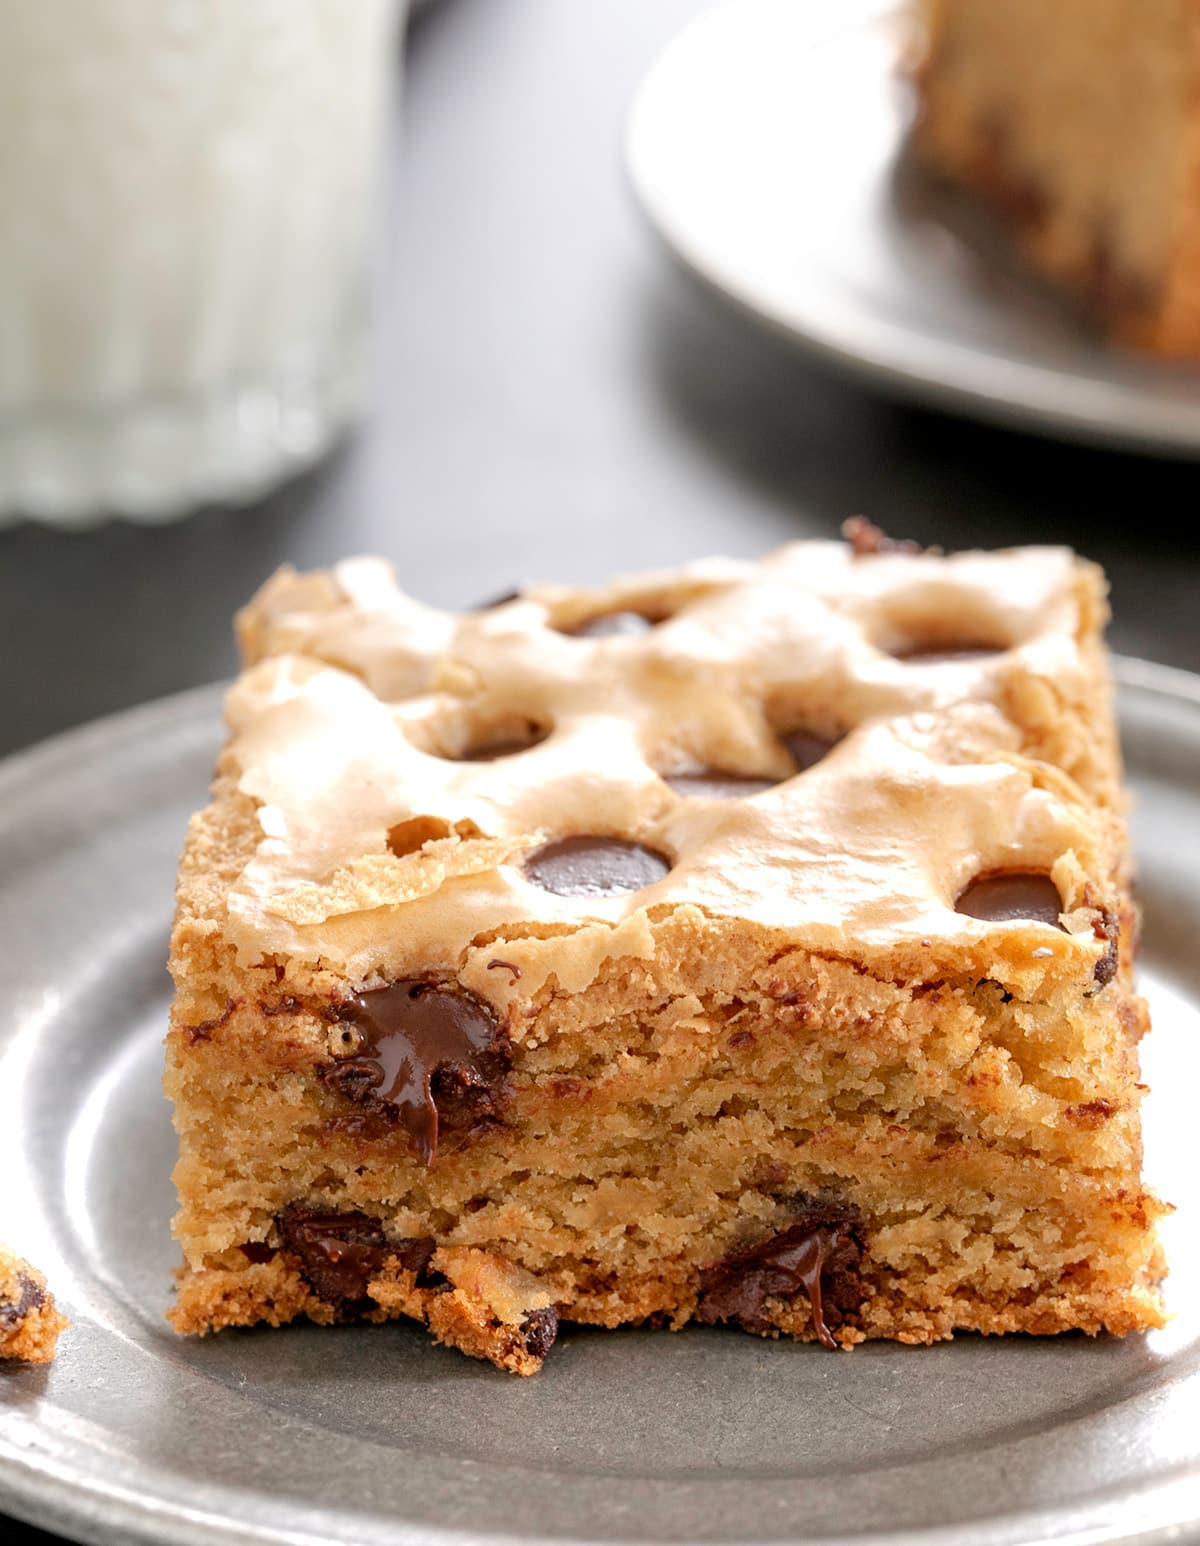
In a separate mixing bowl, two whole eggs and one egg yolk are beaten until foamy. This aeration process helps to fully emulsify the eggs with the cooled sugar and butter mixture. The proteins in the eggs, when combined with the sugar and butter, contribute to the structural integrity and the characteristic thin, crispy, crackly layer that forms on top during baking.
3. Whisking the Dry Ingredients:
A thorough whisking of the dry ingredients is essential to ensure even distribution and prevent any clumping. This typically includes the gluten-free flour blend, xanthan gum (if not already in the blend), baking soda, and salt. This meticulous step guarantees that the leavening agent and salt are evenly dispersed throughout the batter, leading to uniform baking and flavor.
4. Combining Wet and Dry Ingredients:
The whisked dry ingredients are then added all at once to the wet ingredient mixture. This is where the batter transforms from a thin liquid to a thick, cohesive dough. The flour blend absorbs the moisture, creating the characteristic cookie dough consistency.
5. Folding in the Chocolate Chips:
The majority of the chocolate chips are folded into the batter, reserving a small portion to be sprinkled on top. This ensures that the bars are generously studded with chocolate, while also providing a visually appealing finish.
6. Preparing the Baking Pan:
A standard square baking pan, typically 8×8 inches or 9×9 inches, is prepared. Lining the pan with non-stick aluminum foil or parchment paper sprayed with cooking oil is crucial. This prevents the thick, sticky batter from adhering to the pan, making for easy removal and cleanup. Non-stick foil is often preferred as it is less prone to shifting than parchment paper when spreading the dense batter.
7. Spreading the Batter:
The cookie bar batter is scraped into the prepared pan and spread into an even layer. Using a moistened offset spatula or a butter knife helps to achieve a uniform thickness, which is vital for even baking.
8. Topping and Baking:
The reserved chocolate chips are scattered evenly over the top of the batter. Gently tapping the pan on the counter a few times helps to embed the chips and create a more cohesive surface. The bars are then baked in a preheated oven at 325°F (160°C). This lower temperature and longer baking time are key to achieving a golden-brown exterior without burning the edges, ensuring the center is cooked through but still tender. The bars are done when the top is lightly golden and no longer jiggles significantly when the pan is gently moved.
9. Chilling Before Slicing:
Crucially, the cookie bars must be allowed to cool completely in the pan before attempting to slice them. This cooling period allows the bars to set and firm up, preventing them from crumbling or falling apart during the slicing process. Chilling them in the refrigerator further solidifies them, ensuring clean, precise cuts.
Expert Tips for Gluten-Free Baking Success
Bakers aiming for exceptional results with these gluten-free cookie bars can benefit from several expert recommendations:
Adjusting Bar Thickness
For those who prefer thinner, crispier bars, the recipe can be adapted for a jelly roll pan (approximately 10×15 inches). This larger surface area allows the dough to spread thinner, resulting in a shorter baking time, typically around 30 minutes at the same temperature. As with many baked goods, the bars are considered done when the center exhibits minimal jiggling.
The Art of Sugar Melting
A common pitfall in baking is overcooking sugar, which can lead to a hardened texture. When melting the butter and sugars, it is imperative to stop the process as soon as the mixture reaches a gentle simmer. Overheating can negatively impact the final texture and chewiness of the bars.
Pan Preparation Mastery
The sticky nature of gluten-free cookie dough can pose a challenge. While parchment paper can be used, it may shift during the spreading process. Non-stick aluminum foil is a reliable alternative, or regular foil can be used if generously sprayed with cooking oil. This ensures that the bars can be easily lifted and removed from the pan without sticking.
Ingredient Substitutions for Dietary Needs
This recipe offers flexibility for various dietary requirements, allowing a broader audience to enjoy these delicious treats.
Dairy-Free Adaptations
For a dairy-free version, the butter can be substituted with high-quality vegan butter alternatives such as Melt, Miyoko’s Kitchen, or block-style vegan butter from Trader Joe’s. A combination of Earth Balance buttery sticks and Spectrum brand non-hydrogenated vegetable shortening can also be effective. It is essential to ensure that the chocolate chips and gluten-free flour blend used are also dairy-free.
Egg-Free Baking Solutions
Replacing the eggs requires careful consideration. Chia eggs (1 tablespoon of ground white chia seeds mixed with 2 tablespoons of lukewarm water, allowed to gel) can be used as a substitute for each whole egg. However, it’s important to note that omitting eggs may affect the characteristic brownie-like crackly top. For the egg yolk, a tablespoon of extra virgin olive oil can provide richness.
Corn-Free Considerations
Cornstarch, often included for tenderness in gluten-free baking, can be a concern for those with corn sensitivities. In such cases, arrowroot starch or potato starch can be used as a direct substitute by weight. Alternatively, an increased amount of all-purpose gluten-free flour can be used, provided the flour blend itself is corn-free.
Storage and Longevity
These gluten-free cookie bars maintain their delightful texture and flavor for a considerable period. Stored in an airtight container at room temperature, they will keep well for at least five days. For extended freshness, they can be refrigerated for up to a week. For long-term storage, individual bars can be placed in freezer-safe zip-top bags and frozen for up to three months. Thawing can be done at room temperature or quickly in a microwave.
Nutritional Information (Approximate per Bar)
- Calories: 415 kcal
- Carbohydrates: 58g
- Protein: 4g
- Fat: 19g
- Saturated Fat: 11g
- Sugar: 36g
Note: Nutritional information is automatically calculated and serves as an approximation.
Conclusion: A Gluten-Free Baking Triumph
These thick and chewy gluten-free chocolate chip cookie bars represent a significant achievement in gluten-free baking. By expertly adapting classic cookie techniques and incorporating elements from brownie recipes, this creation delivers an unparalleled dessert experience that rivals its gluten-containing counterparts. The ease of preparation, coupled with the satisfyingly chewy texture and rich chocolate flavor, makes these bars an indispensable addition to any baker’s repertoire, proving that gluten-free indulgence can be both accessible and exceptionally delicious.
