

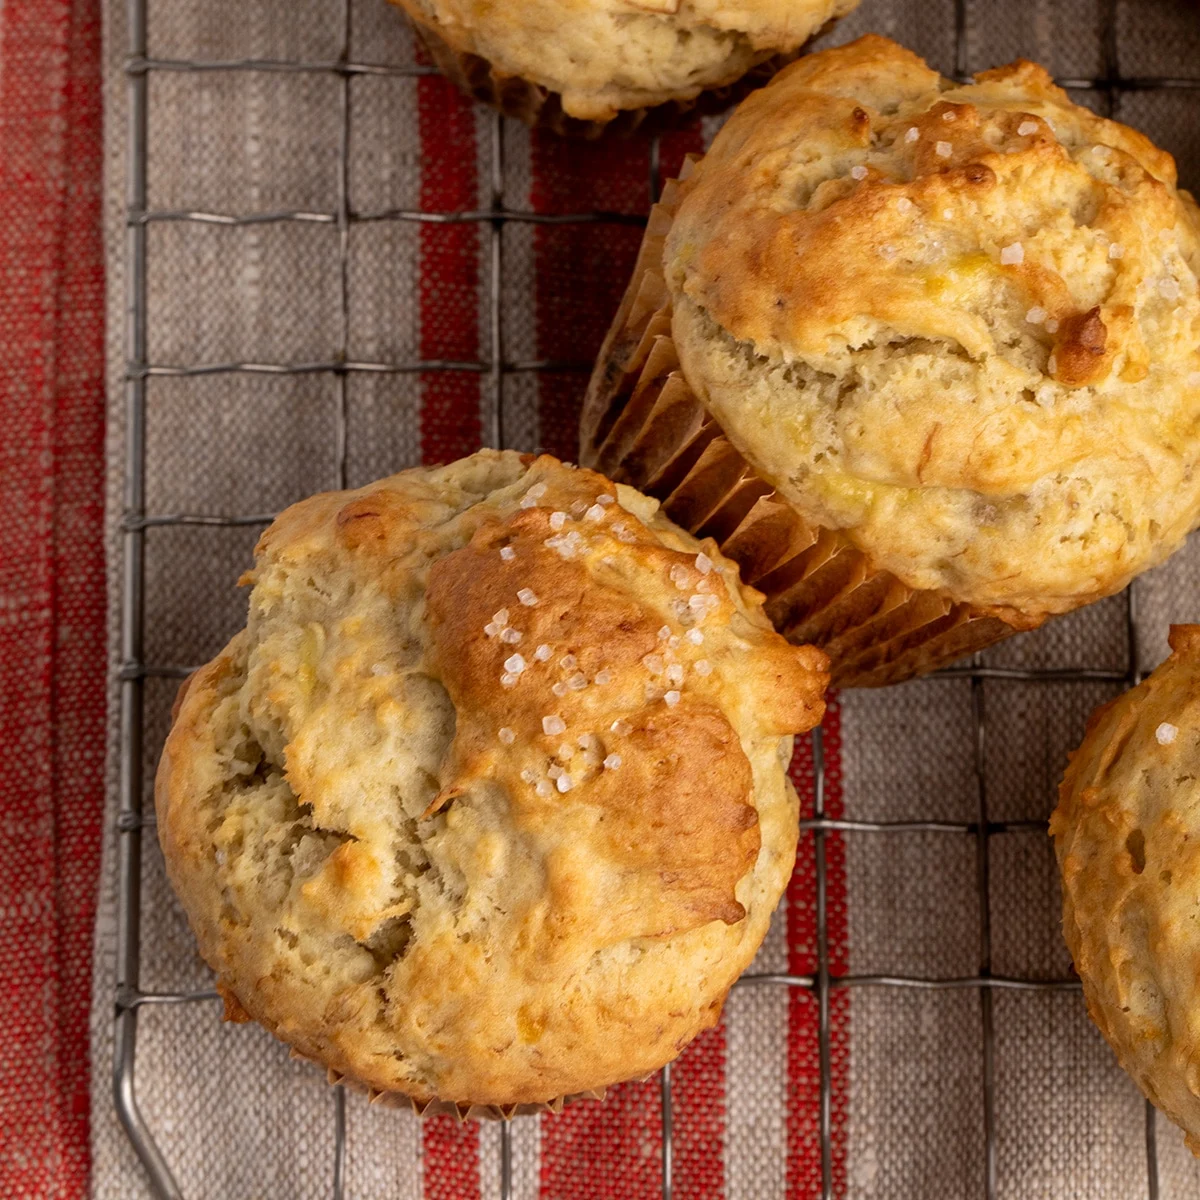
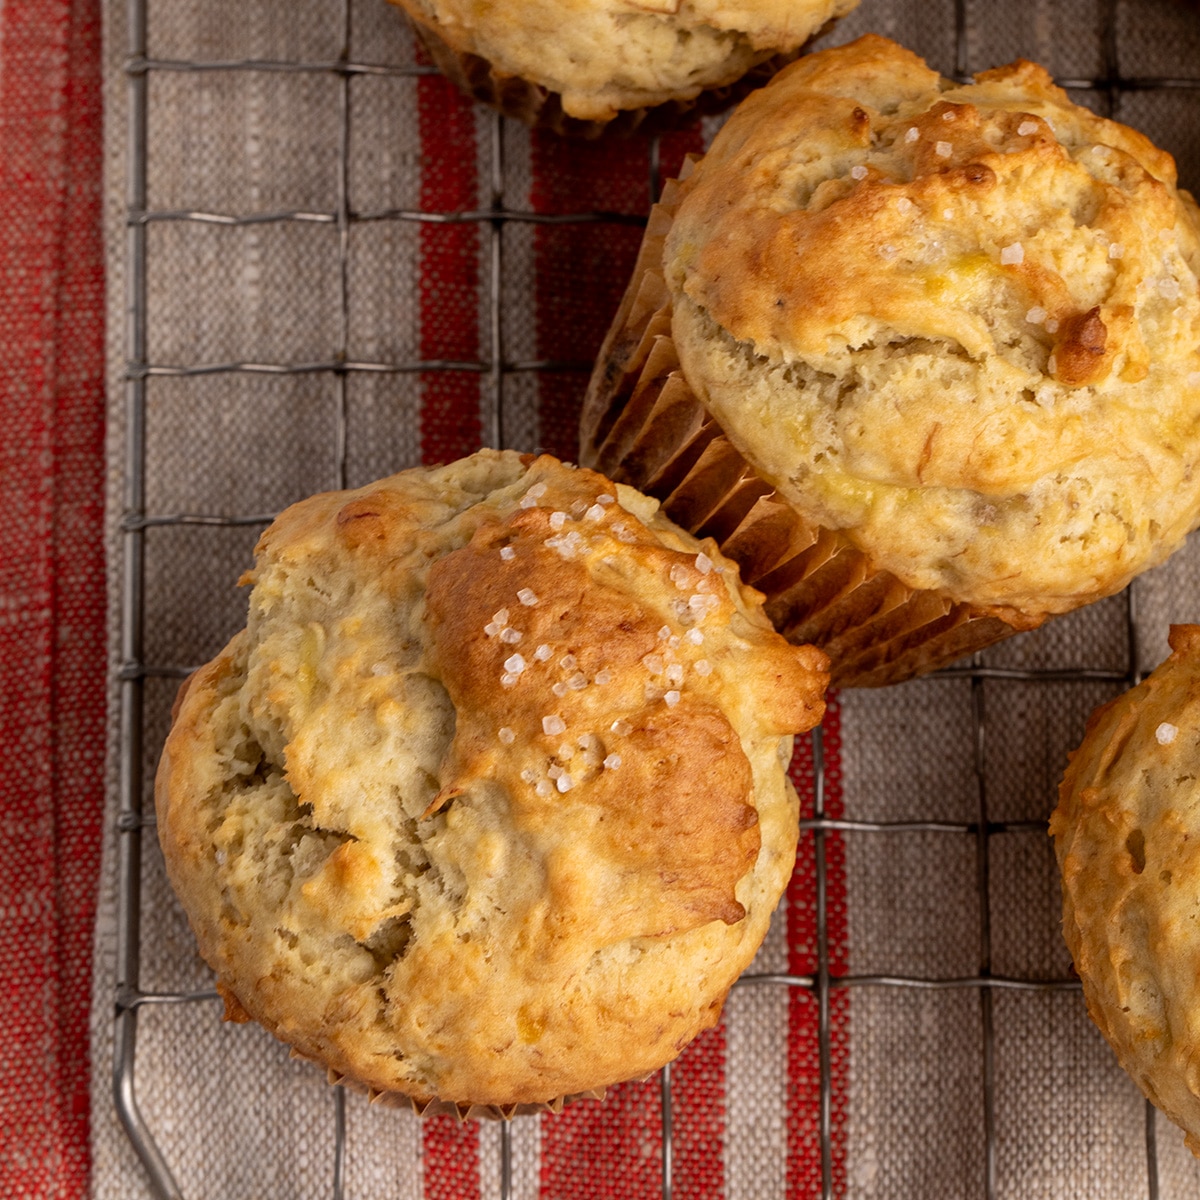
For those navigating a gluten-free lifestyle, the quest for baked goods that rival their traditional counterparts can be a continuous journey. Among the most beloved of baked treats, banana muffins hold a special place in many hearts. This article delves into a meticulously crafted recipe for gluten-free banana muffins that promises not only to satisfy but to exceed expectations, offering a tender, fluffy crumb, deep banana flavor, and a beautifully golden exterior. The recipe, honed through careful consideration of ingredient ratios and baking techniques, addresses common pitfalls often encountered in gluten-free baking, such as gumminess or a heavy texture.
The Science Behind the Perfect Gluten-Free Muffin
The success of these gluten-free banana muffins hinges on several key factors that differentiate them from standard recipes. A generous quantity of mashed ripe bananas—specifically 1 ¾ cups—is central to achieving an intense banana flavor. However, the recipe’s genius lies in its balanced approach; this substantial amount of fruit is integrated in a way that preserves a light and tender crumb, preventing the common issue of heaviness or a gummy texture that can plague gluten-free baked goods.
A critical technique employed here is the timing of banana incorporation. The mashed bananas are folded in last, after most of the other batter components have been combined. This gentle folding action is crucial for minimizing the release of excess moisture from the bananas. Excessive moisture is a primary culprit behind gummy muffins, and this method ensures the bananas contribute flavor without compromising the desired texture.
The fat component also plays a vital role in both flavor and moisture retention. A combination of melted butter and oil is used. This dual approach delivers the rich, comforting taste of butter while leveraging the superior moisture-retaining properties of oil. This ensures that the muffins remain moist and delightful even after cooling.
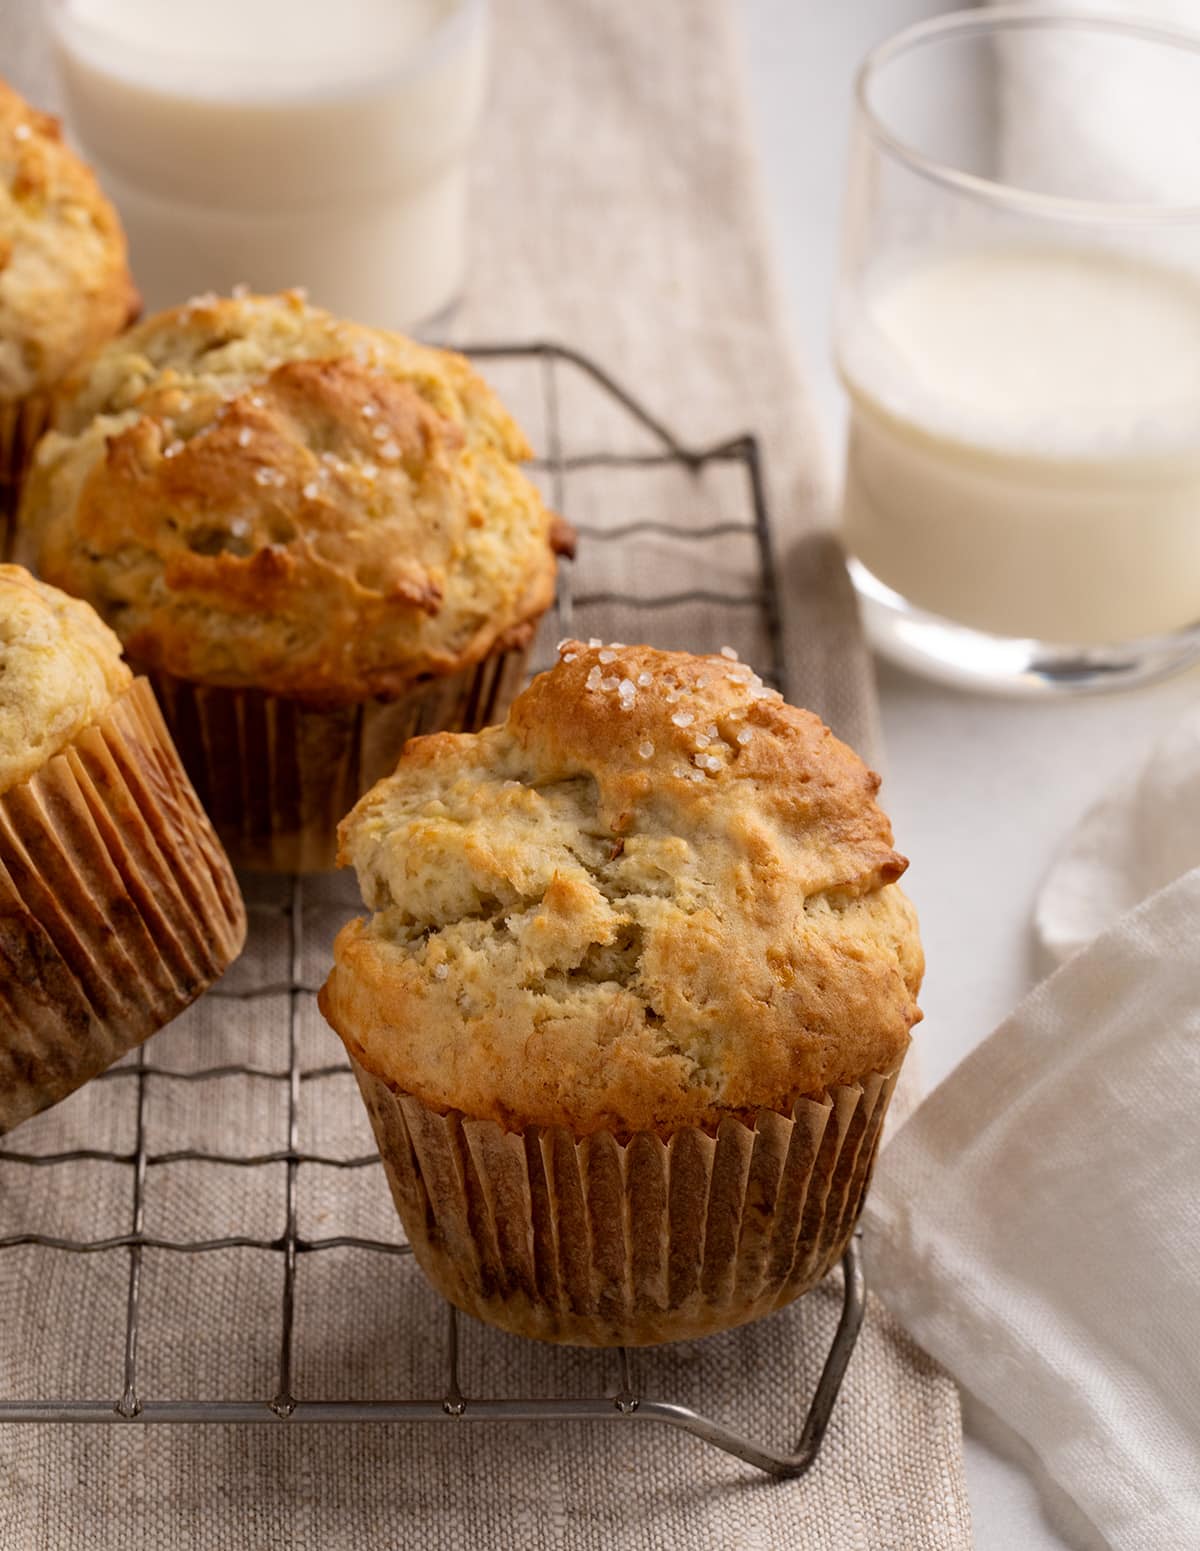
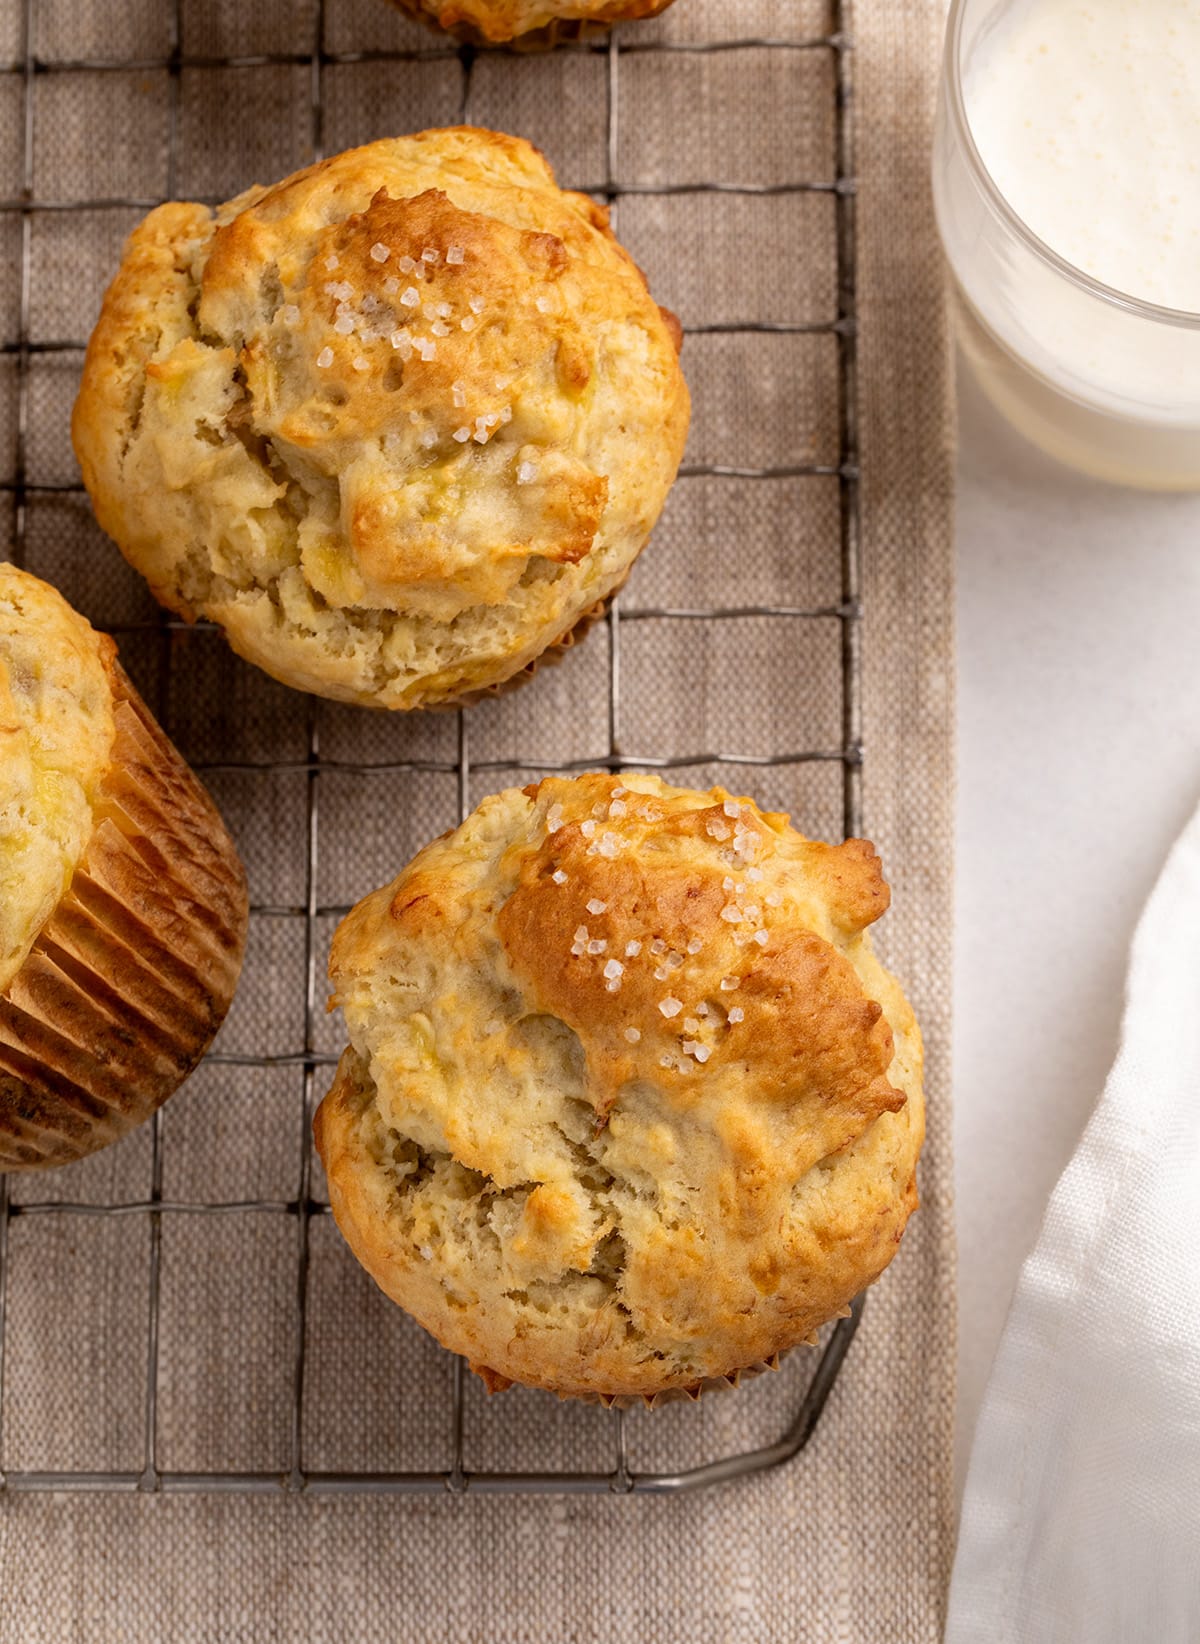
Furthermore, the baking process itself is optimized for superior results. The muffins are initially baked at a high temperature (425°F) for a brief period. This initial blast of heat encourages rapid oven spring, promoting the formation of tall, beautifully domed tops. Following this initial phase, the oven temperature is reduced to 350°F. This crucial adjustment allows the interior of the muffins to bake through completely without the risk of the exterior burning, ensuring an evenly cooked and perfectly textured final product.
Understanding the Core Ingredients
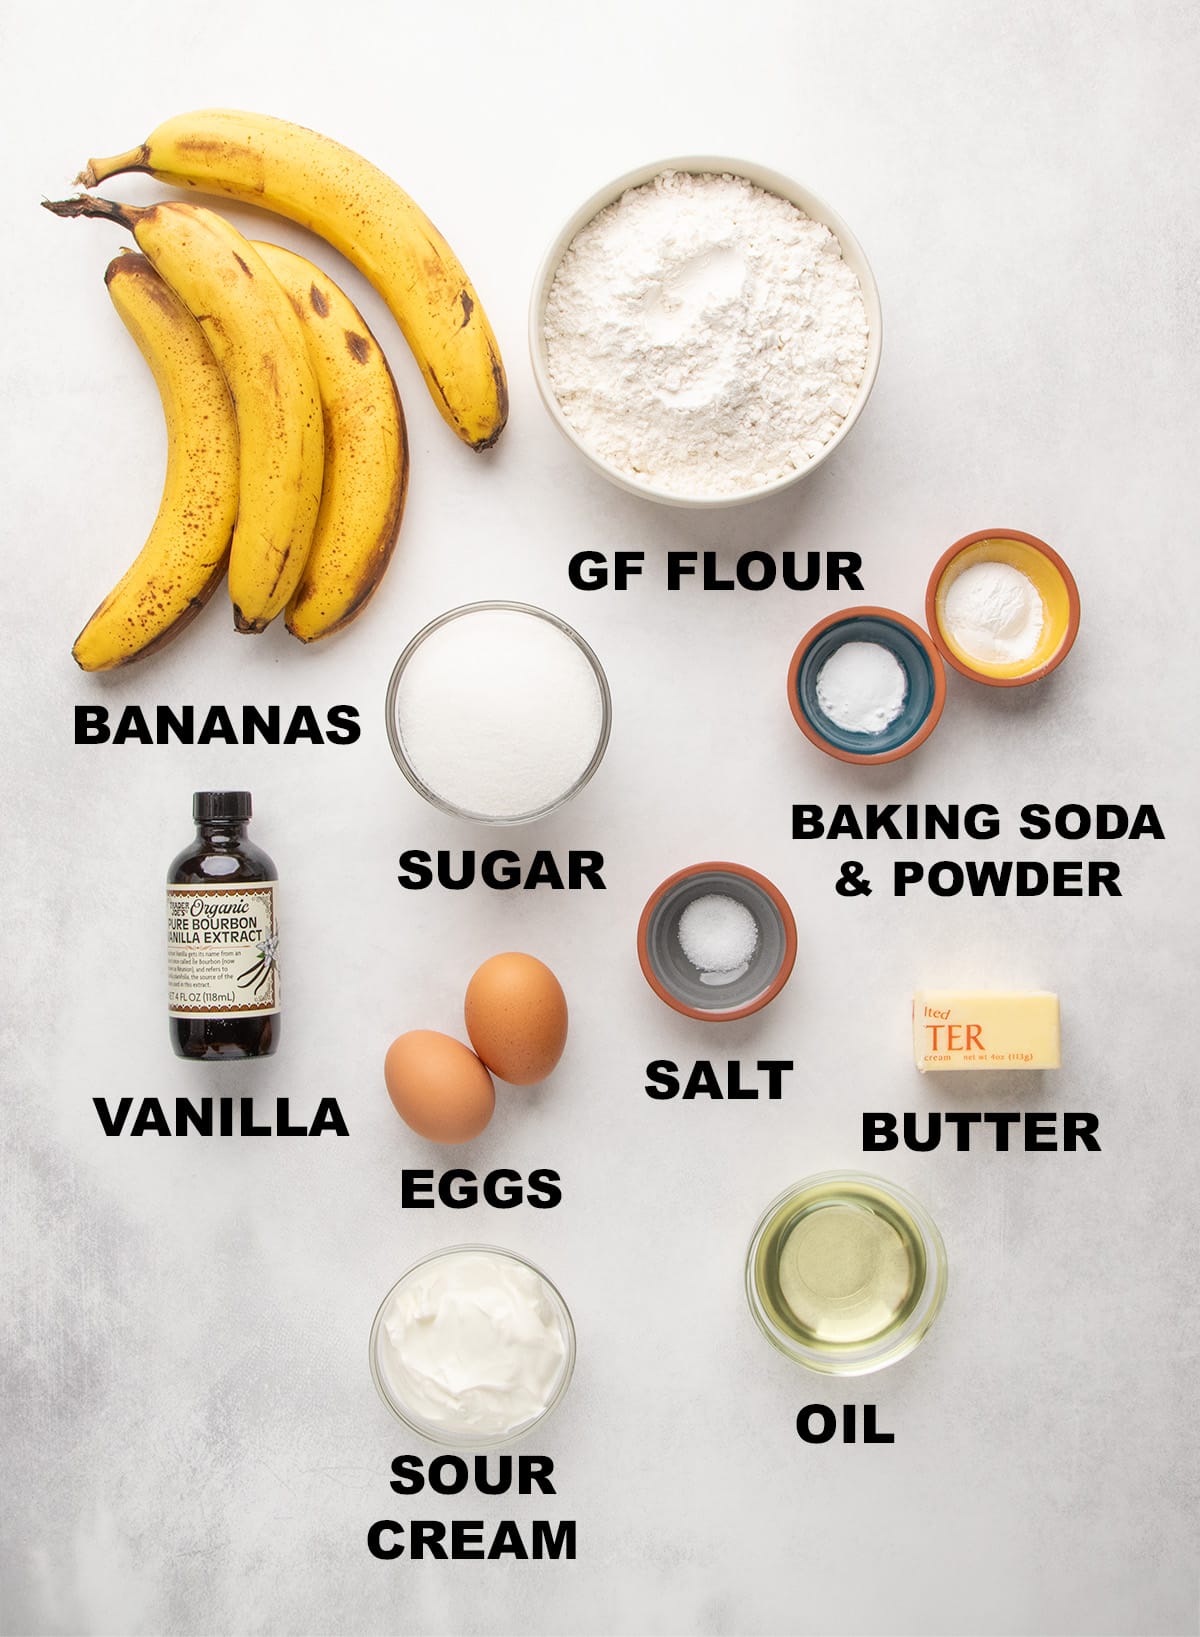
Each ingredient in this gluten-free banana muffin recipe has been selected for its specific contribution to the final outcome. A well-balanced gluten-free flour blend is foundational, providing the necessary structure without the gluten. The inclusion of xanthan gum, often necessary in gluten-free baking, helps to bind the ingredients and mimic the elasticity that gluten provides, preventing a crumbly texture.
Ripe bananas are, of course, the star flavor agent. Their natural sugars caramelize during baking, intensifying the banana taste and adding a subtle sweetness. Baking powder and baking soda work in tandem as leavening agents, reacting with the acidic components in the batter and the heat of the oven to create the desired rise and airy texture. Salt is essential for balancing the sweetness and enhancing the overall flavor profile.
The combination of melted butter and oil provides both richness and moisture. Eggs contribute to the structure, binding, and richness of the muffins. Sour cream adds a delightful tang and contributes to a tender crumb through its acidity and fat content, while vanilla extract offers a warm, aromatic depth that complements the banana flavor.
The Step-by-Step Journey to Perfect Muffins
Crafting these gluten-free banana muffins is a straightforward process, broken down into clear, manageable steps that ensure success for bakers of all levels.
1. Orchestrating the Dry Ingredients:
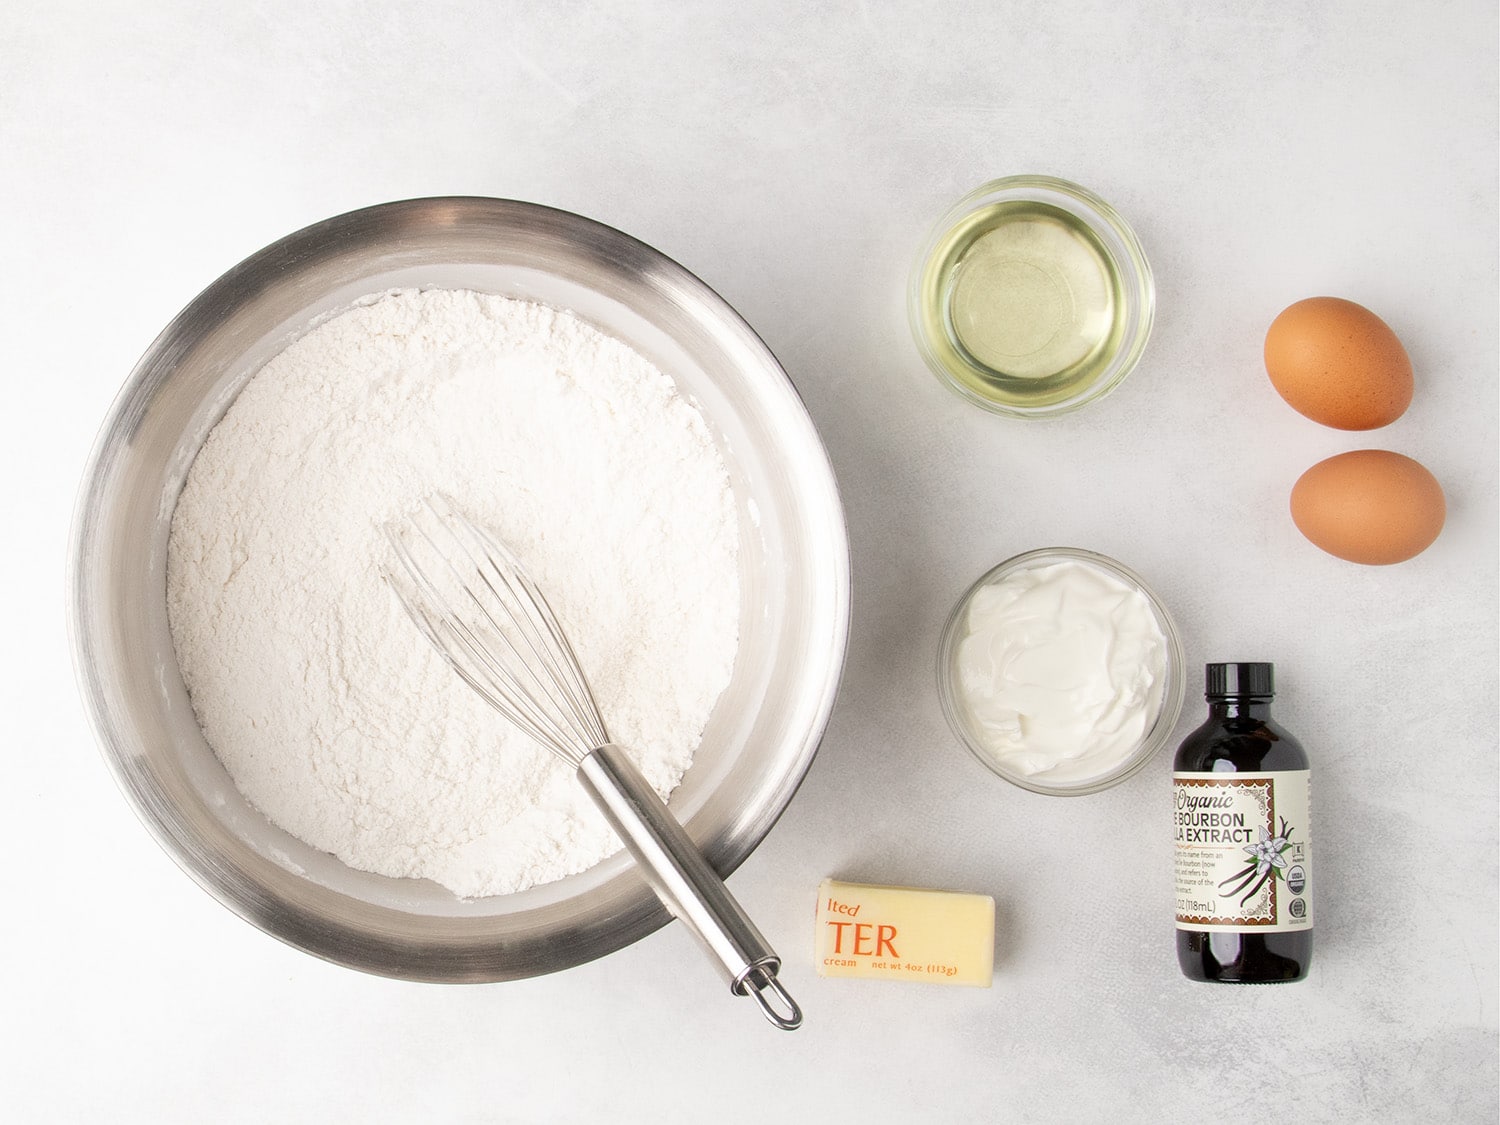
The process begins by combining the dry ingredients in a large mixing bowl. This includes the gluten-free flour blend, xanthan gum (if your blend doesn’t already contain it), baking powder, baking soda, salt, and sugar. Whisking these components together thoroughly is essential to ensure even distribution of the leavening agents and to break up any clumps, which can lead to pockets of unmixed ingredients and affect the muffin’s rise.
2. Integrating the Wet Components:
Once the dry ingredients are well-mixed, a well is created in the center of the bowl. Into this well go the melted butter, oil, eggs, sour cream, and vanilla extract. The initial mixing is focused solely on these wet ingredients within the well. This technique simplifies the overall process by eliminating the need for a separate bowl for wet ingredients, streamlining the workflow.
3. Marrying Wet and Dry:
The mixing then progresses to incorporate the dry ingredients into the wet. This is done gradually, drawing the dry ingredients from the sides of the bowl into the wet center. At this stage, the mixture will likely be quite thick, and a perfectly smooth batter may not be achievable. This is an intentional part of the process, as overmixing at this point can develop toughness.
4. The Gentle Fold of Bananas:
The star ingredient, the mashed ripe bananas, are then added to the thickened batter. A spatula is used to gently fold them in. This is where the magic happens to prevent gumminess. The batter will loosen considerably as the bananas are incorporated. The emphasis remains on a gentle fold rather than vigorous stirring.
5. Portioning for Optimal Rise:
For muffins that achieve impressive height, a strategic approach to filling the muffin tin is recommended. Filling every other muffin liner, leaving space between them, allows for unobstructed expansion. Each liner should be filled completely to the brim with batter, providing ample material for a substantial rise.
6. The Initial High-Heat Bake:
The baking process commences with a high oven temperature of 425°F for the first five minutes. This intense heat rapidly activates the baking powder, creating a powerful initial lift. It also helps to set the outer structure of the muffin quickly, encouraging that desirable domed shape.
7. The Temperature Transition:
Immediately after the initial high-heat phase, the oven temperature is swiftly reduced to 350°F. This lower temperature allows the muffins to bake through to the center without the risk of burning the exterior. The baking continues for approximately another 15 minutes, or until the muffin tops spring back when gently pressed. This two-stage baking method is key to achieving both height and a perfectly cooked interior.
8. The Crucial Cooling Period:
Once baked, the muffins should be allowed to cool in the tin for just five minutes. This brief period allows them to firm up slightly. Following this, they are transferred to a wire rack to cool completely. Leaving them in the tin for too long can cause them to steam, leading to a soggy bottom and an unpleasantly chewy crust.
Expert Insights for Enhanced Muffin Mastery
Several expert tips can elevate your gluten-free banana muffin game even further. For those aspiring to the tallest possible muffins, the dual-temperature baking strategy is paramount. The initial 425°F blast for five minutes followed by a reduction to 350°F is the most effective method. Additionally, utilizing only every other muffin cup in the tin provides crucial space for each muffin to expand upwards without impediment.
Prompt removal from the muffin tin is also a critical step. As mentioned, allowing muffins to sit in the hot tin for extended periods after baking can lead to steaming and an undesirable texture. A five-minute grace period is sufficient before transferring them to a wire rack for complete cooling.
Navigating Ingredient Substitutions with Confidence
This recipe is remarkably adaptable, allowing for modifications to accommodate various dietary needs and preferences.
For a Dairy-Free Experience:
To make these muffins dairy-free, the butter can be substituted with virgin coconut oil that has been melted and cooled. For those concerned about a coconut flavor, triple-filtered coconut oil is the preferred choice. The sour cream can be replaced with a dairy-free sour cream alternative or by straining plain dairy-free yogurt until it achieves a Greek-style yogurt consistency before measuring.
For an Egg-Free Alternative:
Individuals requiring an egg-free recipe have several viable options. A chia egg, created by mixing one tablespoon of ground chia seeds with two tablespoons of water and allowing it to gel, can be used as a substitute for each egg. Alternatively, commercial egg replacers like Bob’s Red Mill’s egg replacer or Just Egg refrigerated egg replacer can also be employed effectively.
The Art of Storage and Preservation
Proper storage is essential to maintain the freshness and texture of your gluten-free banana muffins. After they have cooled completely, store them in an airtight container at room temperature. They will remain fresh for up to five days.
To revive a muffin that has become slightly dry, a simple trick involves briefly running it under cold water and then warming it in a toaster oven at 300°F for a couple of minutes. This technique helps to reintroduce moisture and restore a pleasant texture.
For longer-term storage, freezing is an excellent option. Once the muffins have cooled completely, place them on a baking sheet and freeze until solid. Then, transfer them to a zip-top bag and store them in the freezer for up to two months. Thawing can be done at room temperature or by microwaving for approximately 25 seconds. For the best texture after freezing, reheating in a low toaster oven is recommended.
For those who enjoy experimenting with banana-based baked goods, consider exploring almond flour banana muffins, another delicious gluten-free option.
Frequently Asked Questions About Gluten-Free Banana Muffins
Can frozen bananas be used in this recipe?
Yes, frozen bananas can be used, provided they are fully thawed before being added to the batter. It is important to incorporate both the defrosted fruit and any liquid released during thawing, as this liquid is crucial for maintaining the correct moisture balance in the batter.
Why did my muffins sink after cooling?
Muffins sinking as they cool typically indicates that they were underbaked. The exterior may have appeared cooked, but the interior remained underdone. This is often caused by an oven that runs hotter than its set temperature. Using an oven thermometer to verify the oven’s actual temperature and ensuring the muffins are baked until the centers spring back when gently pressed are key to preventing this issue.
Can this recipe be adapted for mini muffins?
Absolutely. For mini muffins, a 24-cup mini muffin tin can be used. Fill each well to the top. Baking should be done at 350°F from the start, and you should begin checking for doneness around the 15-minute mark. They are ready when the tops spring back when gently pressed.
Are there any additions that can be made to the recipe?
Yes, this recipe is quite versatile. You can add up to ½ cup of chocolate chips or 2 to 3 ounces of chopped nuts, such as walnuts or pecans. For a spiced variation, incorporate 1 teaspoon of ground cinnamon along with the dry ingredients.
