

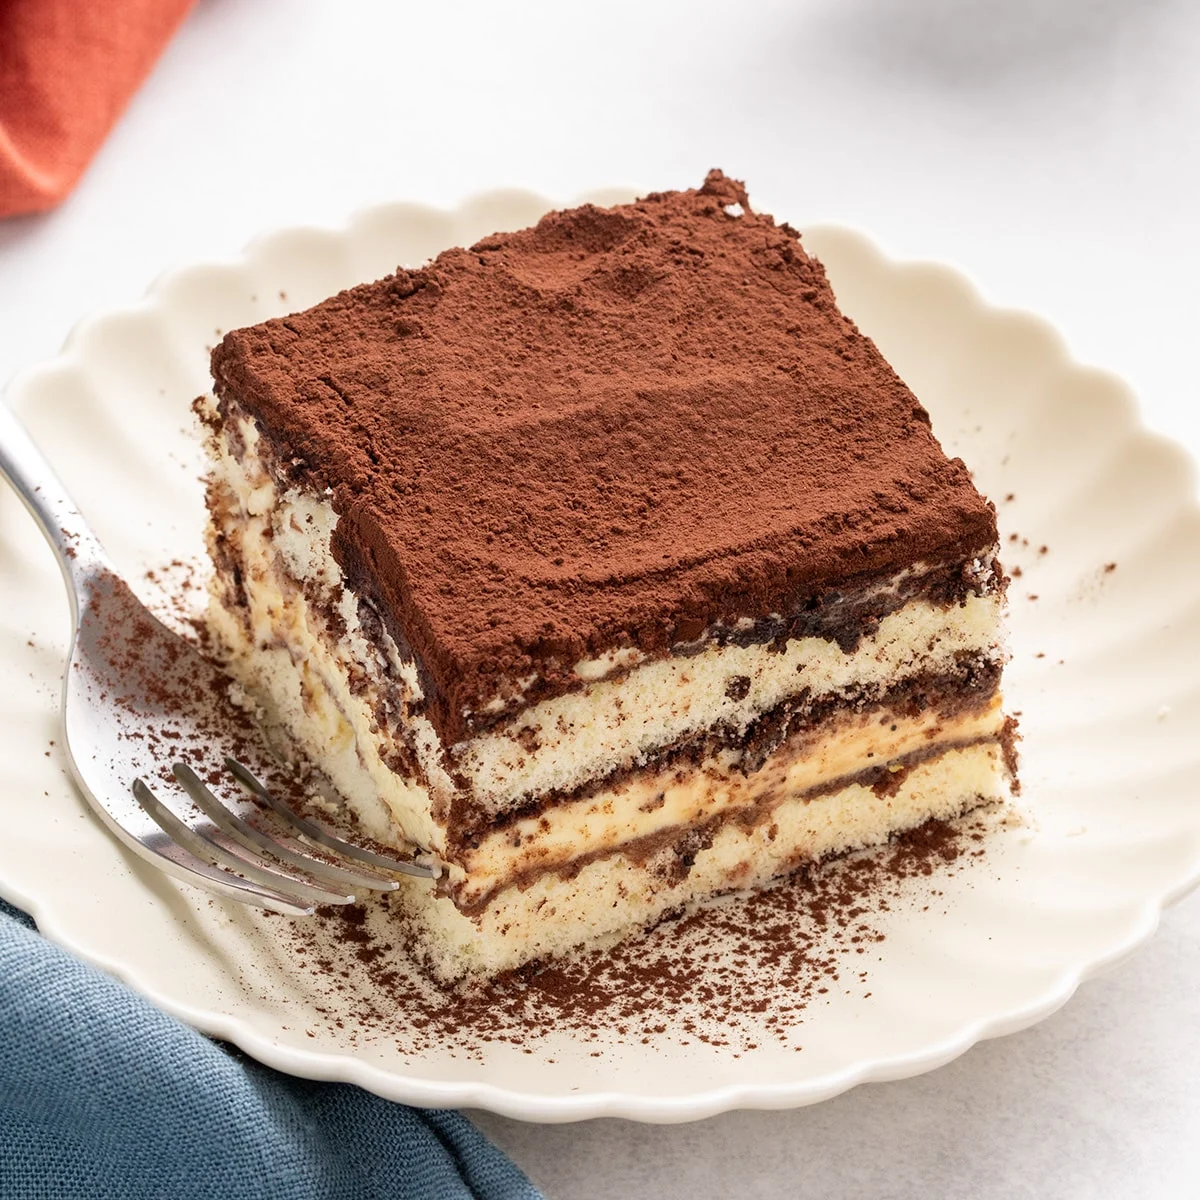
The quest for authentic Italian desserts, particularly those catering to gluten-free diets, has often been a challenging endeavor. However, a recent culinary innovation promises to bridge this gap, offering a gluten-free tiramisu that meticulously replicates the creamy mascarpone filling, rich coffee flavor, and delicate layered texture of its traditional counterpart. This achievement is made possible through the use of specially crafted gluten-free ladyfingers, a key component that has historically posed a significant hurdle in gluten-free dessert creation.
This particular gluten-free tiramisu stands out for its ability to deliver a dessert that is simultaneously rich and elegant, yet remarkably light and sliceable, all without requiring any baking. The preparation process emphasizes the art of layering, with the refrigerator performing the crucial role of setting the dessert, allowing flavors to meld and textures to harmonize.
The Science Behind a Perfect Gluten-Free Tiramisu
The success of this gluten-free tiramisu lies in its carefully considered methodology. The filling achieves a desirable richness without being overly heavy, a common pitfall in many dessert recipes. A critical step involves the preliminary cooking of the egg yolks. This technique, executed over indirect heat, serves a dual purpose: it mitigates the risk of salmonella by ensuring the yolks reach a safe temperature, and it imparts structure to the mascarpone mixture. This structural integrity is paramount, as it enables the tiramisu to set properly and yield clean, appealing slices.
A significant challenge in gluten-free baking, especially with delicate components like ladyfingers, is their propensity to break or become excessively soggy. The recipe addresses this by employing a gentler approach to moistening the gluten-free ladyfingers. Instead of the traditional dipping method, which can lead to disintegration, a pastry brush is used to delicately coat the cookies with the coffee mixture. This controlled application ensures the desired coffee flavor permeates the layers without compromising the structural integrity of the gluten-free ladyfingers, preserving their delicate texture.
The extended chilling period is an indispensable element in the tiramisu-making process. This crucial resting phase allows the ladyfingers to soften sufficiently, the robust coffee flavor to diffuse throughout the dessert, and the mascarpone filling to firm up. The result is a dessert that not only tastes classic and authentic but also presents beautifully on the plate, a testament to the meticulous attention to detail in its preparation.

Key Ingredients for an Authentic Italian Experience
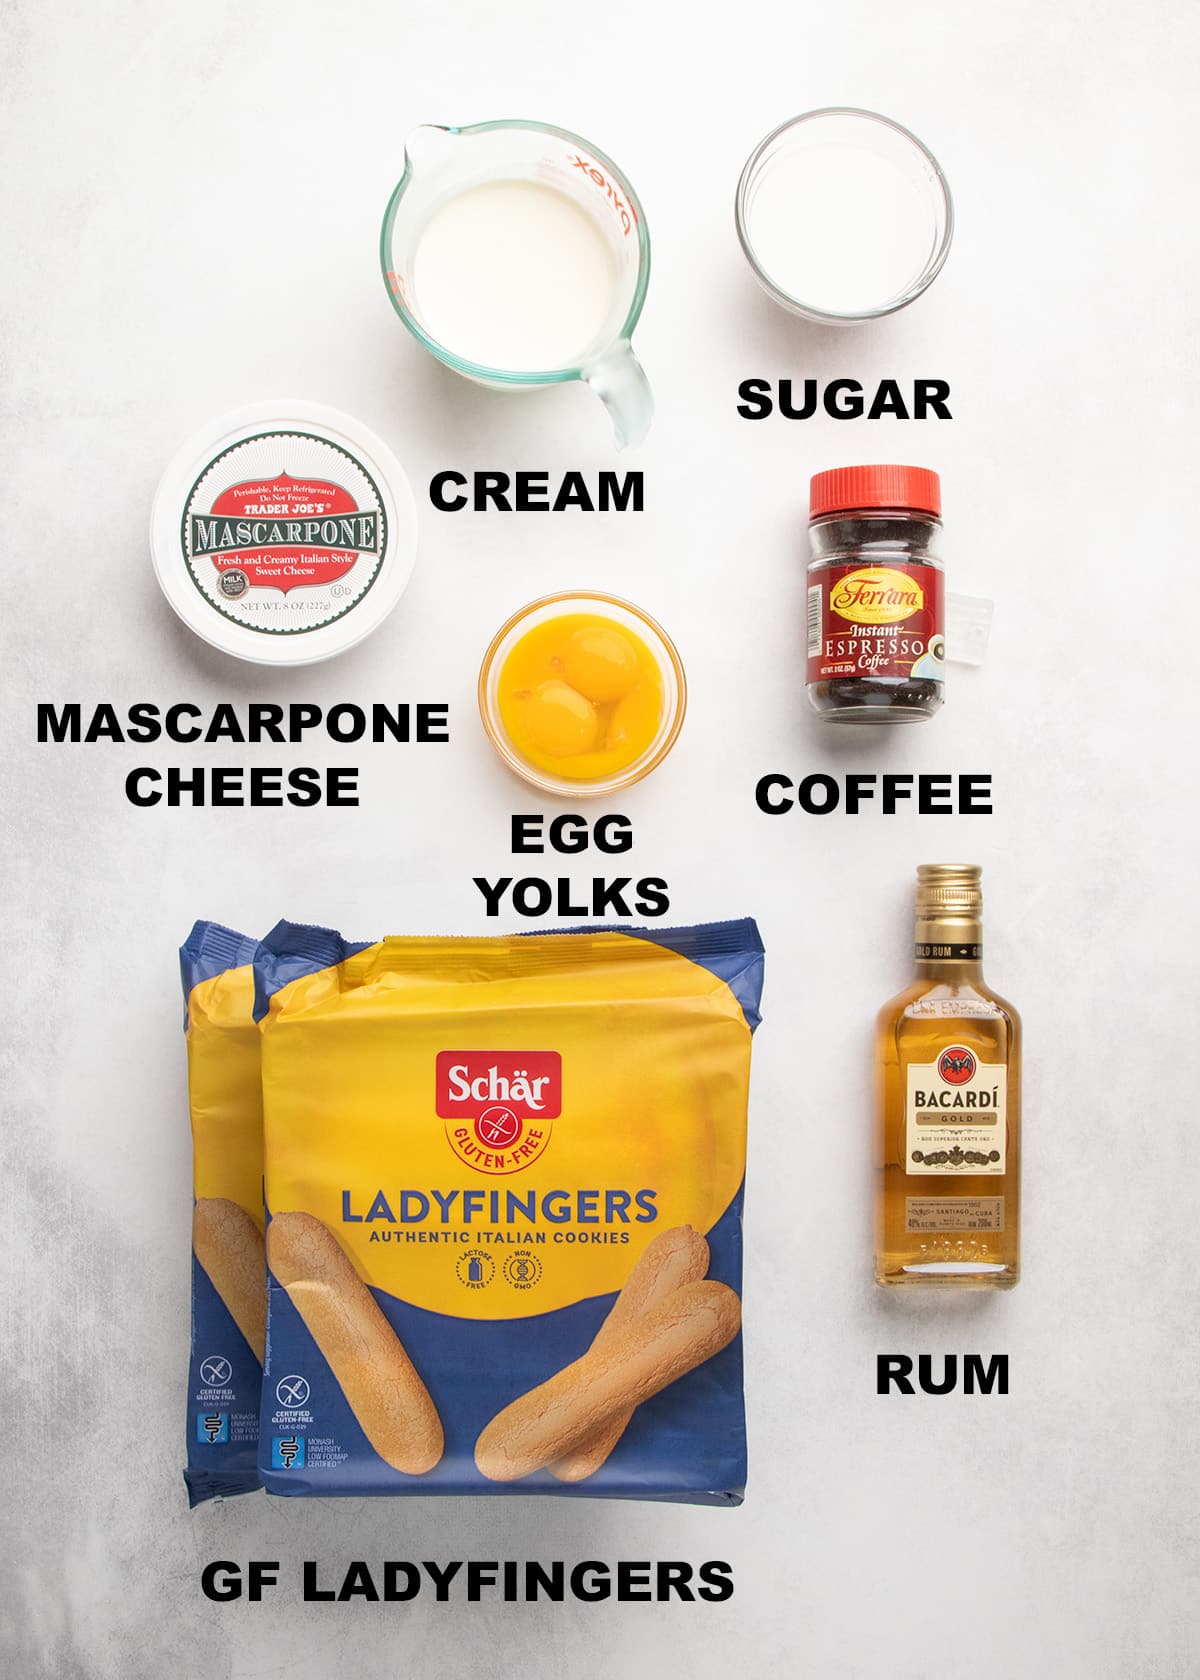
The creation of this sophisticated gluten-free tiramisu relies on a straightforward yet high-quality selection of ingredients. While the precise quantities are detailed in the accompanying recipe card, the core components include:
- Mascarpone Cheese: The cornerstone of the creamy filling, providing its signature richness and smooth texture.
- Heavy Whipping Cream: Contributes to the airy and luxurious consistency of the filling.
- Sugar: Sweetens the filling and aids in its stabilization. The recipe specifies superfine sugar (caster sugar), which dissolves more readily than granulated sugar, contributing to a smoother texture.
- Egg Yolks: Cooked to provide structure and richness to the filling, ensuring a proper set.
- Coffee: A strong brew, typically espresso, forms the flavor base for soaking the ladyfingers.
- Rum (Optional): Adds an extra layer of flavor complexity to the coffee mixture, though it can be omitted for an alcohol-free version.
- Gluten-Free Ladyfingers: The critical element that allows this dessert to be enjoyed by those with gluten sensitivities. The recipe acknowledges that these can be more delicate than their conventional counterparts.
- Cocoa Powder: Used for dusting the top, providing a classic finishing touch and a hint of bitterness to balance the sweetness.
The Art of Assembling Gluten-Free Tiramisu: A Step-by-Step Visual Guide
The assembly of this gluten-free tiramisu is presented as an accessible, step-by-step process, demystifying the creation of this elegant dessert.
Preparing the Egg Yolk Base
The initial step involves carefully cooking the sugar and egg yolks. This is achieved using a double boiler or a heat-safe bowl suspended over simmering water. Constant whisking for approximately two minutes, until the mixture lightens in color and forms ribbons when lifted, is essential. The target temperature range is between 170°F (77°C) for safety and optimal thickening, while avoiding the risk of curdling above 180°F (82°C). This controlled heating process ensures the yolks are safe to consume and contribute to the desired texture.
Crafting the Whipped Cream
While the egg yolk base cools, attention shifts to whipping the heavy cream. Using a handheld mixer on a medium-low speed for an extended period, typically eight to ten minutes, yields a remarkably stable foam. This slow whipping process incorporates air effectively, creating a cream that holds its shape for a prolonged duration, even at room temperature, which is crucial for maintaining the structure of the tiramisu.
Incorporating the Mascarpone Cheese
Once the egg yolk mixture has cooled, the mascarpone cheese is beaten with a small amount of rum (if using) to loosen its texture. The cooled egg yolk base is then added, and the mixture is beaten for about two minutes until it becomes paler and fluffy, indicating that air has been successfully incorporated. This step is vital for achieving a light and airy filling.
Completing the Filling
The final stage of filling preparation involves gently folding the whipped cream into the mascarpone and egg yolk mixture in two batches. A silicone spatula is the preferred tool for this delicate operation, ensuring that the air incorporated into the whipped cream is preserved. Scraping the bottom of the bowl and folding gently prevents the filling from becoming compressed, maintaining its desirable fluffy consistency. The folding continues until no distinct streaks of yellow or white remain, signifying a homogenous and well-emulsified filling.
The Gentle Art of Moistenin
The fragility of gluten-free ladyfingers necessitates a departure from the traditional dipping method. Instead, the coffee and optional rum mixture is applied using a pastry brush. The ladyfingers are brushed first on the bottom, then inverted and brushed on the top. Caution is advised against over-soaking the underside, as this can render the cookies too fragile to handle. The goal is to achieve even coverage with minimal gaps between the cookies, forming a solid base for the dessert.
Building the First Layer
The assembly begins by placing a generous amount of the mascarpone filling over the prepared ladyfinger base. Spreading the filling evenly after scattering it across the cookies helps to prevent dislodging the delicate ladyfingers. This initial layer forms the foundation of the tiramisu.
Constructing the Second Layer
A second layer of ladyfingers is then prepared using the same brushing technique with the coffee mixture. These are arranged atop the first layer of filling, and their tops are generously brushed. The remaining mascarpone filling is then spread evenly over this layer. While cocoa powder can be added at this stage, the recipe suggests waiting until just before serving to prevent it from becoming soggy.
The Essential Chill Time
Patience is a virtue when it comes to achieving the perfect tiramisu. The assembled dessert is covered tightly with plastic wrap and refrigerated for a minimum of six hours, and up to three days. This extended chilling period is critical for allowing the ladyfingers to absorb the coffee flavor, soften to the ideal texture, and for the mascarpone filling to set firmly. Without adequate chilling, the ladyfingers may remain dry, the flavors less integrated, and the dessert difficult to slice cleanly.
The Final Flourish: Cocoa Powder Dusting
Just before serving, a fine mesh sieve is used to evenly dust the top of the tiramisu with cocoa powder. Allowing the cocoa powder to sit for about an hour before serving permits it to absorb slightly, enhancing the overall flavor profile. For an added touch of indulgence, chocolate shavings can also be incorporated alongside the cocoa powder.
Presentation and Serving
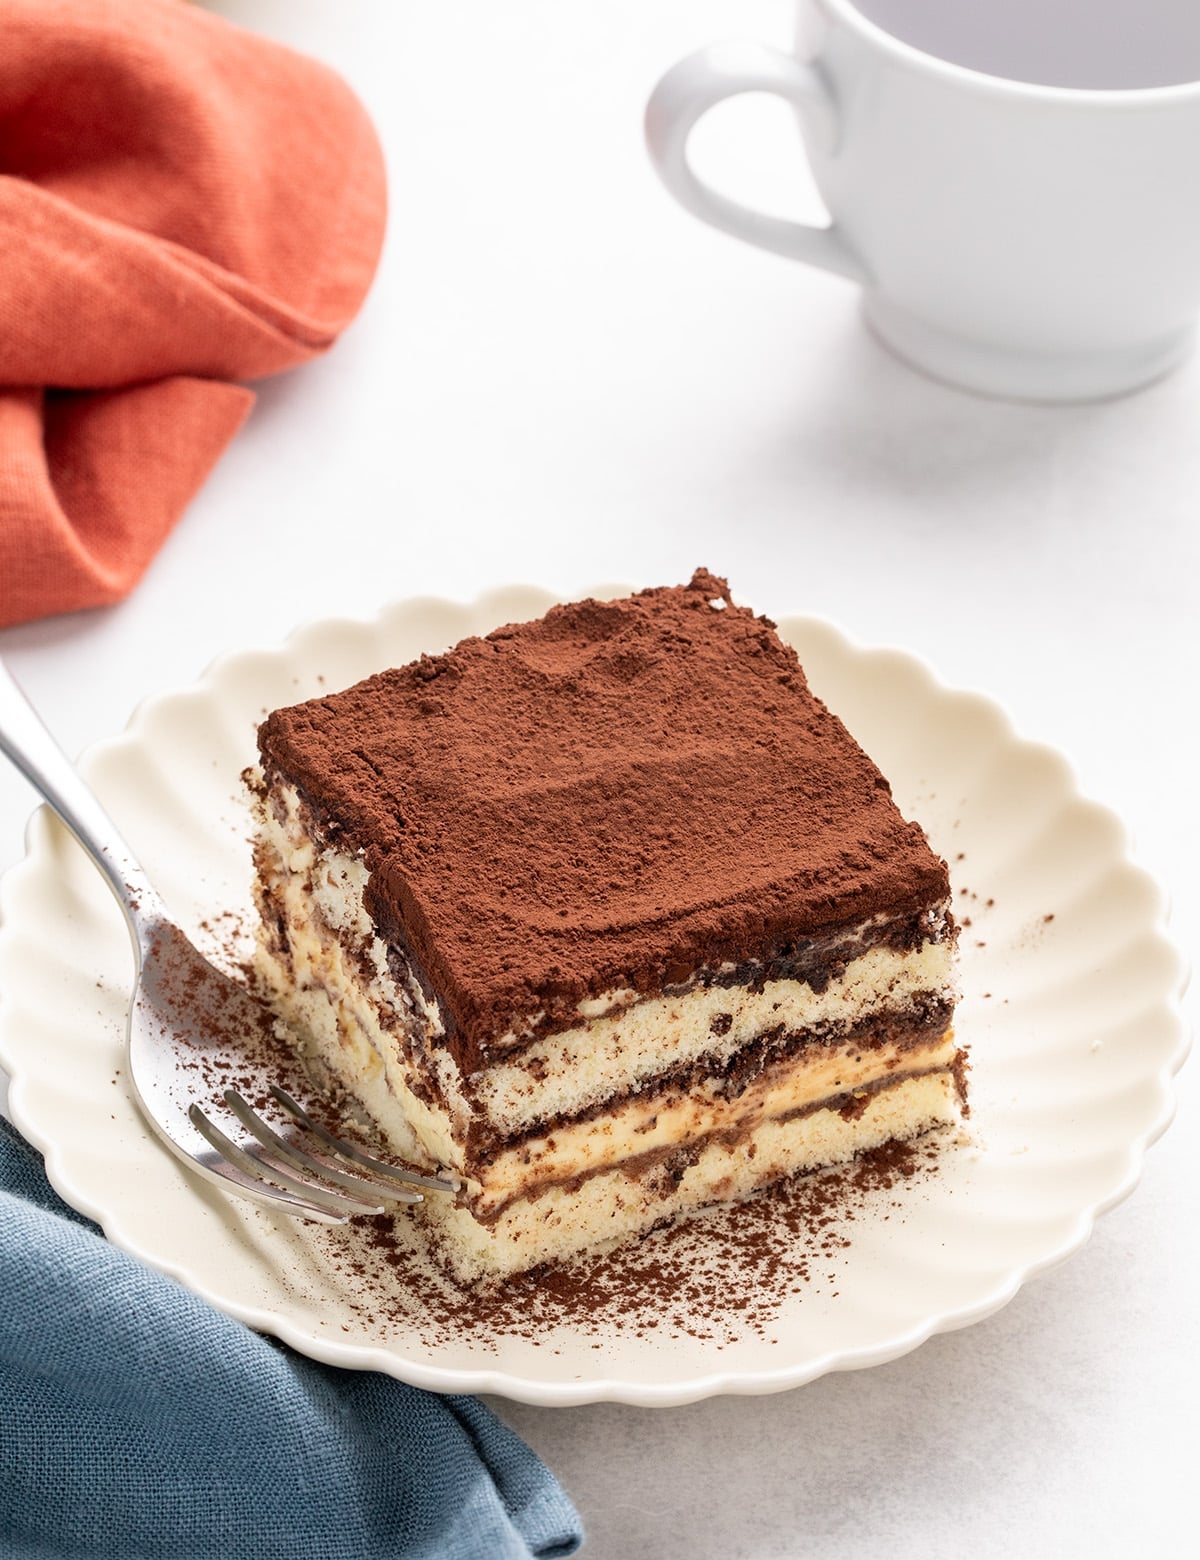
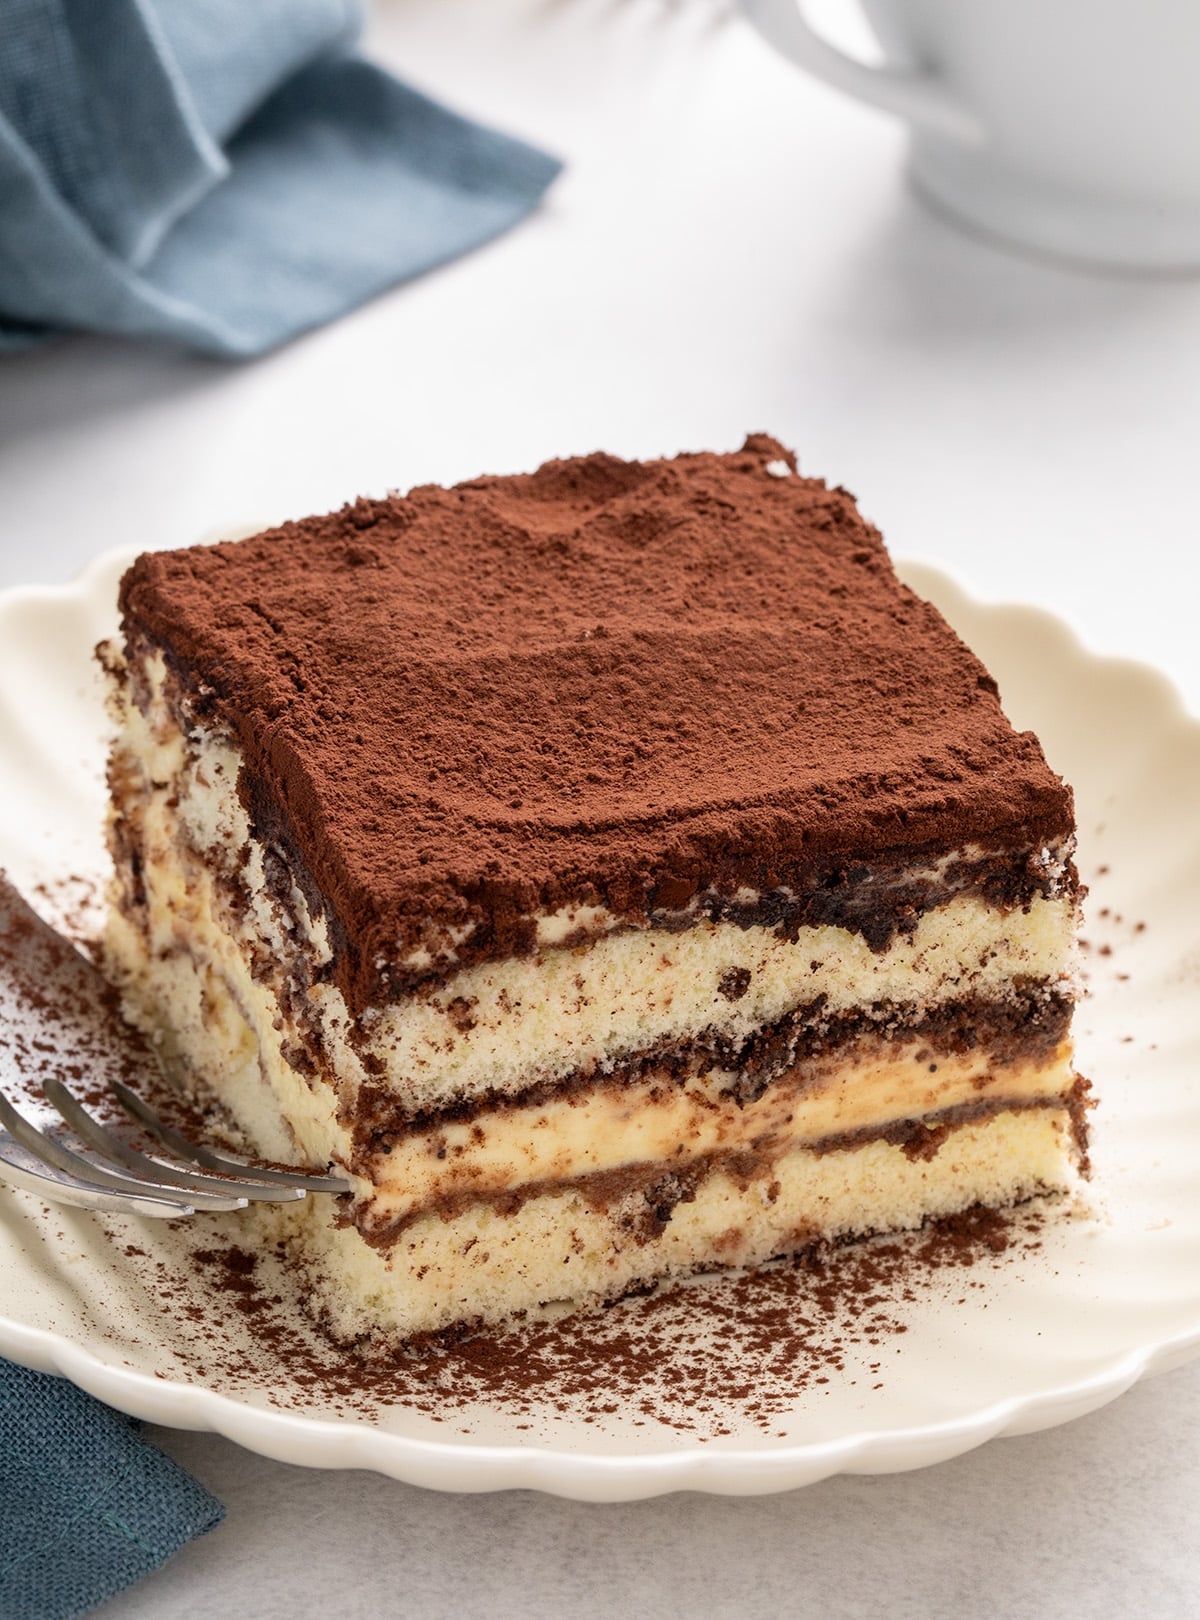
The final step involves slicing the tiramisu. A large, sharp knife, bench scraper, or spatula is recommended for cutting the dessert into nine equal squares. Using a small metal spatula to lift the first piece can be challenging, as it may squash slightly. However, subsequent slices typically come out cleaner, revealing the beautiful layers of coffee-soaked ladyfingers and creamy mascarpone.
Expert Insights for Gluten-Free Perfection
The creators of this recipe offer valuable insights gleaned from extensive testing and experience, particularly concerning common pitfalls encountered when working with gluten-free ingredients.
Rethinking Ladyfinger Soaking
A key piece of advice revolves around the ladyfingers. Direct immersion in the coffee mixture, even for a fleeting moment, has been found to cause commercially available gluten-free ladyfingers, such as the Schar brand, to disintegrate. The recommended alternative of brushing the ladyfingers with the liquid is presented as a more effective method for achieving balanced flavor without compromising their structural integrity.
The Critical Role of Cooked Egg Yolks
The importance of properly cooking and cooling the egg yolks is reiterated as a foundational step for both food safety and textural success. Cooking the yolks to at least 160°F (71°C) neutralizes any potential pathogens, while reaching closer to 175°F (79°C) enhances their thickening properties. Crucially, allowing these cooked yolks to cool completely before incorporating them into the mascarpone or whipped cream prevents the fats from melting, which would hinder the filling from setting properly.
Navigating Ingredient Substitutions for Dietary Needs
The recipe also provides guidance on adapting the tiramisu for various dietary restrictions, acknowledging that gluten is not the only allergen that may need to be considered.
Dairy-Free Adaptations
For those seeking a dairy-free option, substitutions are proposed with the understanding that taste and texture may vary. Dairy-free cream cheese, which often has a softer consistency, is suggested as a potential replacement for mascarpone. For the heavy whipping cream, dairy-free alternatives such as those made from soy or coconut cream (the solid part from a chilled can) are recommended.
Egg-Free Considerations
Eliminating eggs presents a more significant challenge due to their role in both structure and richness. While a direct replacement for egg yolks is not advised, a suggestion is made to use a commercial custard powder, prepared according to package directions, and then combined with mascarpone and whipped cream. For the ladyfingers, which often contain eggs, gluten-free graham crackers are proposed as an alternative, with the caveat that these should be dipped in liquid rather than brushed, due to their greater sturdiness.
Ladyfinger Alternatives
In instances where gluten-free ladyfingers are unavailable, the recipe suggests a practical alternative: gluten-free graham crackers. These are noted to be more robust than ladyfingers, making them more amenable to the traditional dipping method.
Storage and Longevity of Gluten-Free Tiramisu
Proper storage is essential to maintain the quality and integrity of the gluten-free tiramisu. When wrapped tightly, either in the serving dish or a sealed container, the dessert can be refrigerated for up to three days. It is advisable to add the cocoa powder dusting closer to serving time, as it can become soggy if left to sit for too long. Freezing is not recommended, as it can lead to the separation of the filling and the development of an icy texture in the soaked ladyfingers.
The development of this gluten-free tiramisu represents a significant advancement in inclusive gourmet dessert making. By meticulously addressing the unique challenges posed by gluten-free ingredients, this recipe offers a pathway to experiencing the timeless appeal of a classic Italian dessert, without compromise. The detailed preparation, expert tips, and adaptable substitution options underscore a commitment to culinary excellence and accessibility for a broader audience.
