

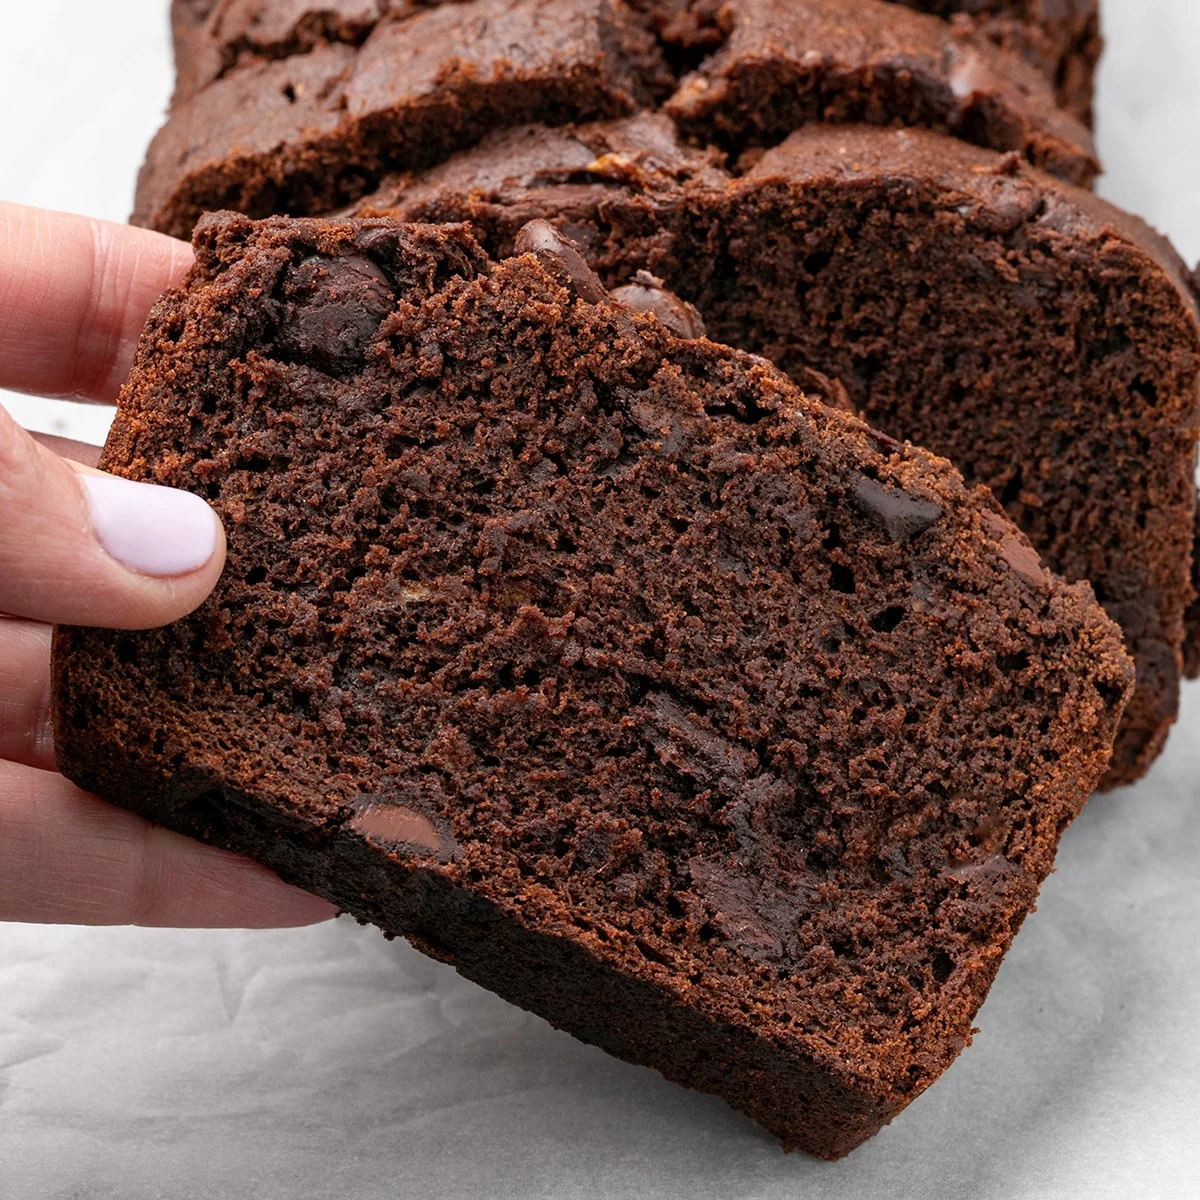
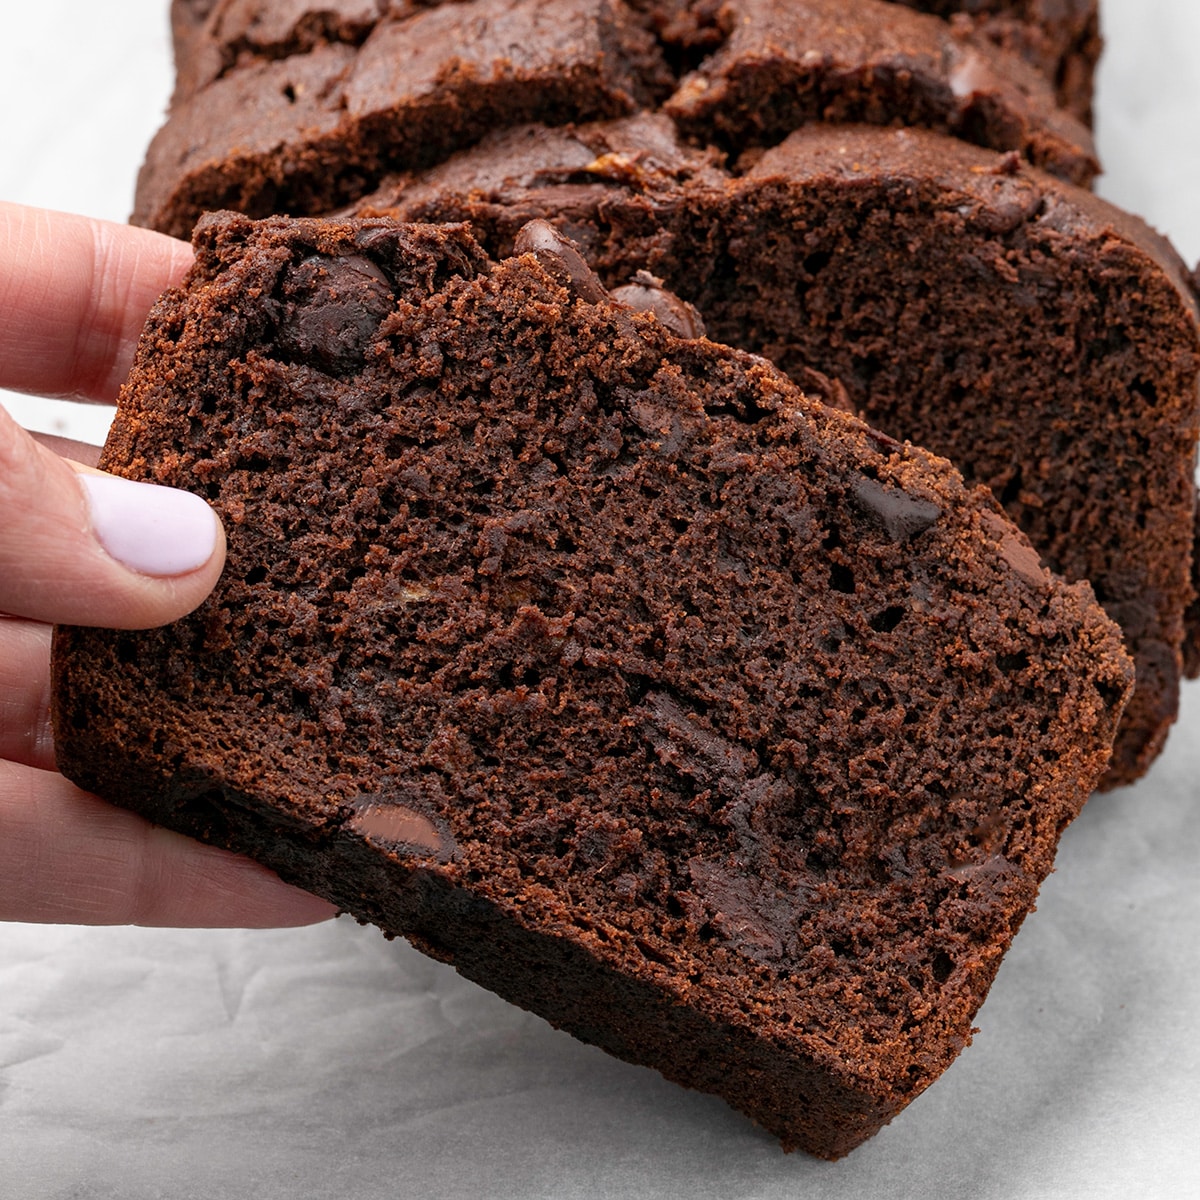
This gluten-free chocolate banana bread offers a complex flavor profile, merging the profound richness of a chocolate loaf with the distinct, sweet notes of ripe banana. The texture is characterized by its softness, tenderness, and a fudgy consistency, punctuated by generous inclusions of chocolate chips. This culinary creation is designed to satisfy cravings for both classic chocolate indulgence and the comforting appeal of banana bread, all within the parameters of a gluten-free diet.
The Science Behind the Flavor: Why This Recipe Excels
Beyond a simple adaptation of traditional banana bread with added chocolate, this recipe employs a sophisticated approach to flavor development and textural integrity. The deep chocolate essence is achieved through a dual-action method: the incorporation of cocoa powder, which provides a foundational chocolate flavor, and the addition of melted chocolate. This combination not only intensifies the chocolate notes but also contributes to a richer, slightly denser crumb, a characteristic often sought after in baked goods.
The role of the mashed bananas is pivotal. Beaten into the wet ingredients, they are encouraged to release their moisture content. This moisture is crucial for softening and enriching the inherently thick chocolate batter, ensuring a tender final product. To further enhance the banana presence and provide textural contrast, small chunks of ripe banana are folded in alongside the chocolate chips. This ensures that the delicate banana flavor is not overpowered by the dominant chocolate, offering a balanced and multi-layered taste experience in every bite. For those who enjoy variations on this theme, an alternative gluten-free cinnamon swirl banana bread recipe is also available, providing another avenue for exploring banana-based baked goods.
Key Ingredients and Their Contributions
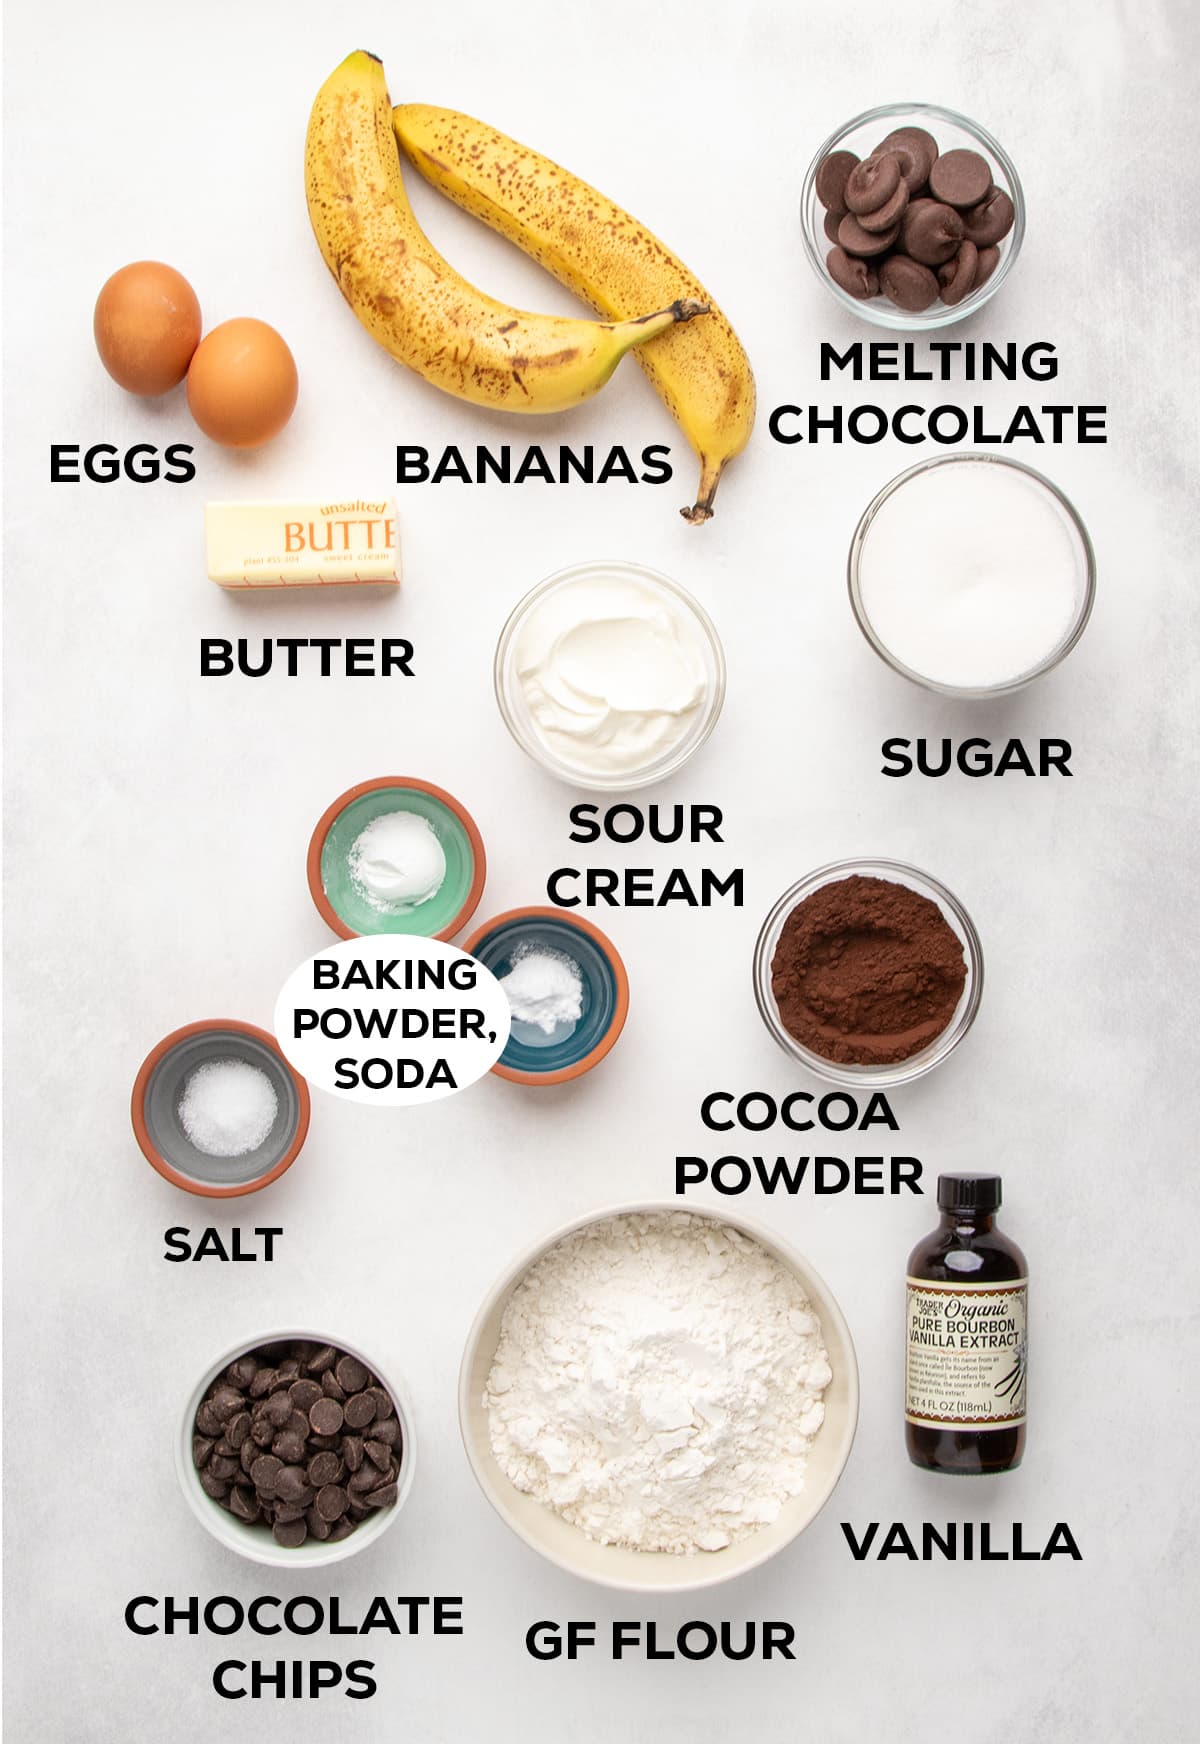
The successful execution of this gluten-free chocolate banana bread hinges on the careful selection and understanding of each ingredient’s function. While precise measurements are detailed in the accompanying recipe card, a brief overview of key components and their roles is essential for any baker aiming for optimal results.
- Bananas: The ripeness of the bananas is paramount. Overripe bananas, characterized by their speckled or entirely brown peels, possess a higher sugar content and a softer texture, which translates to superior moisture and flavor in the final bread.
- Chocolate: A combination of cocoa powder and melted chocolate is utilized. Unsweetened or dark cocoa powder provides a robust chocolate foundation, while melted chocolate (often a baking bar with a high cacao butter content, around 65%) emulsifies into the batter, contributing to richness and a fudgy texture.
- Gluten-Free Flour Blend: The choice of gluten-free flour blend is critical. Blends containing xanthan gum are generally recommended to provide the structure and binding that gluten would normally offer. Specific recommendations include Better Batter’s original blend (without added xanthan gum), Nicole’s Best multipurpose blend, or Bob’s Red Mill 1-to-1 Gluten Free Baking Flour with an additional half teaspoon of xanthan gum to prevent a crumbly texture.
- Fat Source: A combination of butter and sour cream contributes to the bread’s moisture and tenderness. Sour cream, in particular, adds a subtle tang and a rich, creamy element that complements the chocolate and banana flavors.
- Leavening Agents: Baking powder and baking soda work in tandem to provide lift and aeration to the dense batter.
- Eggs: Eggs act as binders, providing structure and richness. The recipe notes suggest that using two eggs, rather than one, can result in a taller loaf with improved structure and a longer-lasting tender crumb.
- Sweeteners: Granulated sugar provides sweetness and contributes to the overall texture and moisture retention.
- Flavor Enhancers: Vanilla extract amplifies the existing flavors and adds aromatic depth.
Step-by-Step Guide to Crafting Gluten-Free Chocolate Banana Bread
The creation of this gluten-free chocolate banana bread involves a methodical process, ensuring that each component is prepared and combined for optimal results.
Phase 1: Preparation and Initial Mixing
- Melting the Chocolate: Begin by melting the selected chocolate in a heat-safe bowl. This is best achieved in a microwave on reduced power, with intermittent stirring every 30 seconds to prevent scorching and ensure a smooth, emulsified liquid. This step is crucial for its seamless integration into the batter.
- Combining Dry Ingredients: In a separate bowl, thoroughly whisk together the cocoa powder, gluten-free flour blend (with xanthan gum if not pre-included), baking powder, baking soda, and salt. This pre-mixing ensures that the cocoa powder, which can be prone to clumping, is evenly distributed and will incorporate more readily into the wet ingredients.
Phase 2: Building the Batter
- Preparing the Wet Ingredients: In a large mixing bowl, combine the mashed bananas, granulated sugar, vanilla extract, sour cream, and eggs. Add the melted chocolate and butter mixture to this bowl. Using a handheld mixer or a stand mixer fitted with the paddle attachment, beat these ingredients together until they are well combined. Unlike some other gluten-free banana bread recipes where the goal is minimal moisture release from the bananas, here the bananas are intentionally beaten to release more of their inherent moisture, which is vital for counteracting the dryness that can sometimes accompany gluten-free baking.
- Integrating Wet and Dry Components: Gradually add the whisked dry ingredients to the wet ingredient mixture. Beat on low speed until just combined. The batter will be notably thick at this stage. Avoid overmixing; the goal is to achieve a relatively smooth batter, incorporating any stray dry ingredients from the sides of the bowl in the subsequent step.
Phase 3: Incorporating Mix-Ins and Final Touches
- Folding in Additions: Gently fold in the chocolate chips and approximately 1/4 cup of finely chopped ripe banana chunks using a silicone spatula. Exercise care to avoid mashing the banana pieces. Simultaneously, scrape down the sides of the bowl to ensure any remaining dry ingredients are incorporated into the batter.
- Preparing the Loaf Pan: Grease and line a standard loaf pan with parchment paper. This facilitates easy removal of the baked bread.
- Transferring the Batter: Scrape the thick batter into the prepared loaf pan, using a moist spatula to spread it into an even layer. This even distribution is key to uniform baking.
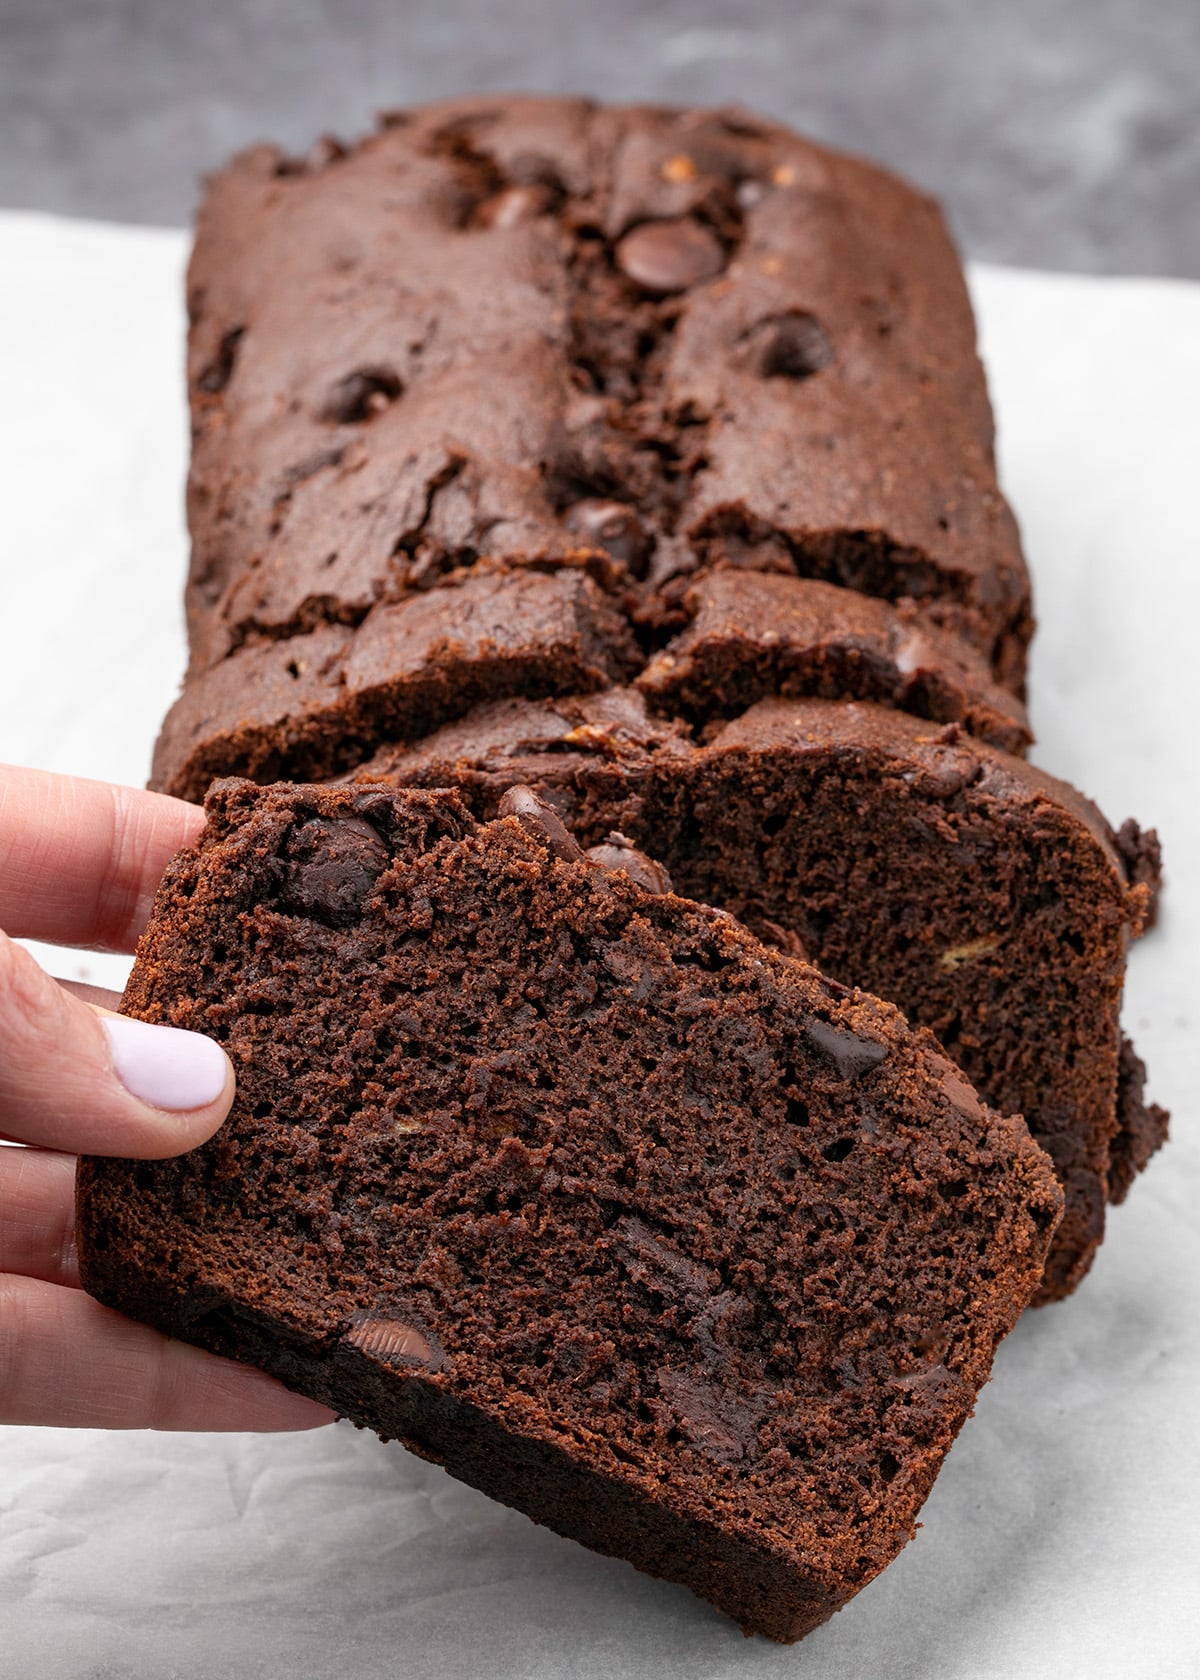
- Scoring the Loaf: To promote controlled steam release during baking, score the top of the loaf lengthwise down the center, to a depth of about 1/4 inch. This technique helps prevent the loaf from cracking unevenly.
Phase 4: Baking and Cooling
- Baking Process: Place the loaf pan on the center rack of a preheated oven set at 350°F (175°C). Bake for an initial 30 minutes, then rotate the pan halfway through to ensure even browning and cooking. Continue baking for an additional 25 minutes, or until the bread is firm to the touch and a toothpick inserted into the center emerges clean. Given the dark color of the bread, visual cues for doneness can be deceptive; therefore, relying on tactile and toothpick tests is crucial.
- Cooling Period: Allow the bread to cool in the loaf pan for 10 minutes. After this initial cooling, carefully lift the bread out by the parchment paper liner and transfer it to a wire rack to cool completely. It is essential to remove the parchment paper to allow for adequate air circulation around the entire loaf. Due to its density, the bread requires approximately 45 minutes to cool thoroughly, allowing the starches to set and preventing the loaf from collapsing when sliced.
Expert Insights for Optimal Baking
Several nuanced tips can elevate the success of this gluten-free chocolate banana bread recipe.
The Impact of Egg Quantity
While the recipe can be successfully prepared with a single egg, utilizing two eggs is recommended for those desiring a higher-rising loaf with a more robust structure. The additional egg contributes to increased moisture retention, ensuring the bread remains tender for a longer period post-baking.
The Advantage of Light-Colored Bakeware
The choice of loaf pan significantly influences baking outcomes. Light-colored, non-stick pans, particularly those made from cast aluminum, are preferred. Darker pans tend to absorb more heat, potentially leading to the premature burning of the bread’s exterior before the interior is fully cooked. This concern is amplified with dark-colored baked goods like chocolate bread, where visual indicators of burning are less apparent.
The Importance of Naturally Ripened Bananas
The sweetness and moisture content of bananas are maximized when they ripen naturally. While methods like placing bananas in a paper bag with an apple can accelerate ripening, oven-baking is not an effective method for developing sugars and should be avoided. Naturally overripe bananas are the key to achieving the desired flavor and texture.
Addressing Dietary Needs: Substitutions and Adaptations
This recipe offers flexibility for those with specific dietary requirements.
Egg-Free Adaptation
For an egg-free version, the suggested substitution is a "chia egg" for each egg called for in the recipe. This involves mixing one tablespoon of ground white chia seeds with two tablespoons of lukewarm water and allowing the mixture to gel. Alternatively, for recipes using a single egg, a combination of one teaspoon of xanthan gum and two tablespoons of plain Greek yogurt can be employed.
Dairy-Free Adaptation
To make the bread dairy-free, substitute sour cream with a nondairy sour cream alternative. For the butter, opt for a block-style vegan butter, such as those from Melt or Miyoko’s Kitchen, as tub margarines often contain a higher oil content unsuitable for baking.
Storage and Preservation
Proper storage ensures the continued enjoyment of this delicious gluten-free treat.
- Room Temperature Storage: Wrapped tightly, the bread can be stored at room temperature for two to three days. Refrigeration is generally not recommended, as it can dehydrate the bread.
- Freezer Storage: For longer preservation, individually wrap each slice and store them in the freezer for up to three months.
- Refreshing Frozen Slices: To revive frozen slices, allow them to defrost gently in a microwave on a low power setting or at room temperature. Lightly sprinkle the defrosted bread with lukewarm water and warm through in a 300°F (150°C) toaster oven until heated.
Frequently Asked Questions
Can Sour Cream Be Substituted with Milk?
No, milk is not a suitable substitute for sour cream in this recipe due to its differing fat and acidity content. However, plain Greek-style yogurt or regular plain yogurt that has been strained to achieve a thicker consistency can be used as alternatives.
Why Did My Bread Sink During Cooling?
A common reason for baked goods sinking as they cool is incomplete baking. If the interior is not fully cooked when the exterior has set, the escaping steam during cooling can cause the structure to collapse. This is often attributed to an oven that runs too hot, leading to rapid exterior cooking before the interior can solidify. Utilizing an oven thermometer is advised to ensure accurate temperature readings.
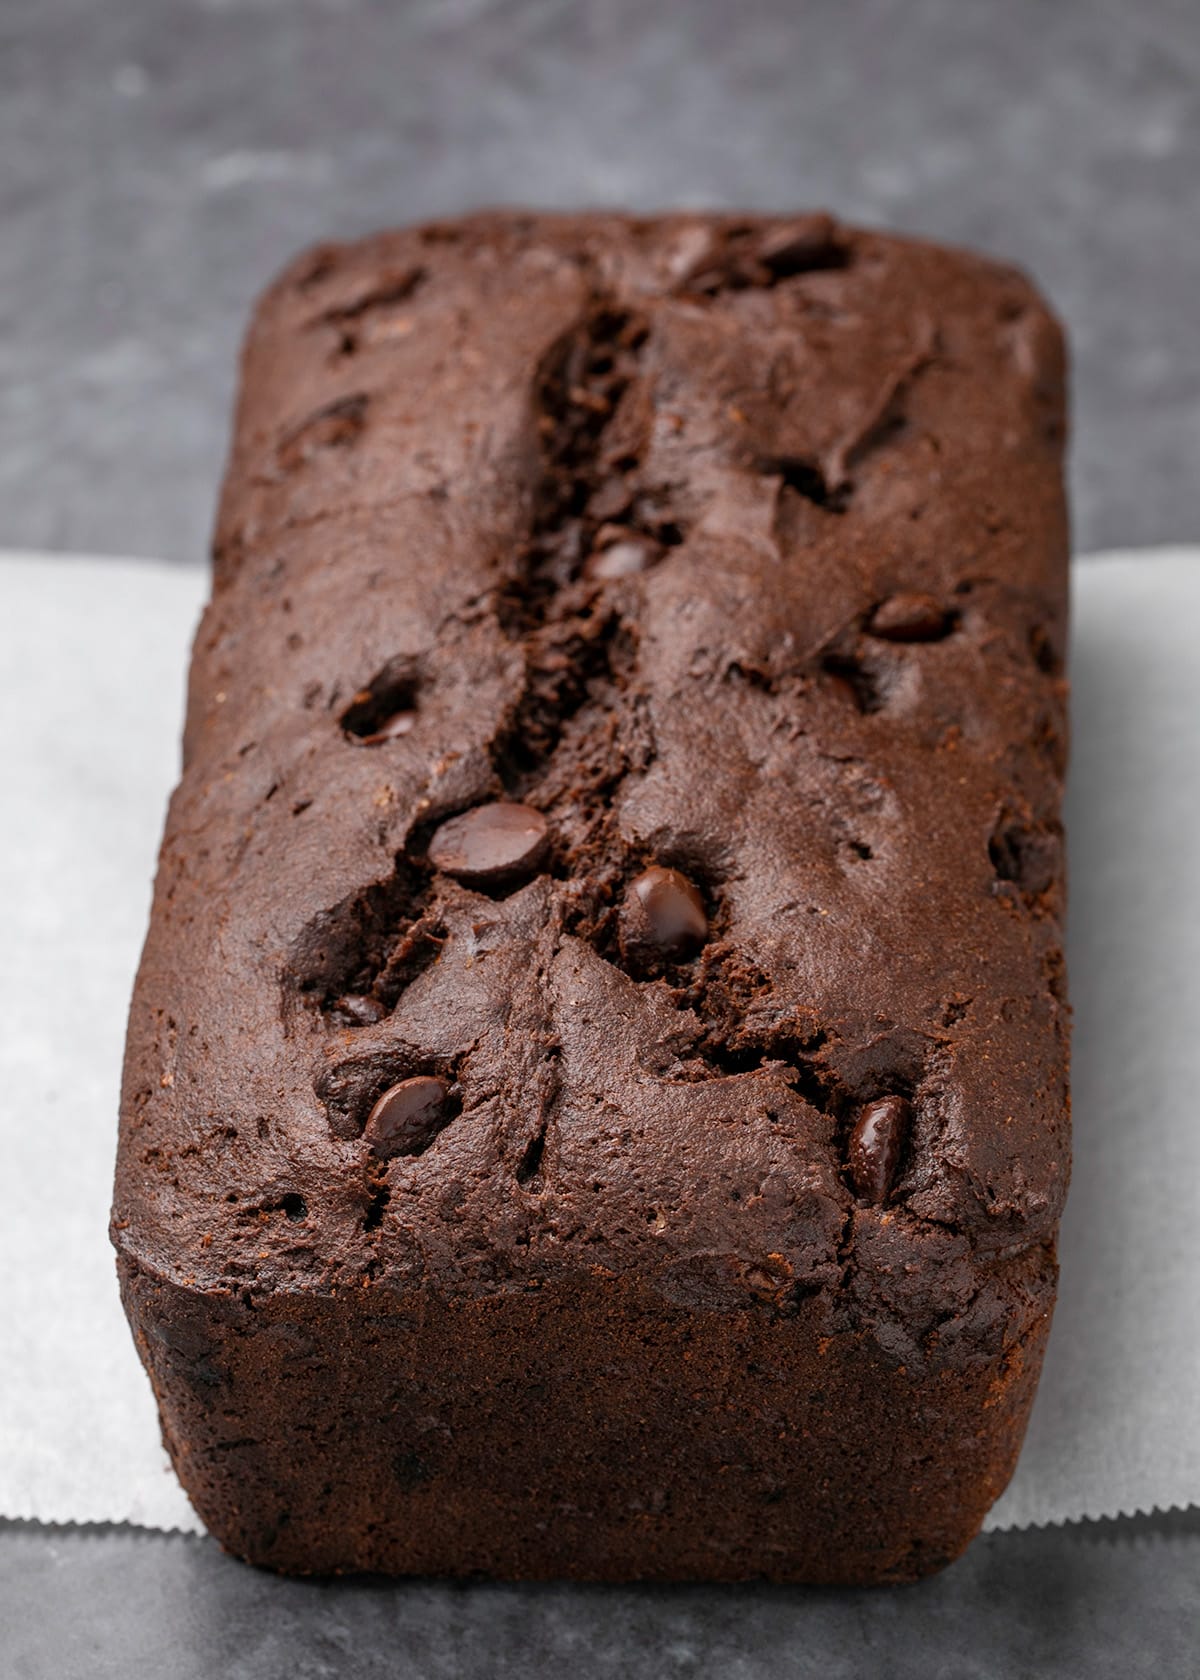
This comprehensive guide to gluten-free chocolate banana bread aims to empower bakers with the knowledge and techniques necessary to create a truly exceptional gluten-free indulgence. The meticulous attention to ingredient function, preparation methods, and expert tips ensures a moist, flavorful, and satisfying result that rivals its gluten-containing counterparts.
