

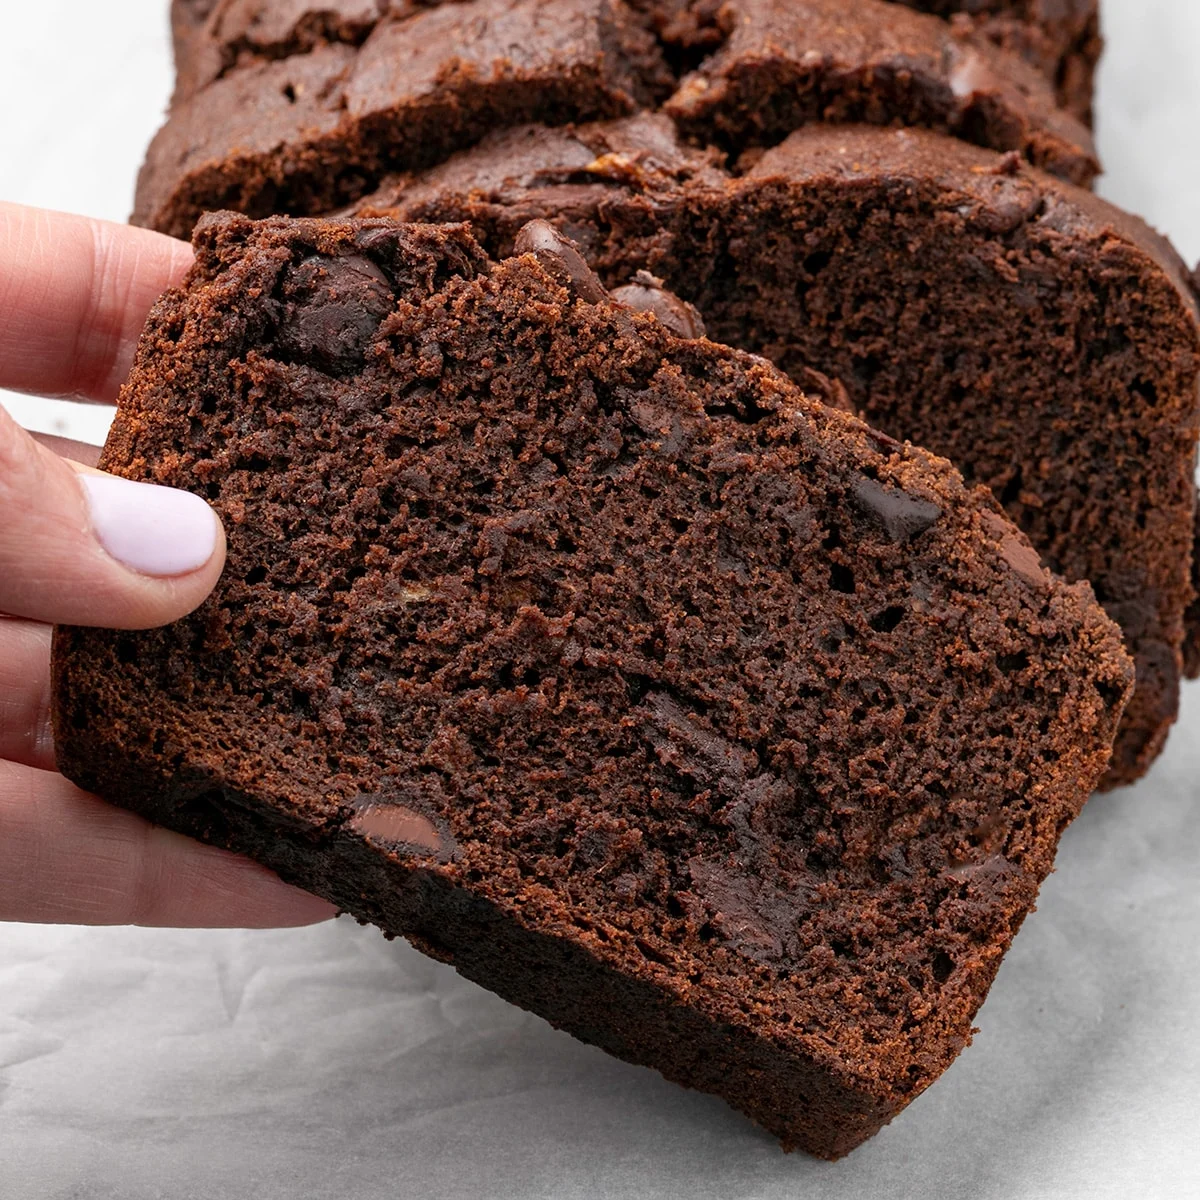
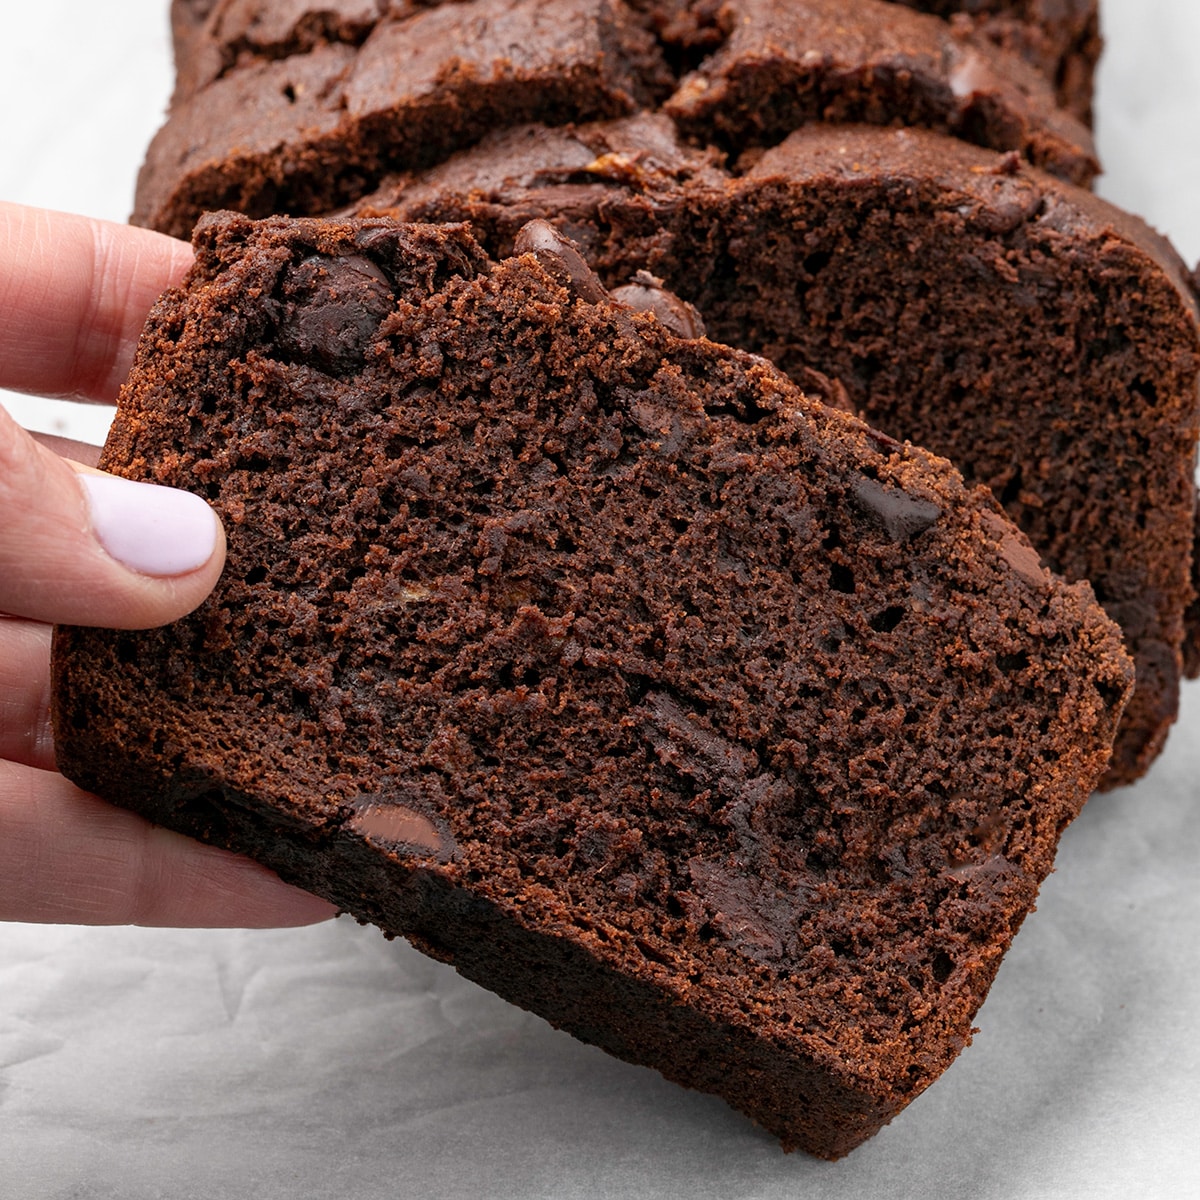
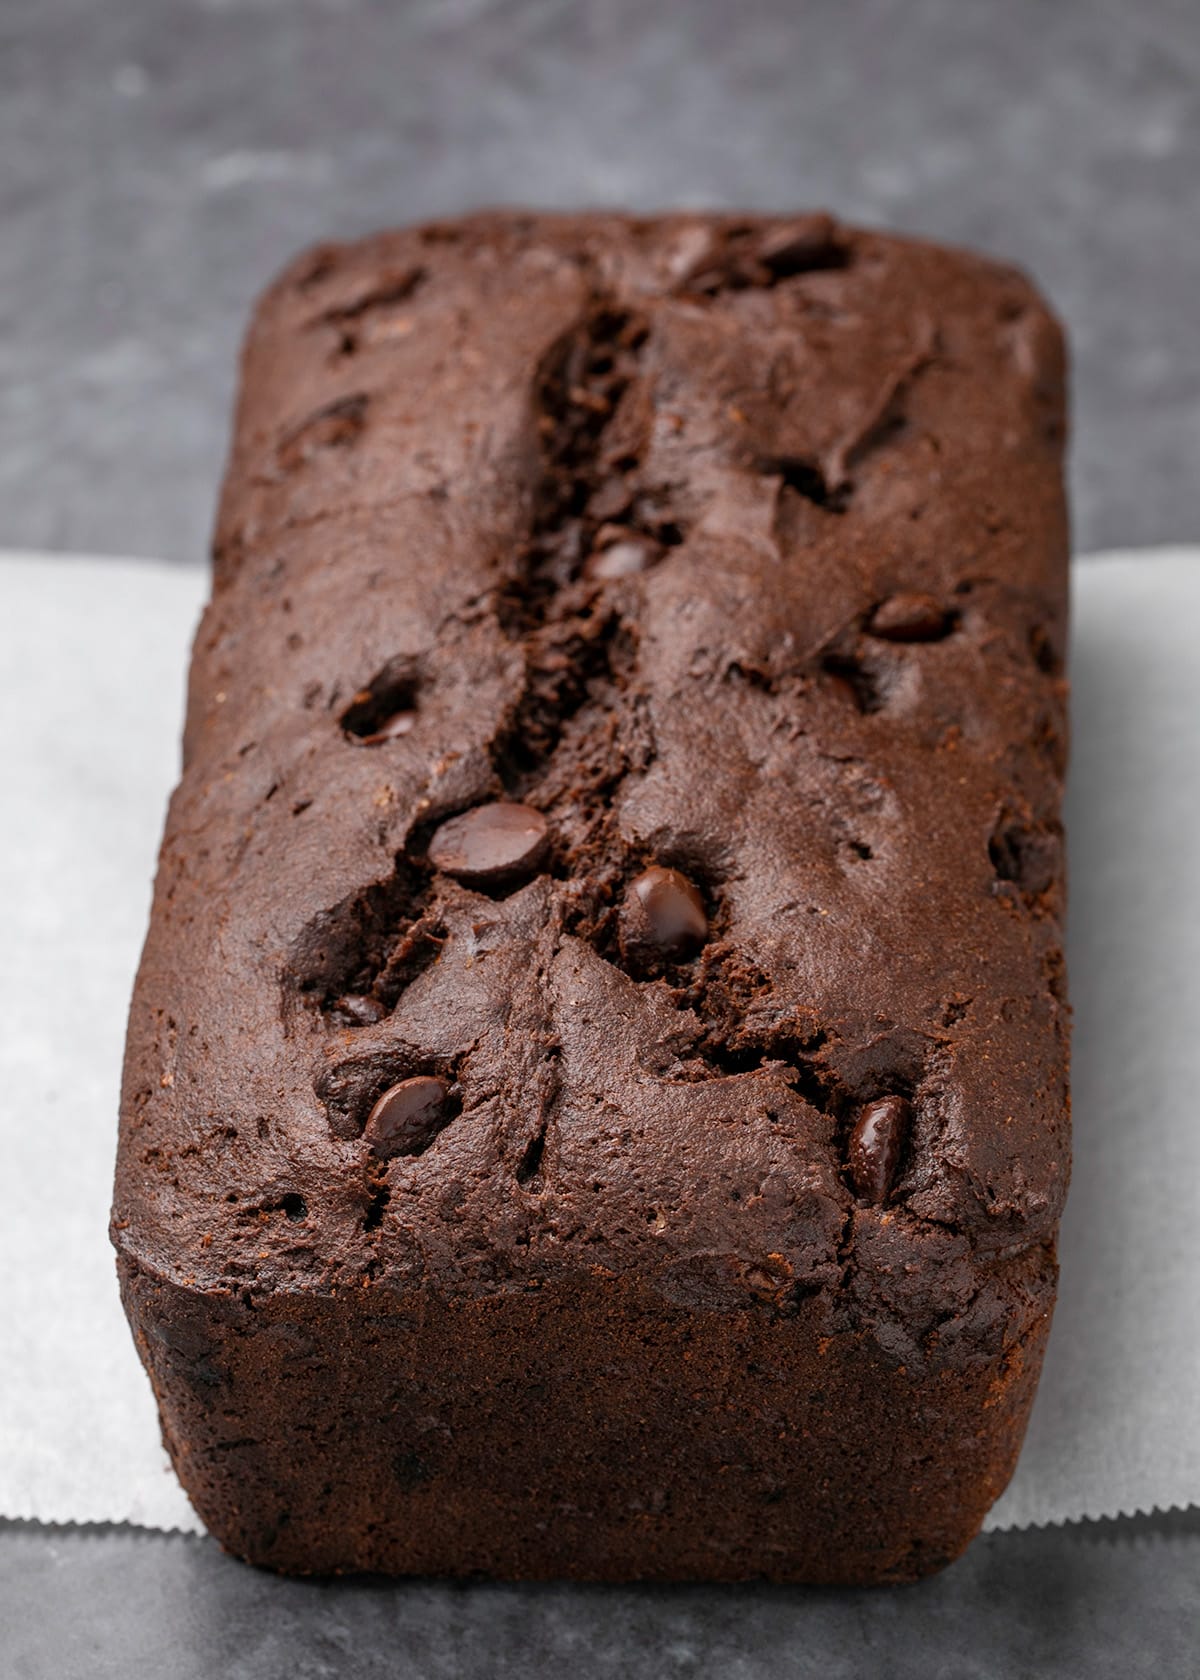
This gluten-free chocolate banana bread offers a rich, deep chocolate flavor complemented by the distinct taste of ripe banana in every bite. The result is a soft, tender, and fudgy loaf generously studded with chocolate chips, promising a satisfying treat for those with or without dietary restrictions.
The Art of Gluten-Free Baking: Achieving Depth and Texture
What sets this gluten-free chocolate banana bread apart from a standard gluten-free banana bread with added chocolate chips is the sophisticated approach to flavor and texture. The recipe masterfully combines cocoa powder with melted chocolate, not only infusing the loaf with an intense chocolate essence but also contributing to a richer, slightly denser crumb. This dual chocolate approach ensures that the chocolate flavor is robust and integrated, rather than merely an addition.
The preparation of the mashed bananas is equally critical. By beating them into the wet ingredients, the recipe encourages the bananas to release their natural moisture. This moisture is essential for softening and enriching the otherwise thick chocolate batter, preventing the loaf from becoming dry or crumbly, a common challenge in gluten-free baking. To further enhance the banana presence and introduce textural contrast, small banana chunks are folded in alongside the chocolate chips at the end of the mixing process. This ensures that pockets of distinct banana flavor and soft texture are present throughout the loaf, preventing the banana notes from being completely overshadowed by the chocolate.
For those who enjoy variations on this theme, the author suggests exploring a cinnamon swirl banana bread recipe, also available for gluten-free preparation, which offers a different yet equally appealing flavor profile.
Ingredient Breakdown: The Foundation of Flavor and Structure
A successful gluten-free bake relies on a careful selection and understanding of its ingredients. This chocolate banana bread recipe utilizes a thoughtful combination of components to achieve its desirable characteristics.
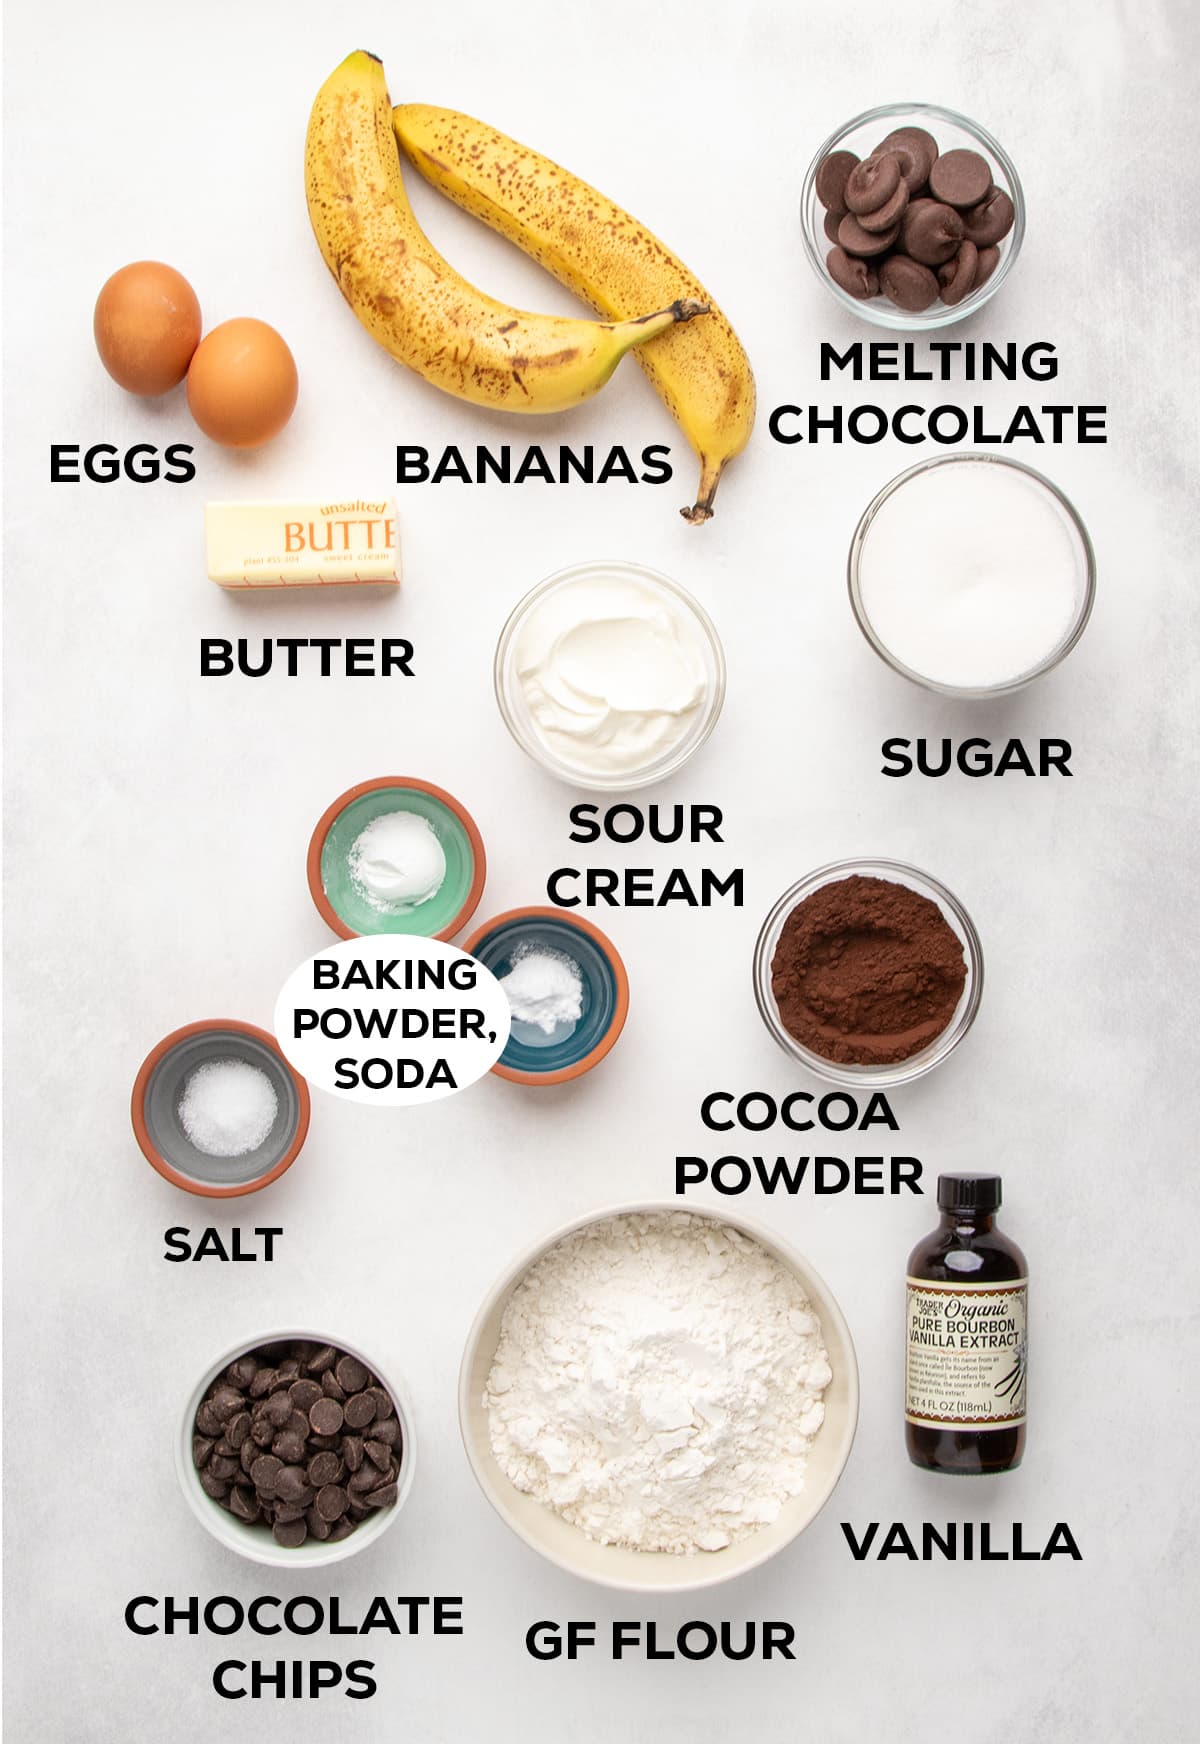
- Melted Chocolate and Cocoa Powder: These form the bedrock of the deep chocolate flavor. The combination provides a complex chocolate taste, with cocoa powder offering a more intense, slightly bitter note and melted chocolate contributing richness and a smoother mouthfeel.
- Mashed Bananas: Beyond flavor, ripe bananas are a crucial source of moisture and natural sweetness. Their mashed form allows them to integrate seamlessly into the batter, contributing to the loaf’s tender crumb and moist texture.
- Gluten-Free Flour Blend: The choice of gluten-free flour is paramount. A blend containing xanthan gum is essential for providing structure and elasticity, mimicking the role of gluten in traditional baking. Recommendations include specific brands known for their reliable performance in gluten-free baking.
- Butter: Provides richness, tenderness, and helps with the overall mouthfeel of the bread.
- Sour Cream: Adds moisture and a subtle tang, contributing to the bread’s tender texture and acting as a binder.
- Sugar: Contributes to sweetness and helps with browning and moisture retention.
- Eggs: Act as binders, provide structure, and contribute to richness and leavening. The recipe notes that using two eggs can result in a taller, more structured loaf.
- Baking Powder and Baking Soda: These chemical leaveners work together to provide lift and create a lighter texture within the dense batter.
- Salt: Enhances all the other flavors in the bread, balancing sweetness and bringing out the chocolate and banana notes.
- Vanilla Extract: A classic flavor enhancer that complements both chocolate and banana.
- Chocolate Chips: Provide delightful pockets of melted chocolate throughout the loaf, adding texture and an extra burst of chocolate flavor.
- Banana Chunks: Small pieces of ripe banana folded in at the end offer a distinct textural element and reinforce the banana flavor.
The Culinary Process: A Step-by-Step Guide to Gluten-Free Perfection
Crafting this gluten-free chocolate banana bread involves a methodical approach, ensuring each component contributes to the final masterpiece.
Step 1: Preparing the Chocolate Base
The process begins with melting the chocolate. This is typically done in a microwave-safe bowl, using short bursts of power and stirring in between to prevent scorching. This careful melting ensures the chocolate emulsifies smoothly into the batter, contributing to a consistent chocolate richness.
Step 2: Combining Dry Ingredients
In a separate bowl, the dry ingredients are whisked together. This includes the cocoa powder, gluten-free flour blend (often with xanthan gum pre-mixed or added separately), baking powder, baking soda, and salt. Whisking ensures these components are evenly distributed, which is particularly important for cocoa powder, as it can otherwise clump when introduced to liquids.
Step 3: Building the Wet Ingredient Foundation
The wet ingredients are then combined in a large mixing bowl. This typically involves mashing ripe bananas, adding granulated sugar, vanilla extract, sour cream, eggs, and the melted chocolate and butter mixture. These are then beaten together, often with a handheld or stand mixer, until well combined. The goal here is to incorporate the mashed bananas thoroughly, allowing them to release their moisture, a key factor in achieving a moist gluten-free loaf.
Step 4: Integrating Wet and Dry Components
The whisked dry ingredients are gradually added to the bowl of wet ingredients. The mixture is then beaten until a relatively smooth batter forms. It’s important to note that gluten-free batters, especially those with a high proportion of chocolate, can be quite thick. Any dry ingredients clinging to the sides of the bowl are addressed in the subsequent step.
Step 5: Adding Texture and Flavor Enhancements
At this stage, the chocolate chips and small chunks of ripe banana are gently folded into the batter using a silicone spatula. Care is taken not to overmix or mash the banana pieces, preserving their textural integrity. This step also serves as an opportunity to scrape down the sides of the bowl and incorporate any remaining dry ingredients.
Step 6: Preparing for Baking
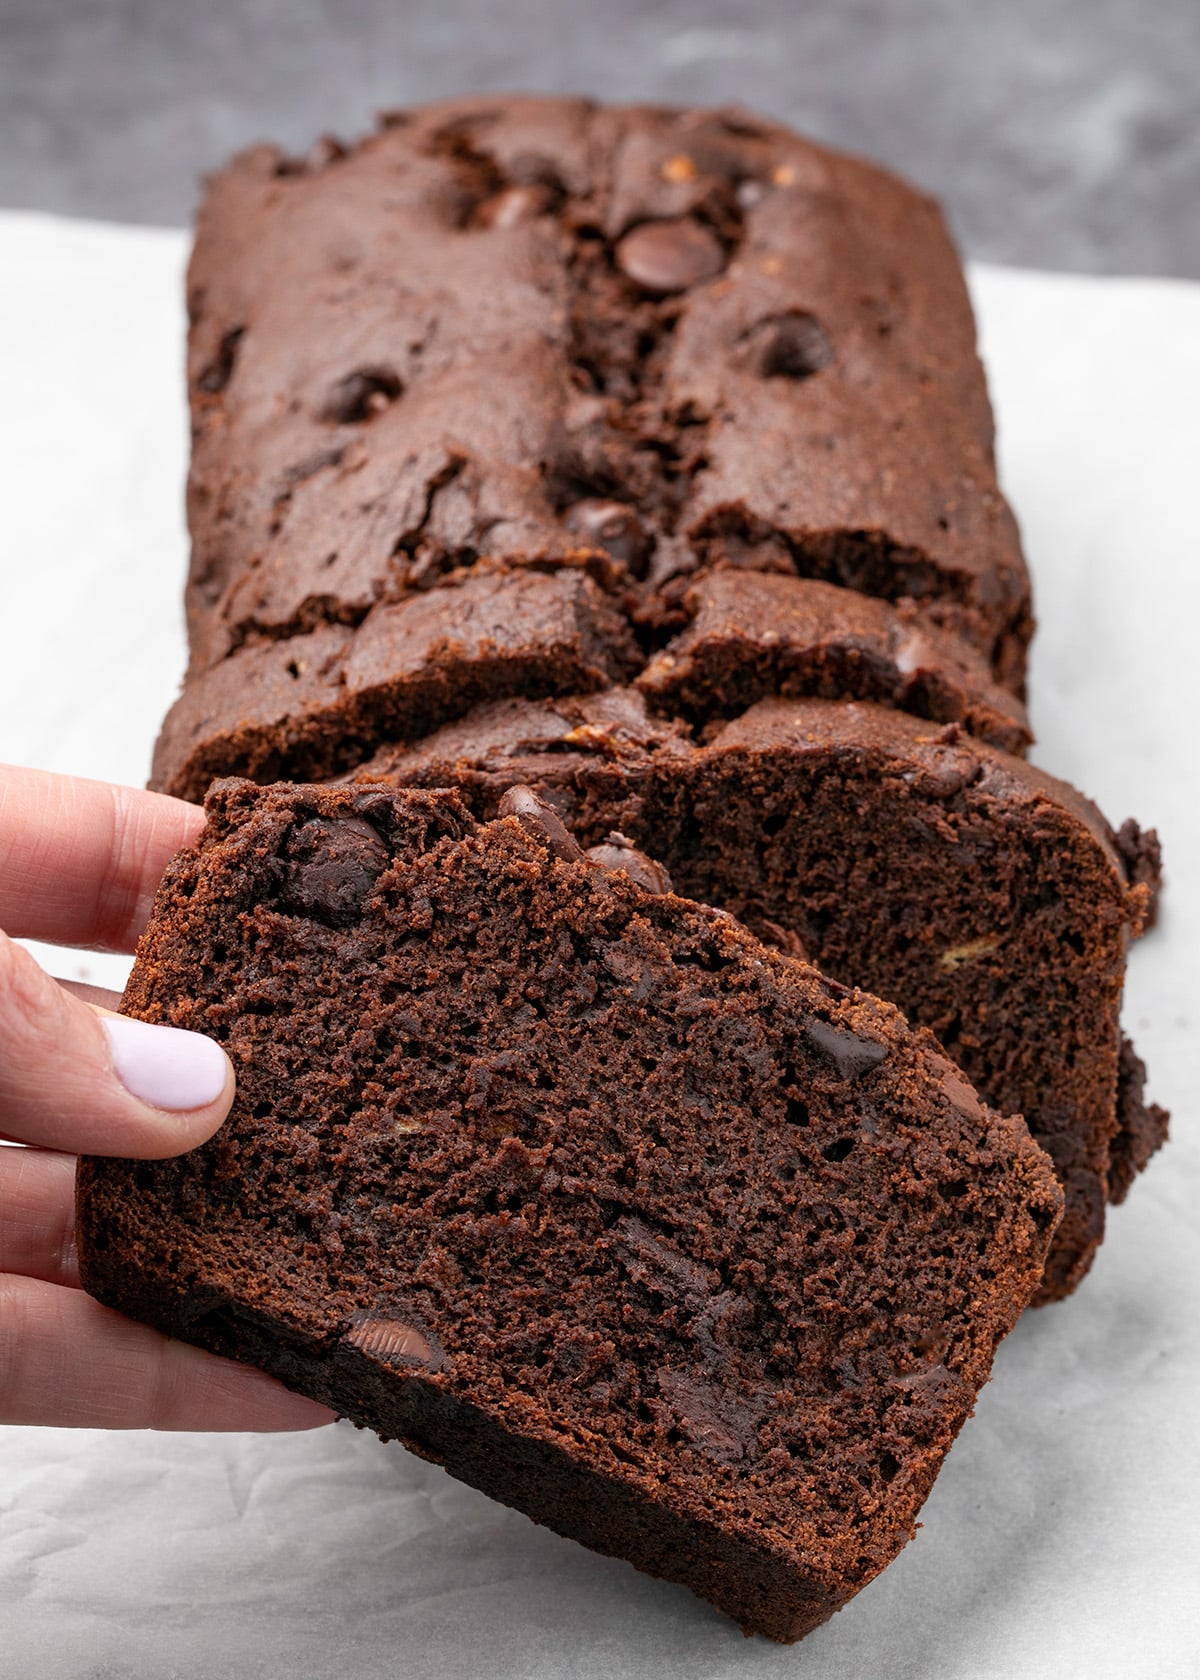
The thick batter is then transferred to a greased and parchment-lined standard loaf pan. A moist spatula is used to spread the batter evenly, ensuring consistent baking. To facilitate controlled steam release during baking, a shallow score is made lengthwise down the center of the loaf.
Step 7: The Baking Process
The loaf is baked in a preheated oven, typically at 350°F (175°C). The baking time is usually around 55-60 minutes, with the loaf rotated halfway through to promote even browning and cooking. Doneness is assessed by the loaf being firm to the touch and a toothpick inserted into the center coming out clean. Due to the dark color of the bread, careful observation is crucial to prevent overbaking or burning.
Step 8: Cooling and Setting
After baking, the bread is allowed to cool in the pan for approximately 10 minutes before being carefully lifted out by its parchment liner and placed on a wire rack to cool completely. This cooling period, which can take up to 45 minutes for a dense loaf, is critical for the starches to set, preventing the loaf from collapsing or crumbling when sliced.
Expert Insights for Optimal Results
Achieving the perfect gluten-free chocolate banana bread involves more than just following a recipe; it requires attention to detail and an understanding of baking nuances.
The Role of Eggs
The recipe offers flexibility regarding the number of eggs. While one egg can yield a successful loaf, using two eggs is recommended for those desiring a higher-rising loaf with enhanced structure. The additional egg contributes moisture, ensuring the bread remains tender for a longer duration.
Loaf Pan Selection
The choice of loaf pan significantly impacts baking. Light-colored, non-stick pans, particularly those made from cast aluminum, are advised. Darker pans tend to absorb more heat, potentially leading to the exterior of the bread burning before the interior is fully cooked. This is especially relevant for dark-colored baked goods where visual cues for doneness are less apparent.
The Importance of Naturally Ripened Bananas
The sweetness and moisture content of bananas are directly related to their ripeness. Naturally ripened bananas, characterized by brown spots on their peel, are ideal for this recipe. While methods exist to hasten ripening, such as placing bananas in a paper bag with an apple, oven-baking bananas is not an effective way to develop their sugars.
Adaptations and Substitutions: Catering to Dietary Needs
This recipe is designed to be adaptable, allowing for common dietary substitutions without compromising taste or texture.
Egg-Free Alternatives
For an egg-free version, a "chia egg" or "flax egg" can be used as a direct substitute for each egg. This involves mixing one tablespoon of ground white chia seeds (or flax seeds) with two tablespoons of lukewarm water and allowing it to gel. Alternatively, a combination of 1 teaspoon of xanthan gum and 2 tablespoons of plain Greek yogurt can serve as an egg replacement.
Dairy-Free Modifications
To make the bread dairy-free, the sour cream can be replaced with a non-dairy sour cream alternative. Similarly, block-style vegan butter, such as those from Melt or Miyoko’s Kitchen, are recommended over tub margarines, which tend to have a higher oil content and may not yield the best results in baking.
Storage and Enjoyment: Preserving Freshness
Proper storage ensures the enjoyment of this delicious gluten-free bread over time.
Room Temperature and Freezer Storage
Wrapped tightly, the banana bread can be stored at room temperature for two to three days. Refrigeration is generally discouraged as it can lead to dryness. For longer storage, individual slices can be wrapped and frozen for up to three months.
Reviving Frozen Slices
To refresh frozen slices, they can be thawed gently in a microwave on a low power setting or at room temperature. For an optimal re-baked texture, a light sprinkle of lukewarm water followed by a brief warming in a 300°F (150°C) toaster oven can restore freshness.
Frequently Asked Questions
Addressing common queries can further assist bakers in achieving success with this recipe.
Substituting Sour Cream
While milk is not a suitable substitute for sour cream in this recipe, plain Greek-style yogurt is an excellent alternative. If Greek-style yogurt is unavailable, regular plain yogurt can be strained through a fine-mesh sieve until it reaches a consistency similar to sour cream or Greek yogurt.
Preventing Sinking
A common issue in baking is a loaf that rises in the oven but sinks upon cooling. This often indicates that the bread was not fully baked through. The exterior may have cooked too quickly, forming a crust before the interior could set. Using an oven thermometer to ensure accurate temperature is crucial, as many ovens run hotter than their set temperature.
This gluten-free chocolate banana bread stands as a testament to the possibilities within gluten-free baking, offering a rich, decadent, and satisfying experience for all palates.
