

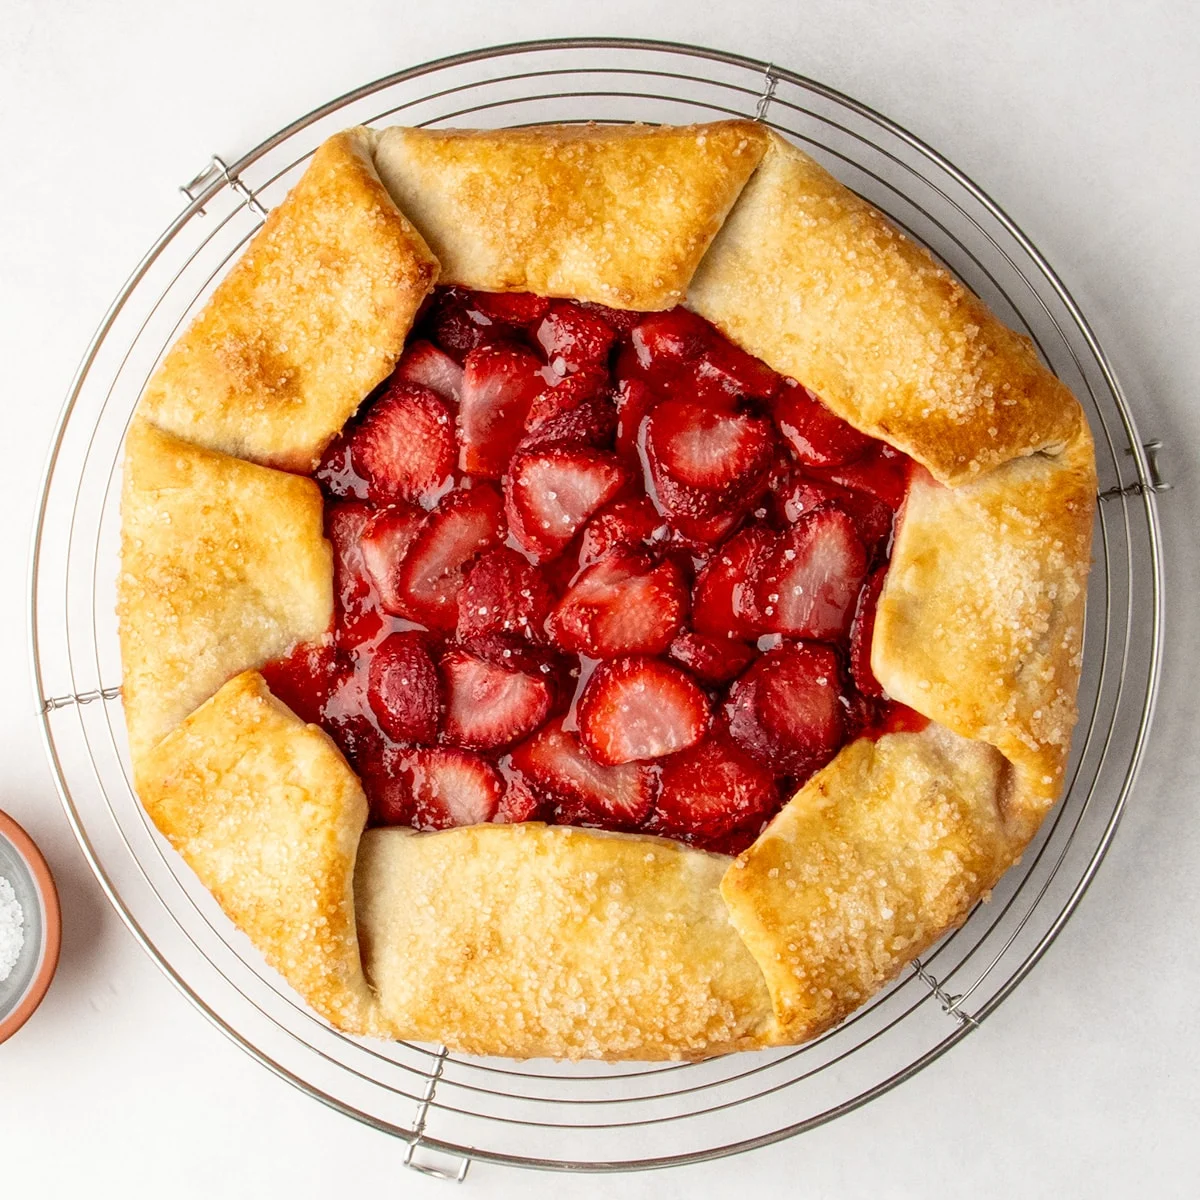
This rustic, simple gluten-free galette boasts a flaky golden crust cradling a glossy strawberry filling, bursting with natural flavor and only lightly sweetened. It offers a delightful alternative to traditional pies, proving that elegant desserts don’t require complex techniques. This recipe is designed to allow the fresh, seasonal flavors of berries to shine, making it a perfect addition to any summer gathering or a comforting treat for any occasion. The beauty of a galette lies in its forgiving nature; it embraces imperfections, making it accessible even for novice bakers.
The Allure of the Galette: Why This Recipe Excels
The galette, in essence, democratizes the art of fruit pie. It delivers all the beloved components – a buttery, crisp crust and a luscious fruit filling – without the stress of meticulously crimping pie crust edges or achieving a perfectly uniform shape. The process is refreshingly straightforward: roll out a disc of dough, mound the fruit in the center, and then fold the perimeter of the dough up and over the filling, creating rustic pleats. This inherent simplicity is a cornerstone of its appeal, making it an approachable yet impressive dessert.
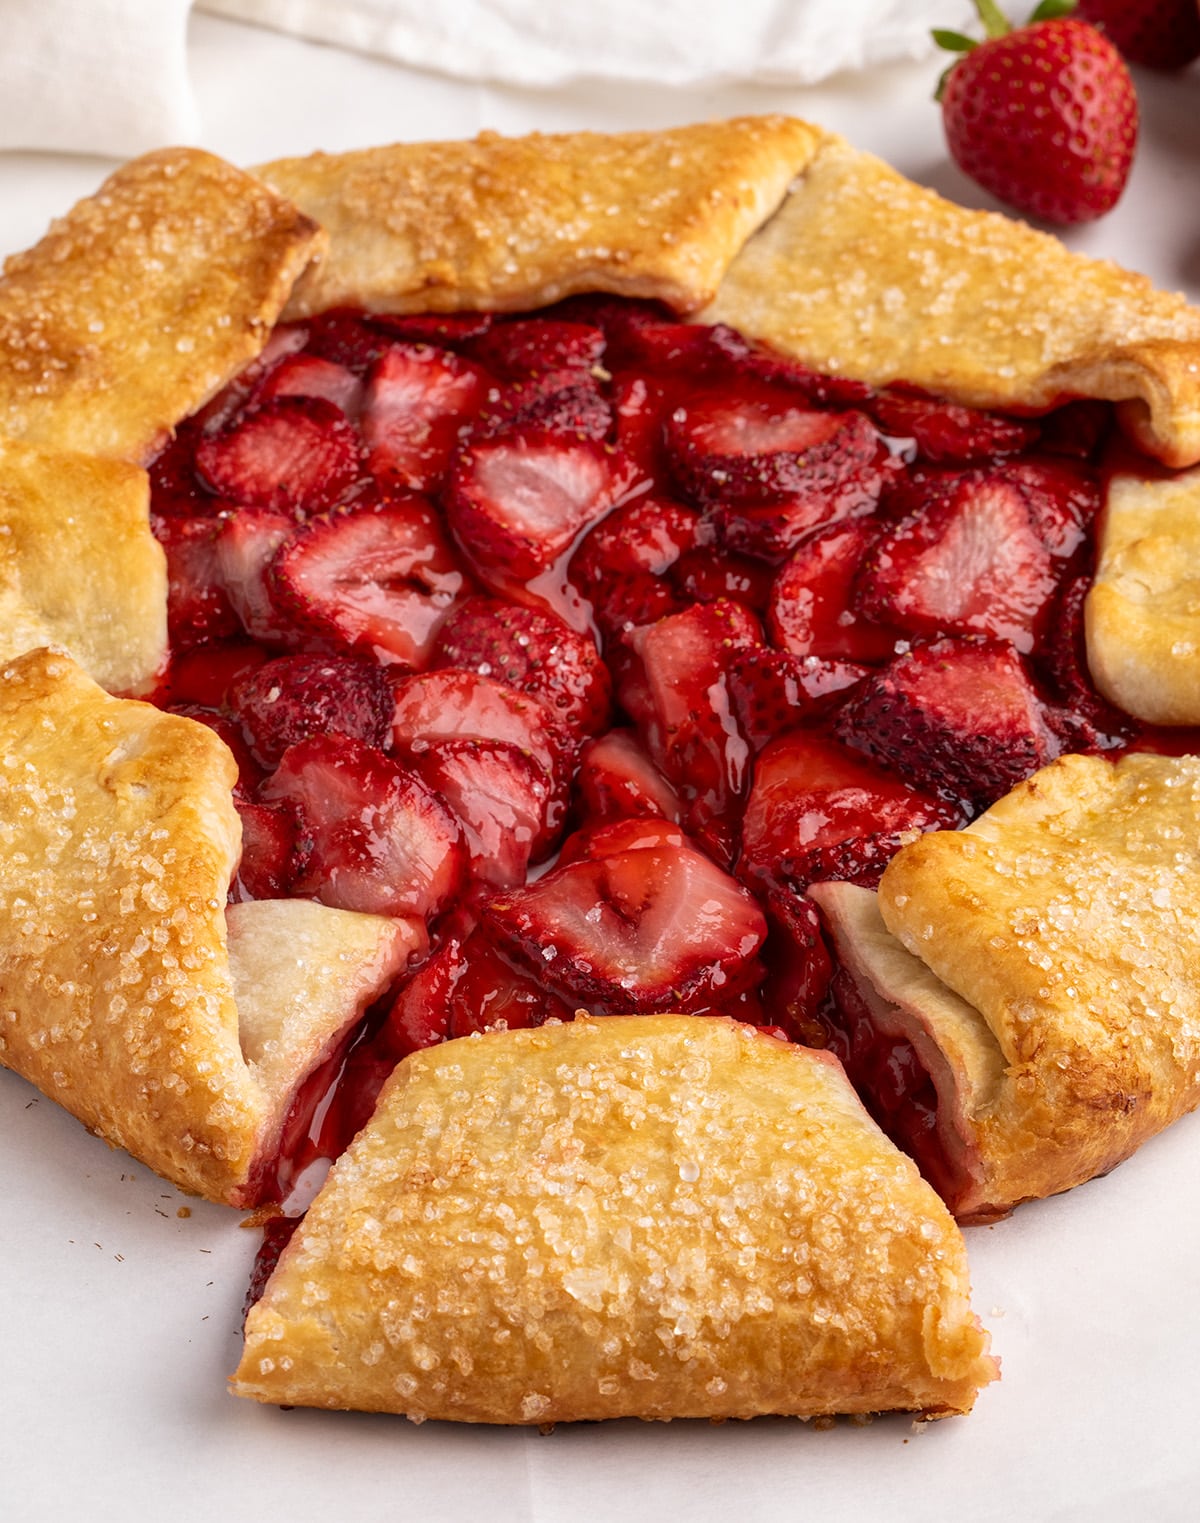
This particular recipe highlights a strawberry filling that is both intensely flavorful and subtly sweet, allowing the natural character of the fruit to take center stage. The versatility of the galette format means this technique can be readily adapted to a wide array of seasonal produce. From other vibrant berries like raspberries and blueberries to succulent stone fruits such as peaches and plums, or even thinly sliced apples, the possibilities are extensive, offering a year-round opportunity to enjoy this delightful pastry.

A significant challenge in fruit-based baking, particularly in gluten-free preparations, is the potential for a soggy bottom crust. This recipe proactively addresses this concern through several clever strategies. The berries are encouraged to thicken into a glossy, jam-like syrup during baking, rather than releasing excessive liquid. The gluten-free crust itself is intentionally rolled slightly thicker than a traditional pie crust, providing a sturdier foundation without compromising its signature flakiness. Furthermore, a delicate brush of honey is applied to the crust before the filling is added. This not only aids in achieving a beautiful golden-brown hue during baking but also acts as a subtle sealant, creating an extra barrier against moisture and ensuring a crisp, delightful crust.
Essential Ingredients for a Perfect Gluten-Free Galette
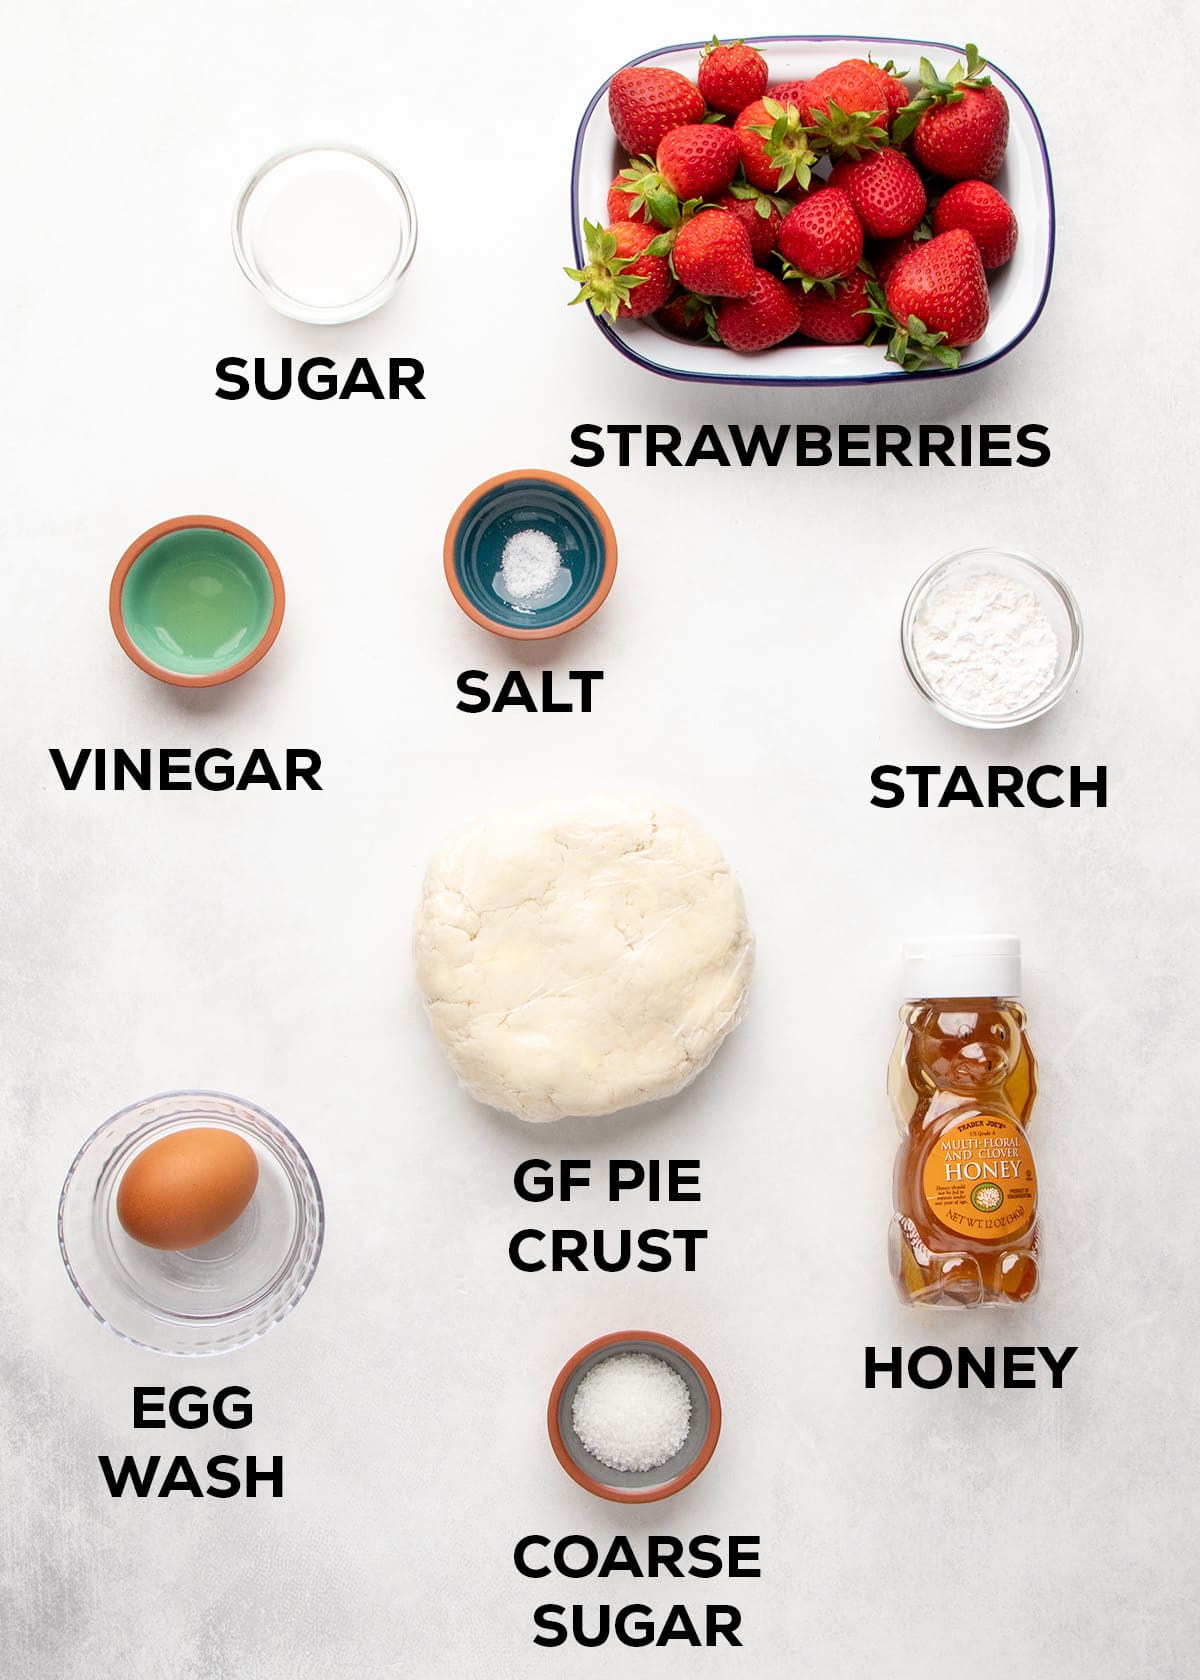
Crafting this gluten-free strawberry galette requires a thoughtful selection of ingredients, each contributing to the final masterpiece. For the complete quantities, please refer to the detailed recipe card at the end of this article.
For the Crust:
- Gluten-Free Flour Blend: A high-quality blend is crucial. Options like Better Batter’s original blend, Nicole’s Best multipurpose blend, or Bob’s Red Mill 1-to-1 Gluten Free Baking Flour (with an additional ¾ teaspoon of xanthan gum if using Bob’s Red Mill) are recommended. For those inclined to create their own, a well-balanced homemade blend can be found on dedicated gluten-free baking resources.
- Xanthan Gum: Essential for providing structure and elasticity in gluten-free baking, ensuring the dough doesn’t crumble.
- Baking Powder: Contributes to the lightness and tenderness of the crust.
- Salt: Enhances the overall flavor profile of the crust.
- Granulated Sugar (Optional): A small amount can be added for a subtle sweetness in the crust, though it’s not strictly necessary.
- Cold Butter: The cornerstone of a flaky pastry. It must be kept very cold and cut into small pieces to create layers during baking.
- Ice Cold Water: Essential for binding the dough without melting the butter, ensuring flakiness.
For the Strawberry Filling:
- Fresh Strawberries: Approximately one pound is needed. For optimal results, choose ripe, fragrant berries.
- Granulated Sugar: Used to enhance the natural sweetness of the strawberries. The amount can be adjusted based on the sweetness of the berries and personal preference.
- Salt: A pinch of salt balances the sweetness and intensifies the berry flavor.
- Vinegar: A small amount of vinegar, such as apple cider or white wine vinegar, brightens the berry flavor and can help tenderize them.
- Tapioca Starch (or Tapioca Flour): This is the preferred thickener for the filling. It creates a clear, glossy gel that binds the juices without making the filling gummy or cloudy. Other suitable alternatives include cornstarch, arrowroot starch, or potato starch.
- Honey: Used to brush the crust before filling, promoting browning and acting as a moisture barrier.
- Egg Wash: Typically one egg beaten with a tablespoon of water or milk, brushed over the crust edges to give them a beautiful golden sheen and help them brown evenly.
- Coarse-Grained Sugar: Sprinkled over the crust for added texture and visual appeal.
Step-by-Step Guide to Crafting Your Gluten-Free Galette
The process of creating this galette is designed to be intuitive and rewarding, even for those new to gluten-free baking.
Crafting the Flaky Crust:
- Combine Dry Ingredients: In a large mixing bowl, thoroughly whisk together the gluten-free flour blend, xanthan gum, baking powder, salt, and optional sugar. Ensuring an even distribution of these dry components is key for a consistent dough.
- Incorporate the Butter: Add cold, cubed butter to the dry ingredients. Using your fingertips or a pastry blender, cut the butter into the flour mixture until it resembles coarse crumbs with some pea-sized pieces of butter remaining. The goal is to coat the flour particles with butter, creating layers that will separate and puff up during baking, resulting in flakiness.
- Add Ice Water: Gradually drizzle in ice-cold water, mixing with a fork or spatula until the dough just begins to come together. Be careful not to overmix; you want just enough water to hydrate the flour. If the dough seems particularly dry in spots, add a teaspoon of water at a time until it holds together when pressed.
- Chill the Dough: Gently gather the dough into a ball, flatten it into a disc about 1-inch thick, wrap it tightly in plastic wrap, and refrigerate for at least 30 minutes. This chilling period allows the gluten-free flours to hydrate fully and the butter to firm up, which is crucial for a flaky crust.
Preparing the Luscious Strawberry Filling:
- Prepare the Strawberries: Wash, thoroughly dry, and hull one pound of fresh strawberries. Slice them into reasonably thick pieces; this helps them maintain their shape during the baking process and prevents them from becoming mushy.
- Macerate the Berries: In a medium bowl, combine the sliced strawberries with granulated sugar, a pinch of salt, and a splash of vinegar. Gently toss to coat and let the mixture rest for about 15-20 minutes. This process, known as maceration, draws out the natural juices from the berries, creating a flavorful syrup.
- Thicken the Filling: Sprinkle tapioca starch (or your chosen alternative) over the macerated strawberries and their juices. Gently stir to combine, ensuring the starch is evenly distributed. Allow the mixture to sit for another 10 minutes. This allows the starch to begin absorbing moisture and softens the berries further, preparing them for baking.
Assembling and Baking the Galette:
- Roll Out the Crust: On a lightly floured surface (use minimal extra flour to prevent a tough crust), roll out the chilled dough disc into a roughly 13- to 14-inch round. Aim for a thickness of about ¼ inch. This slightly thicker crust provides the necessary support for the fruit filling without the aid of a pie plate.
- Transfer and Seal: Carefully transfer the rolled-out dough onto a sheet of parchment paper. This will make it easy to move the galette later. Brush the central area of the dough with honey. This serves a dual purpose: it helps the crust achieve a beautiful golden-brown color and acts as a barrier to prevent the fruit juices from making the bottom soggy.
- Fill the Galette: Spoon the prepared strawberry filling into the center of the honey-brushed crust, leaving a 2-inch border of bare dough all around.
- Fold the Crust: Gently fold the edges of the dough up and over the filling, pleating it as you go. Aim for an uneven, rustic appearance; perfection is not the goal here. Press down gently on the folded crust to help it adhere to itself and the filling.
- Final Touches: Brush the entire exposed crust with egg wash for a glossy finish and an even bake. Sprinkle the crust generously with coarse-grained sugar for added crunch and visual appeal.
- Chill Before Baking: Carefully place the assembled galette on its parchment paper onto a small cutting board or baking sheet. Refrigerate for at least 15-20 minutes while you preheat the oven to 375°F (190°C). This chilling step is critical for ensuring the butter in the crust is cold when it hits the hot oven, leading to maximum flakiness.
- Bake to Perfection: Transfer the chilled galette (still on the parchment paper) to a rimmed baking sheet. Bake in the preheated oven for approximately 35-40 minutes, or until the crust is deeply golden brown and the strawberry filling is bubbling and appears thickened.
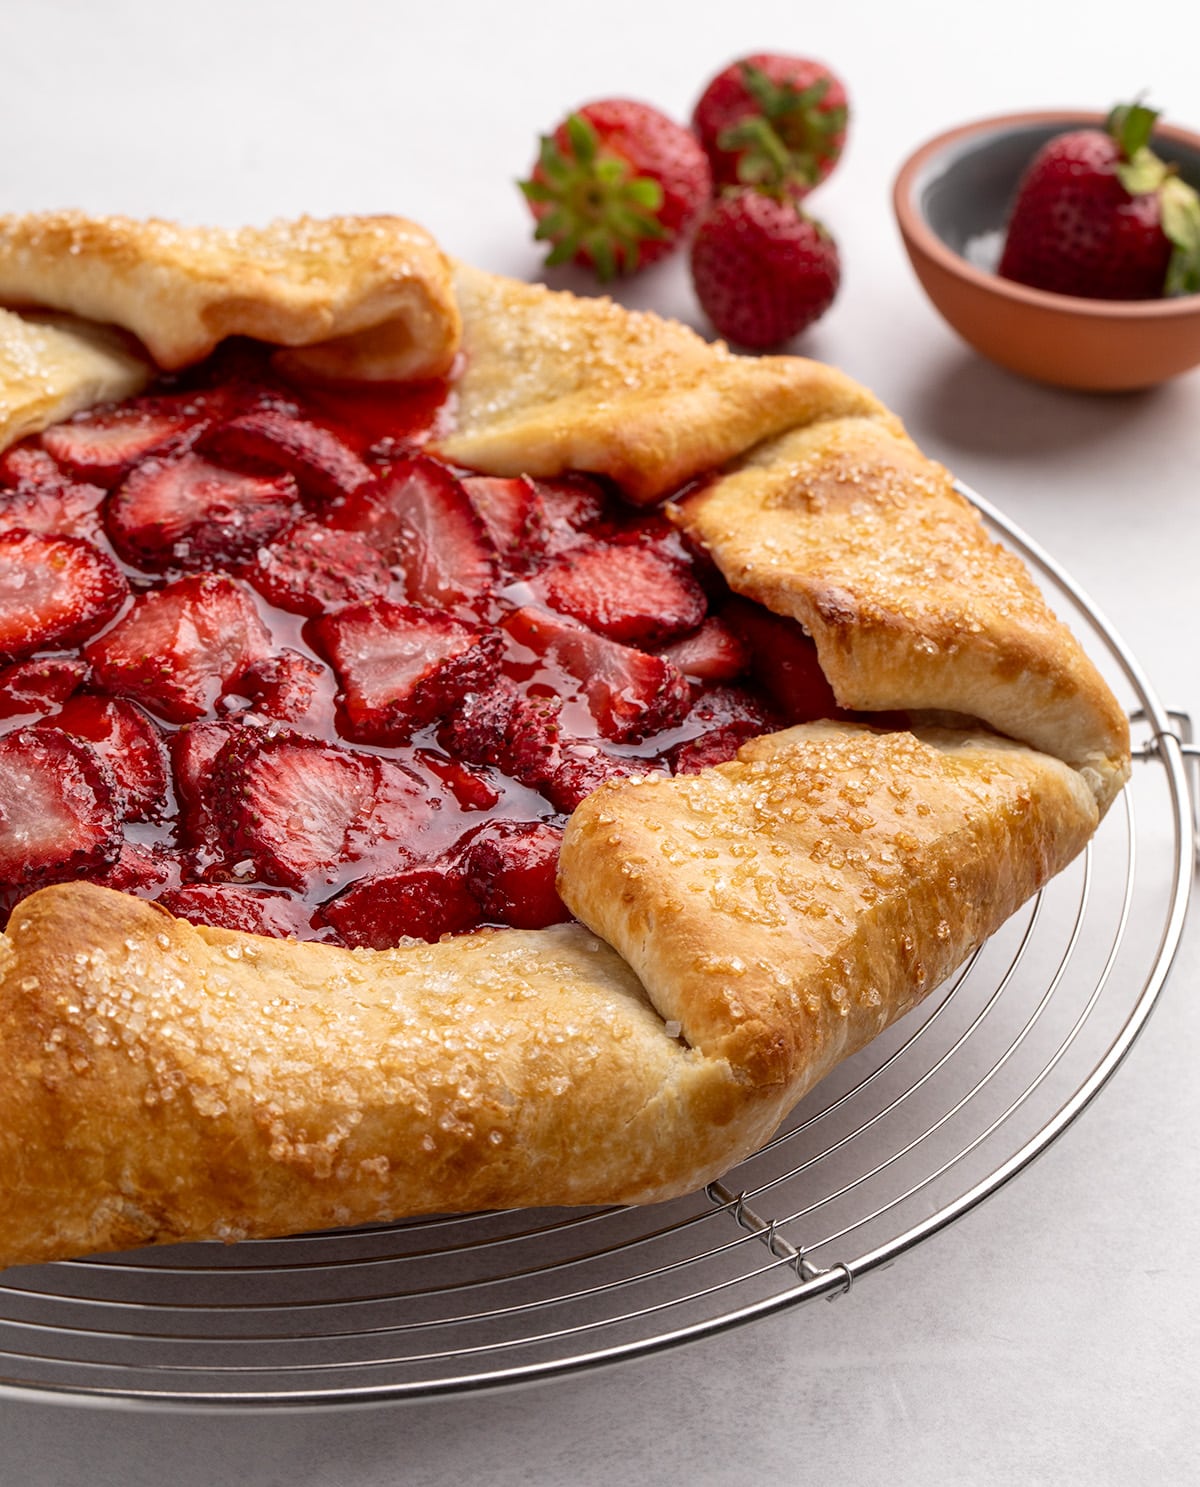
- Cool and Serve: Allow the galette to cool on the baking sheet for about 15-20 minutes. This allows the filling to set properly. Then, carefully transfer it to a wire rack to cool further before slicing and serving.
Expert Tips for Galette Success
Achieving a truly exceptional gluten-free galette involves a few key considerations and techniques.
Adjusting Sweetness to Your Berries
The sweetness of fresh berries can vary significantly. Before adding sugar to the filling, taste a few of your strawberries. If they are particularly sweet and fragrant, ¼ cup of granulated sugar may be sufficient. If they are tarter or you prefer a sweeter dessert, don’t hesitate to add up to another ¼ cup of sugar.
Making the Crust Ahead of Time
The gluten-free pie crust dough can be prepared up to a week in advance. Wrap it tightly in plastic wrap and store it in the refrigerator. If the dough has been refrigerated for more than a few hours, allow it to sit at room temperature for about 15 minutes before rolling to prevent cracking.
Preventing a Soggy Crust
A common pitfall in fruit-based desserts is a soggy bottom crust. If your fruit is particularly juicy or you’re using frozen fruit, consider draining off some of the excess liquid before adding the tapioca starch. For very wet fruit, you can also increase the tapioca starch by up to 1 tablespoon to further absorb moisture.
Exploring Other Fruit Combinations
The beauty of the galette lies in its adaptability. While strawberries are classic, this recipe is equally delicious with other fruits. Raspberries, blueberries, or a mix of berries work wonderfully. Ripe stone fruits like peaches, nectarines, or plums are excellent choices. For firmer fruits like apples, peel, core, and slice them thinly to ensure they cook through by the time the crust is done. Apples have a higher pectin content than berries, so you may need less starch.
Ingredient Substitutions and Variations
Flexibility is key in the kitchen, and this recipe offers several avenues for substitution.
Dairy-Free Adaptations
For a dairy-free galette, the primary adjustment is in the pie crust. A combination of half block-style vegan butter and half vegetable shortening (like Crisco or Spectrum brand) often mimics the moisture content of dairy butter most effectively, yielding a flaky, tender crust.
Thickeners for the Filling
While tapioca starch is recommended for its clarity and smooth texture, other starches can be used. Cornstarch, arrowroot starch, or potato starch are all viable alternatives for thickening the strawberry filling.
Sweeteners and Glazes
If honey is not your preference, Lyle’s Golden Syrup is a good substitute for brushing the crust. Alternatively, a simple syrup can be made by combining equal parts granulated sugar and water, heating until the sugar dissolves, and letting it cool. This can be used for brushing the crust for a similar browning effect.
Storage and Make-Ahead Options
This galette is designed for both immediate enjoyment and convenient make-ahead preparation.
Preparing Ahead for Future Enjoyment
The entire galette can be assembled raw and then frozen. Place the assembled galette on a baking sheet and freeze until solid. Once firm, wrap it tightly in freezer-safe material and return it to the freezer. When ready to bake, do not thaw the galette; bake it directly from frozen, adding a few extra minutes to the baking time as needed.
Storing Leftovers
Any leftover slices of the galette can be wrapped tightly in plastic wrap and stored in the refrigerator for up to five days. For longer storage, freeze individual slices for up to three months. To refresh frozen or leftover galette, reheat gently in a 300°F (150°C) toaster oven until warmed through, which helps to restore the crust’s crispness.
This gluten-free strawberry galette stands as a testament to the elegance and simplicity that can be achieved in gluten-free baking. Its rustic charm and bursting berry flavor make it a standout dessert, proving that dietary restrictions need not limit culinary delight.
