

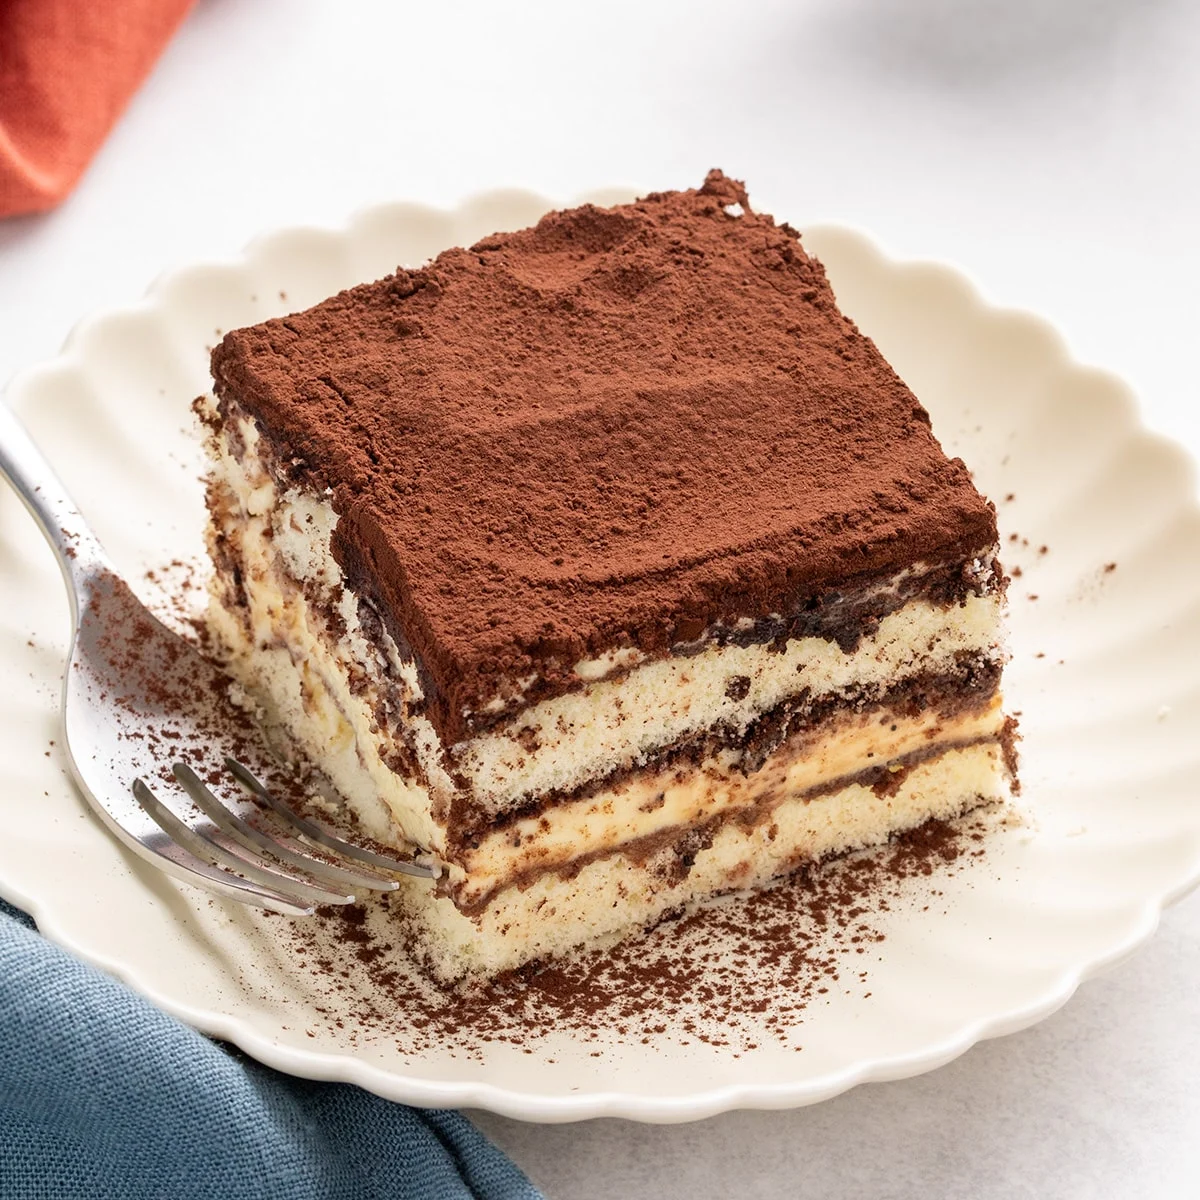
This gluten-free tiramisu masterfully recreates the beloved Italian dessert, boasting the signature creamy mascarpone filling, rich coffee essence, and delicate layered texture, all achieved with specially crafted gluten-free ladyfingers. This sophisticated yet accessible dessert offers a no-bake solution that is both elegant and light, proving that dietary restrictions need not compromise culinary indulgence. The true magic of this recipe lies in its meticulous layering and the transformative power of refrigeration, allowing the flavors to meld and the textures to set into a truly exceptional treat.
The Art of Gluten-Free Adaptation: Why This Recipe Excels
The success of this gluten-free tiramisu hinges on several key innovations that address the unique challenges of adapting a classic. The filling achieves a remarkable richness without heaviness, a feat accomplished by cooking the egg yolks. This crucial step provides the mascarpone mixture with essential structure, ensuring the tiramisu sets firmly and can be sliced cleanly, a hallmark of a well-executed dessert.
Conventional ladyfingers are known for their sturdiness, but their gluten-free counterparts often present a more delicate constitution. Recognizing this, the recipe employs a gentler method for infusing the ladyfingers with the characteristic coffee flavor. Instead of a full immersion, which could lead to disintegration, the gluten-free ladyfingers are meticulously brushed with a coffee mixture. This technique delivers the desired flavor profile without compromising the structural integrity of the cookies, preserving their ability to form stable layers.
The extended chilling period is not merely a suggestion but a critical component of the dessert’s final appeal. Over several hours, the ladyfingers absorb the coffee-infused moisture, softening to a perfect consistency. Simultaneously, the flavors permeate the entire dessert, and the mascarpone filling firms up, transforming the assembled components into a cohesive and visually appealing dish that truly honors its traditional origins.

Deconstructing the Ingredients: The Foundation of Flavor
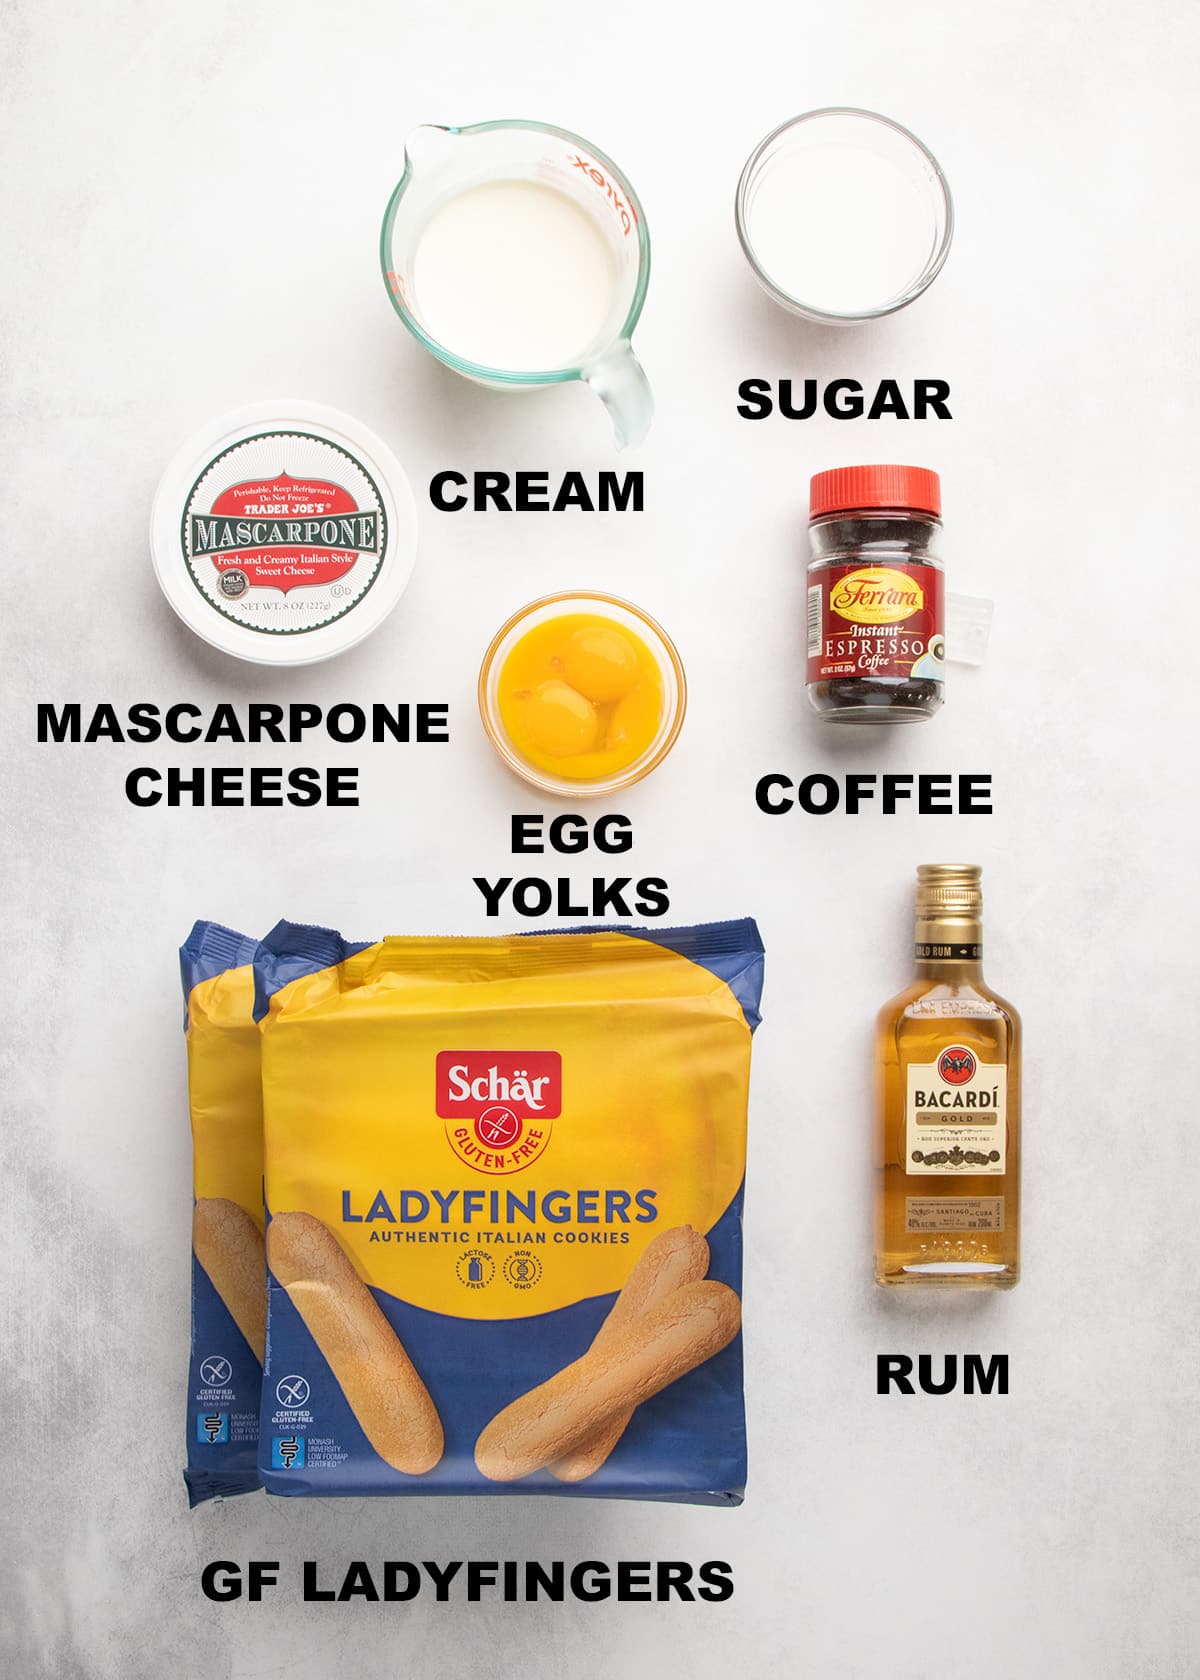
The creation of this gluten-free tiramisu relies on a carefully curated selection of simple yet impactful ingredients. For precise quantities, the detailed recipe card provides comprehensive measurements.
- Mascarpone Cheese: The creamy heart of the tiramisu, providing a rich, velvety texture.
- Heavy Whipping Cream: Essential for achieving a light and airy mousse-like consistency in the filling.
- Sugar: Typically superfine or caster sugar, which dissolves easily and contributes to the sweetness and structure of the filling.
- Egg Yolks: Cooked to ensure safety and provide richness and binding properties to the filling.
- Coffee: Strong brewed coffee, often espresso, forms the base for moistening the ladyfingers and infusing the dessert with its signature aroma and taste.
- Rum (Optional): A traditional addition that enhances the coffee flavor and adds a subtle complexity.
- Gluten-Free Ladyfingers: The crucial gluten-free element, designed to mimic the texture and function of their conventional counterparts.
A Step-by-Step Journey to Gluten-Free Perfection
The process of creating this gluten-free tiramisu is presented with detailed visual guidance, illuminating the rationale behind each stage of preparation.
Crafting the Egg Yolk Base
The initial step involves tempering the egg yolks with sugar over indirect heat. This method is vital to prevent the yolks from curdling. By whisking the sugar and egg yolks in a double boiler or a heat-safe bowl suspended over simmering water, the mixture is gently heated. Constant whisking for approximately two minutes, until the mixture lightens in color and falls from the whisk in ribbons, achieves the desired consistency. The target temperature is around 170°F (77°C), ensuring the eggs are safely cooked (above 160°F or 71°C) without risking curdling (above 180°F or 82°C).
Whipping the Cream to Perfection
While the egg yolk mixture cools, attention turns to the heavy whipping cream. Using a handheld mixer on a medium-low speed for an extended period of 8 to 10 minutes is key. This slow and steady approach yields a stable foam that maintains its shape, even at room temperature, for a considerable duration.
Incorporating the Mascarpone
Once the mascarpone cheese is loosened with two tablespoons of rum (if using), the cooled egg yolk base is gradually incorporated. This is achieved by beating the mixture with a handheld mixer for about two minutes, until it becomes paler and visibly fluffy, indicating the successful aeration of the mixture.
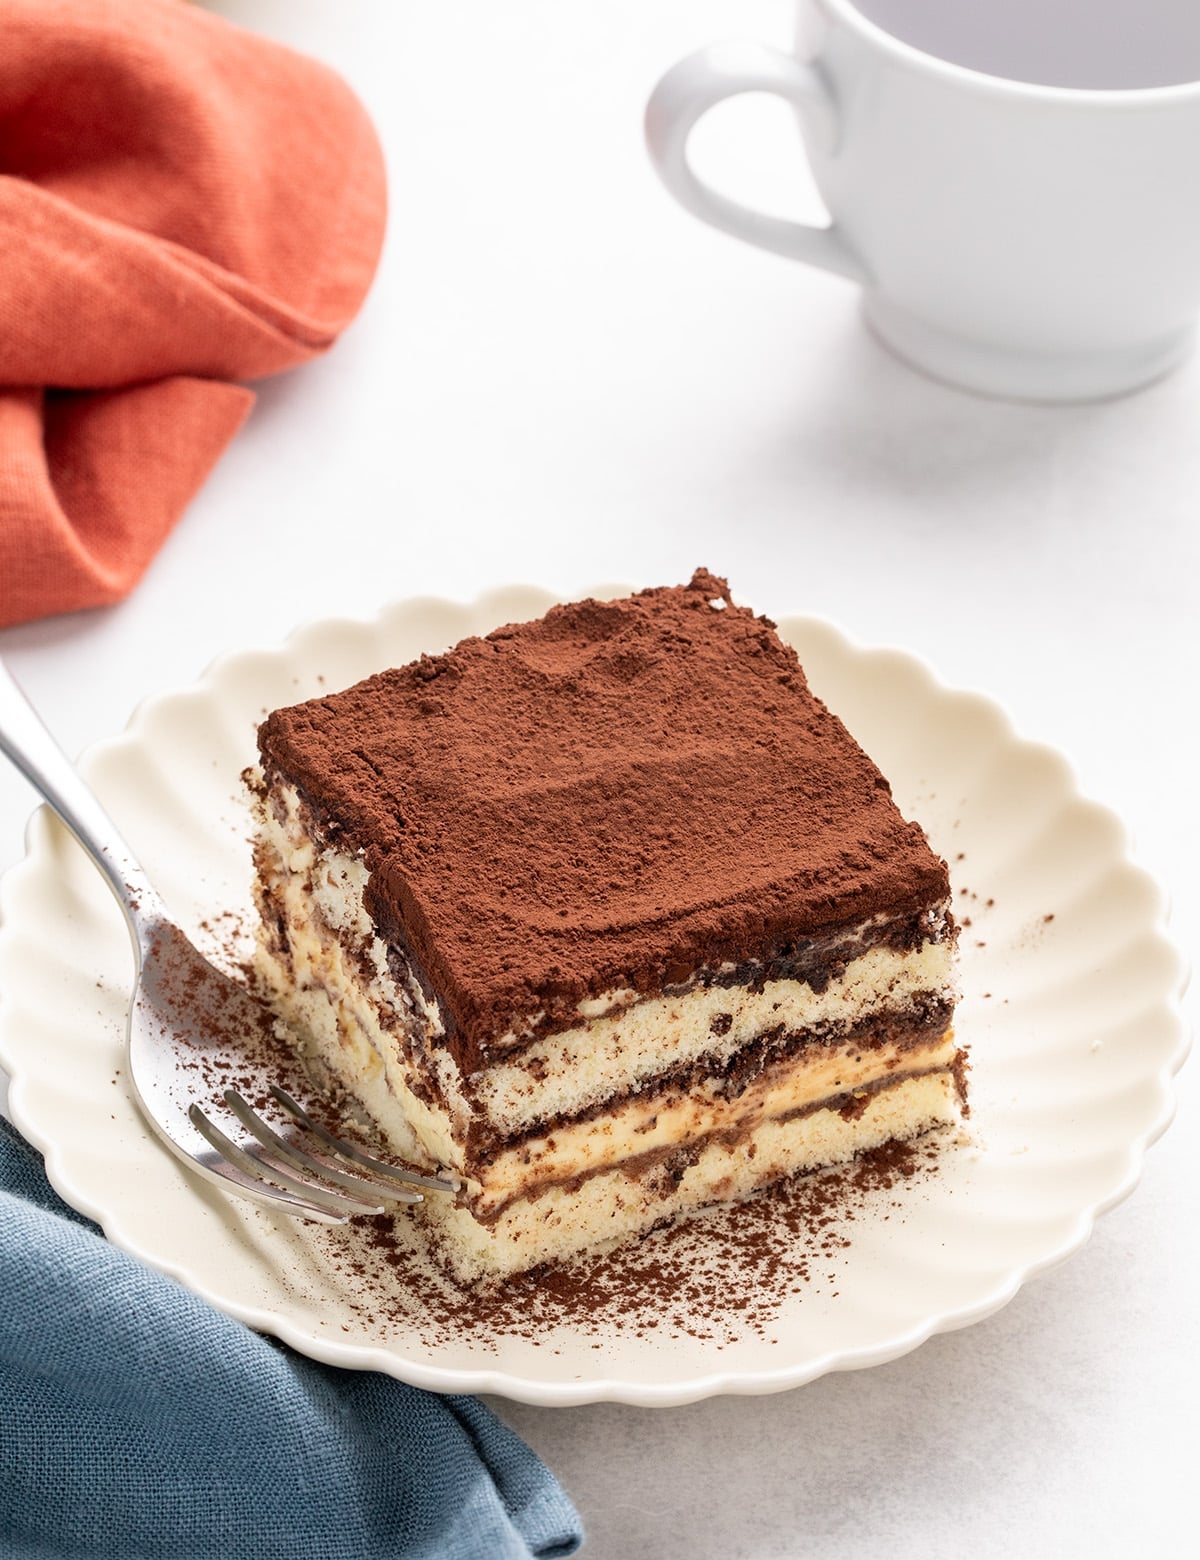
Finishing the Luscious Filling
The final step in preparing the filling involves gently folding the cold whipped cream into the mascarpone and egg yolk base in two additions. A silicone spatula is the preferred tool for this delicate operation. It’s essential to scrape the bottom of the bowl and fold the ingredients over carefully to avoid deflating the mixture. The folding continues until no streaks of white or yellow are visible, resulting in a uniform and airy filling.
Moistening the Delicate Ladyfingers
The fragility of gluten-free ladyfingers necessitates a careful approach to moisture infusion. Instead of dipping, which often leads to breakage, a pastry brush is used to lightly coat the cookies with a mixture of coffee and optional rum. The ladyfingers are brushed on both sides, ensuring even flavor distribution without oversaturation. Careful placement of the cookies, minimizing gaps, is crucial for a solid base layer.
The First Layer of Creamy Indulgence
The foundation of the tiramisu is established by spreading slightly more than half of the prepared filling over the moistened ladyfingers. This is done by scattering the filling around the edges first before spreading evenly, preventing the disturbance of the delicate cookie layer.
Building the Second Layer
Another layer of ladyfingers is prepared and arranged atop the first filling layer, again carefully moistened with the coffee mixture. The remaining filling is then spread evenly over this second layer, creating a visually appealing and balanced dessert. While cocoa powder can be added at this stage, it is recommended to defer this until just before serving to prevent sogginess.
The Essential Chill: A Time for Transformation
The tiramisu is then tightly covered with plastic wrap and refrigerated for a minimum of six hours, or up to three days. This extended chilling period is paramount for allowing the ladyfingers to soften and absorb the flavors, and for the filling to achieve its characteristic firm texture, ensuring a sliceable and cohesive dessert.
The Finishing Touch: A Dusting of Cocoa
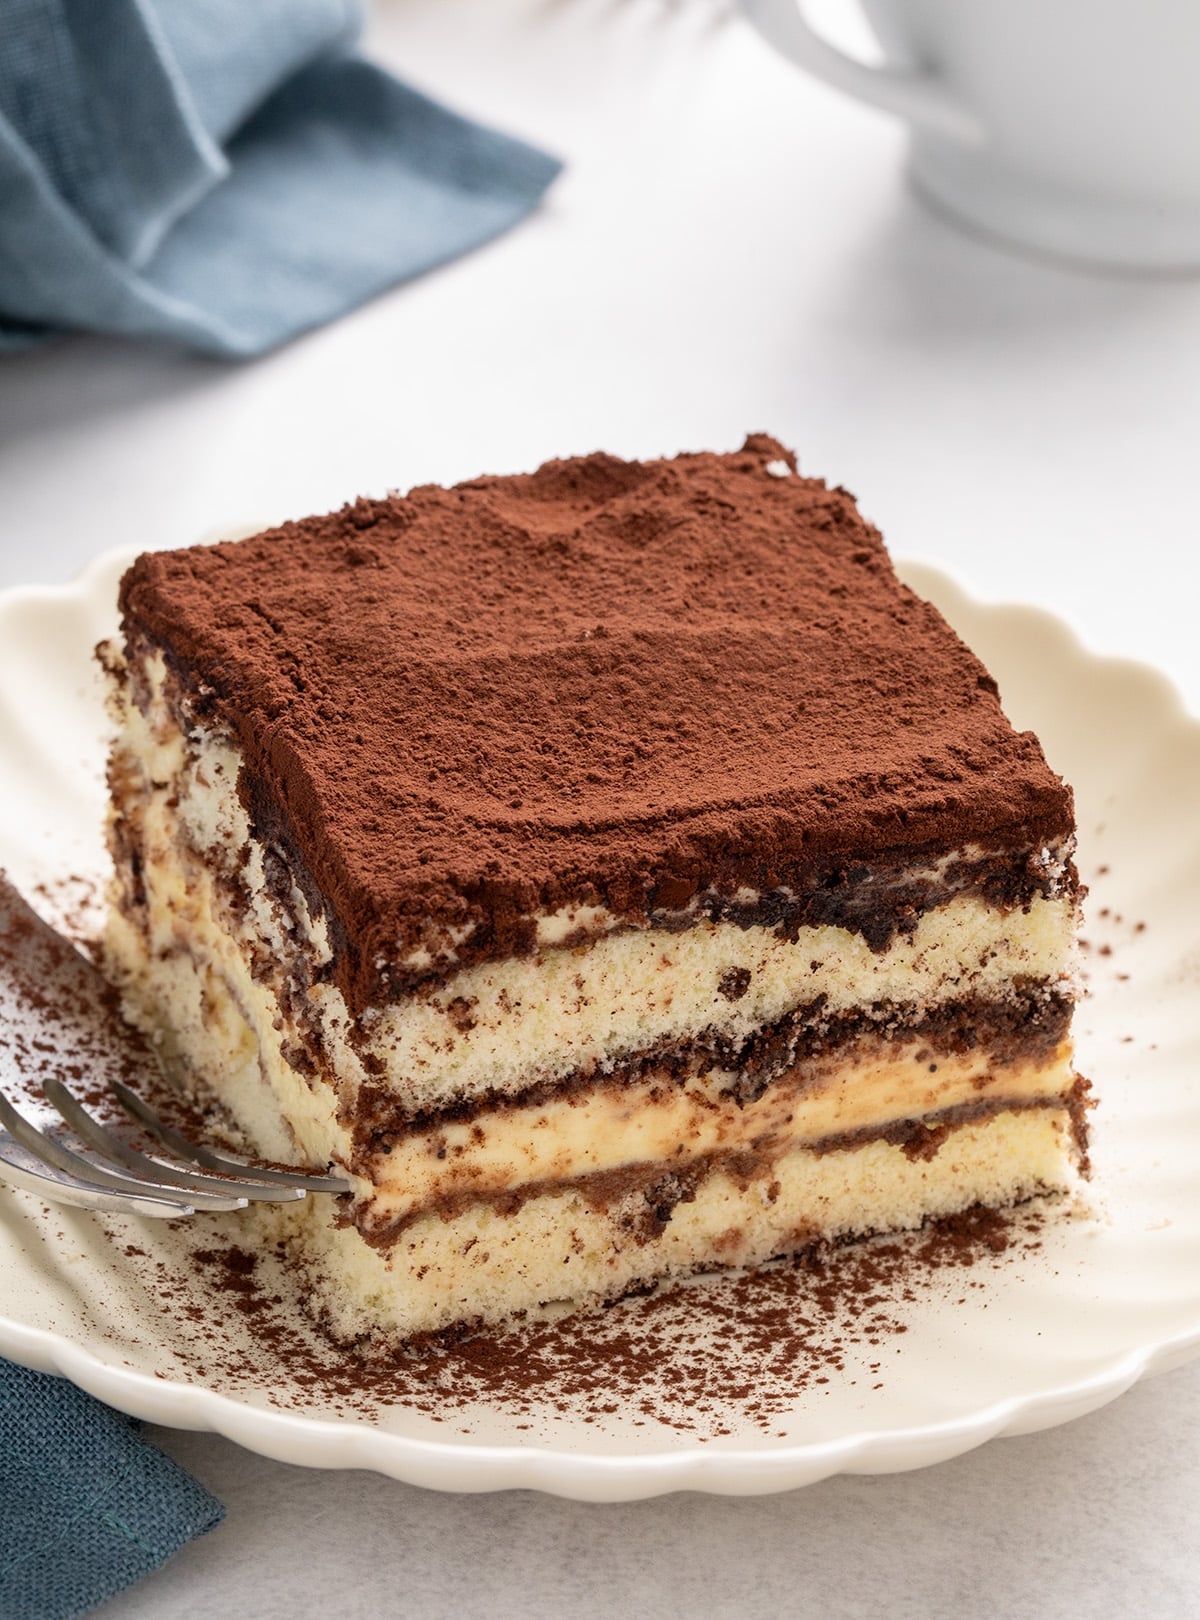
Just before serving, a fine-mesh sieve is used to evenly dust the top of the tiramisu with approximately three tablespoons of cocoa powder. Allowing the cocoa powder to sit for about an hour before serving helps it to meld slightly with the filling, enhancing the overall flavor profile. For added visual appeal and flavor complexity, chocolate shavings can be incorporated alongside the cocoa powder.
Presentation: Slicing and Serving with Grace
A large, sharp knife, metal bench scraper, or spatula is recommended for cutting the tiramisu into nine equal squares. Employing a small metal spatula to carefully lift out the first piece can be challenging, as it may compress slightly. However, subsequent slices typically present more cleanly.
Expert Insights for Culinary Success
The Gentle Art of Ladyfinger Moistening
Experience has shown that conventional dipping methods are ill-suited for gluten-free ladyfingers, often leading to their disintegration. The refined technique of brushing, as detailed in the recipe, offers a far superior method for infusing flavor without sacrificing structural integrity. Caution is advised against over-saturating the underside of the cookies, which can render them too fragile to handle.
The Science of Cooked Egg Yolks
Cooking egg yolks to at least 160°F (71°C) is a critical food safety measure, eliminating the risk of salmonella. Furthermore, elevating the cooking temperature to approximately 175°F (79°C) thickens the yolks, enabling them to incorporate more air and contribute to a filling that sets properly and slices cleanly. Allowing these cooked yolks to cool thoroughly before combining them with mascarpone or whipped cream is essential to prevent the fats from melting, which could result in a filling that never achieves the desired firmness.
Navigating Ingredient Substitutions for Diverse Needs
The original recipe, while gluten-free, contains other common allergens. Here are considerations for adapting it to various dietary requirements:
Dairy-Free Adaptations
For a dairy-free version, dairy-free cream cheese can be considered as a substitute for mascarpone. Many dairy-free alternatives possess a softer, more spreadable texture akin to mascarpone, though taste profiles will vary. In place of heavy whipping cream, opt for dairy-free whipping creams, such as those made from soy or coconut, or utilize the thick cream from a can of chilled coconut milk.
Egg-Free Alternatives
Replacing the egg yolks directly is not recommended. However, Baird’s custard powder can serve as a viable alternative. Prepare the custard according to package directions, then beat it with mascarpone and fold in whipped cream to create the filling. For the ladyfingers, which typically contain eggs, consider using egg-free gluten-free graham crackers as a substitute, ensuring they are dipped in the coffee mixture rather than brushed due to their inherent sturdiness.
Ladyfinger Alternatives
If commercially produced gluten-free ladyfingers are unavailable or if one prefers an alternative, gluten-free graham crackers are a suitable option. Unlike ladyfingers, graham crackers are more robust and can withstand direct dipping in the coffee mixture.
Storage and Longevity
When stored tightly covered, either in the serving dish or a dedicated container, this gluten-free tiramisu will remain fresh in the refrigerator for up to three days. It is advisable to defer the application of the cocoa powder dusting until closer to serving time if extended storage is anticipated. Freezing is not recommended, as the filling may separate, and the moisture-laden ladyfingers can develop an icy texture.
Nutritional Profile (Approximate)
- Serving Size: 1 slice
- Calories: 390 kcal
- Carbohydrates: 38g
- Protein: 6g
- Fat: 22g
- Saturated Fat: 13g
- Polyunsaturated Fat: 1g
- Monounsaturated Fat: 3g
- Cholesterol: 160mg
- Sodium: 78mg
- Potassium: 74mg
- Fiber: 1g
- Sugar: 22g
- Vitamin A: 731 IU
- Vitamin C: 0.2mg
- Calcium: 80mg
- Iron: 1mg
Note: Nutritional information is automatically calculated and serves as an approximation.
