

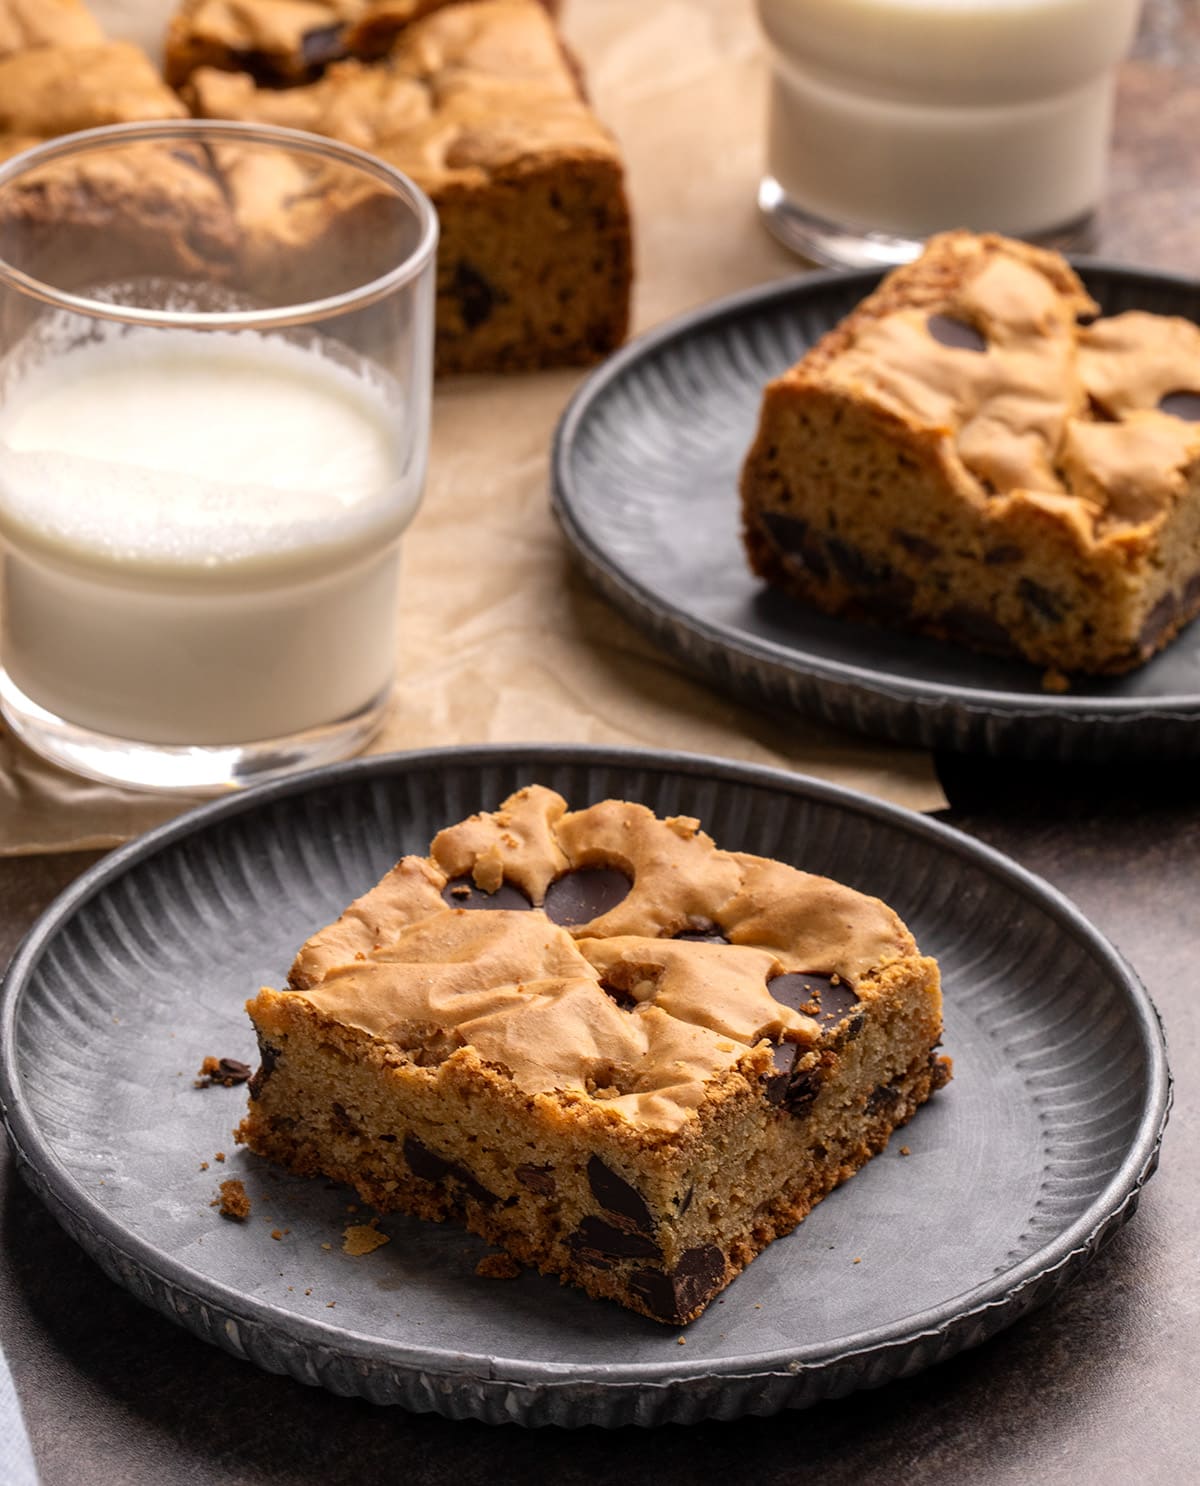
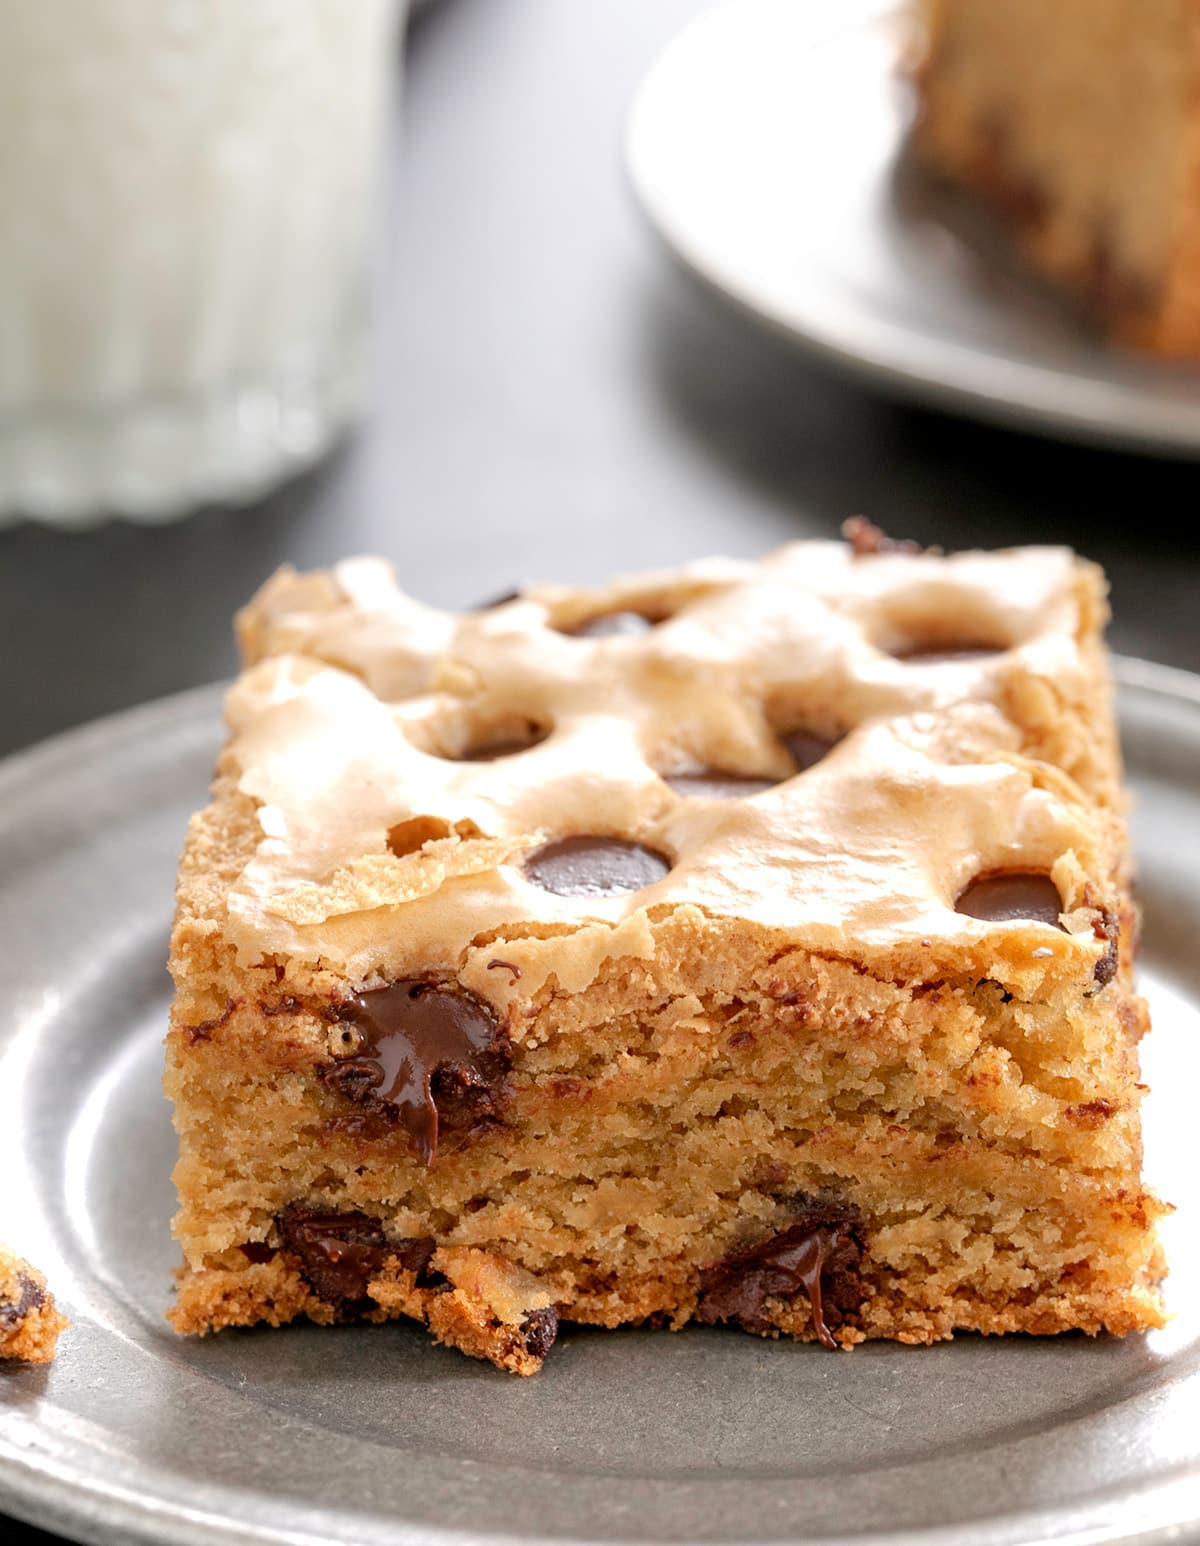
This recipe for thick and chewy gluten-free cookie bars delivers the beloved texture and flavor of classic chocolate chip cookies in a convenient, single-pan format. Achieving this without sacrificing chewiness or introducing a dense texture has been a culinary challenge for many gluten-free bakers. This recipe also boasts the desirable crackly top often associated with brownies, adding another layer of appeal. The innovation lies in its adaptation of techniques used for gluten-free brownies and blondies, specifically the use of melted butter, combined with a carefully balanced flour ratio to avoid an overly fudgy consistency. The strategic use of both white and light brown sugars further ensures that the familiar, comforting flavor profile of a traditional chocolate chip cookie is present.
The Science Behind the Chewy Texture
The success of these gluten-free cookie bars hinges on several key baking principles. Unlike traditional cookie doughs that rely on creaming butter and sugar for aeration and texture, this recipe employs melted butter. This technique, commonly used in brownies and blondies, contributes significantly to chewiness. The melted butter coats the flour particles differently, inhibiting gluten development (even in gluten-free flours) and resulting in a denser, chewier crumb.
Furthermore, the recipe carefully balances the ratio of wet to dry ingredients. While melted butter provides chewiness, an excessive amount of moisture or fat without sufficient structure can lead to a dense, tough bar. The inclusion of a specific gluten-free flour blend, along with the judicious use of cornstarch, helps to create the ideal consistency. The cornstarch, in particular, contributes to tenderness and a lighter texture, preventing the bars from becoming overly heavy.
The choice of sugars also plays a critical role. White granulated sugar contributes to crispness and spread, while light brown sugar, with its molasses content, adds moisture, chewiness, and a richer flavor. The combination of both ensures a complex flavor profile and a desirable texture that mimics traditional cookies.

Key Ingredients for Gluten-Free Cookie Bar Success
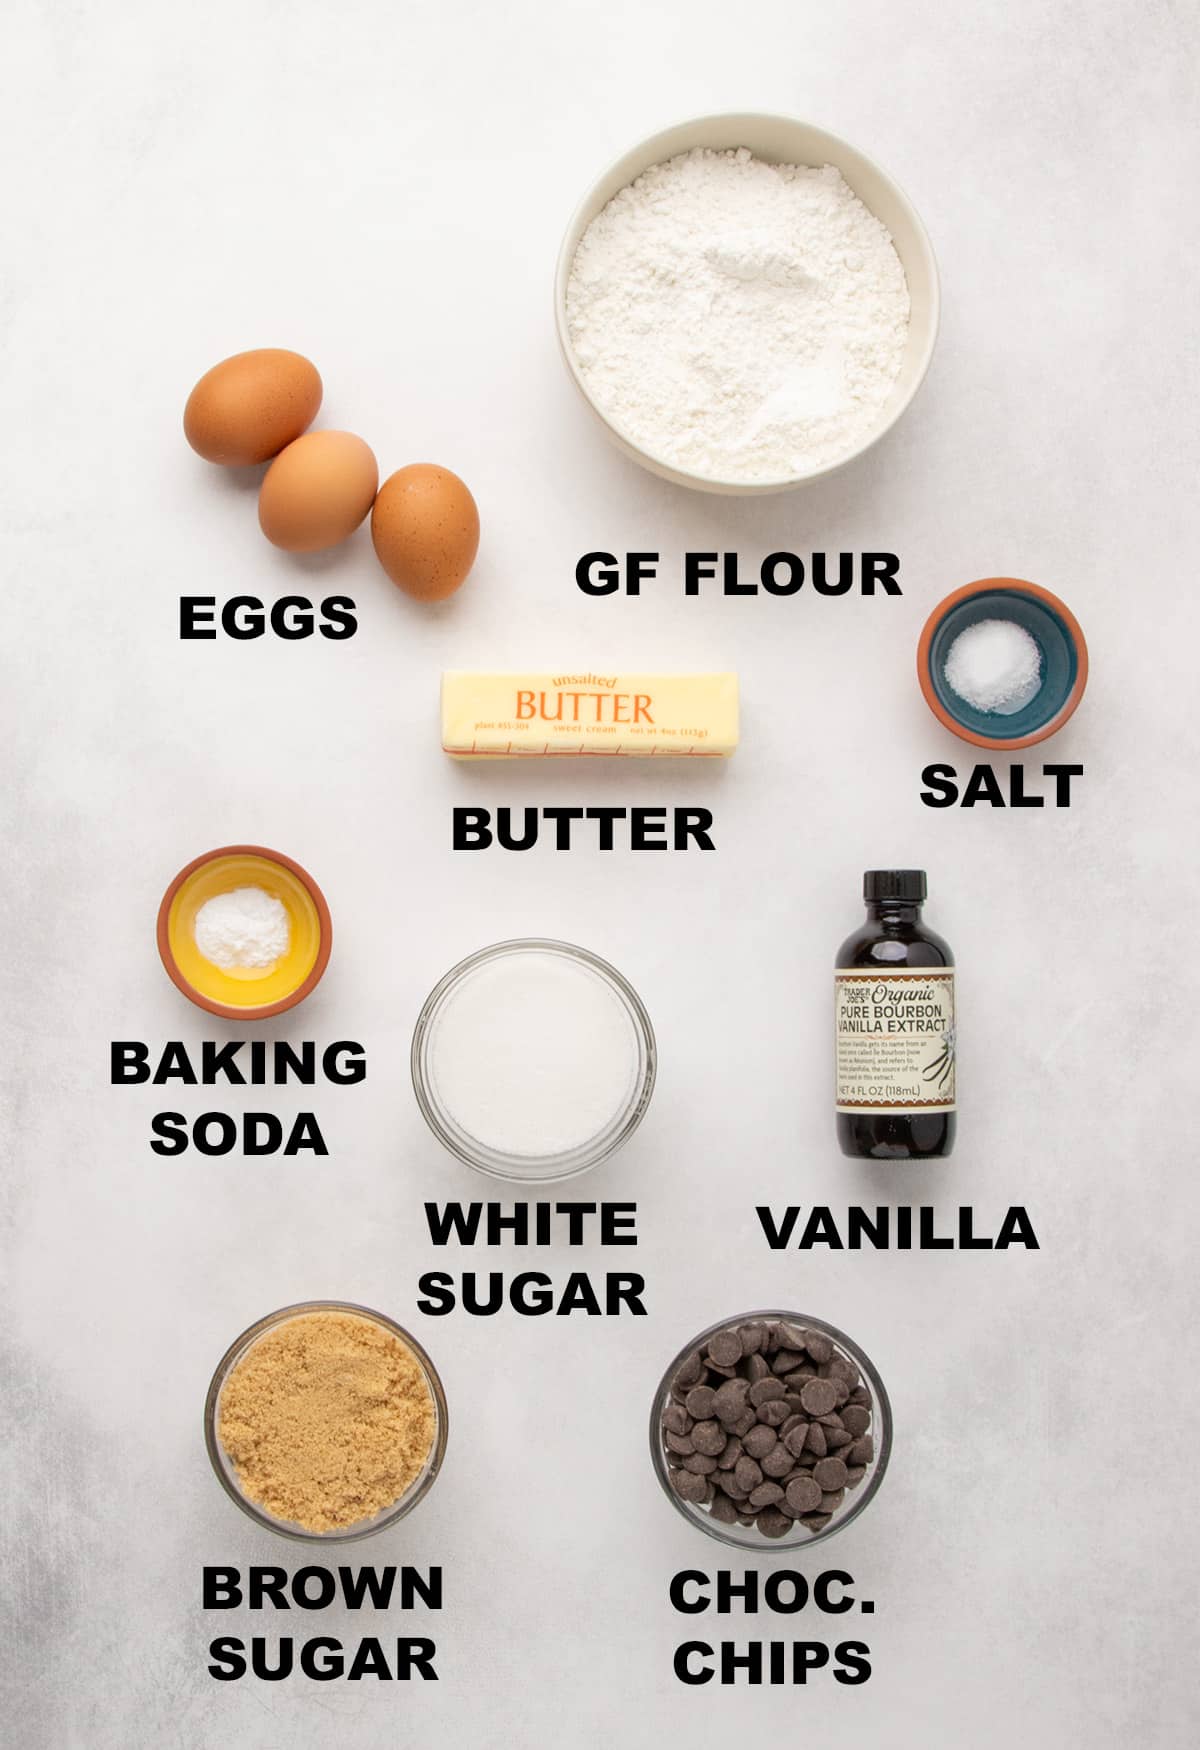
To achieve the perfect thick and chewy gluten-free cookie bar, a specific set of ingredients is crucial. While the complete ingredient list and measurements are available in the recipe card, understanding the purpose of each component provides valuable insight:
- Gluten-Free Flour Blend: The foundation of any gluten-free baked good. A high-quality blend, often containing a mix of rice flour, tapioca starch, and potato starch, is essential for mimicking the structure of wheat flour. The article specifically recommends blends like Better Batter’s Original All-Purpose, Nicole’s Best Multipurpose with added xanthan gum, or Bob’s Red Mill 1-to-1 Baking Flour (blue bag). These blends are formulated to provide a neutral flavor and appropriate texture.
- Xanthan Gum: A common binder in gluten-free baking, xanthan gum helps to replicate the elasticity and structure that gluten provides. It prevents the cookie bars from crumbling.
- Cornstarch: As mentioned, cornstarch contributes to the tenderness and lightness of the bars, preventing them from becoming too dense or gummy.
- Baking Soda: The leavening agent that helps the bars rise slightly and develop their characteristic chewy texture.
- Salt: Enhances the overall flavor profile and balances the sweetness of the sugars and chocolate.
- Butter: Melted butter is key to achieving the chewy texture. Unsalted butter is typically preferred to control the salt content.
- White Granulated Sugar & Light Brown Sugar: The combination provides sweetness, aids in browning, and contributes to both chewiness and a slightly crisp edge.
- Eggs and Egg Yolk: Eggs bind the ingredients, add richness, and contribute to the chewy texture. The extra egg yolk further enhances richness and chewiness.
- Vanilla Extract: A staple flavoring agent that complements the chocolate and sugar notes.
- Chocolate Chips: The star of the show for many! Semi-sweet or dark chocolate chips are common choices, offering a delightful contrast to the sweet cookie base.
Crafting the Perfect Gluten-Free Cookie Bars: A Step-by-Step Culinary Journey
The process of creating these gluten-free cookie bars is designed to be straightforward, even for novice bakers. Each step is intentional, contributing to the final desired outcome.
-
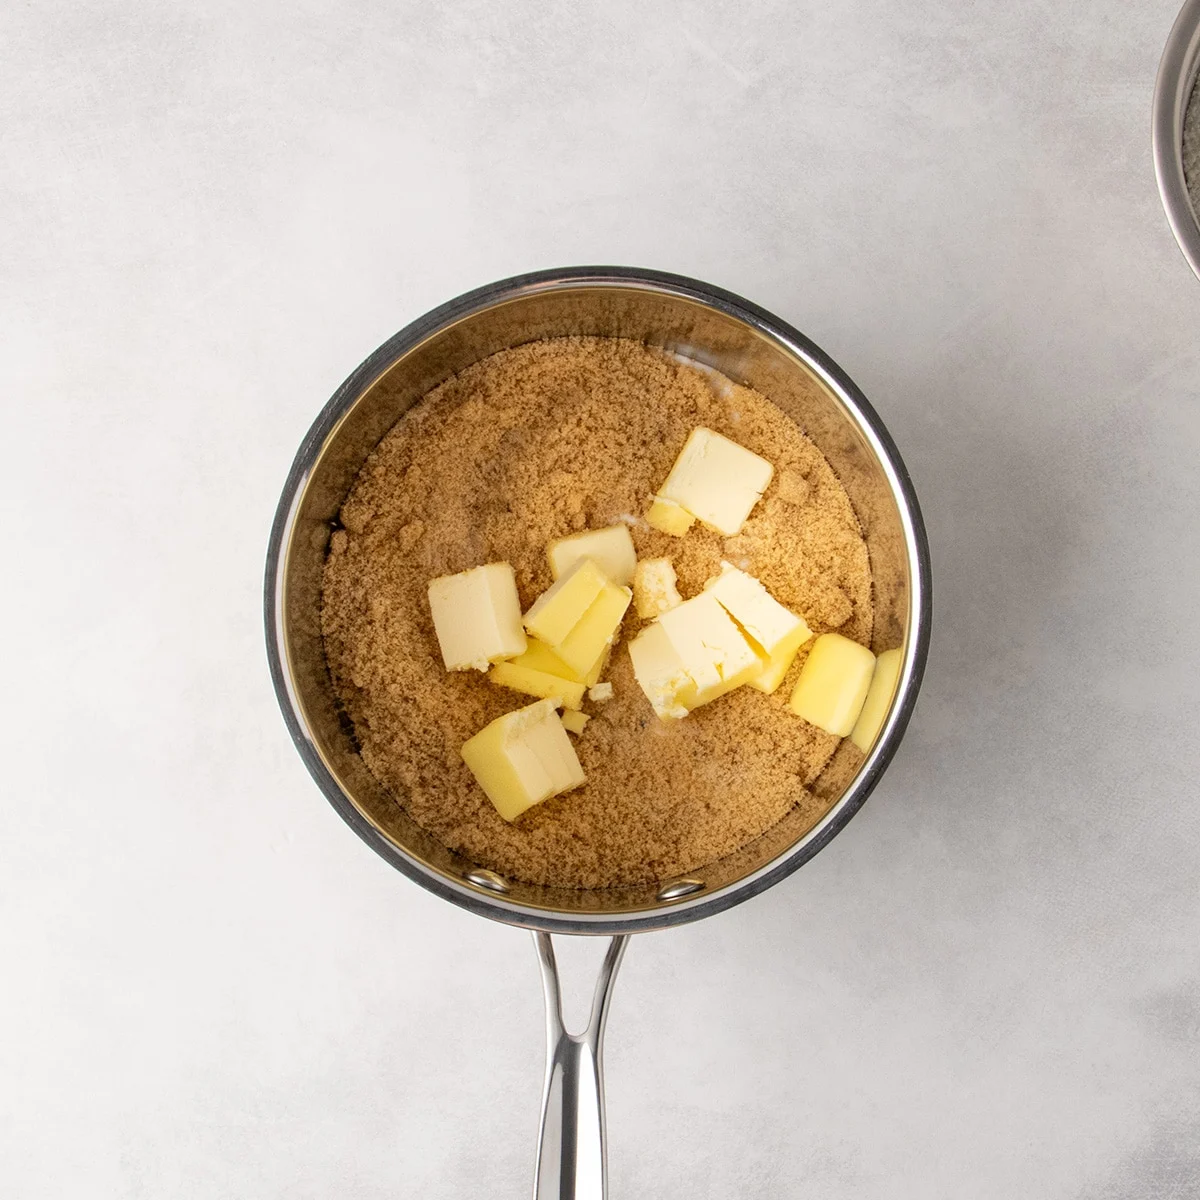
Melting Butter and Sugars: The initial step involves gently melting the butter with both white and light brown sugars over medium-low heat. The goal is to achieve a light simmer, allowing the sugars to dissolve into the butter. This process is critical for developing the glossy, crackly top characteristic of brownies and good cookies. It’s important not to overheat the mixture, as this can cause the sugars to harden. After melting, the mixture must be cooled to a temperature that won’t cook the eggs in the subsequent step.
-
Incorporating Eggs: Two whole eggs and one egg yolk are beaten in a separate bowl until foamy. This aeration allows the egg proteins to fully integrate with the cooled sugar and butter mixture. This combination is instrumental in creating the delicate, crispy, and crackly layer on top of the bars during baking.
-
Whisking Dry Ingredients: In a separate bowl, the gluten-free flour blend, xanthan gum, cornstarch, baking soda, and salt are whisked together thoroughly. This ensures that the leavening agents and starches are evenly distributed, preventing any pockets of bitterness or clumps in the final product.
-
Combining Wet and Dry Ingredients: The whisked dry ingredients are added all at once to the wet mixture. The batter will transform from a thin liquid to a thick, cohesive dough as the flour absorbs the moisture.
-
Adding Chocolate Chips: The majority of the chocolate chips are folded into the batter, with a small portion reserved to be scattered on top before baking. This creates a visually appealing finish and ensures chocolatey goodness throughout.
-
Transferring to the Pan: The thick, sticky batter is scraped into a prepared baking pan. Lining the pan with non-stick aluminum foil or greased regular foil is recommended to prevent sticking, especially given the dense nature of the batter. Spreading the batter evenly is crucial for uniform baking; a moistened offset spatula or butter knife can be helpful for this task.
-
Baking to Perfection: The reserved chocolate chips are scattered evenly over the top of the batter. Gently banging the pan on the counter helps to embed the chips. The bars are then baked at a moderate temperature of 325°F (163°C) for approximately 40 minutes. This lower and slower baking method ensures that the bars cook through evenly without the edges becoming too dark or burnt. The bars are ready when the top is lightly golden brown and the center no longer jiggles when the pan is gently moved.
-
Chilling for Clean Slicing: Patience is key after baking. The bars are too fragile to handle immediately. Allowing them to cool in the pan to warm room temperature, and then chilling them until firm, is essential for achieving clean, neat slices. This cooling process allows the bars to set properly.
Expert Insights for Elevated Baking
Seasoned bakers and recipe developers often share valuable tips to elevate everyday recipes. For these gluten-free cookie bars, several expert recommendations can enhance the baking experience and the final product:
Achieving Thinner Bars for a Different Texture
For those who prefer a thinner, crispier bar, the recipe can be adapted by using a larger pan, such as a jelly roll pan (approximately 10 x 15 inches). This increased surface area allows the dough to spread out more thinly. Consequently, the baking time will be reduced, typically to around 30 minutes. The doneness test remains similar: the center should no longer exhibit a significant jiggle. This variation offers a different textural experience, appealing to a broader range of preferences.
The Art of Sugar Melting
The article emphasizes the importance of not overcooking the sugars. Brown sugar, in particular, is susceptible to hardening if subjected to excessive heat. Therefore, when melting the butter and sugars, it is crucial to stop the process as soon as a gentle simmer is achieved. This precise control ensures the sugars remain pliable and contribute to the desired chewiness rather than becoming brittle.
Strategic Pan Lining
Dealing with thick, sticky gluten-free batters can be challenging. The recommendation to use non-stick aluminum foil or greased regular foil is a practical solution. Parchment paper, while a common baking staple, can sometimes shift or buckle under the weight of a dense batter, making it difficult to spread evenly. Non-stick foil provides a reliable, stable surface that facilitates an even distribution of the dough, leading to more uniformly baked bars.
Adapting for Dietary Needs: Ingredient Substitutions
The versatility of this recipe is further enhanced by its adaptability for various dietary restrictions. Careful substitutions can ensure that individuals with dairy-free, egg-free, or corn-free needs can still enjoy these delightful treats.
Dairy-Free Alternatives
For a dairy-free version, the butter can be replaced with high-quality vegan butter alternatives. Brands like Melt, Miyoko’s, or Trader Joe’s block-style vegan butter are recommended. A combination of Earth Balance buttery sticks and Spectrum brand non-hydrogenated vegetable shortening can also be used. Crucially, it’s important to ensure that the chocolate chips and the gluten-free flour blend used are also dairy-free.
Egg-Free Modifications
Replacing the eggs in this recipe requires a bit more consideration, as they contribute significantly to texture and structure. The article suggests using a "chia egg" as a potential substitute for each whole egg. This involves mixing 1 tablespoon of ground white chia seeds with 2 tablespoons of lukewarm water and allowing it to gel. However, it’s noted that this substitution may result in a less pronounced crackly top. For the egg yolk, 1 tablespoon of extra virgin olive oil is suggested as a replacement. While these substitutions aim to mimic the binding and richness of eggs, the final texture might differ slightly from the original recipe.
Corn-Free Considerations
Cornstarch is often used in gluten-free baking to enhance tenderness. For those who need to avoid corn, arrowroot starch or potato starch can be used as direct substitutes in equal weight. Alternatively, an increase in the amount of all-purpose gluten-free flour, ensuring the blend itself is corn-free, can also be employed to maintain the desired texture.
Storage and Longevity
These gluten-free cookie bars are designed for enjoyment over several days. When stored in an airtight container at room temperature, they will maintain their quality for at least five days. For extended freshness, refrigeration can prolong their shelf life up to a week. For long-term storage, freezing is an excellent option. Placed in freezer-safe zip-top bags, the bars can be frozen for up to three months. Thawing can be done at room temperature or accelerated in a microwave for a quick treat.
The creation of these thick and chewy gluten-free cookie bars represents a significant advancement in gluten-free baking, offering a familiar and comforting dessert experience without compromise. By understanding the science behind the ingredients and employing careful techniques, bakers can consistently produce these delightful treats that are sure to satisfy cookie enthusiasts of all kinds.
