

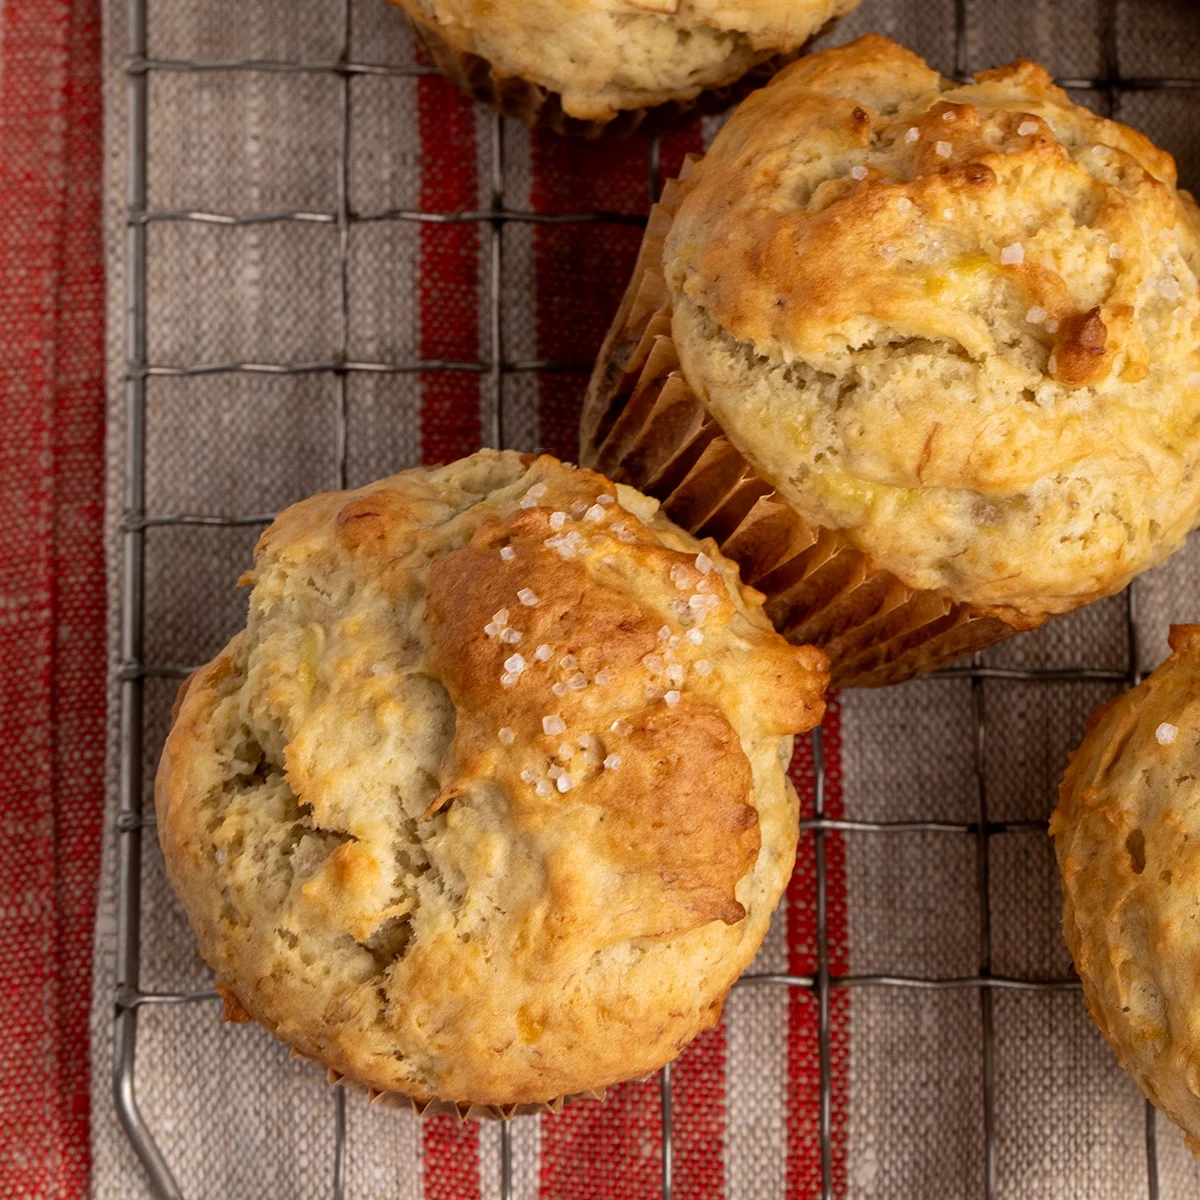
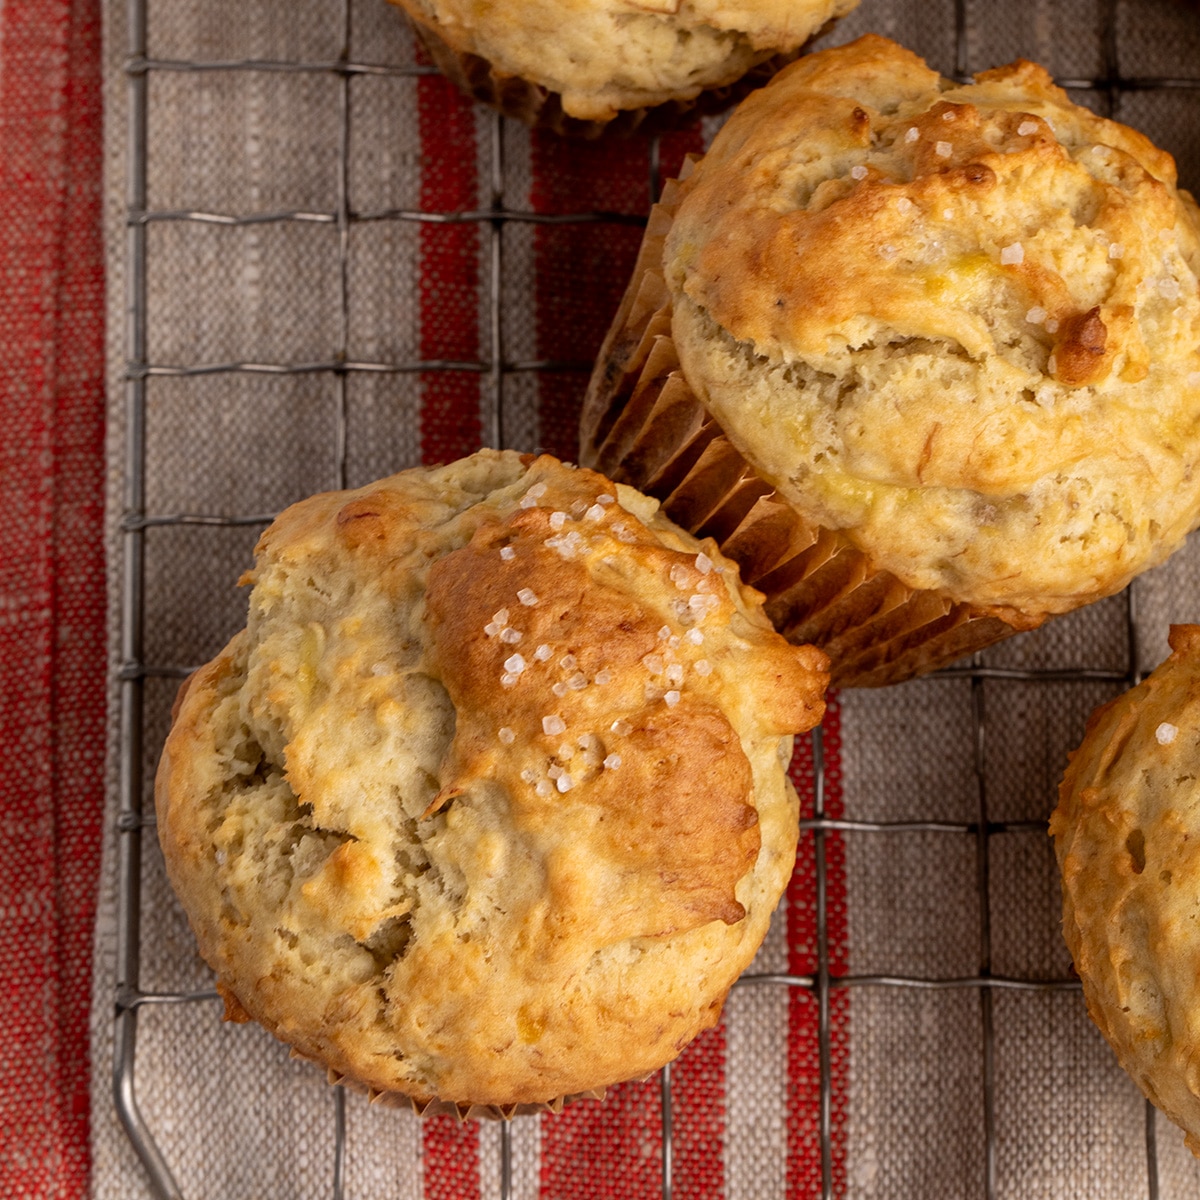
The pursuit of the perfect gluten-free banana muffin has long been a quest for many home bakers, seeking to replicate the moist, tender, and flavorful experience often associated with traditional wheat-based recipes. Recent developments in gluten-free baking science and ingredient innovation have paved the way for achieving exceptional results, even with a substantial amount of mashed banana. This article delves into the intricacies of crafting gluten-free banana muffins that bake up tall and golden, boasting a deep banana flavor and a luxuriously soft, fluffy crumb, free from the heaviness or gumminess that can sometimes plague gluten-free baked goods.
The Science Behind Superior Gluten-Free Banana Muffins
At the heart of these exemplary gluten-free banana muffins lies a carefully calibrated recipe that prioritizes both flavor and texture. The inclusion of nearly two cups of mashed ripe bananas is a key component, delivering an intense, natural sweetness and a characteristic banana aroma. However, the magic of this recipe is in its precise balance, ensuring that this generous fruit content does not compromise the delicate crumb structure.
A crucial technique employed in this recipe is the timing of banana incorporation. The mashed bananas are added last, after the majority of the batter has been meticulously mixed. This gentle folding method is vital for preventing the bananas from releasing excessive moisture prematurely, a common culprit behind gummy gluten-free muffins. By incorporating them towards the end, the batter maintains a lighter consistency, allowing for a superior rise and a more tender final product.
Furthermore, the fat component plays a significant role in achieving the desired outcome. A thoughtful combination of melted butter and oil contributes not only to a rich flavor profile but also ensures the muffins remain exceptionally moist. This dual fat approach enhances palatability and extends the shelf life of the baked goods, making them ideal for both immediate enjoyment and future consumption.
The baking process itself is a testament to precision. Initiating the bake at a very high oven temperature (425°F or 218°C) for the initial five minutes is a strategic move. This intense heat encourages rapid leavening, forcing the batter to rise quickly and form beautifully domed tops. Subsequently, lowering the temperature to 350°F (175°C) allows the muffins to bake through thoroughly without the risk of burning their delicate exteriors. This two-stage baking process is instrumental in achieving muffins that are perfectly cooked from center to crust.
Key Ingredients and Their Purpose
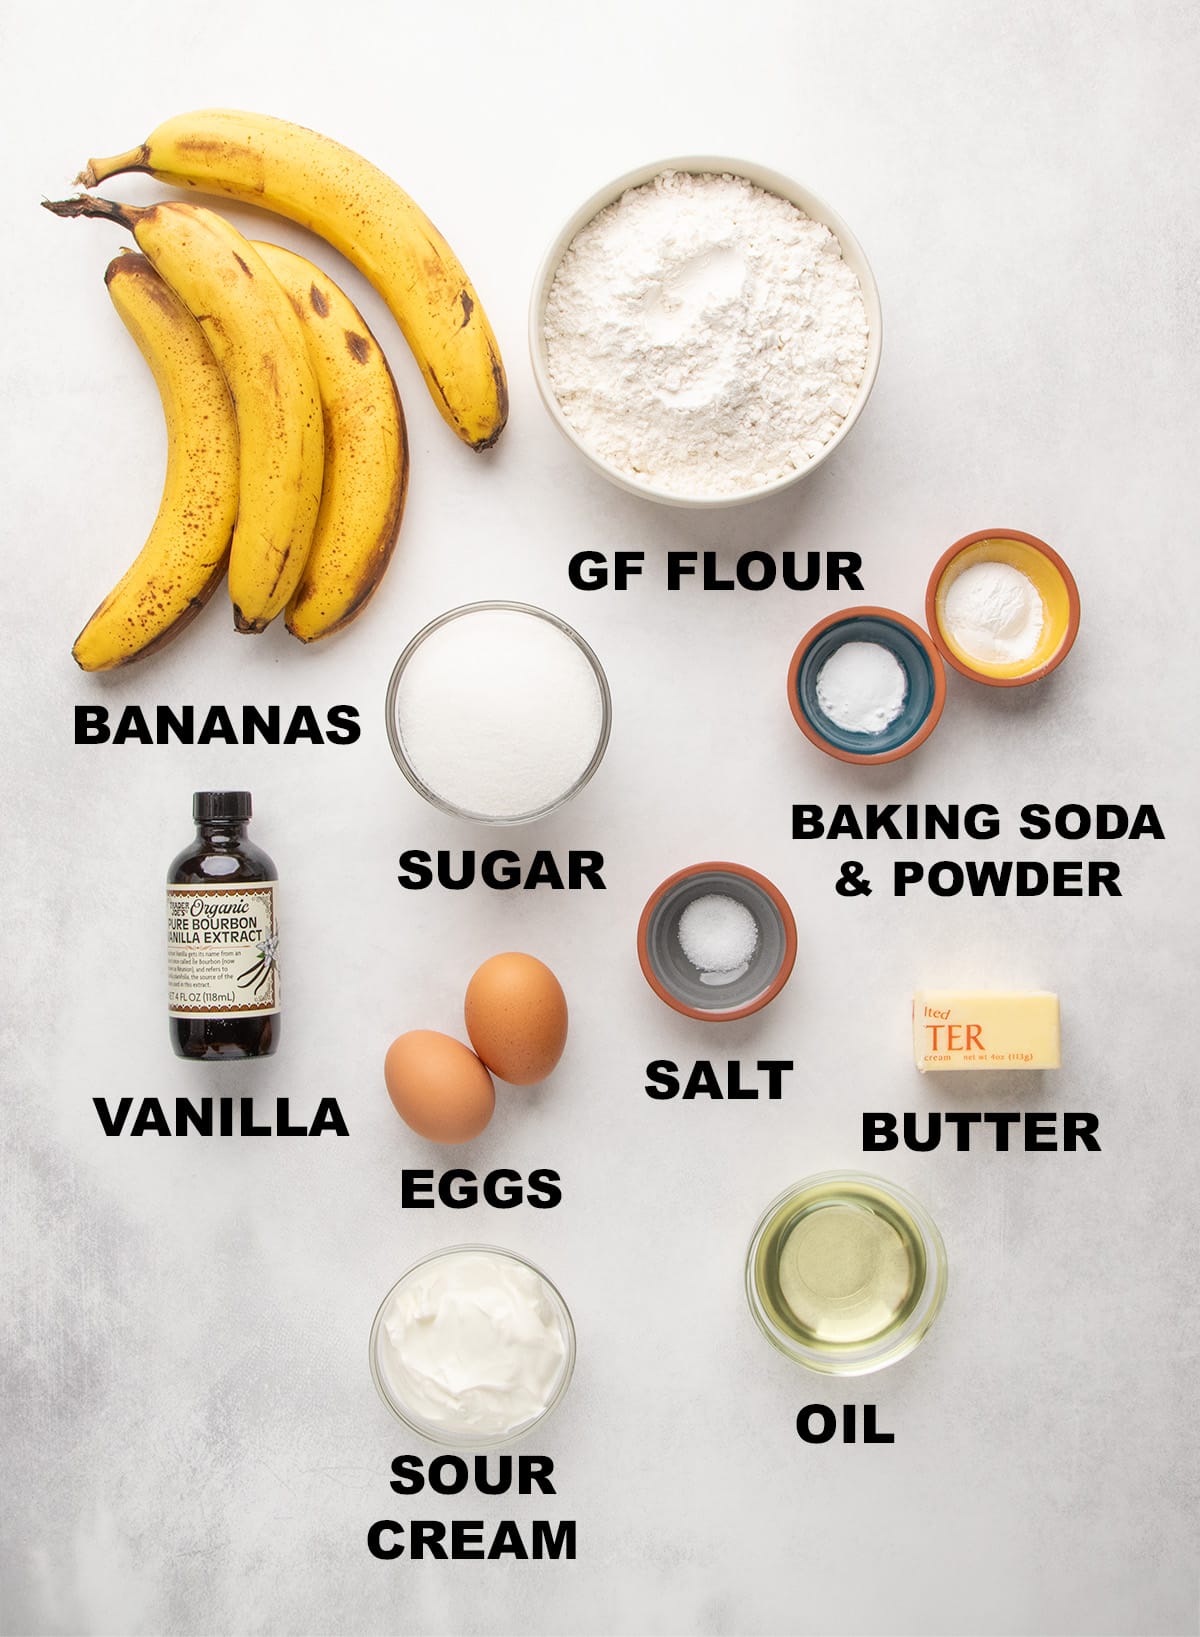
The success of any recipe hinges on the quality and interaction of its ingredients. For these gluten-free banana muffins, each component is selected for its specific contribution to flavor, texture, and overall structure.
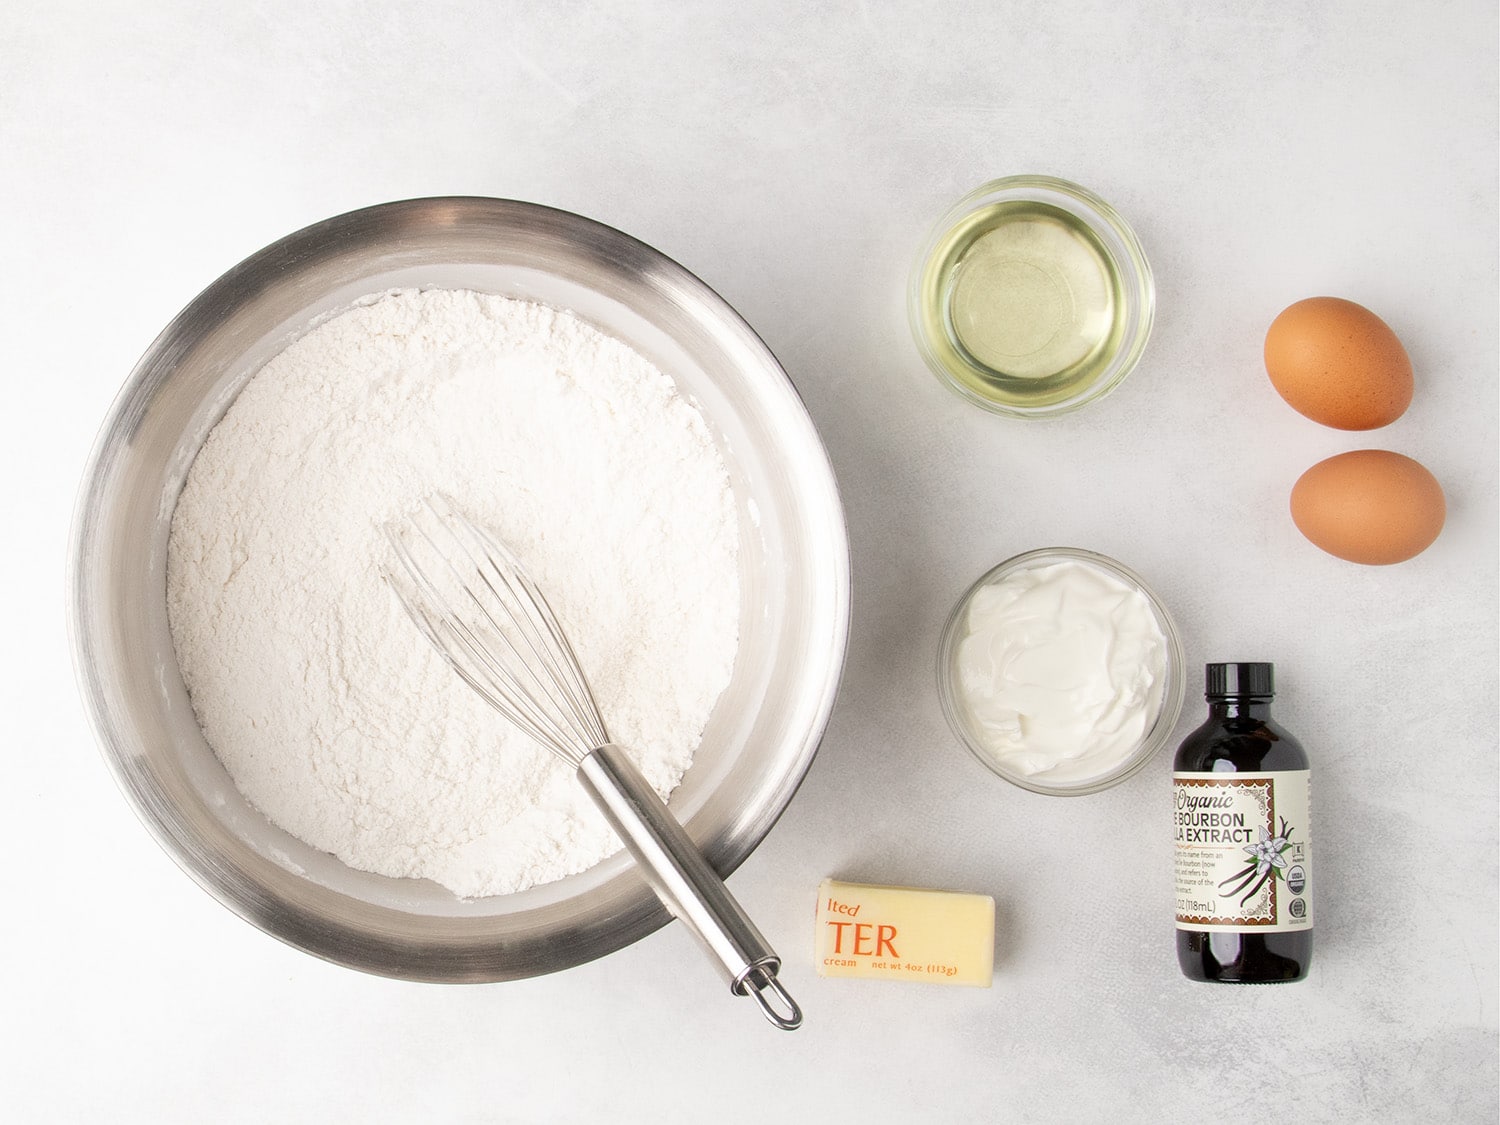
- Gluten-Free Flour Blend: The foundation of gluten-free baking. A high-quality, balanced blend is essential. Recommendations often include blends like Better Batter’s original, Nicole’s Best multipurpose blend, or Bob’s Red Mill 1-to-1 Baking Flour, with specific adjustments for xanthan gum content to ensure optimal binding and structure. The absence of gluten necessitates careful consideration of flour composition to mimic the elastic properties of wheat flour.
- Xanthan Gum: Typically included in gluten-free flour blends, xanthan gum acts as a binder, crucial for providing structure and preventing a crumbly texture in the absence of gluten. Its precise measurement is vital; too little can lead to a fragile crumb, while too much can result in a gummy or chewy texture.
- Ripe Bananas: The star ingredient. Overripe bananas, with their softened flesh and intensified sweetness, are ideal. They provide natural moisture, flavor, and a tenderizing effect. The high pectin content in ripe bananas also contributes to the overall structure.
- Sugar: Granulated sugar contributes to sweetness, moisture retention, and browning. The amount is carefully balanced with the natural sweetness of the bananas to avoid an overly saccharine muffin.
- Leavening Agents (Baking Powder and Baking Soda): These work in tandem to provide lift and create a light, airy texture. Baking soda, activated by the acidic components in the batter (such as sour cream), reacts with heat to produce carbon dioxide gas, causing the muffins to rise. Baking powder provides an additional, sustained lift.
- Salt: Enhances the overall flavor profile, balancing the sweetness and bringing out the nuanced notes of the banana and other ingredients.
- Fat (Melted Butter and Oil): As previously mentioned, this combination offers a superior balance of flavor and moisture. Butter provides richness and a desirable mouthfeel, while oil contributes to a consistently moist crumb that stays tender even after cooling.
- Eggs: Act as a binder, provide richness, and contribute to the leavening process. They help to create a stable structure for the muffins.
- Sour Cream: Adds moisture, tenderness, and a slight tanginess that complements the sweetness of the bananas. Its acidity also aids in activating the baking soda for optimal rise. For dairy-free alternatives, strained dairy-free yogurt or specialized dairy-free sour cream can be used.
- Vanilla Extract: Enhances the overall flavor, adding a warm, aromatic depth that complements the banana.
The Method: A Step-by-Step Guide to Perfection
Crafting these gluten-free banana muffins is a straightforward process, designed for ease and consistent results.
Step 1: Combining Dry Ingredients
Begin by whisking together the gluten-free flour blend, xanthan gum (if not already in the blend or if an adjustment is needed), baking powder, baking soda, salt, and sugar in a large mixing bowl. This initial step ensures that all dry ingredients are evenly distributed, preventing pockets of leavening agents and promoting uniform rising. A thorough whisking also breaks up any potential clumps, contributing to a smoother batter.
Step 2: Introducing Wet Ingredients
Create a well in the center of the dry ingredients. Add the melted butter, oil, eggs, sour cream, and vanilla extract directly into this well. The instruction to mix only the wet ingredients in the center initially serves to simplify the process, eliminating the need for a separate bowl for wet components. This targeted mixing allows the wet ingredients to begin emulsifying before being incorporated into the dry.
Step 3: Integrating Wet and Dry Components
Continue to mix the wet ingredients, gradually incorporating the surrounding dry ingredients. At this stage, the mixture will likely be quite thick and may not fully combine into a smooth batter. This is an expected part of the process, as the goal is not to overmix at this point. Overmixing can develop toughness in gluten-free baked goods.
Step 4: The Gentle Fold of Mashed Bananas
This is a critical juncture. Add all of the mashed ripe bananas to the partially mixed batter. Using a spatula, gently fold the bananas into the mixture. This action will significantly loosen the batter. The careful folding technique is paramount to avoid overworking the bananas, which could release excess moisture and lead to a gummy texture. The batter will transform into a more fluid consistency as the bananas are incorporated.
Step 5: Portioning for Optimal Rise
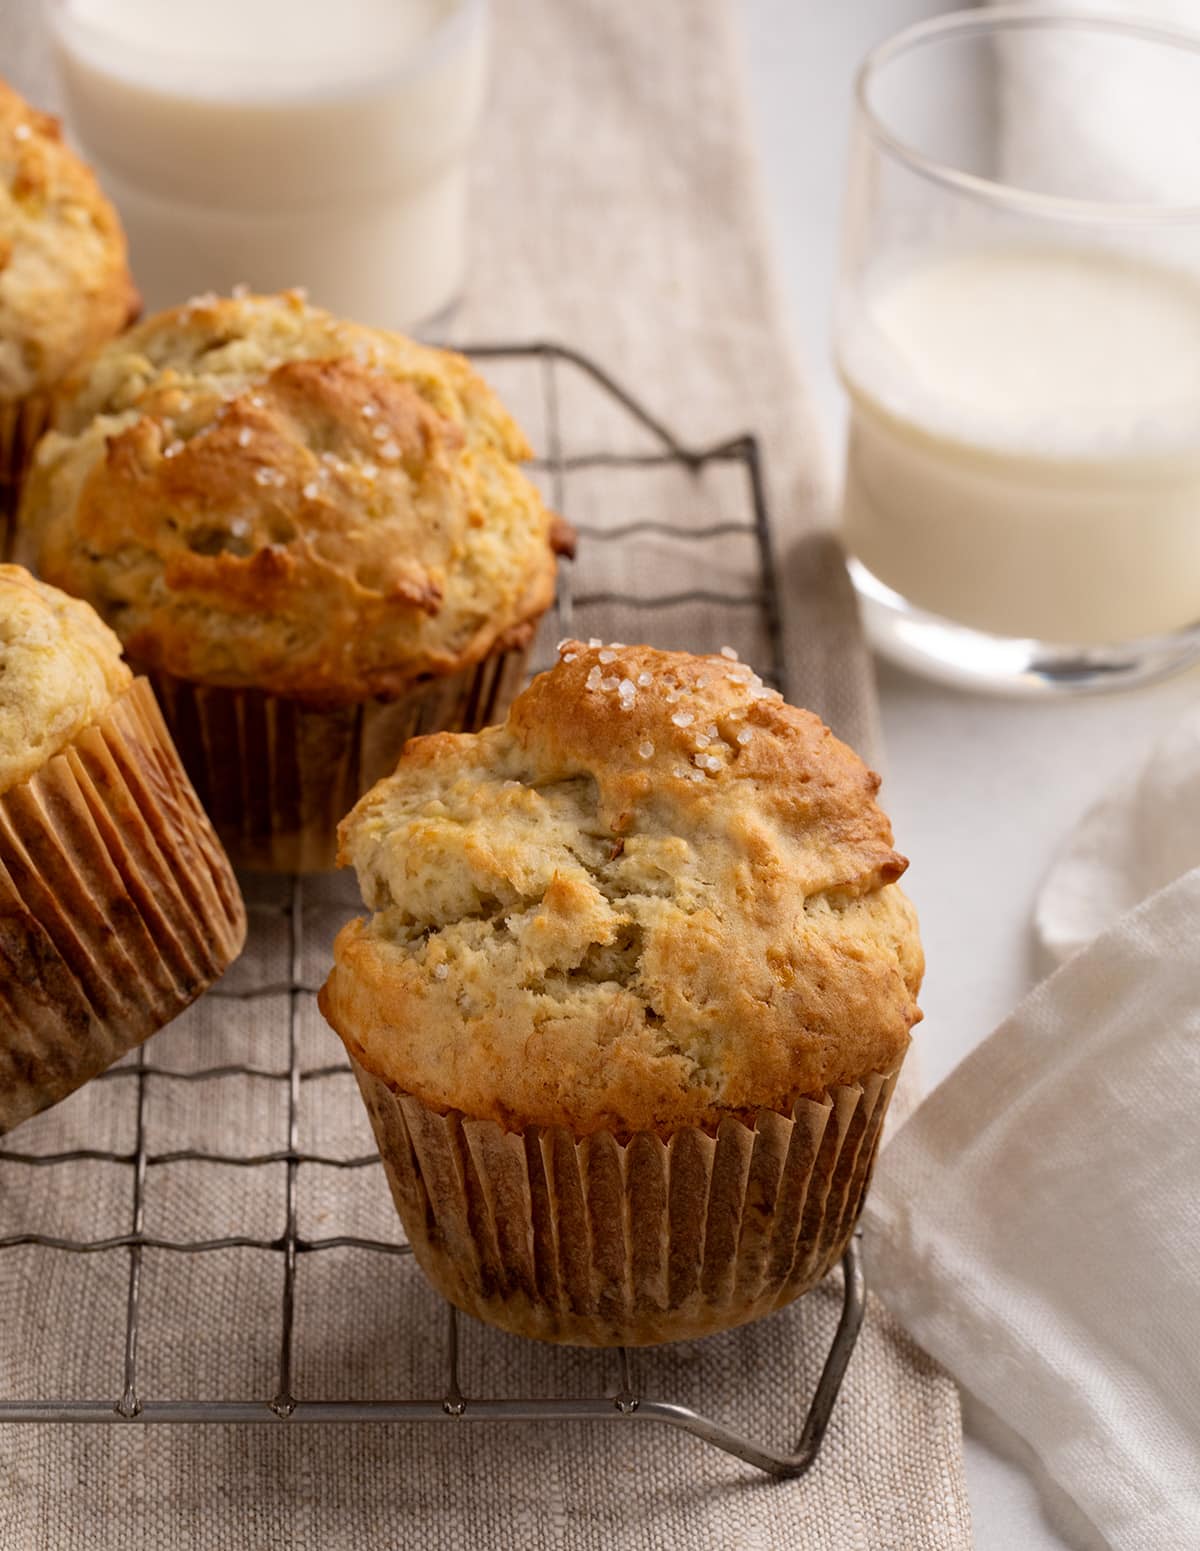
For muffins that achieve their maximum height, a strategic approach to portioning is advised. Fill every other muffin well in the baking tin, leaving the intervening wells empty. This provides ample space for the muffins to expand upwards without encroaching on their neighbors, facilitating a more even and pronounced dome. Each liner should be filled to the brim with batter, ensuring a generous muffin size.
Step 6: The Two-Stage Baking Process
The baking process is divided into two distinct temperature phases to achieve the ideal texture and appearance.
- Initial High-Heat Bake (425°F / 218°C): For the first five minutes, bake the muffins at a high temperature. This intense heat shock rapidly activates the baking powder, triggering a swift upward surge in the batter. Simultaneously, it begins to set the outermost layer of the muffins, forming a stable crust that supports the rising structure and contributes to the characteristic domed top.
- Reduced Heat Bake (350°F / 175°C): Immediately after the initial five minutes, reduce the oven temperature to 350°F (175°C). Continue baking for approximately another 15 minutes, or until the muffins are golden brown and the centers spring back when gently pressed. This lower temperature allows the interior of the muffins to bake through completely without scorching the exterior.
Step 7: Cooling for Perfect Texture
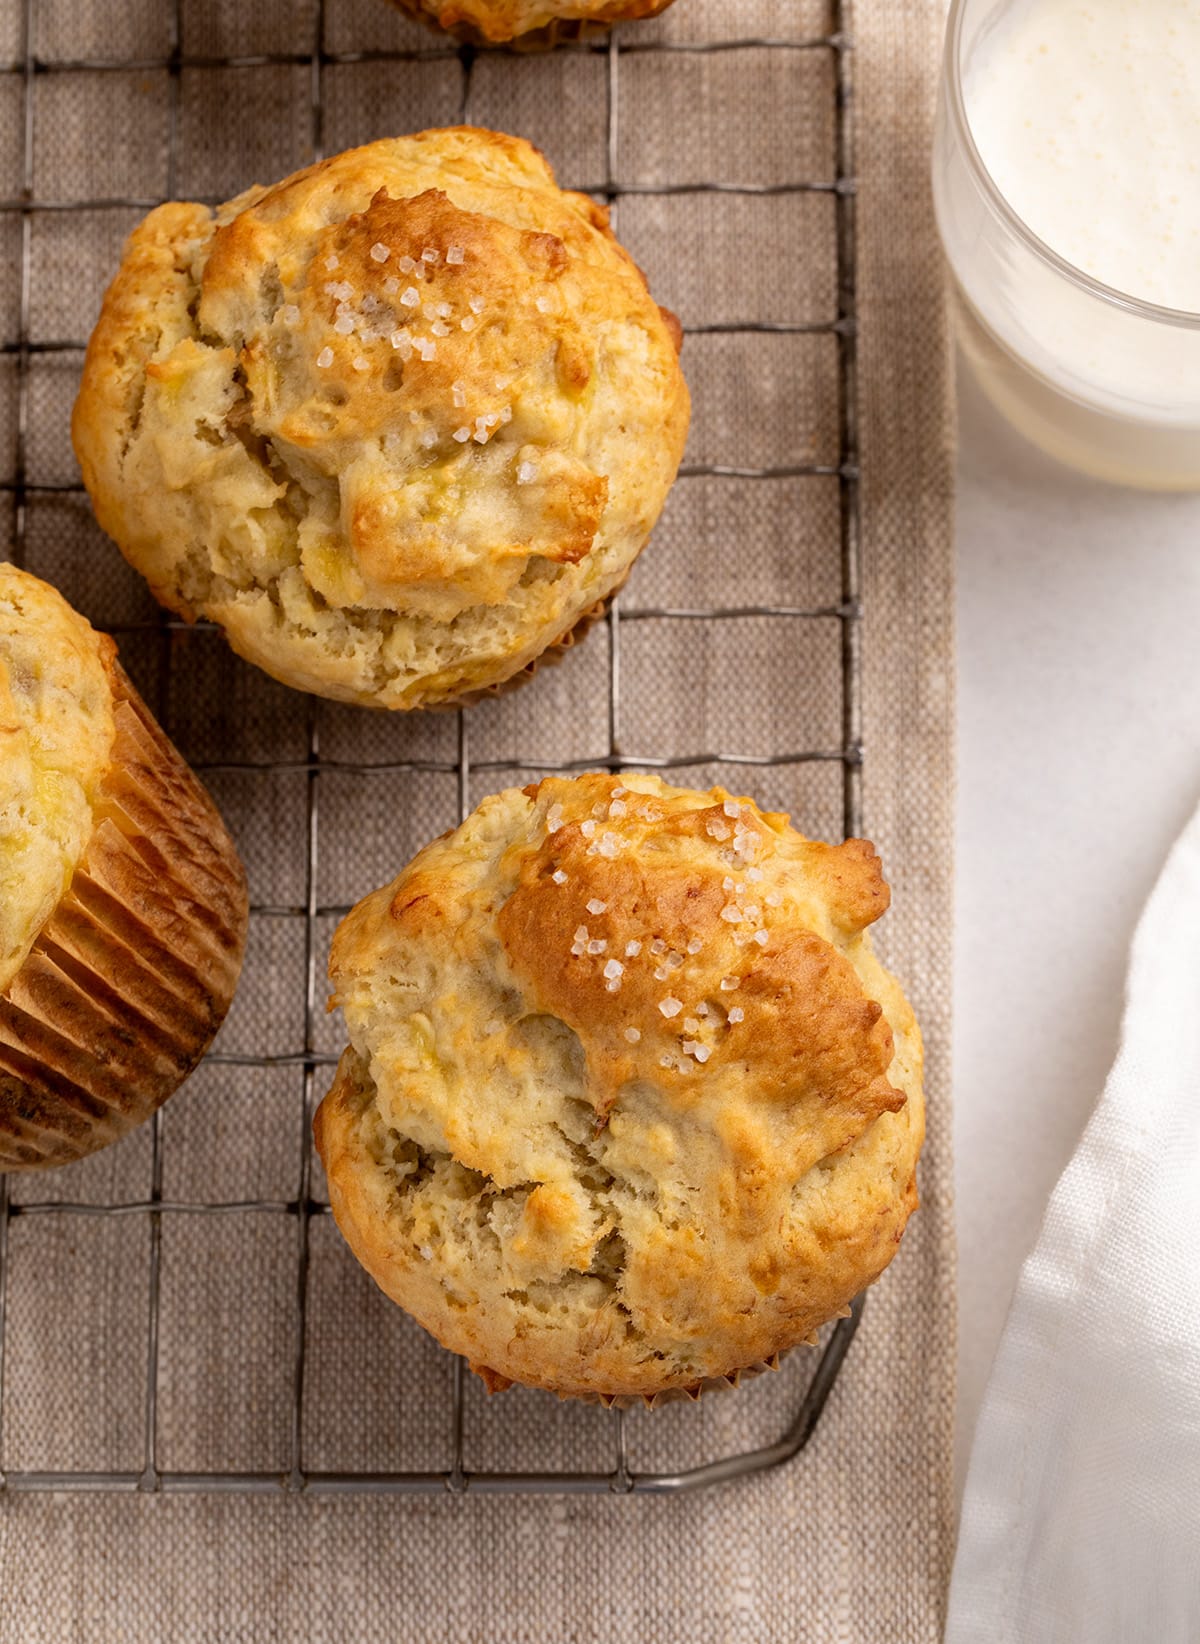
Once baked, allow the muffins to cool in the tin for a brief five minutes. This short resting period allows them to firm up slightly before being transferred to a wire rack to finish cooling completely. Prolonged contact with the hot tin can lead to steaming, which can negatively impact the muffin’s exterior texture, potentially making it unpleasantly chewy.
Expert Insights for Elevated Baking
Achieving consistently perfect gluten-free banana muffins involves understanding a few key nuances.
Maximizing Muffin Height
The strategy of starting with a high oven temperature (425°F/218°C) for the initial five minutes is a well-established technique for maximizing oven spring. This initial burst of heat encourages the leavening agents to work overtime, driving the batter upwards. Following this with a lower, consistent temperature ensures the inside is cooked without burning the outside. As mentioned, utilizing every other muffin well also contributes to this goal by allowing for unimpeded vertical expansion.
Prompt Removal from the Tin
The practice of removing muffins from their tin promptly, typically within five minutes of baking, is crucial for maintaining their ideal texture. Leaving them in the hot tin for too long can cause them to steam, leading to a soggy bottom and a chewy, less desirable crust. A wire rack facilitates even air circulation, allowing the muffins to cool properly and retain their intended crispness on the exterior.
Adapting the Recipe: Substitutions and Variations
The versatility of this recipe extends to accommodating various dietary needs and flavor preferences.
Dairy-Free Modifications
For those avoiding dairy, the recipe can be readily adapted. Melted virgin coconut oil is an excellent substitute for butter, with triple-filtered oil being the preferred choice to avoid any residual coconut flavor. For the sour cream component, a suitable dairy-free sour cream alternative or strained dairy-free plain yogurt, achieving a Greek-style yogurt consistency, can be effectively utilized. These substitutions maintain the moisture and tenderizing qualities of the original ingredients.
Egg-Free Baking
The recipe can also be made egg-free using a variety of readily available egg replacers. A "chia egg" (one tablespoon of ground chia seeds mixed with two tablespoons of water, allowed to gel) can replace each egg. Commercial egg replacers, such as Bob’s Red Mill egg replacer or "Just Egg" refrigerated egg replacer, are also effective alternatives, ensuring the binding and structural integrity of the muffins.
Flavor Enhancements and Additions
For those seeking to customize their banana muffins, several delightful additions can be incorporated. Stirring in up to half a cup of chocolate chips or two to three ounces of chopped nuts, such as walnuts or pecans, can add delightful textural and flavor contrasts. For a warming, spiced variation, one teaspoon of ground cinnamon can be added to the dry ingredients, infusing the muffins with a comforting aroma and taste.
Storage and Longevity
Proper storage is key to preserving the freshness and quality of these gluten-free banana muffins.
Room Temperature Storage
Allow muffins to cool completely before storing them in an airtight container at room temperature. They will maintain their optimal texture for up to five days. This method is ideal for muffins intended for regular consumption over a short period.
Refreshing Slightly Dry Muffins
If muffins begin to feel slightly dry, a simple rejuvenation technique can be employed. Briefly run the muffin under cold water and then warm it in a toaster oven at 300°F (150°C) for a couple of minutes. This process reintroduces moisture and revives the texture without making them soggy.
Long-Term Freezing
For extended storage, freezing is an excellent option. After cooling completely, place the muffins on a baking sheet until they are solid. Then, transfer them to a zip-top bag for storage in the freezer for up to two months. To enjoy, thaw at room temperature or microwave for approximately 25 seconds. For the best texture upon reheating, a low toaster oven setting is recommended.
Nutritional Considerations
The approximate nutritional breakdown per muffin (based on 16 servings) is as follows: Calories: 234 kcal, Carbohydrates: 37g, Protein: 2g, Fat: 8g, Saturated Fat: 3g, Polyunsaturated Fat: 1g, Monounsaturated Fat: 3g, Trans Fat: 0.1g, Cholesterol: 32mg, Sodium: 190mg, Potassium: 107mg, Fiber: 2g, Sugar: 16g, Vitamin A: 178 IU, Vitamin C: 2mg, Calcium: 42mg, Iron: 0.2mg. It is important to note that these figures are automatically calculated and should be considered approximations, subject to variations based on specific ingredient brands and precise measurements.
Frequently Asked Questions
Can I make these muffins using frozen bananas?
Yes, frozen bananas can be used, but it’s crucial they are fully thawed before incorporation. As frozen bananas defrost, they release water. It is essential to include both the fruit and any accumulated liquid in the batter to maintain the correct moisture balance.
Why did my muffins sink as they cooled?
Muffins sinking is often an indication of being underbaked. While the exterior might appear done, the center may still be raw. This can be exacerbated by an oven that runs hotter than its set temperature. Using an oven thermometer and ensuring the muffins are baked until the centers spring back to the touch is recommended.
Can I use this recipe to make mini muffins?
Certainly. For mini muffins, use a 24-cup mini muffin tin and fill each well to the top. Baking should commence at 350°F (175°C) from the start, and baking time should be reduced, checking for doneness around 15 minutes. They are ready when the tops gently spring back when pressed.
Can I add chocolate chips or nuts?
Absolutely. Up to 1/2 cup of chocolate chips or 2 to 3 ounces of chopped nuts like walnuts or pecans can be added to the batter. For a spiced variation, 1 teaspoon of ground cinnamon can be mixed with the dry ingredients.
