

This post may contain affiliate links. Please read our disclosure policy.
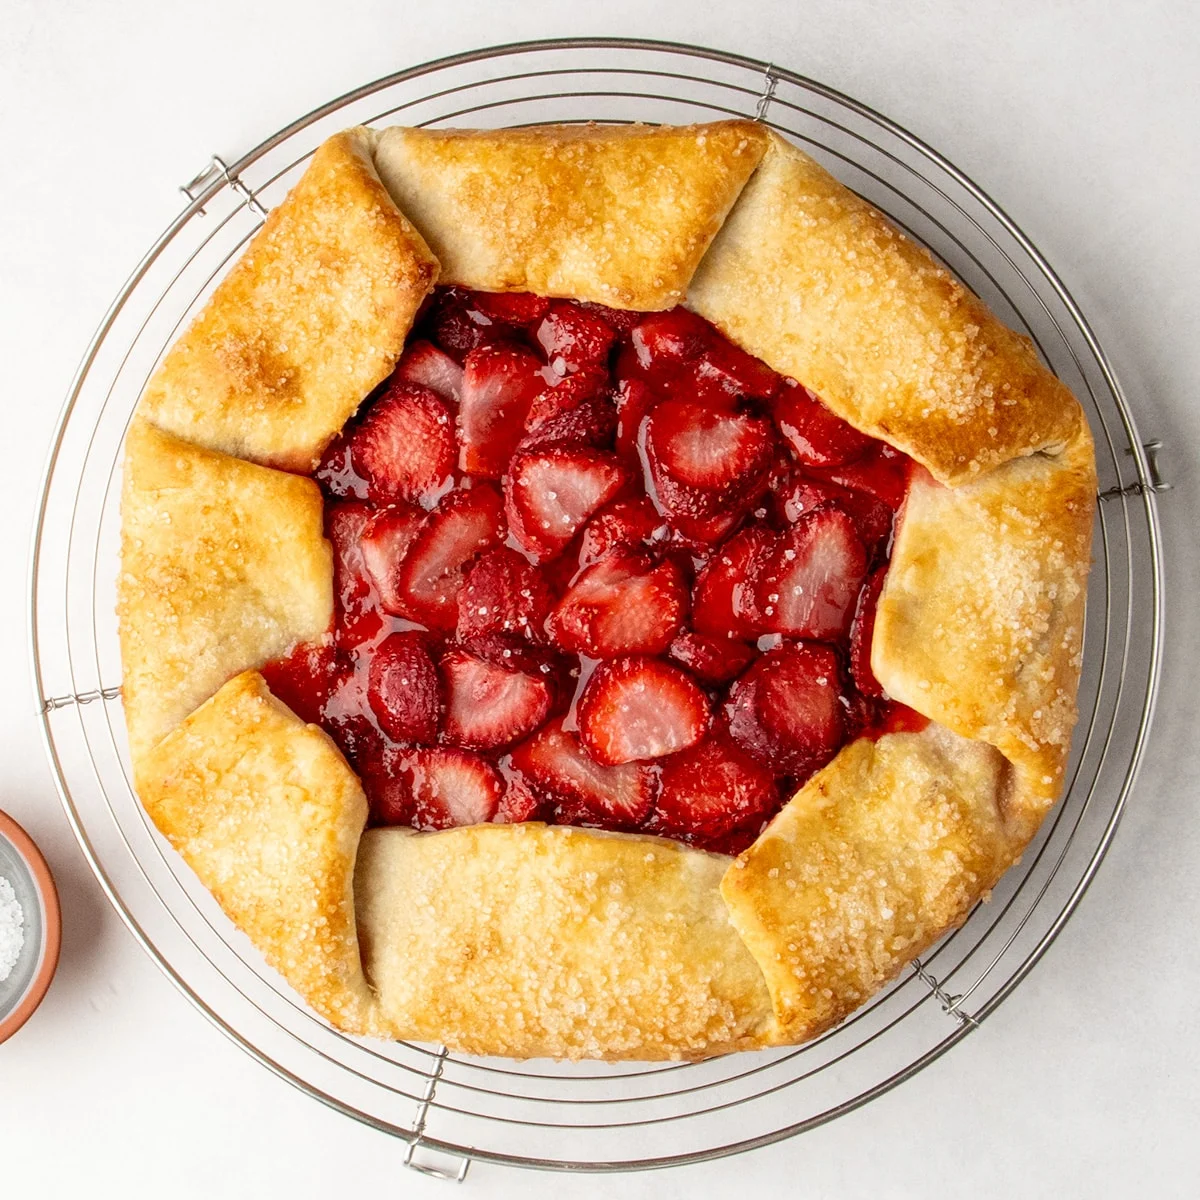
A rustic, simple gluten-free galette presents a delightful culinary option for those seeking a delicious dessert without the complexities of traditional pie-making. This particular recipe features a flaky, golden crust enfolding a vibrant strawberry filling. The filling itself is characterized by its glossy appearance and robust flavor, achieved through a judiciously light touch of sweetness, allowing the natural essence of the fresh berries to take center stage.
The beauty of a galette lies in its inherent simplicity and rustic charm. Unlike pies, which often demand meticulous shaping and a perfectly crimped crust, a galette offers a more forgiving and accessible approach to fruit desserts. The process involves rolling out a simple dough, arranging the fruit filling in the center, and then folding the edges of the dough over the filling to create a free-form tart. This technique not only simplifies the baking process but also results in a visually appealing dessert that is both elegant enough for entertaining and comforting enough for everyday enjoyment. This recipe specifically capitalizes on the peak season of fresh berries, ensuring a burst of natural flavor and sweetness.
Why This Recipe Excels: The Art of the Gluten-Free Galette
The success of this gluten-free galette can be attributed to several key elements that address common challenges associated with gluten-free baking, particularly in pastry.
Firstly, the galette format inherently simplifies pie construction. The absence of a pie pan means there’s no need to worry about fitting dough into a dish or achieving a perfectly uniform crust. The rustic folds of the galette’s edge are part of its charm, making it an accessible recipe for bakers of all skill levels.

Secondly, the filling is meticulously balanced to highlight the natural sweetness and flavor of the strawberries. By using a light hand with added sugar and incorporating ingredients like vinegar, the recipe aims to enhance the berries’ inherent taste rather than mask it. This approach ensures that when berries are at their seasonal best, their flavor truly shines.
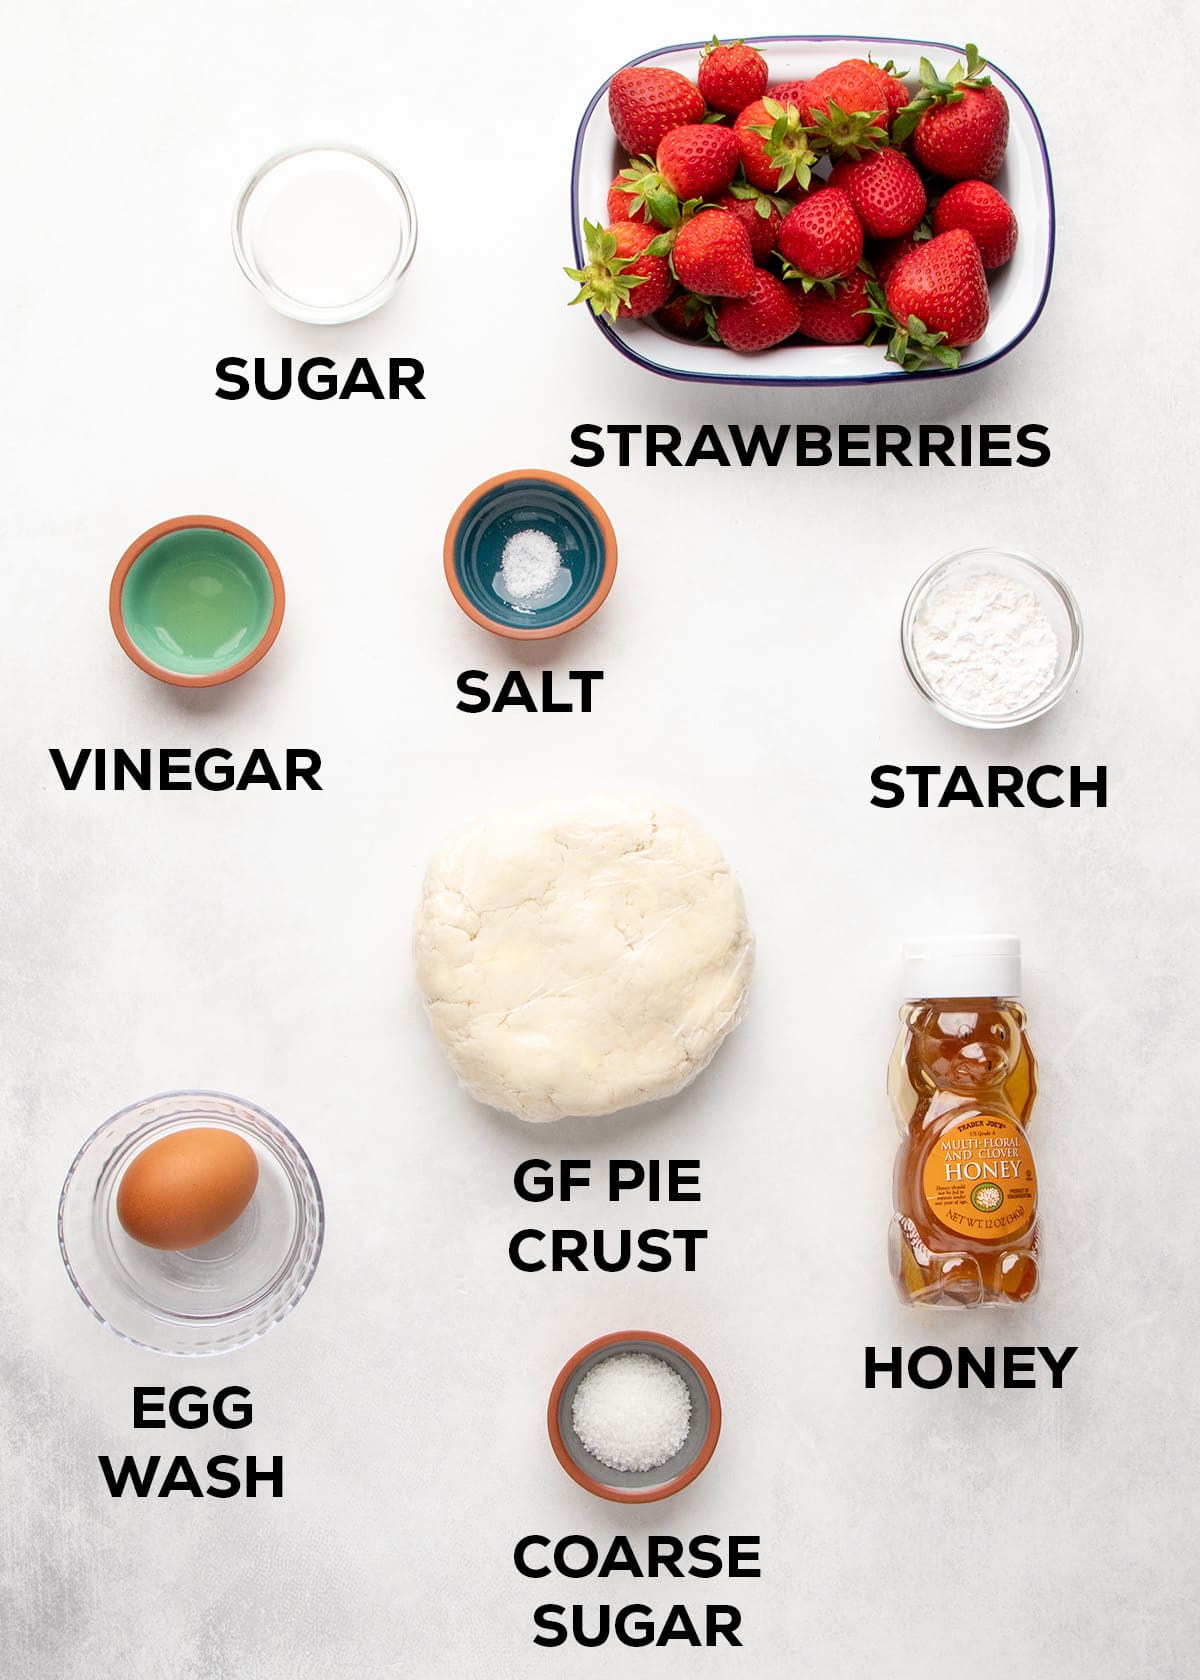
Crucially, this recipe proactively combats the potential for a soggy crust, a frequent concern with fruit-based bakes, especially those made with gluten-free flours. Several strategies are employed to achieve a crisp and flaky crust:
- Glossy Syrup Formation: The berries are encouraged to release their juices, which then thicken into a glossy syrup during baking. This controlled release of moisture is essential for flavor development.
- Thicker Crust Dough: The gluten-free dough is rolled slightly thicker than a conventional pie crust. This provides additional structural integrity, preventing the moist filling from compromising the crust’s texture during the baking process.
- Honey Seal: A light brush of honey is applied to the base of the crust before the filling is added. This acts as a subtle barrier, helping to seal the dough and prevent moisture penetration, thereby contributing to a crispier finish.
This thoughtful combination of techniques ensures that the galette delivers on both flavor and texture, offering a satisfyingly flaky crust and a luscious berry filling.
Essential Ingredients for a Perfect Gluten-Free Galette
To recreate this delightful gluten-free strawberry galette in your own kitchen, a specific set of ingredients is required. The full quantities are detailed in the accompanying recipe card.
For the Crust:
- Gluten-free flour blend (containing xanthan gum)
- Baking powder
- Salt
- Granulated sugar (optional, for a slightly sweeter crust)
- Cold, unsalted butter, cut into small cubes
- Ice-cold water
For the Filling:
- Fresh strawberries, washed, dried, and hulled
- Granulated sugar (amount adjustable based on berry sweetness)
- Vinegar (such as apple cider or white wine vinegar)
- Salt
- Tapioca starch (or cornstarch, arrowroot, or potato starch)
For Finishing:
- Honey (for brushing the crust)
- Egg wash (beaten egg with a splash of water or milk)
- Coarse-grained sugar (for sprinkling)
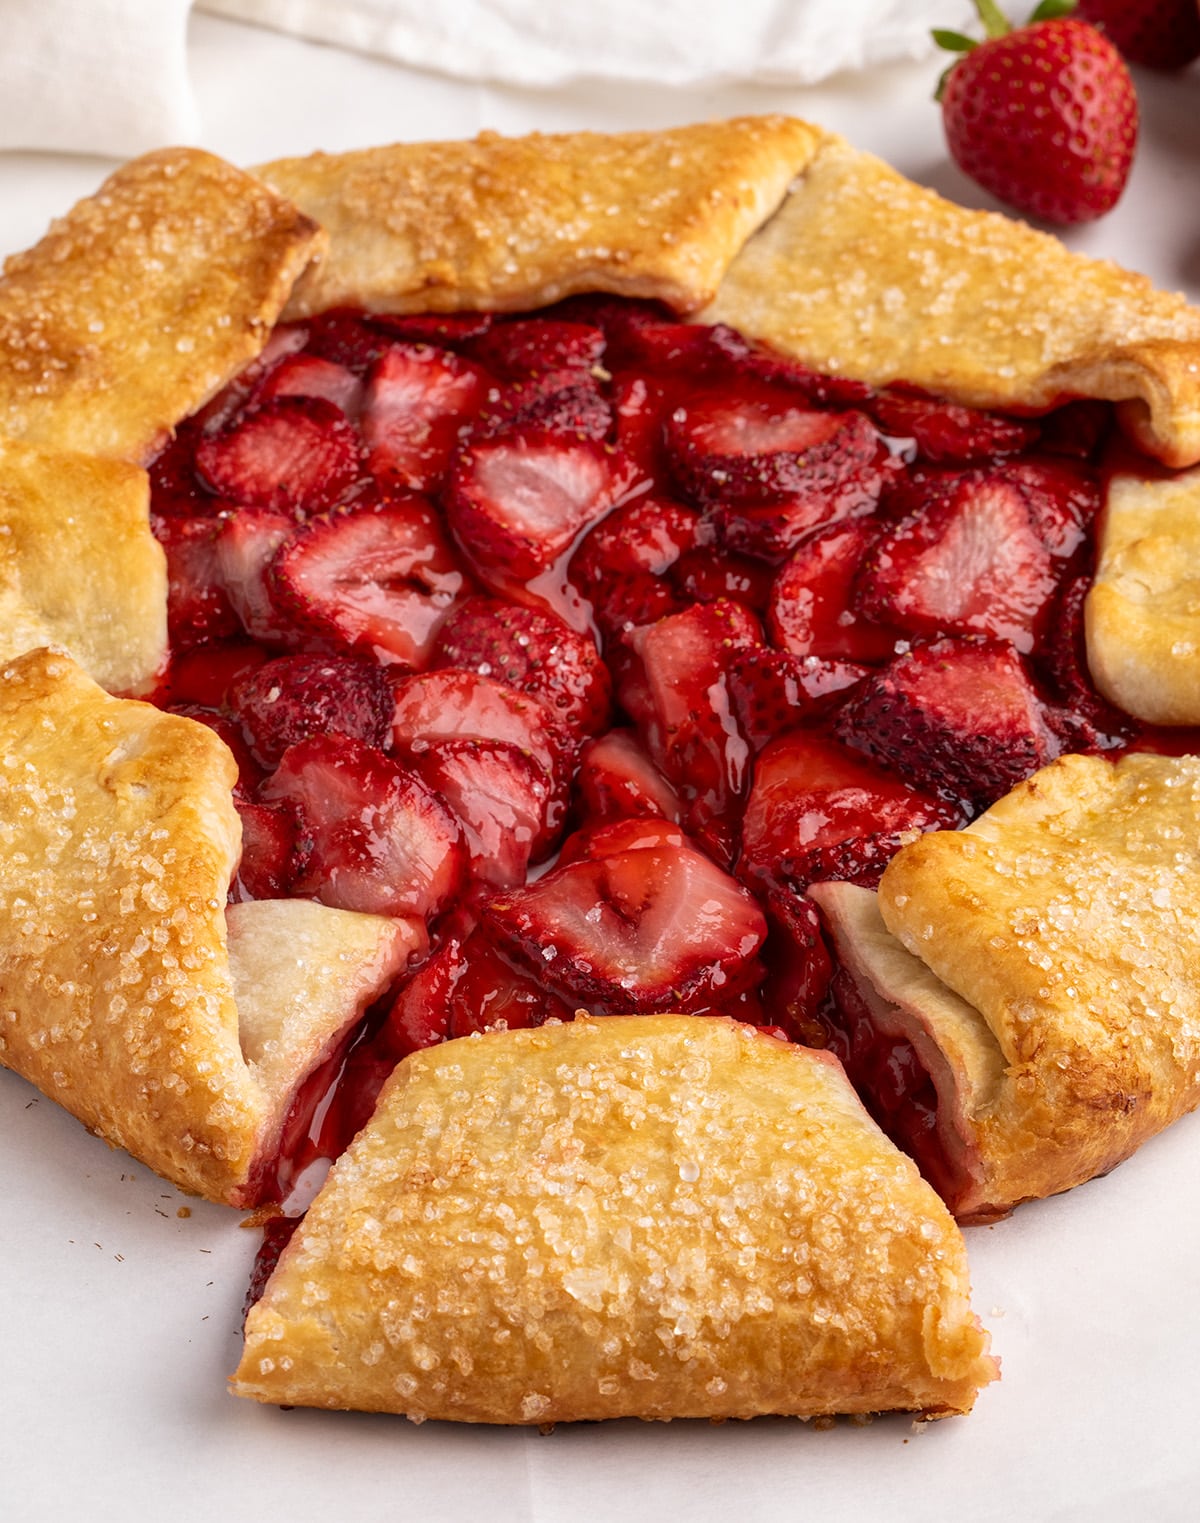
The image accompanying this section showcases a meticulously arranged assortment of these ingredients on a light surface, providing a visual guide for preparation. This includes labeled containers of sugar, a bowl of vibrant strawberries, a small dish of vinegar, salt, tapioca starch, a pre-formed disk of gluten-free pie crust, a brown egg in a bowl for the egg wash, honey, and a scattering of coarse sugar, all ready to be transformed into a delectable galette.
Step-by-Step Guide to Crafting Your Gluten-Free Strawberry Galette
The creation of this gluten-free strawberry galette is a process that, while detailed, is designed to be manageable and rewarding. The following steps, often accompanied by visual aids in comprehensive recipe guides, break down the preparation into distinct stages.
Making the Gluten-Free Crust Dough
- Whisk Dry Ingredients: In a large mixing bowl, thoroughly whisk together the dry components of the crust: the gluten-free flour blend, baking powder, salt, and optional sugar. This ensures an even distribution of ingredients and eliminates any potential clumps.
- Incorporate Butter: Add the cold, cubed butter to the dry ingredients. Toss the butter cubes to coat them evenly. Then, using your fingertips or a pastry blender, work the butter into the flour mixture. The goal is to create small, pea-sized pieces of butter, or even thinner shards, which will later melt and steam in the oven to create flaky layers. Avoid overworking the dough to prevent the butter from melting.
- Add Water and Form Dough: Gradually add ice-cold water, a tablespoon at a time, to the flour and butter mixture. Stir with a fork or spatula until the dough just begins to come together. It is crucial to add only enough water to hydrate the flour; excess water can lead to a tough or soggy crust. The dough should hold together when pressed.
- Chill the Dough: Turn the dough out onto a lightly floured surface and gently bring it together into a cohesive mass. Flatten it into a disk, wrap it tightly in plastic wrap, and refrigerate for at least 30 minutes, or until firm. Chilling the dough allows the gluten-free flours to hydrate fully and the fat to solidify, which is essential for a flaky texture.
Preparing the Strawberry Filling
- Prepare the Berries: Wash, thoroughly dry, and hull approximately one pound of fresh strawberries. Slice them thickly to ensure they retain their shape and texture during the baking process.
- Marinate the Berries: In a bowl, combine the sliced strawberries with a pinch of salt, granulated sugar, and a dash of vinegar. Gently toss to coat. Allow the mixture to rest for about 10-15 minutes. This resting period helps to draw out some of the berries’ natural moisture and intensifies their flavor.
- Thicken the Filling: Sprinkle the tapioca starch evenly over the marinated strawberries. Gently stir to combine. The tapioca starch will absorb some of the released moisture, creating a glossy, thickened sauce as the galette bakes. Let the mixture sit for another few minutes to allow the starch to soften and the berries to release more juice.
Assembling and Baking the Galette
- Roll Out the Crust: On a lightly floured surface, roll out the chilled dough into a large circle, approximately 13 to 14 inches in diameter. Aim for a thickness of about 1/4 inch. This slightly thicker crust is designed to provide stability against the moist filling.
- Prepare for Filling: Carefully transfer the rolled-out dough onto a piece of parchment paper placed on a baking sheet. Brush the center of the dough with a thin layer of honey. This not only aids in browning but also helps to create a barrier against the fruit juices.
- Fill the Crust: Spoon the prepared strawberry filling into the center of the dough, leaving a 2-inch border of bare crust around the edges.
- Fold the Edges: Gently fold the outer edge of the dough up and over about one-quarter of the filling. Continue folding the dough around the filling in pleats, overlapping as needed, until you have a rustic, circular pastry encasing most of the filling, with a significant portion remaining exposed. Press down gently on the folded crust to help it adhere to itself and the filling.
- Finishing Touches: Brush the exposed crust with the egg wash to promote a golden-brown color and a glossy finish. For added sweetness and a delightful crunch, sprinkle the crust generously with coarse-grained sugar.
- Chill Before Baking: Place the fully assembled galette, still on its parchment paper and baking sheet, into the refrigerator for at least 15-20 minutes. This crucial step ensures the dough is thoroughly chilled before baking, which is vital for achieving a crisp, flaky crust. Cold butter in the dough will melt more slowly in the oven, creating steam that separates the layers.
- Preheat the Oven: While the galette chills, preheat your oven to 375°F (190°C).
- Bake to Perfection: Place the chilled galette on the baking sheet into the preheated oven. Bake for approximately 35-40 minutes, or until the exposed crust is deeply golden brown and the strawberry filling is bubbling and appears thickened.
- Cool and Serve: Once baked, carefully remove the galette from the oven and let it cool on the baking sheet for about 20 minutes. This allows the filling to set properly. Then, transfer the galette to a wire rack to cool further before slicing and serving.
Expert Tips for Galette Success
To elevate your gluten-free strawberry galette experience, consider these expert recommendations:
Adjusting Sweetness to Complement Your Berries
The amount of sugar in the filling can be adjusted to suit the natural sweetness of your strawberries. If your berries are particularly fragrant and naturally sweet, starting with 1/4 cup of granulated sugar is a good baseline. However, taste a few berries beforehand and adjust the sugar accordingly – adding up to another 1/4 cup if they are less sweet or if you simply prefer a sweeter dessert. This adaptability ensures optimal flavor balance.
Preparing the Crust in Advance
For greater convenience, the gluten-free pie crust dough can be prepared up to one week in advance. Store it tightly wrapped in plastic wrap in the refrigerator to prevent it from drying out. If the dough has been chilled for an extended period (more than a couple of hours), allow it to sit at room temperature for about 15 minutes before rolling. This brief softening period will prevent the dough from cracking as you attempt to roll it out.
Strategies for Avoiding a Soggy Crust
A common pitfall in fruit-based desserts is a soggy bottom crust. This recipe incorporates measures to mitigate this risk, but additional precautions can be taken if your fruit is particularly juicy:
- Drain Excess Moisture: If using overripe fruit or frozen berries (which tend to release more liquid), consider draining off some of the excess liquid before adding the tapioca starch.
- Increase Thickener: For exceptionally wet fruit, you can add up to one tablespoon of extra tapioca starch to the filling mixture to help absorb any surplus moisture.
Exploring Fruit Variations
While this recipe shines with strawberries, the underlying principles can be applied to a variety of other fruits, making it a versatile template:
- Other Berries: Raspberries, blueberries, or a combination of berries are excellent substitutes for strawberries.
- Stone Fruits: Ripe stone fruits such as peaches, nectarines, or plums can also be used. Ensure the flesh is soft enough to cook at a similar rate to berries.
- Apples: For firmer fruits like apples, slice them thinly after peeling and coring. This ensures they become tender by the time the pastry crust is baked. Apples have a higher pectin content than berries, so you may need less starch.
Ingredient Substitutions for Dietary Needs
This recipe offers flexibility through thoughtful ingredient substitutions to accommodate various dietary preferences and requirements.
Dairy-Free Adaptations
The primary dairy component in this recipe is the butter used in the pie crust. To create a dairy-free version, substitute the butter with a combination of half a block of vegan butter and half a portion of butter-flavored vegetable shortening (such as Crisco or Spectrum brand). This blend is recommended as it closely mimics the moisture content and behavior of dairy butter, contributing to a desirable crust texture.
Tapioca Starch Alternatives
Tapioca starch, also known as tapioca flour, is favored for its ability to create a clear, glossy gel without becoming gluey or opaque. However, other starches can be used effectively as substitutes. Cornstarch, arrowroot powder, or potato starch are all viable options for thickening the fruit filling. The choice may slightly alter the final texture and clarity of the filling, but the overall result will remain delicious.
Honey Replacements
For those who prefer not to use honey or have it readily available, several alternatives can be employed for brushing the crust:
- Lyle’s Golden Syrup: This is a popular and effective substitute that provides a similar sheen and caramel notes.
- Simple Syrup: A homemade simple syrup can be prepared by combining equal parts granulated sugar and water. Heat the mixture over medium heat, stirring until the sugar dissolves and the syrup gently boils for about 60 seconds. Allow it to cool before use. Stored in an airtight container in the refrigerator, simple syrup will keep for approximately 14 days.
Storage and Preparation Guidelines
Proper storage and preparation can ensure this delicious galette can be enjoyed at various times.
Preparing the Galette Ahead of Time
The entire galette can be assembled raw and then frozen for later baking. Once assembled on the parchment-lined baking sheet, place it in the freezer until completely firm. Then, wrap it tightly in freezer-safe material and return it to the freezer. To bake, remove the galette from the freezer and bake it directly from frozen. You may need to add a few extra minutes to the baking time. It is essential not to defrost the galette before baking, as this can compromise the crust’s texture.
Storing Leftovers
Any leftover slices of the galette can be stored in the refrigerator, wrapped tightly in plastic wrap, for up to 5 days. For longer storage, the slices can be frozen for up to 3 months. To revive any lost flakiness after refrigeration or freezing, gently reheat the slices in a 300°F (150°C) toaster oven until warmed through. This process helps to crisp up the pastry and restore its delightful texture.
This gluten-free strawberry galette stands as a testament to the possibilities within gluten-free baking, offering a rustic, flavorful, and accessible dessert that celebrates the natural goodness of seasonal fruit. Its straightforward preparation and adaptable nature make it a welcome addition to any baker’s repertoire.
