

This post may contain affiliate links. Please read our disclosure policy.
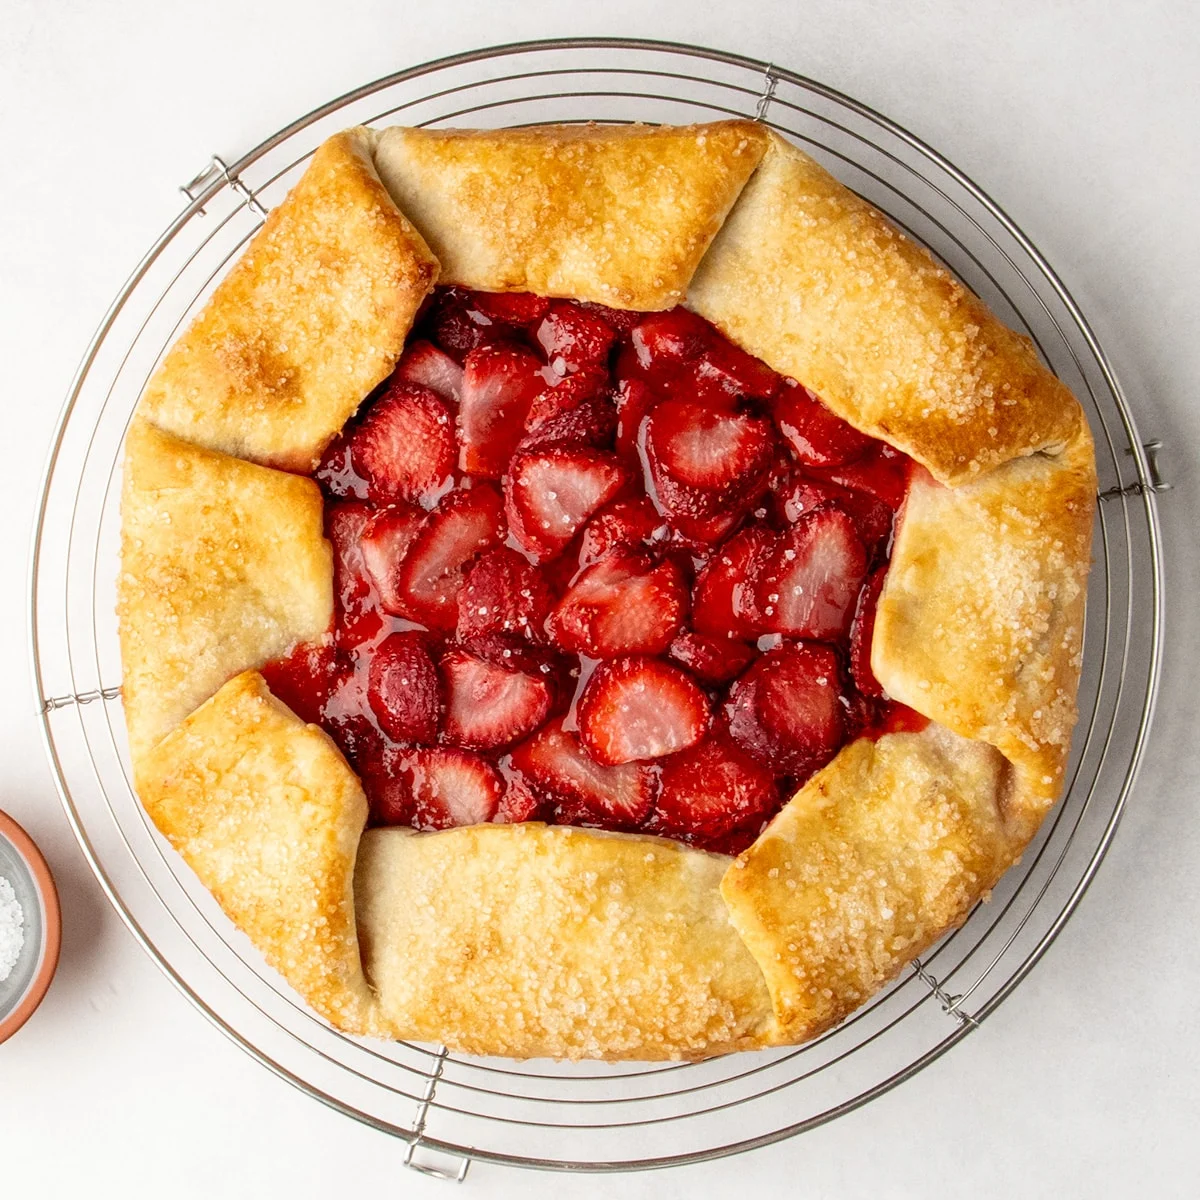
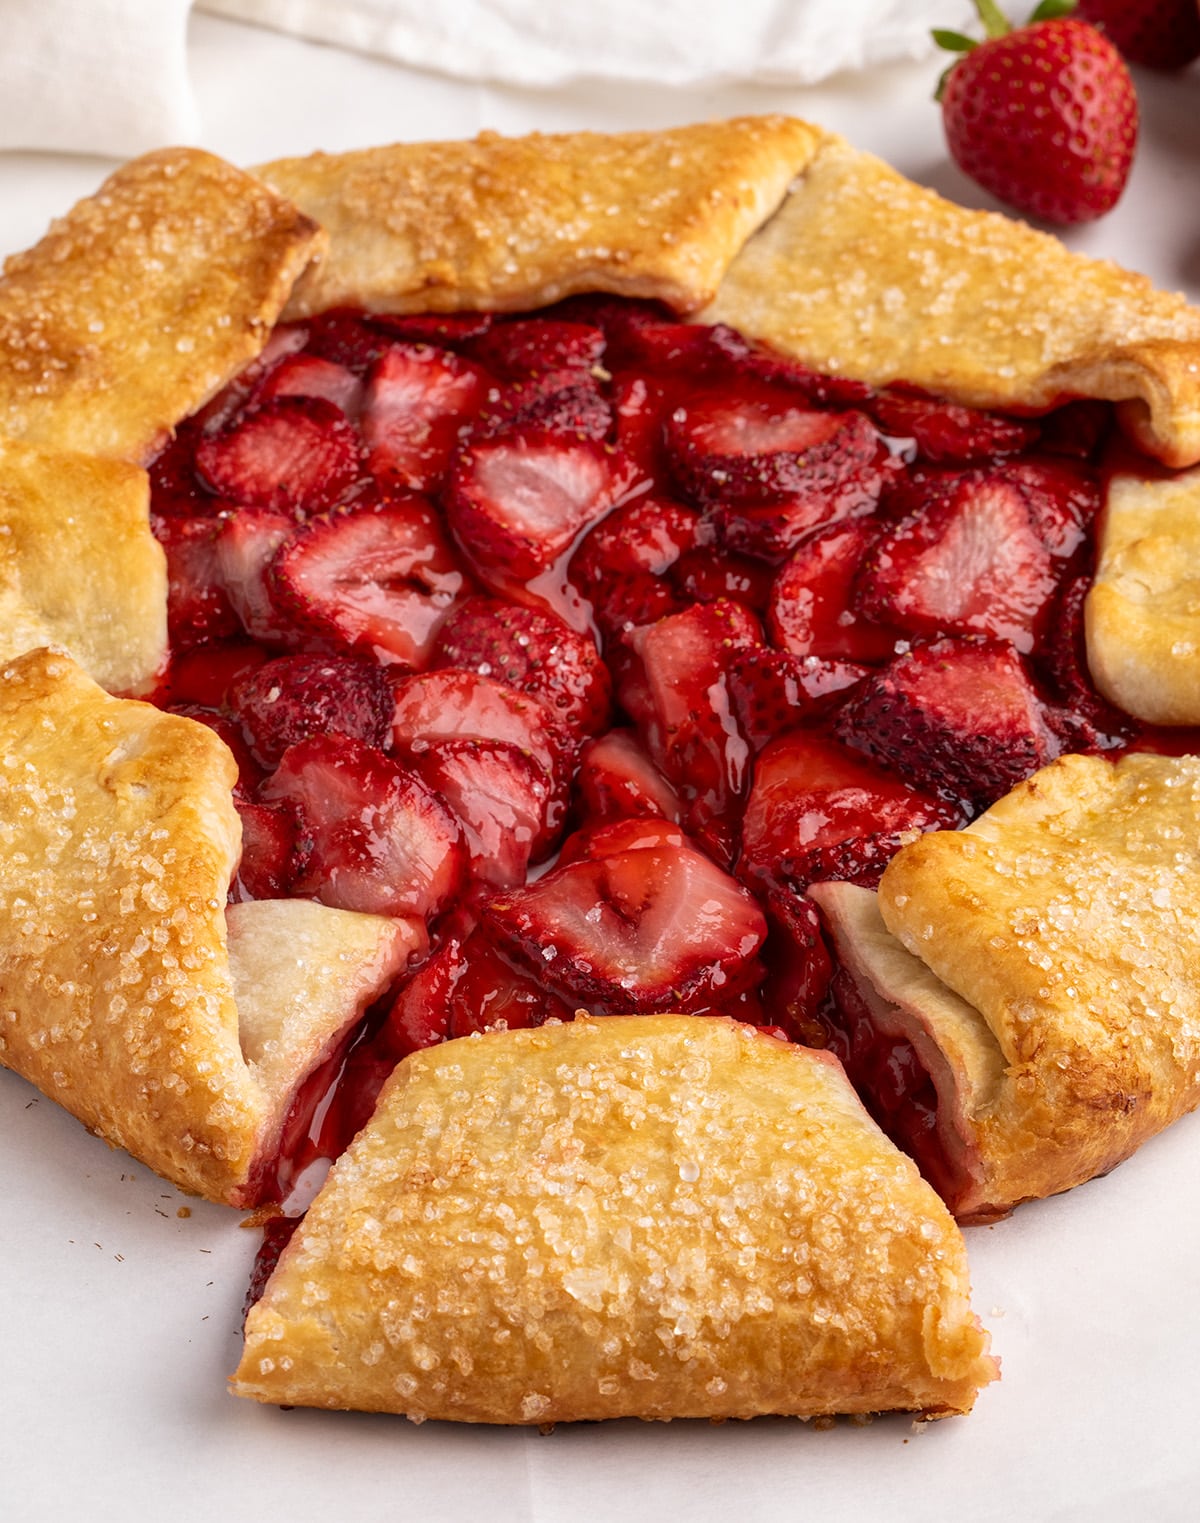
A rustic and simple gluten-free galette featuring a flaky golden crust wrapped around a glossy strawberry filling offers a delightful departure from traditional pies. This recipe emphasizes the natural sweetness of fresh berries, creating a lightly sweetened dessert that is both visually appealing and remarkably easy to prepare. Its charm lies in its unfussy nature, making it an ideal choice for both casual gatherings and more formal occasions. The galette’s design allows the vibrant flavor of seasonal strawberries to take center stage, promising a taste of summer in every bite.
Why This Recipe Excels
The galette’s inherent simplicity is its strongest asset. Unlike a traditional pie, which demands precise crust shaping and pan preparation, a galette requires only a basic dough rolled into a circle. The filling is then mounded in the center, and the dough edges are folded over, creating a free-form tart that is inherently forgiving and rustic in appearance. This method eliminates the stress of achieving a perfect pie crust, allowing home bakers to achieve impressive results with minimal fuss.
Beyond its ease of preparation, this gluten-free galette is designed to highlight the inherent qualities of its star ingredient: strawberries. The filling is lightly sweetened, ensuring that the natural tartness and sweetness of the berries are not overshadowed. This delicate balance makes the galette a versatile dessert that can be enjoyed on its own or paired with various accompaniments. The recipe’s adaptability extends to other fruits as well; the same technique can be employed with other seasonal berries, ripe stone fruits, or thinly sliced apples, offering a year-round source of delicious, gluten-free desserts.
A key consideration in any fruit-based baked good is the potential for a soggy bottom crust. This recipe proactively addresses this challenge through several strategic elements. The berries are cooked down to form a glossy, thickened syrup, which helps to contain their moisture. Furthermore, the gluten-free crust is intentionally rolled slightly thicker, providing structural integrity without compromising its signature flakiness. A light brush of honey is applied to the pastry base before the filling is added, acting as a barrier to prevent moisture seepage and contributing to a beautifully browned and crisp crust. These integrated techniques ensure that each bite offers a satisfying contrast between the tender, flavorful fruit and the delicate, crisp pastry.
Key Ingredients for Success
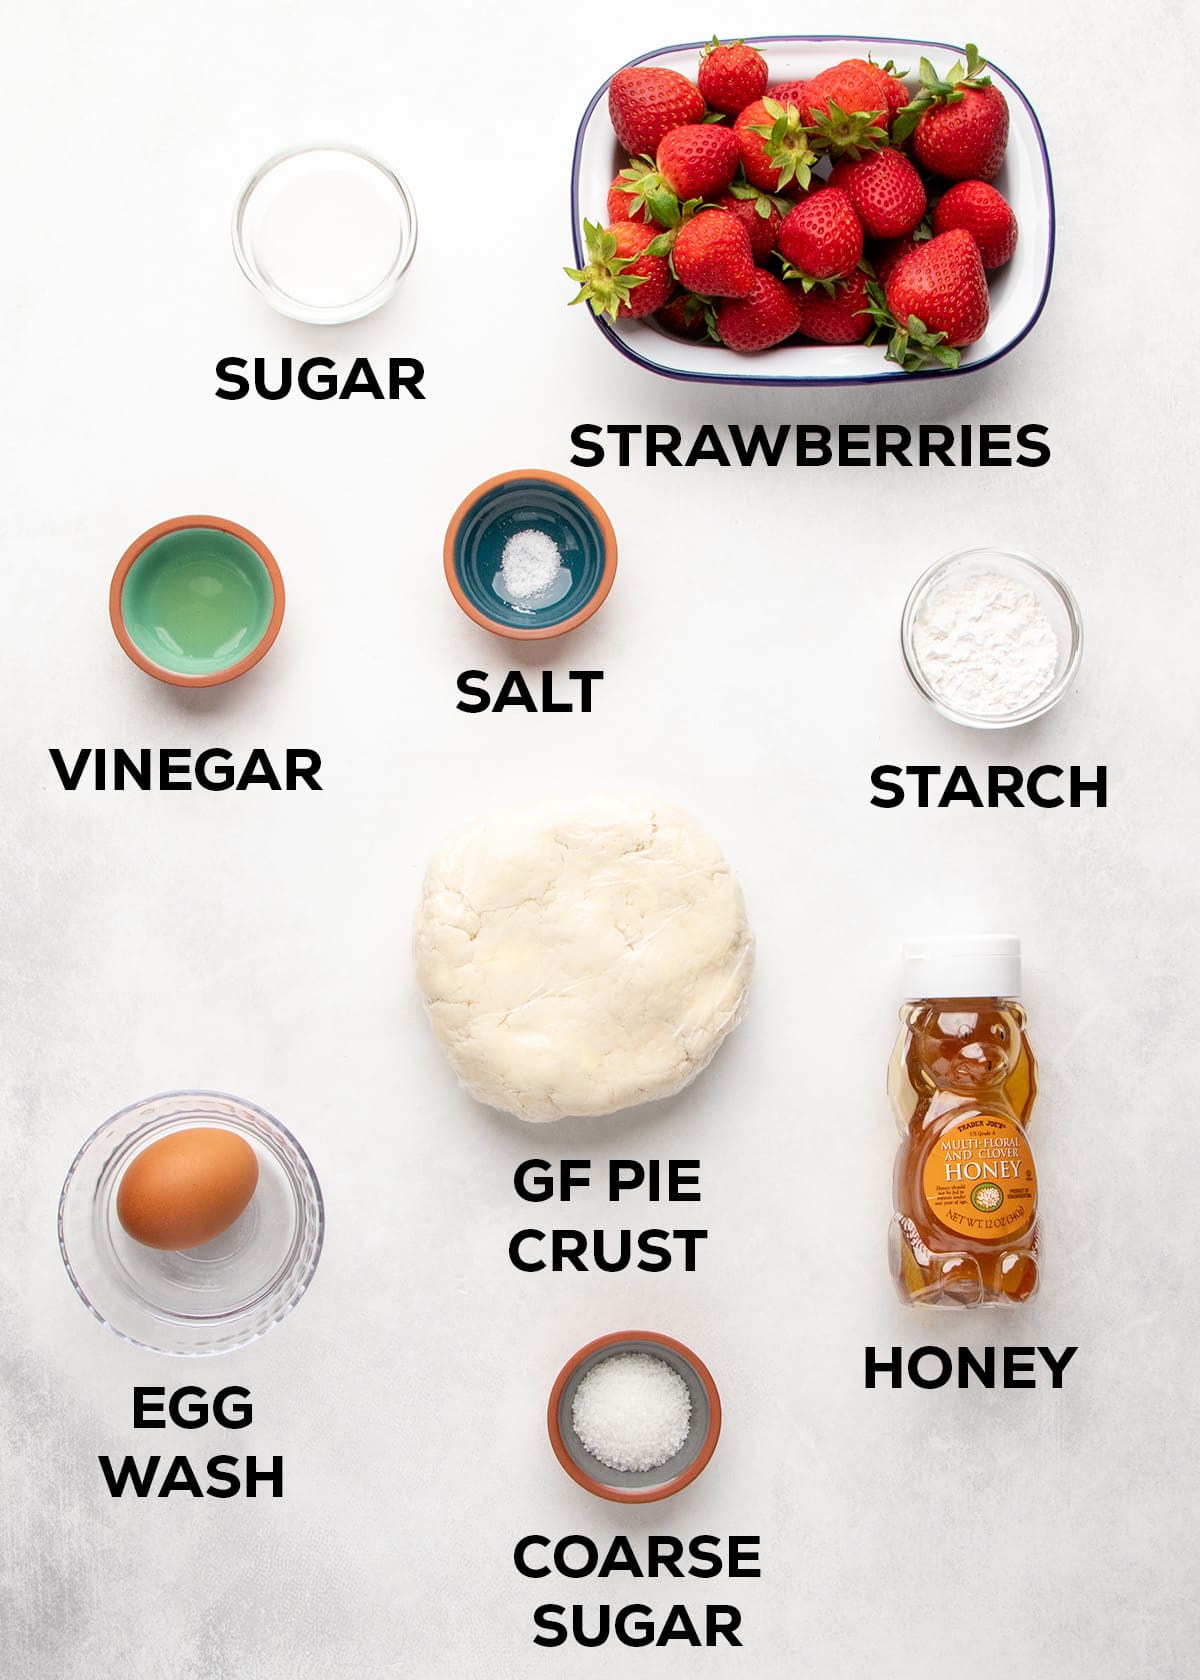
To achieve the perfect gluten-free strawberry galette, a specific set of ingredients is required. The recipe emphasizes quality and accessibility, ensuring that home bakers can readily find what they need.

For the crust, a high-quality gluten-free flour blend is essential. The article specifically recommends blends that include xanthan gum, which provides the necessary binding and structure often lacking in gluten-free baking. Popular choices mentioned include Better Batter’s original blend and Nicole’s Best multipurpose blend. For those who prefer to create their own blend, the article directs readers to a resource for all-purpose gluten-free flour recipes. Baking powder is included to ensure a light and airy texture, while salt enhances the overall flavor profile. The inclusion of a small amount of sugar in the crust is optional but can contribute to a slightly richer flavor and better browning.
The heart of the galette lies in its strawberry filling. Fresh, ripe strawberries are paramount for optimal flavor. The recipe calls for a pound of strawberries, which are then hulled and thickly sliced to maintain their shape during baking. A touch of salt is added to amplify the berry’s natural sweetness. Granulated sugar is used to sweeten the filling, with the amount adjustable based on the inherent sweetness of the berries. A subtle addition of vinegar, likely apple cider or white wine vinegar, provides a touch of acidity that brightens the berry flavor and balances the sweetness.
To achieve the characteristic glossy texture of the filling and to bind the juices, tapioca starch is the preferred thickener. The article highlights tapioca starch (also known as tapioca flour) for its ability to create a clear, non-gluey gel. Alternatives such as cornstarch, arrowroot starch, or potato starch are also suggested.
For the finishing touches that elevate the galette’s appearance and taste, an egg wash is applied to the crust. This mixture, typically made from a whole egg beaten with a splash of water or milk, imparts a beautiful golden sheen and helps the coarse sugar adhere. Coarse-grained sugar sprinkled over the crust adds a delightful crunch and an extra layer of sweetness. Honey is used both as a sealant for the crust’s base and optionally brushed on the folded edges for added caramelization and flavor.
The Art of Crafting a Gluten-Free Galette: A Step-by-Step Guide
The process of creating this gluten-free strawberry galette is broken down into distinct, manageable steps, ensuring a smooth and enjoyable baking experience.
Crafting the Flaky Crust
The journey begins with the preparation of the gluten-free pie crust. In a large bowl, the dry ingredients – the gluten-free flour blend, baking powder, salt, and optional sugar – are whisked together thoroughly. This ensures an even distribution of ingredients, crucial for consistent results. Next, cold, chopped butter is added. The butter is then cut into the dry ingredients using a pastry blender or by rubbing it between the fingertips until the mixture resembles coarse crumbs with some pea-sized pieces of butter remaining. The key here is to keep the butter cold, as these pockets of fat will melt during baking, creating the coveted flaky layers.
Ice-cold water is then gradually added to the flour and butter mixture. The water is introduced slowly, just enough to bring the dough together. Overworking the dough or adding too much water can lead to a tough or soggy crust. The dough should hold together when pressed, indicating the correct hydration level. Once formed, the dough is wrapped in plastic wrap and pressed into a flat disk. This disk shape makes it easier to roll out later and helps to evenly distribute the moisture. The dough is then chilled in the refrigerator for approximately 30 minutes, allowing the gluten-free flours to hydrate and the butter to firm up, which is critical for a flaky texture.
Preparing the Vibrant Strawberry Filling
While the crust dough chills, attention turns to the strawberry filling. One pound of fresh strawberries is washed, thoroughly dried, and hulled. The strawberries are then sliced thickly, a crucial step to prevent them from breaking down too much during baking. In a bowl, the sliced strawberries are combined with a pinch of salt, granulated sugar, and a dash of vinegar. This mixture is allowed to rest for a short period, allowing the strawberries to release their natural juices and their flavors to meld.
Following this resting period, tapioca starch is incorporated into the strawberry mixture. The starch works to absorb some of the released moisture, creating a glossy, slightly thickened sauce that coats the berries beautifully. The mixture is left to sit again, allowing the starch to soften and the berries to further release their juice, forming the luscious filling.
Assembling the Rustic Galette
With the dough chilled and the filling prepared, the assembly of the galette can commence. The chilled dough is placed on a lightly floured surface. It’s important to use just enough additional flour to prevent sticking, as too much can alter the crust’s texture. The dough is rolled out from the center outward into a rough circle, approximately 13 to 14 inches in diameter and about 1/4-inch thick. This thickness is important for providing a sturdy base that can support the juicy filling.
The rolled-out dough is then carefully transferred to a piece of parchment paper, which will later be used to easily move the galette to the baking sheet. The inner surface of the dough is brushed with a thin layer of honey. This acts as a moisture barrier, helping to prevent a soggy bottom crust and contributing to a nicely browned exterior.
The prepared strawberry filling is then spooned into the center of the dough, leaving a 2-inch border of bare pastry around the edges. This border is essential for folding over the filling. The edges of the dough are then gently folded up and over about a quarter of the filling, creating pleats as you go around the circumference. The goal is to enclose a portion of the filling while leaving the majority exposed, forming the characteristic rustic appearance of a galette. The folded edges are gently pressed to adhere to themselves and the filling, ensuring a secure hold.
The Final Touches and Chilling
Before baking, the raw galette receives its final embellishments. The exposed crust is brushed with an egg wash, which will give it a beautiful golden-brown color and a glossy finish. For an added textural element and a touch more sweetness, a sprinkle of coarse-grained sugar is distributed evenly over the egg-washed crust.
To ensure optimal flakiness, the assembled galette is then chilled. Placed on a small cutting board or plate, it is refrigerated while the oven preheats to 375°F (190°C). This chilling period is critical. It allows the butter in the dough to firm up again. Baking with cold ingredients is a fundamental principle of achieving tender, flaky pastry.
Baking to Golden Perfection
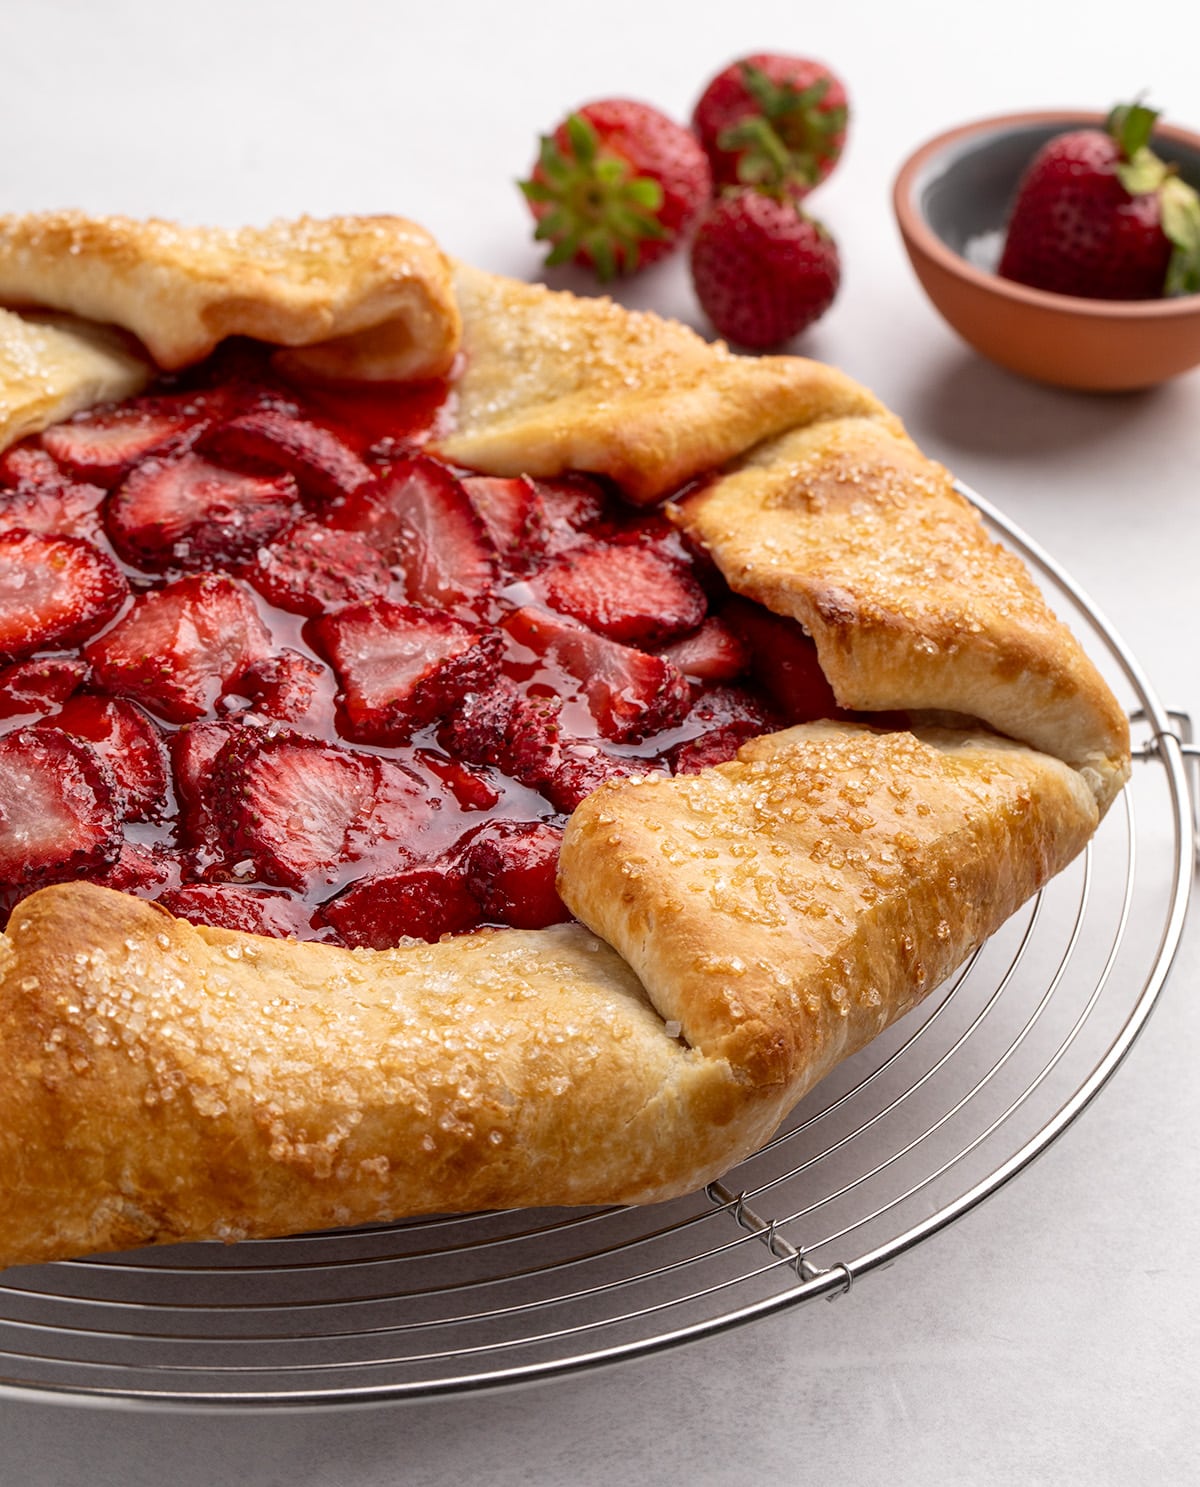
Once the oven is preheated and the galette is thoroughly chilled, it’s time for the bake. The galette, still on its parchment paper, is carefully transferred to a rimmed baking sheet. This rimmed sheet is essential for catching any potential drips from the bubbling fruit filling. The galette is then placed in the center of the preheated oven and baked for approximately 35 minutes. The baking time will vary slightly depending on the oven and the moisture content of the strawberries. The galette is ready when the exposed crust is a deep golden brown, and the strawberry filling is visibly softened and bubbling, indicating that the juices have thickened into a luscious syrup.
Cooling and Serving
After baking, the galette is left to cool on the baking sheet for about 20 minutes. This allows the filling to set further, making it easier to slice. Once it has stabilized, it is transferred to a wire rack to cool completely before serving. Allowing the galette to cool fully ensures that the filling is firm and the crust retains its crispness. The galette is then sliced into wedges and served, offering a beautiful and delicious gluten-free dessert.
Expert Tips for Galette Perfection
To elevate your gluten-free strawberry galette, consider these expert tips:
Adjusting Sweetness for Berry Variability
The sweetness of strawberries can vary significantly depending on their ripeness and varietal. The recipe’s suggested 1/4 cup of granulated sugar is a starting point. Home bakers are encouraged to taste their strawberries before adding sugar. If the berries are particularly sweet and fragrant, the lower amount may suffice. Conversely, if they are less sweet or a sweeter filling is desired, up to an additional 1/4 cup of sugar can be added. This simple adjustment ensures a perfectly balanced flavor profile tailored to the specific fruit used.
Proactive Crust Preparation
The gluten-free pie crust dough can be prepared up to a week in advance and stored in the refrigerator. It is crucial to wrap the dough tightly in plastic wrap to prevent it from drying out. If the dough has been refrigerated for an extended period (more than a couple of hours), it may become quite firm. In such cases, allowing it to sit at room temperature for about 15 minutes before rolling can prevent it from cracking as you work with it. This advance preparation offers convenience and ensures that a ready-to-use crust is available when inspiration strikes.
Strategies for a Crispy Crust
The specter of a soggy crust is a common concern, especially with fruit-based desserts. This recipe employs several strategies to combat moisture, but additional measures can be taken if using particularly wet or overripe fruit, or if employing frozen berries. Draining some of the excess liquid from the fruit before filling the pastry can significantly reduce moisture. Alternatively, increasing the tapioca starch by up to an additional tablespoon can help absorb more liquid, ensuring a crispier crust.
Embracing Fruit Versatility
The beauty of the galette lies in its adaptability. While strawberries are a classic choice, the recipe is equally successful with other fruits. Raspberries, blueberries, or a combination of berries are excellent substitutes. Ripe stone fruits, such as peaches, nectarines, or plums, can also be used, provided their flesh is soft enough to cook through at a similar rate to berries. For firmer fruits like apples, it is essential to peel, core, and slice them thinly to ensure they become tender during baking. Apples, being higher in pectin than berries or stone fruits, may require less starch for thickening.
Ingredient Substitutions and Considerations
While the recipe provides a solid foundation, several ingredient substitutions can be made to accommodate dietary needs or preferences.
Dairy-Free Adaptation
For a dairy-free version, the primary focus is the pie crust. The recipe suggests replacing dairy butter with a combination of half block-style vegan butter and half butter-flavored shortening (such as Crisco or Spectrum brand). This blend is recommended for its ability to mimic the moisture content and textural properties of dairy butter, thus yielding a flaky crust.
Thickeners Beyond Tapioca
Tapioca starch is favored for its clear, non-gluey gelling properties. However, if unavailable, other starches can be used. Cornstarch, arrowroot starch, or potato starch are suitable alternatives that will also help thicken the strawberry filling. The amount may need slight adjustment based on the specific starch used and its thickening power.
Sweeteners and Syrups
Honey is recommended for brushing the crust for its browning properties and subtle flavor. If honey is not preferred or available, Lyle’s Golden Syrup can be used as a direct substitute. Alternatively, a simple syrup can be made at home. This involves combining equal parts granulated sugar and water (e.g., 1/2 cup each) in a saucepan, heating until boiling gently for about 60 seconds, and then cooling. This homemade syrup can be stored in the refrigerator for up to two weeks and used in place of honey.
Storage and Preparation Ahead of Time
The gluten-free strawberry galette offers excellent options for advance preparation and storage, making it a convenient dessert for any occasion.
Freezing for Future Enjoyment
The entire raw galette can be assembled and then frozen before baking. Once fully assembled on the parchment paper, place it on a baking sheet and freeze until solid. After it’s firm, wrap it tightly in freezer-safe material and return it to the freezer. When ready to bake, the galette can be placed directly into the preheated oven from frozen. The baking time may need to be slightly extended, but it is important not to thaw the galette before baking.
Storing Leftovers
Any leftover slices of the galette can be stored wrapped in plastic wrap in the refrigerator for up to five days. For longer storage, the slices can be frozen for up to three months. To refresh a frozen or refrigerated galette and restore its flaky texture, unwrap it and warm it in a 300°F (150°C) toaster oven until heated through. This gentle reheating helps to crisp up the pastry without overcooking the filling.
