
This post may contain affiliate links. Please read our disclosure policy.

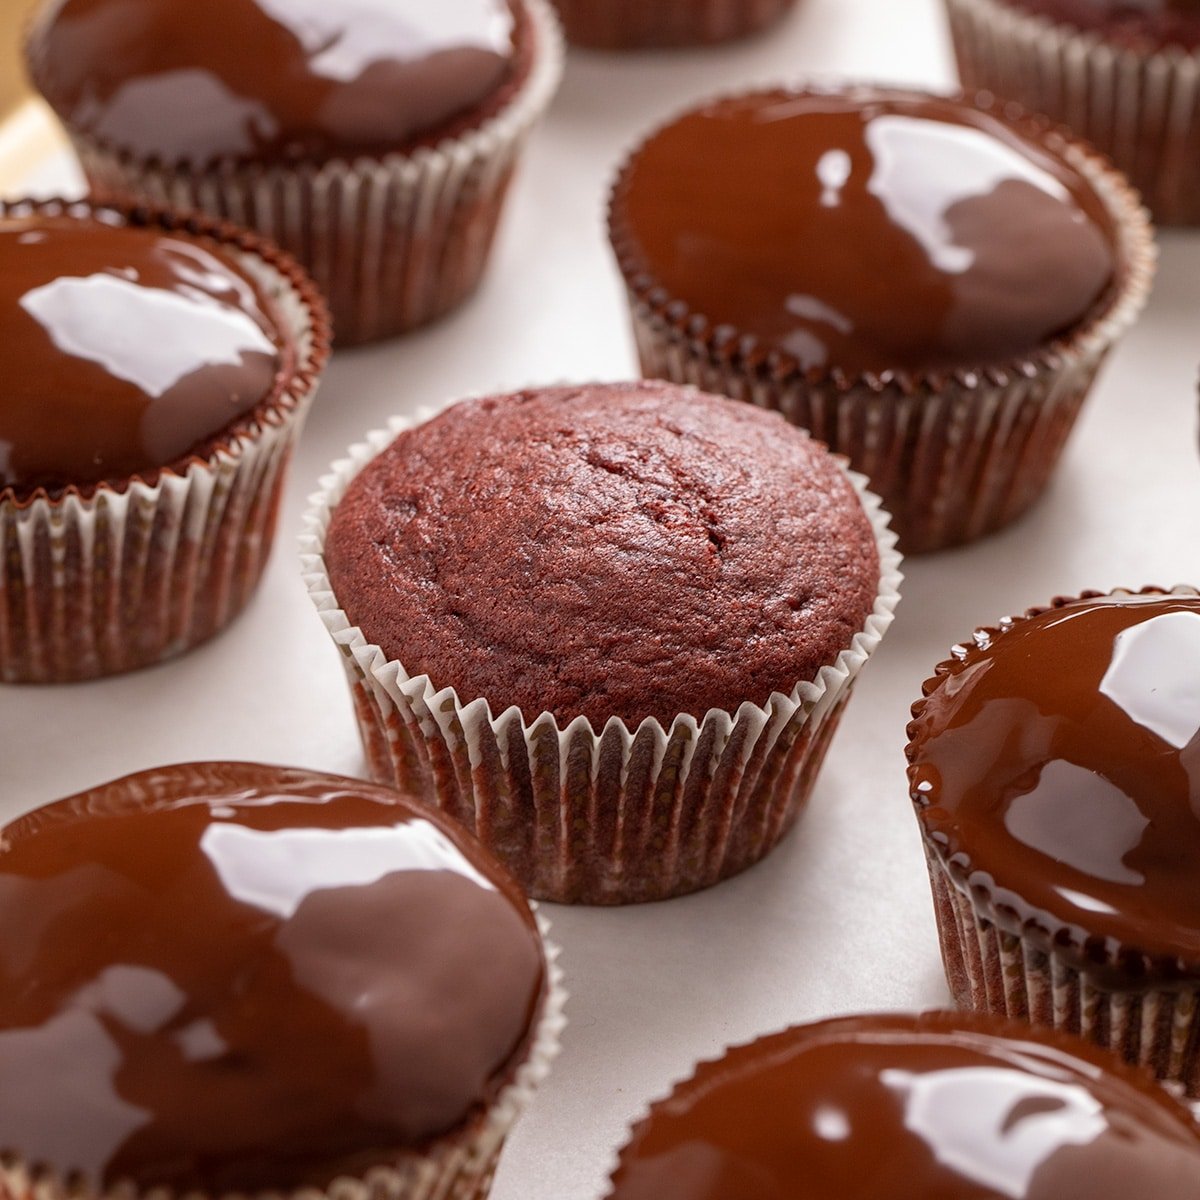
These gluten-free red velvet cupcakes are buttery and rich with a light chocolate flavor and a super tender crumb. My vanilla-first, gluten-free son always picked red velvet for his birthday to keep the chocolate lovers happy, too. And the festive red color is ideal for Valentine’s Day too!
Why This Recipe Works
These cupcakes boast the subtle chocolate flavor and gentle tang characteristic of red velvet, achieved through a harmonious blend of real buttermilk and apple cider vinegar. Their striking red-brown hue is a result of natural cocoa powder, enhanced by highly-pigmented gel food coloring – a little of which goes a long way.
Unlike simply adapting a classic gluten-free red velvet cake batter for cupcakes, this recipe features precisely balanced ingredients. This ensures cupcakes that bake up with a pleasingly flat top, maintaining exceptional moisture. The accompanying two-ingredient chocolate glaze offers an effortless way to elevate their presentation, though they also pair beautifully with your favorite gluten-free frosting.
Recipe Ingredients: The Building Blocks of Perfection
To craft these delightful cupcakes at home, you will need the following key ingredients, each playing a crucial role in the final outcome:
- Gluten-Free Flour Blend: A high-quality blend is essential for achieving the desired texture. It’s recommended to use a blend that already contains xanthan gum, or to add an additional ½ teaspoon if your blend does not.
- Unsweetened Cocoa Powder: This provides the subtle chocolate undertones that are a hallmark of red velvet.
- Baking Soda and Baking Powder: These leavening agents work in tandem to ensure a light and airy crumb.
- Salt: Enhances the overall flavor profile and balances the sweetness.
- Granulated Sugar: Sweetens the cupcakes and contributes to their tender texture.
- Unsalted Butter: At room temperature, butter is crucial for creaming with sugar, incorporating air for a tender crumb without causing the cupcakes to dome excessively.
- Eggs: Act as binders and contribute to the richness and structure of the cupcakes.
- Gel Food Coloring: Specifically, a "super red" gel food coloring is recommended for achieving the vibrant red hue without adding excess liquid that could alter the batter’s consistency.
- Buttermilk: Adds moisture and a characteristic tang, reacting with the baking soda to aid in leavening.
- Apple Cider Vinegar: Works with the buttermilk to enhance the tang and also activates the baking soda.
- Vanilla Extract: Rounds out the flavors with its warm, aromatic notes.
- For the Chocolate Glaze:
- Semi-sweet Chocolate Chips or Chopped Chocolate: The base of the rich glaze.
- Shortening: Adds shine and helps create a smooth, pourable glaze that sets well.
How to Make Gluten-Free Red Velvet Cupcakes: A Step-by-Step Visual Guide
The creation of these gluten-free red velvet cupcakes is a straightforward process, enhanced by clear visual cues at each stage. For precise ingredient quantities and detailed instructions, please refer to the comprehensive recipe card provided below.
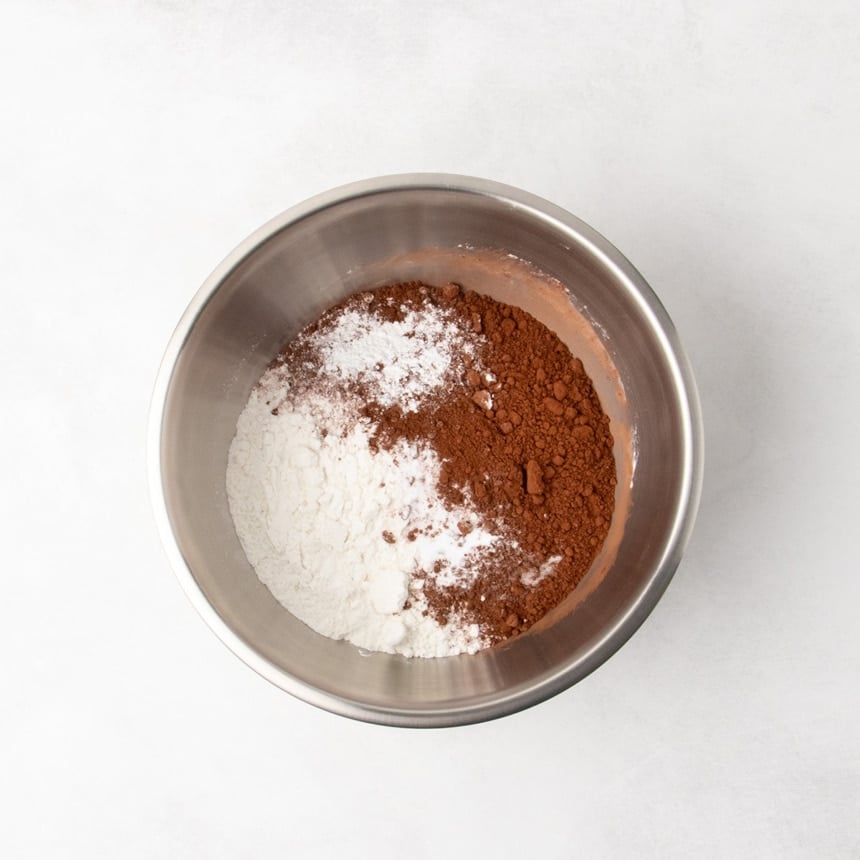
Step 1: Combine Dry Ingredients
Begin by thoroughly whisking together all dry ingredients in a large bowl. This includes your gluten-free flour blend, baking soda, baking powder, salt, and unsweetened cocoa powder. This step ensures that the leavening agents and cocoa are evenly distributed, preventing pockets of concentrated flavor or lift.

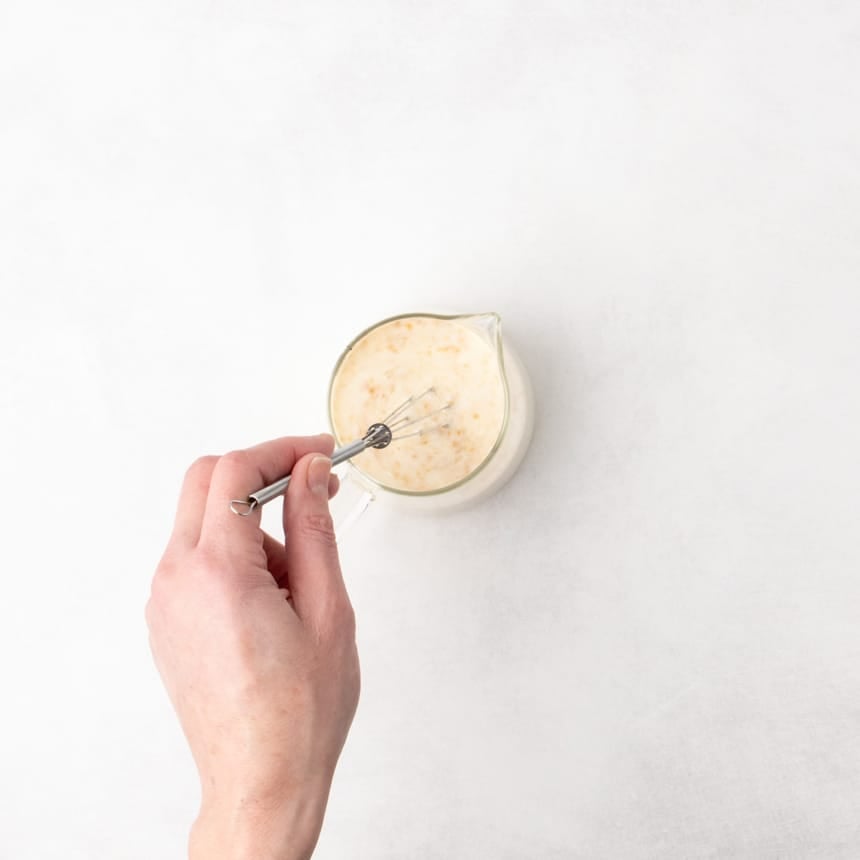
Step 2: Prepare the Buttermilk Mixture
In a separate, smaller bowl or a liquid measuring cup, combine the buttermilk, vanilla extract, and apple cider vinegar. Whisk this mixture well to ensure it is fully incorporated and to prevent any clumping of the ingredients.
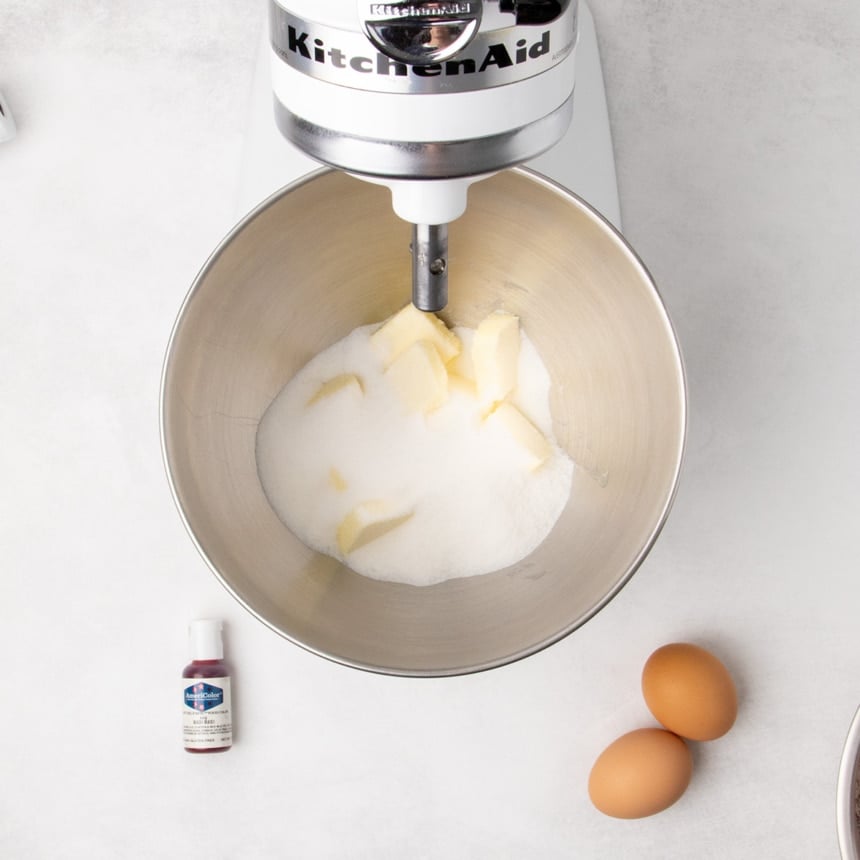
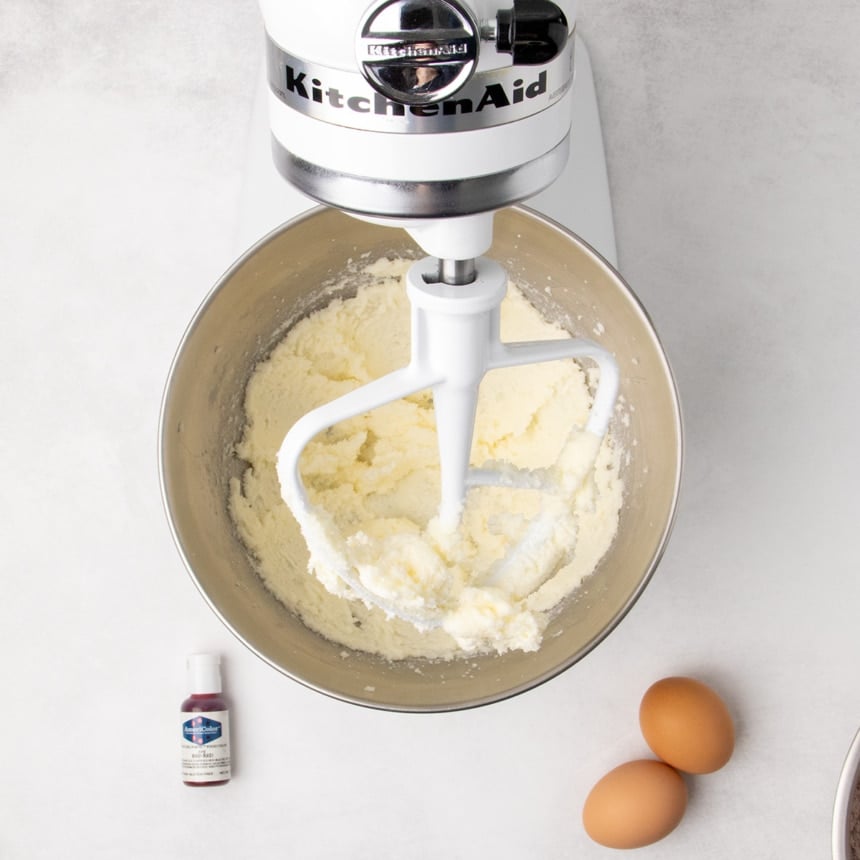
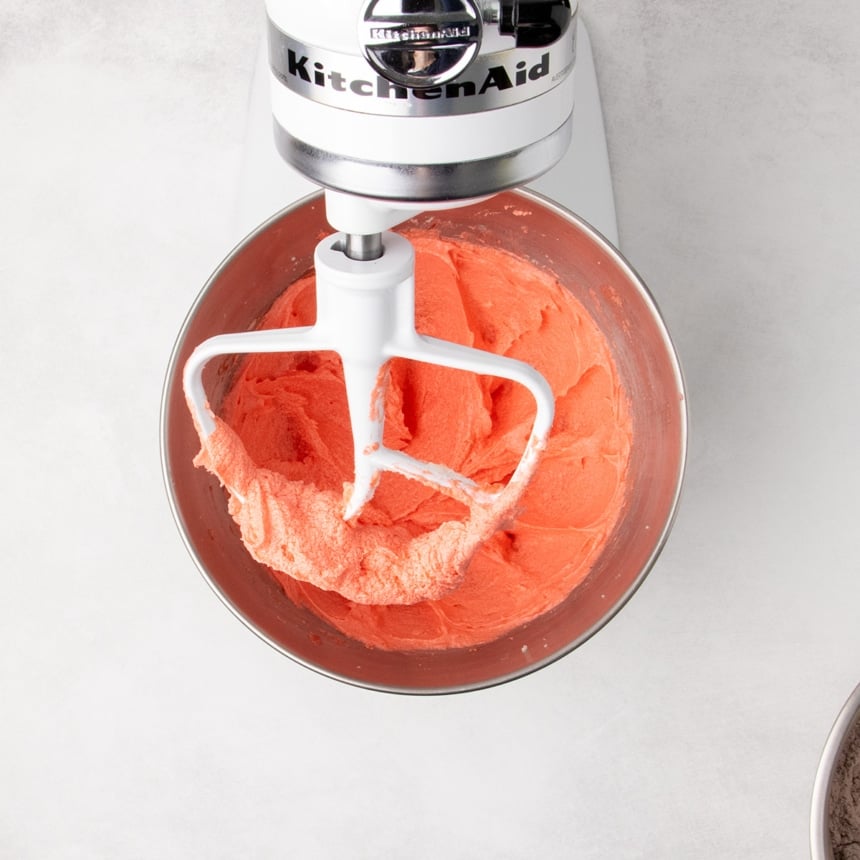
Step 3: Cream Butter and Sugar
In the bowl of a stand mixer fitted with the paddle attachment, or using a handheld electric mixer in a large bowl, cream together the room-temperature butter and granulated sugar. This process should take less than two minutes. The goal is to slightly dissolve the sugar crystals into the butter, incorporating a minimal amount of air. Over-creaming can lead to excessive doming in the baked cupcakes, while under-creaming can result in a less tender crumb. Ensure your butter is at the ideal temperature, between 68°F and 70°F (20°C and 21°C), to achieve the correct consistency.
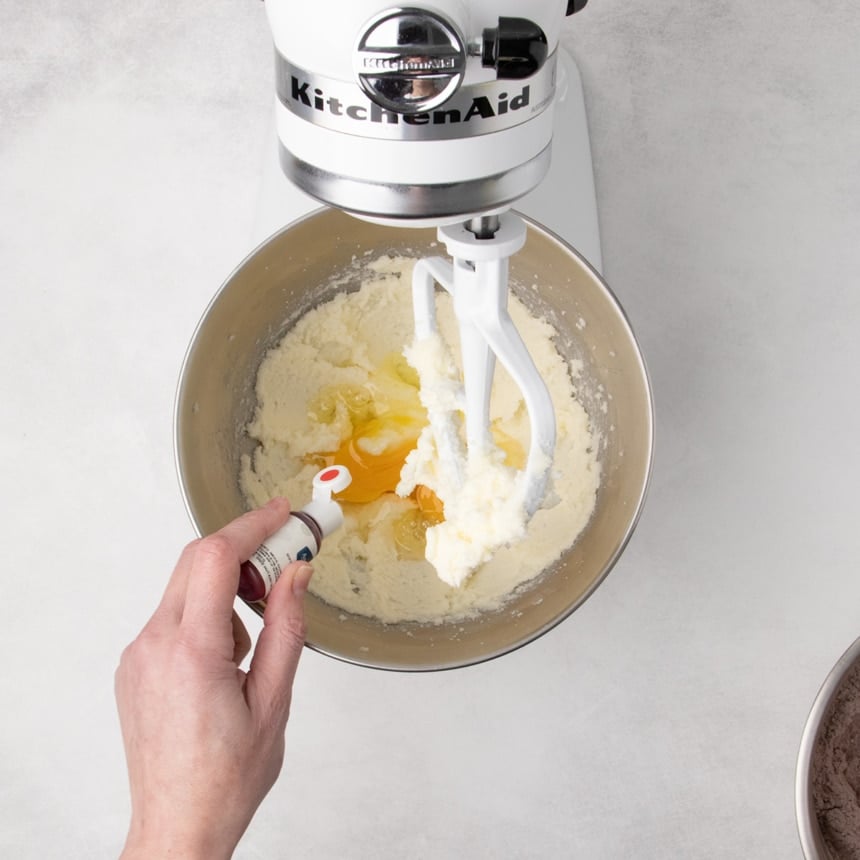
Step 4: Incorporate Eggs and Food Coloring
Add the eggs to the creamed butter and sugar mixture, one at a time, beating well after each addition. Then, incorporate approximately ¼ teaspoon of "super red" gel food coloring. Beat until the batter is smooth and a vibrant red hue. It’s important to make the batter redder than you desire the final baked cupcakes to be, as the color will naturally fade during the baking process.
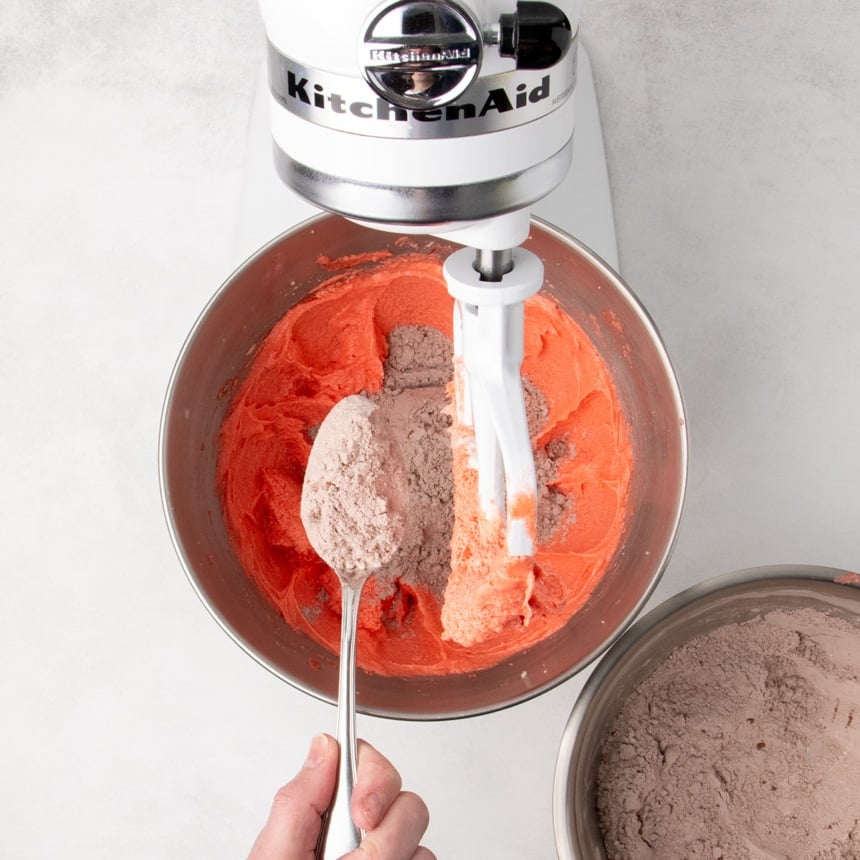
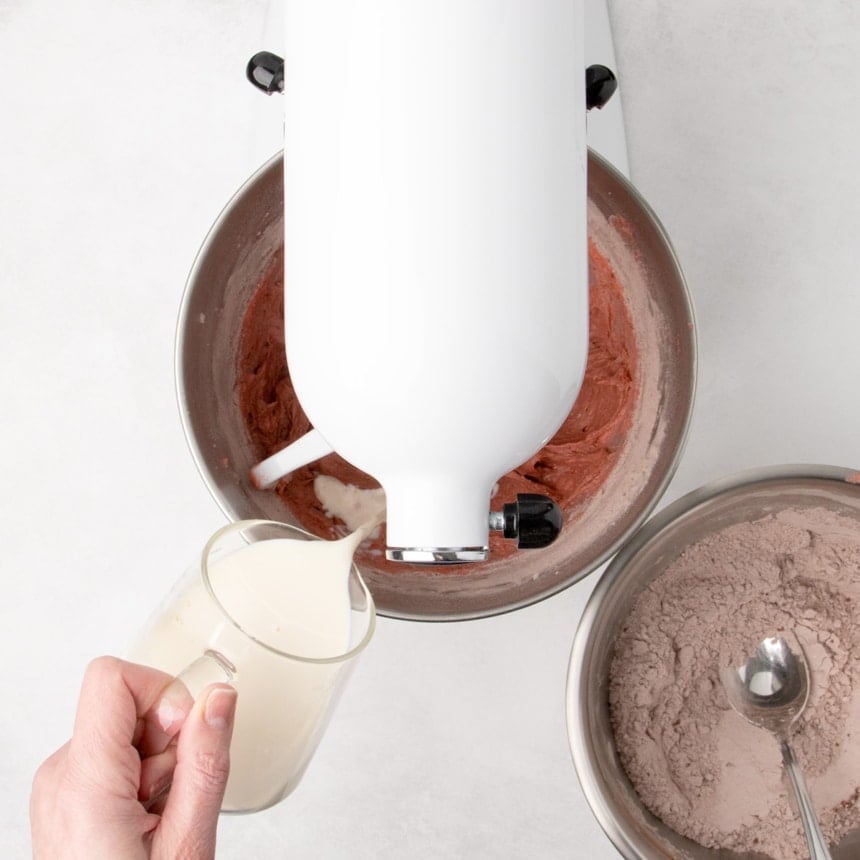
Step 5: Alternate Dry and Wet Ingredients
Gradually add the dry ingredients to the wet ingredients in three additions, alternating with the buttermilk mixture, which should be added in two additions. Begin and end with the dry ingredients. This alternating method is key to achieving a smooth, well-combined batter without overmixing, which can develop gluten (even in gluten-free baking) and result in a tougher texture. Mix on low speed until just combined after each addition.
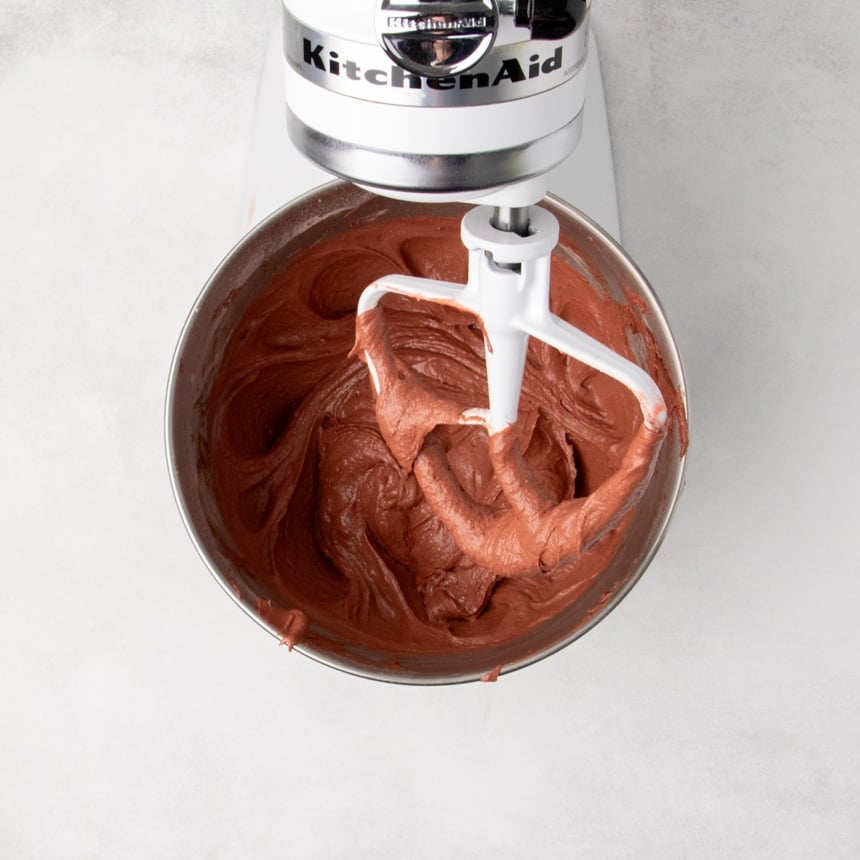
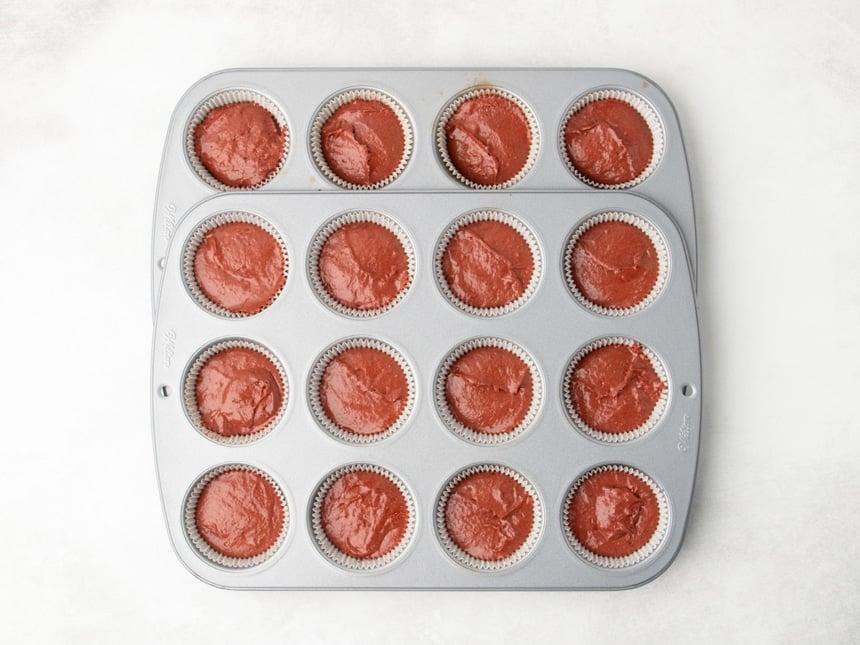
Step 6: Divide the Batter
The resulting batter should be smooth, soft, and a rich reddish-brown color. Fill the prepared cupcake liners, which should be placed in muffin tins, about two-thirds of the way full. Overfilling the liners will cause the cupcakes to rise into a domed shape, which is not ideal for holding glaze or frosting.
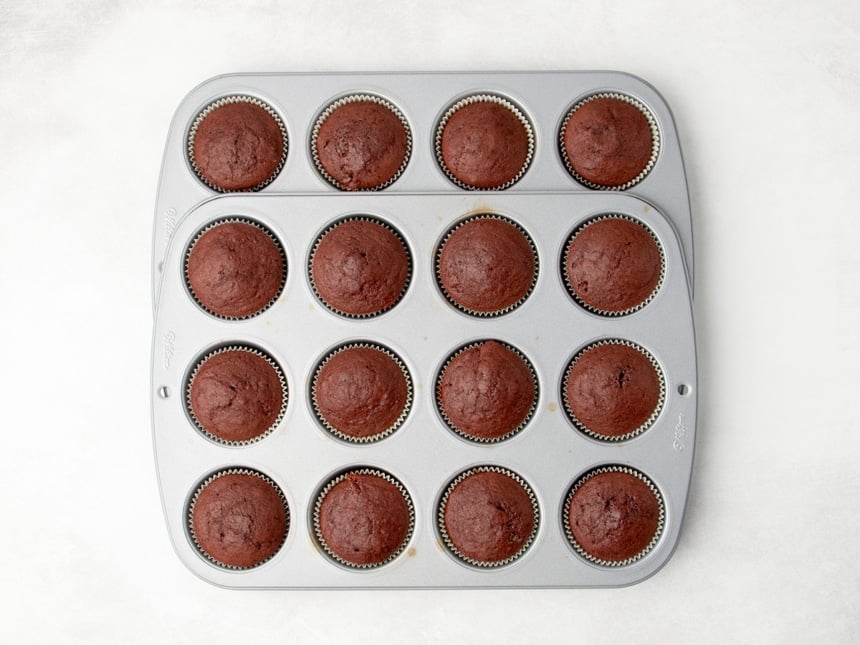
Step 7: Bake the Cupcakes
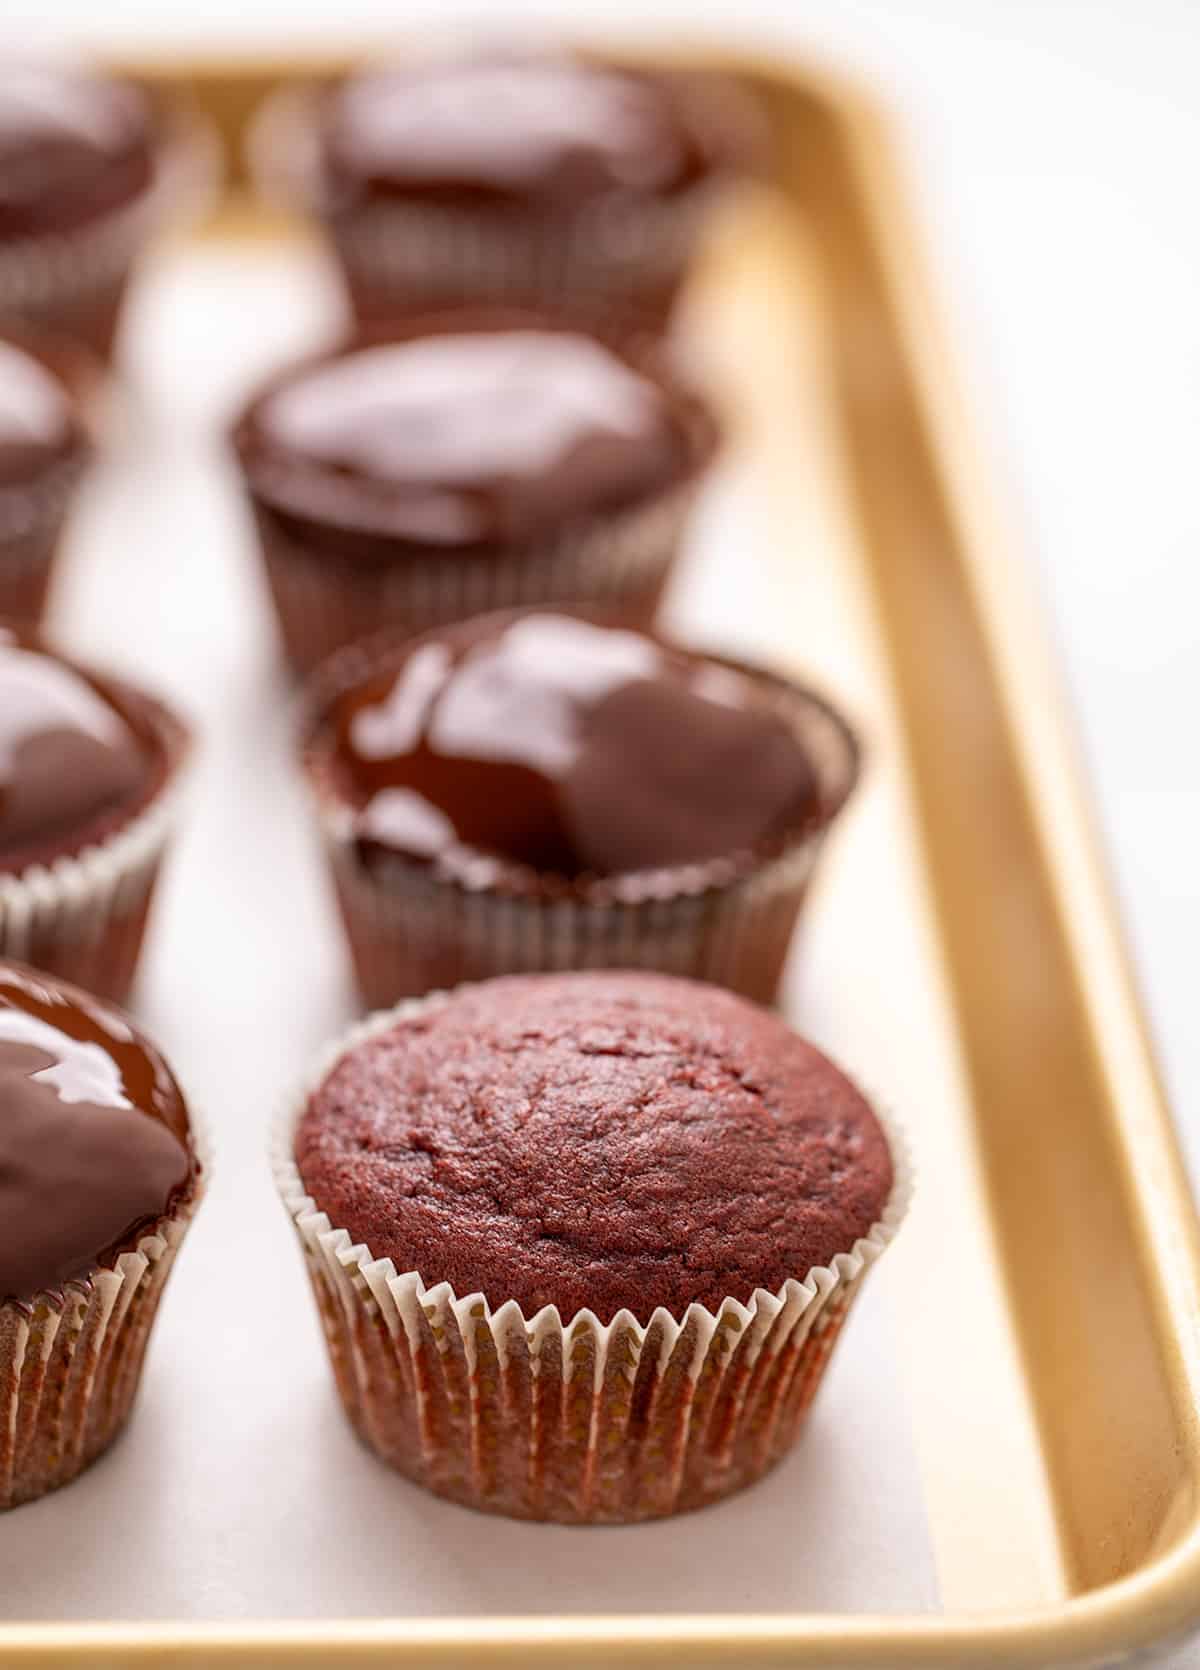
Bake the cupcakes in a preheated oven at 325°F (160°C). This relatively low temperature is crucial for promoting slow, even baking without causing the bottoms to burn and encouraging a flat top rather than a dome. Allow the cupcakes to cool in the muffin tin for a very brief period before removing them to a wire rack. This prevents them from steaming in the liners, which can lead to a chewy texture or shrinkage.
Step 8: Prepare the Chocolate Glaze
While the cupcakes cool, prepare the optional chocolate glaze. Melt the chopped semi-sweet chocolate and shortening together. This can be done in the microwave in short intervals, stirring between each, or over a double boiler. The shortening helps create a glossy, smooth glaze that sets without becoming hard.
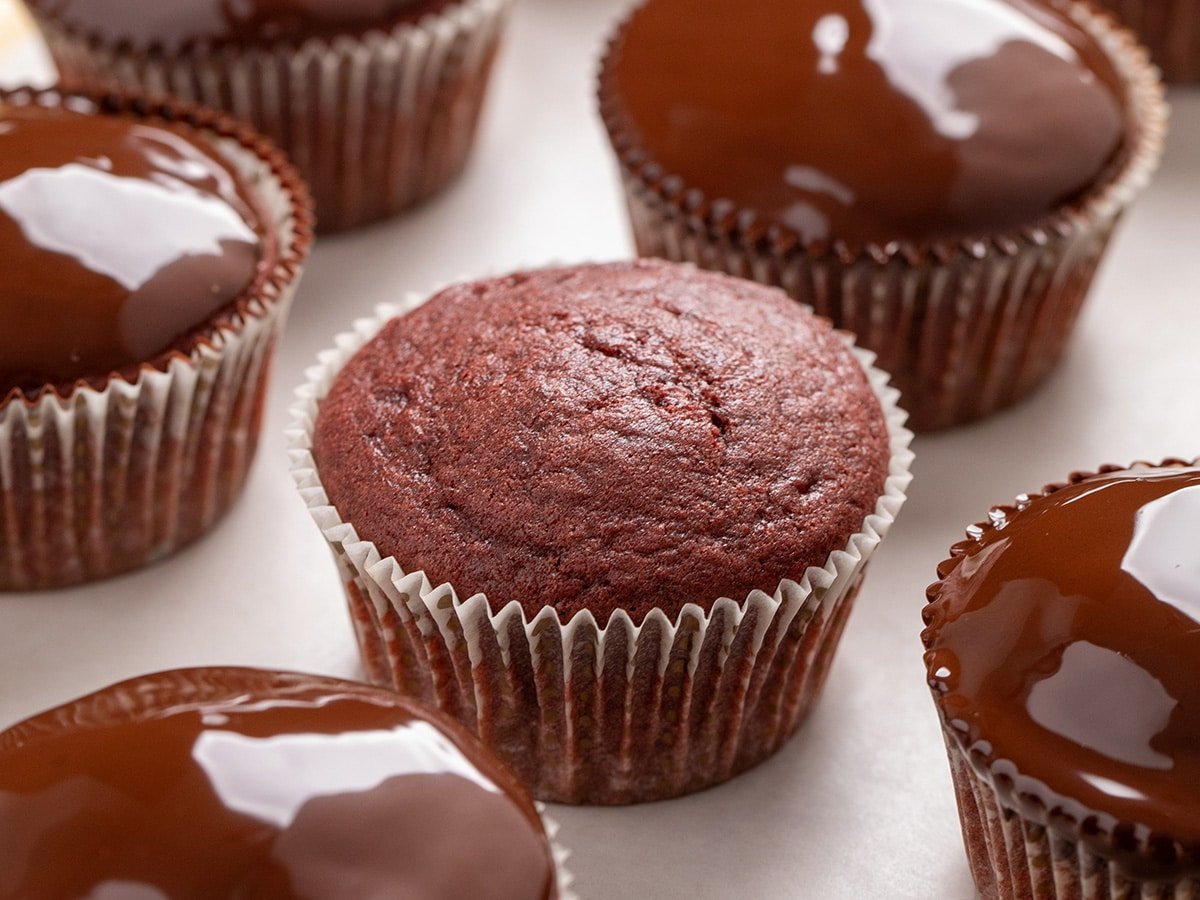
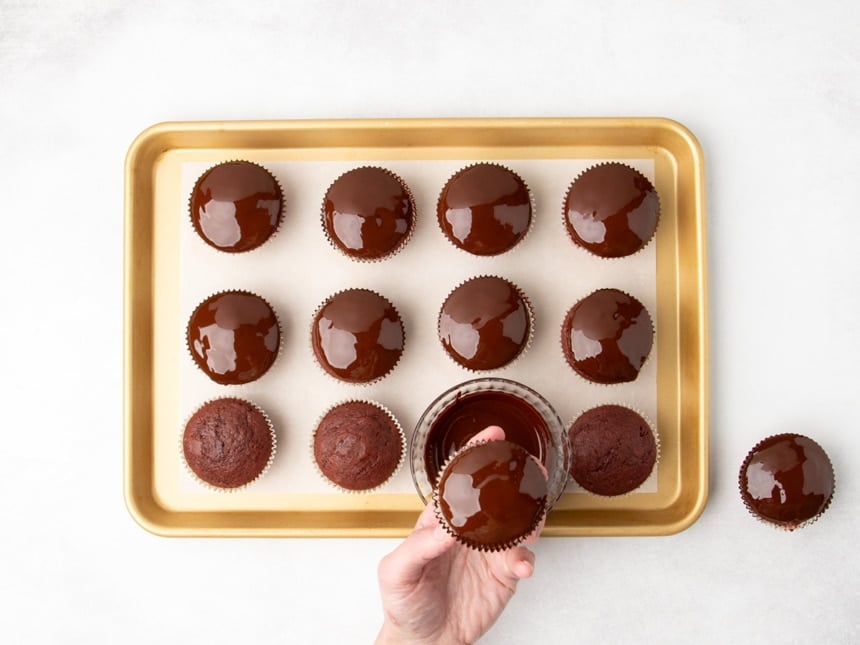
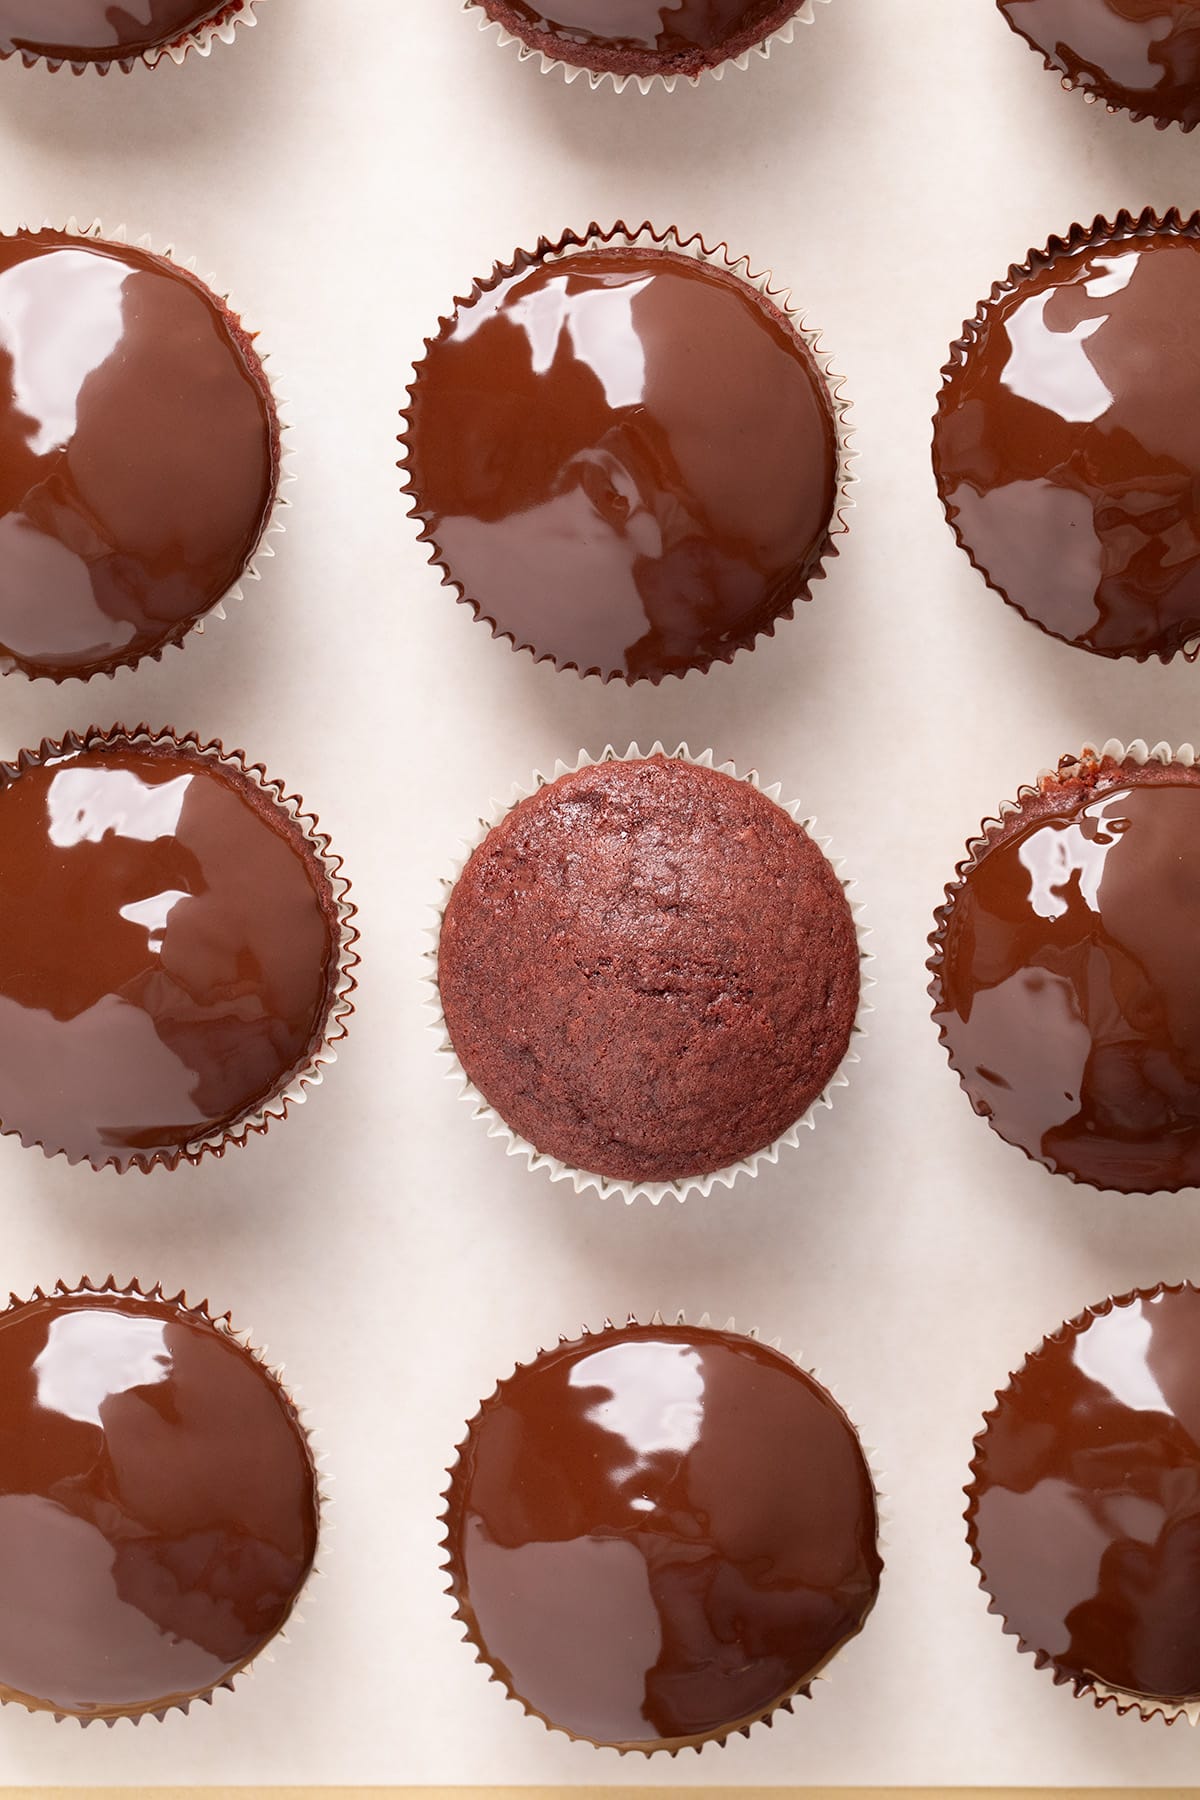
Step 9: Glaze the Cupcakes
Once the cupcakes have cooled completely, dip the tops into the prepared chocolate glaze. Gently turn them upright to rest until the glaze has set. This simple glaze adds an extra layer of richness and visual appeal.
Expert Tips for Red Velvet Perfection
Achieving consistently excellent gluten-free red velvet cupcakes involves a few key techniques and considerations.
Don’t Over-Whip the Batter
The creaming of butter and sugar is designed to incorporate a small amount of air for tenderness. Over-whipping can lead to an overly airy batter that bakes into a muffin-top dome, rather than the desired flat surface for frosting or glazing. Limit creaming to no more than two minutes.
Utilize Gel Food Coloring
Liquid food coloring contains too much water, requiring excessive amounts that can negatively impact flavor and texture. High-quality gel food coloring, such as Americolor’s "super red," offers intense pigmentation, meaning a small amount is sufficient. Remember that the color will deepen during baking, so aim for a batter that is brighter than your desired final cupcake color.
Nesting Cupcake Tins for Efficient Baking
To bake multiple batches of cupcakes efficiently, especially in ovens with limited rack space, consider nesting your muffin tins. Place a full tin of cupcakes on one oven rack, and then nest a second tin (which may have empty wells) beneath it on the same rack. This allows for more even heat distribution and accommodates a larger quantity. Alternatively, the batter for the second tin can rest while the first batch bakes; it may rise slightly higher but should remain within acceptable limits.
Ingredient Substitutions for Dietary Needs
This recipe can be adapted to accommodate various dietary restrictions and preferences.
Dairy-Free Adaptations
To make these cupcakes dairy-free, substitute the buttermilk with a mixture of 6 tablespoons of non-dairy milk (such as almond or soy) combined with ½ cup of non-dairy sour cream or plain Greek-style yogurt. For the butter, opt for a solid, block-style vegan butter alternative, such as Melt or Miyoko’s Kitchen brand. Avoid tub margarines, which are primarily oil. Ensure that any chocolate used for the glaze is also dairy-free.
Egg-Free Alternatives
For an egg-free version, consider using chia eggs (2 tablespoons chia seeds mixed with 6 tablespoons water, allowed to gel), a commercial egg replacer like Bob’s Red Mill Egg Replacer, or a liquid egg substitute such as JustEgg.
Food Dye-Free Option
If avoiding food dye is a priority, simply omit it from the recipe. This will not affect the flavor or texture of the cupcakes, though the signature red color will be absent, resulting in a more traditional chocolate cupcake.
Shortening Substitutions
Recommended brands for shortening include Spectrum or Crisco. As an alternative, virgin coconut oil that is solid at cool room temperature can be used in the chocolate glaze.
Storage Instructions
Proper storage ensures the freshness and enjoyment of your gluten-free red velvet cupcakes.
Room Temperature Storage: Baked and fully cooled cupcakes will remain fresh in an airtight container at room temperature for approximately two days. Once glazed, the protective coating of the chocolate glaze helps to retain moisture, extending their freshness to about three days.
Freezer Storage: For longer preservation, freeze the cupcakes. Be aware that the chocolate glaze may develop a white bloom when frozen, which is purely cosmetic and does not affect the taste. Allow the cupcakes to defrost at room temperature. Unglazed cupcakes can be quickly defrosted in the microwave for about 20 seconds.
Frequently Asked Questions
Can these cupcakes be transformed into a cake?
While the flavor profile is similar, the ingredient ratios for a cake differ slightly. For a dedicated gluten-free red velvet cake recipe, please refer to the classic gluten-free red velvet cake recipe.
Is milk and lemon juice a viable substitute for buttermilk?
No, this substitution does not adequately replicate the moisture content or viscosity of authentic buttermilk. If buttermilk is unavailable, consider using plain kefir or a mixture of equal parts sour cream and milk by volume.
Can apple cider vinegar be replaced?
Yes, an equal amount of white vinegar or fresh lemon juice can be used as a substitute for apple cider vinegar.
Disclaimer: The provided nutrition information is automatically generated and should be considered an approximation. Ingredient substitutions or variations in preparation methods may alter these values.