
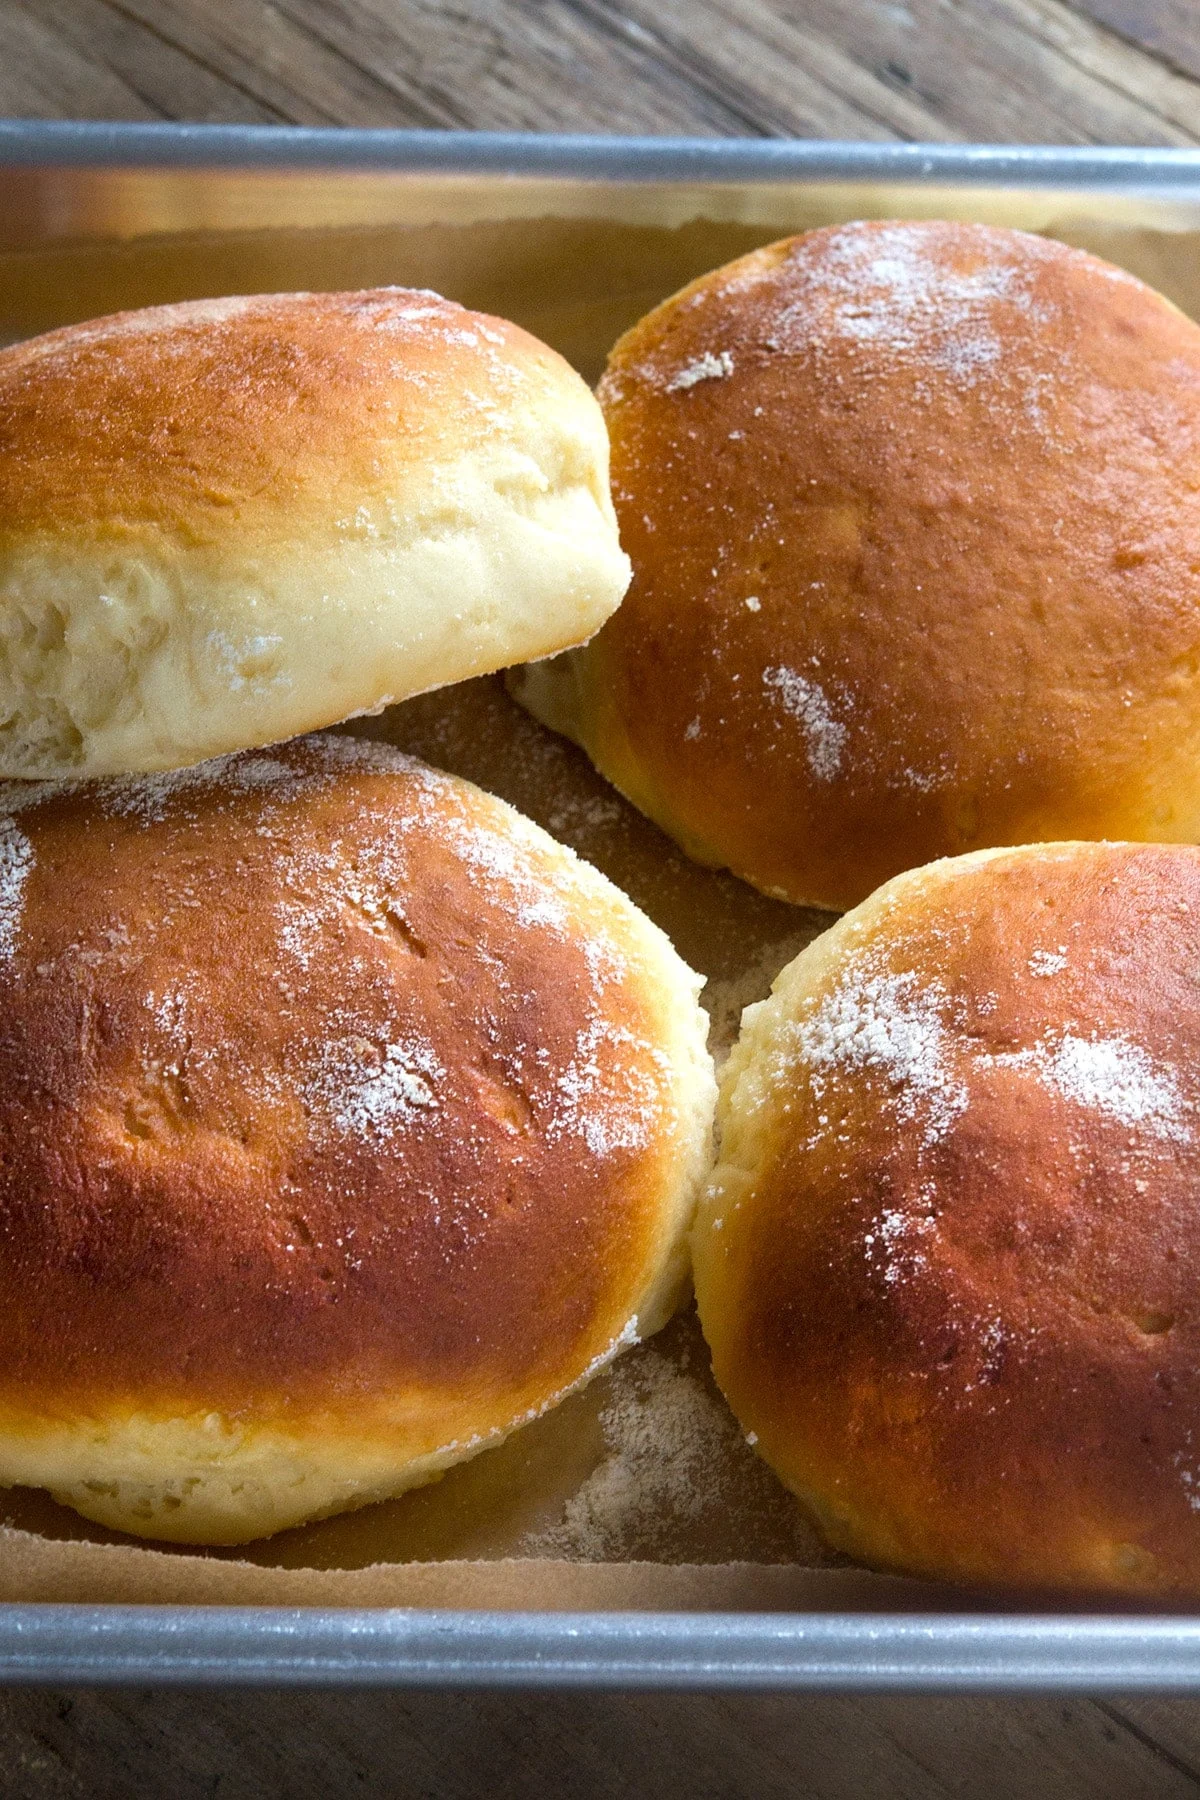
The quest for truly exceptional gluten-free baked goods often leads to a landscape of compromises. However, for those seeking the soft, slightly sweet, and tropical essence of Hawaiian rolls without the gluten, a beacon of hope shines brightly. These meticulously crafted gluten-free Hawaiian rolls offer a tender crumb and a subtle island flavor profile that is remarkably versatile, making them an ideal accompaniment to savory sandwich fillings or as a delightful side to any meal. Their deep golden-brown exterior, achieved through a generous egg wash, conceals a moist interior, crowned by a delicate, shimmering crust that forms as they cool. This recipe, detailed within the pages of "GFOAS Bakes Bread," promises to elevate the gluten-free baking experience, transforming ordinary ingredients into extraordinary rolls.
The science behind these remarkably tender and flavorful rolls lies in the thoughtful combination of ingredients and techniques. The inclusion of pineapple juice is pivotal, imparting a unique, lightly sweet, and tangy tropical note that distinguishes them from conventional rolls. The enrichment with butter and sugar, alongside an egg, contributes to an incredibly tender crumb, creating a texture that is both pillowy soft and satisfying. The recipe further refines the process by explaining how to achieve perfectly round rolls, offering options for both full-sized sandwich buns and smaller dinner rolls, demonstrating a commitment to versatility and user-friendliness.
The Science of Gluten-Free Baking: Key Ingredients and Their Roles
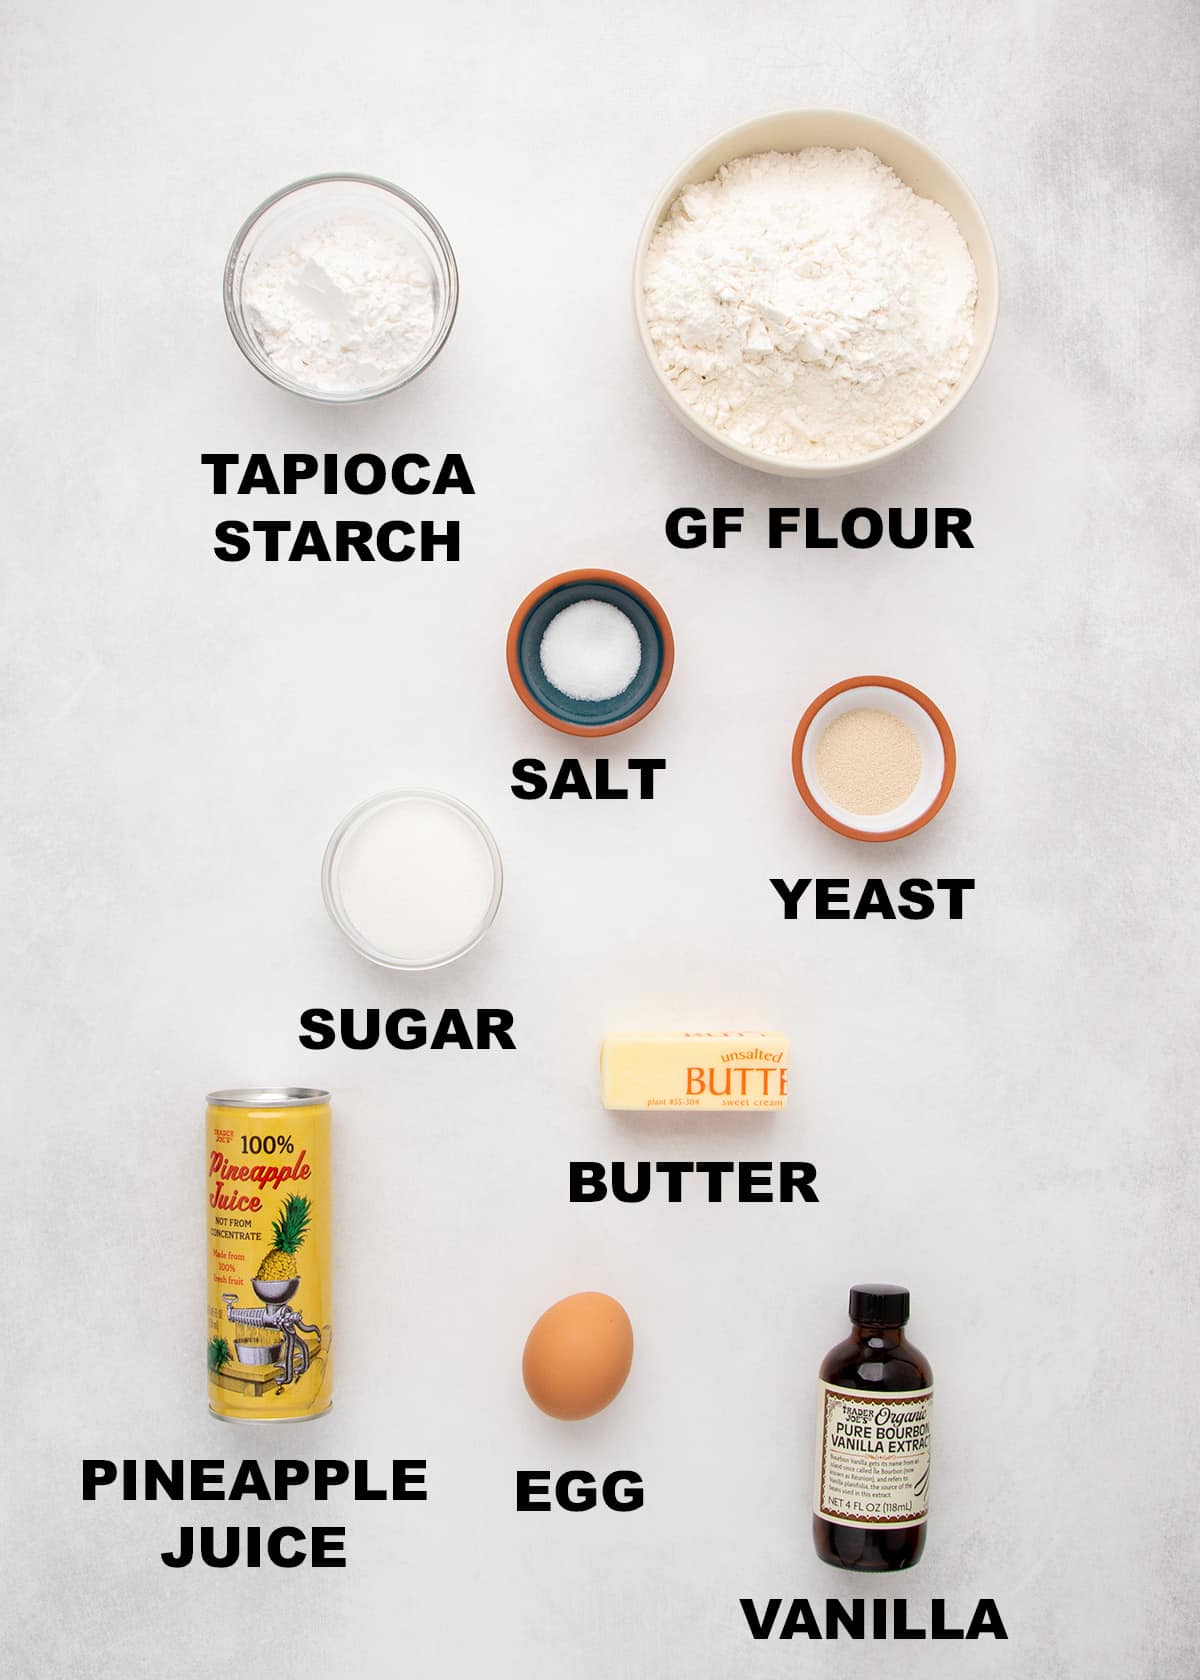
Understanding the function of each ingredient is crucial for replicating the success of this recipe. The gluten-free flour blend forms the structural foundation, with the addition of tapioca starch contributing to a desirable chewy texture and crisp crust. Yeast, the leavening agent, works in conjunction with sugar to produce carbon dioxide, causing the dough to rise. Salt, while essential for flavor, must be carefully incorporated to avoid inhibiting yeast activity.
The richness and tenderness of these rolls are significantly enhanced by the inclusion of butter and an egg. Butter, a fat, tenderizes the crumb by shortening the gluten strands (or their gluten-free equivalent), while also contributing to a moist texture and rich flavor. The egg acts as a binder, adding richness, color, and contributing to the overall structure and tenderness of the final product. Vanilla extract, a common flavor enhancer in baked goods, subtly complements the tropical notes of the pineapple juice.
Pineapple juice plays a dual role. Primarily, it contributes its distinctive flavor profile, offering a gentle sweetness and a hint of acidity that balances the richness of the other ingredients. Secondarily, the natural enzymes present in pineapple juice can contribute to tenderizing the dough, although this effect is less pronounced in baked goods compared to marinades.
Mastering the Method: A Step-by-Step Culinary Journey
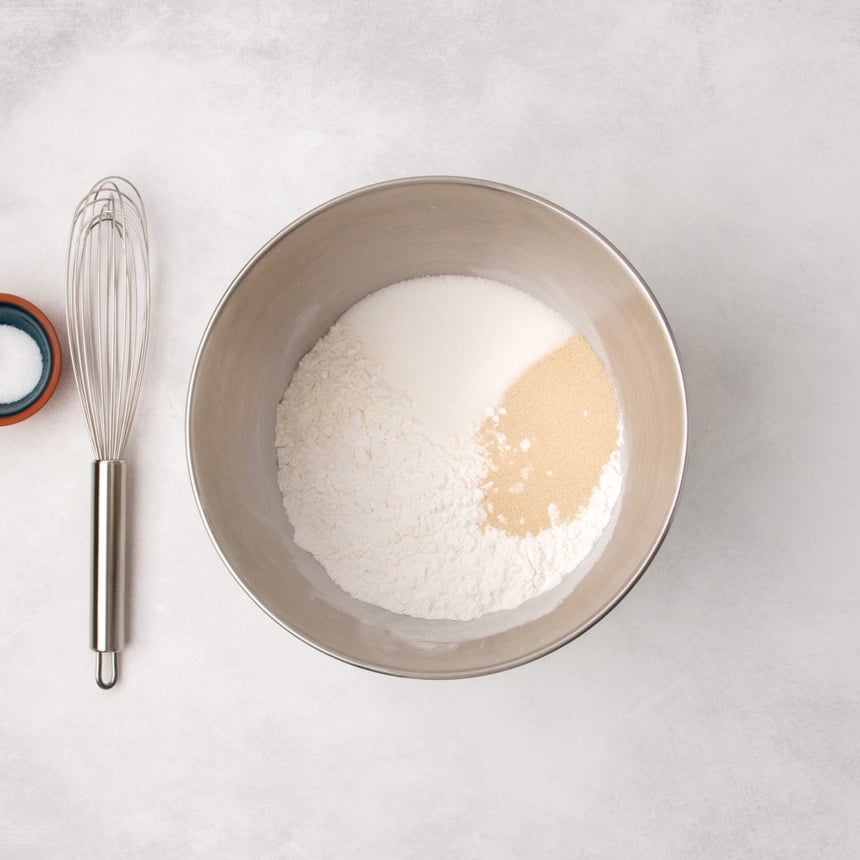
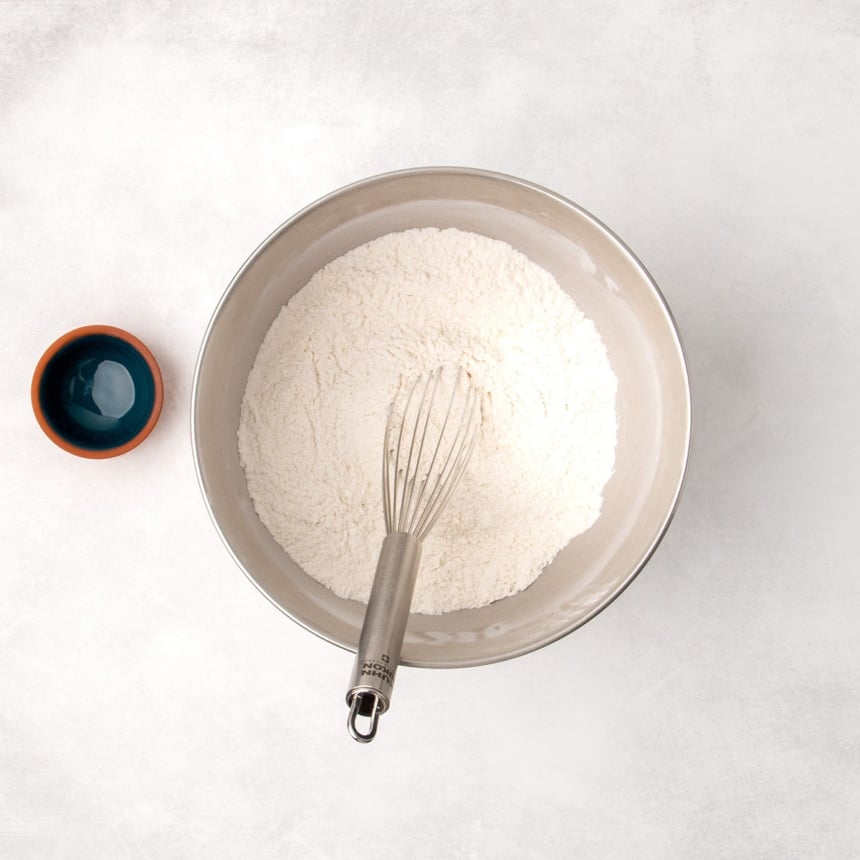
The creation of these gluten-free Hawaiian rolls is a meticulous process, designed to yield superior results. It begins with the careful combination of dry ingredients in a stand mixer bowl. The gluten-free flour blend, tapioca starch, yeast, and sugar are whisked together. Crucially, the salt is added separately to prevent direct contact with the yeast, as salt can inhibit or even kill yeast if concentrated.
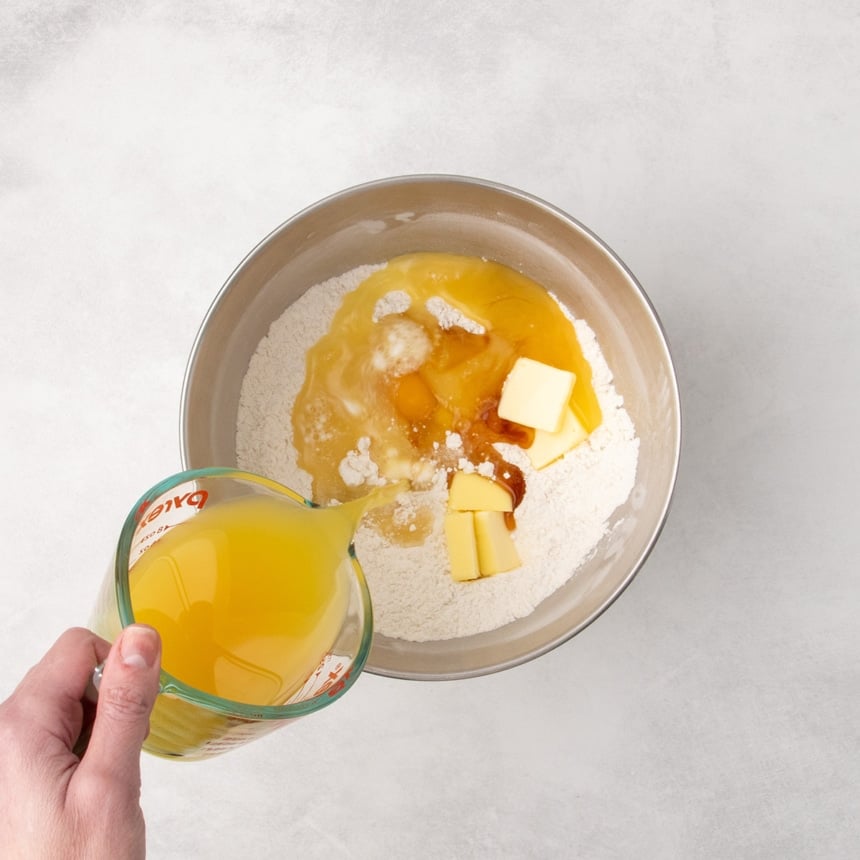
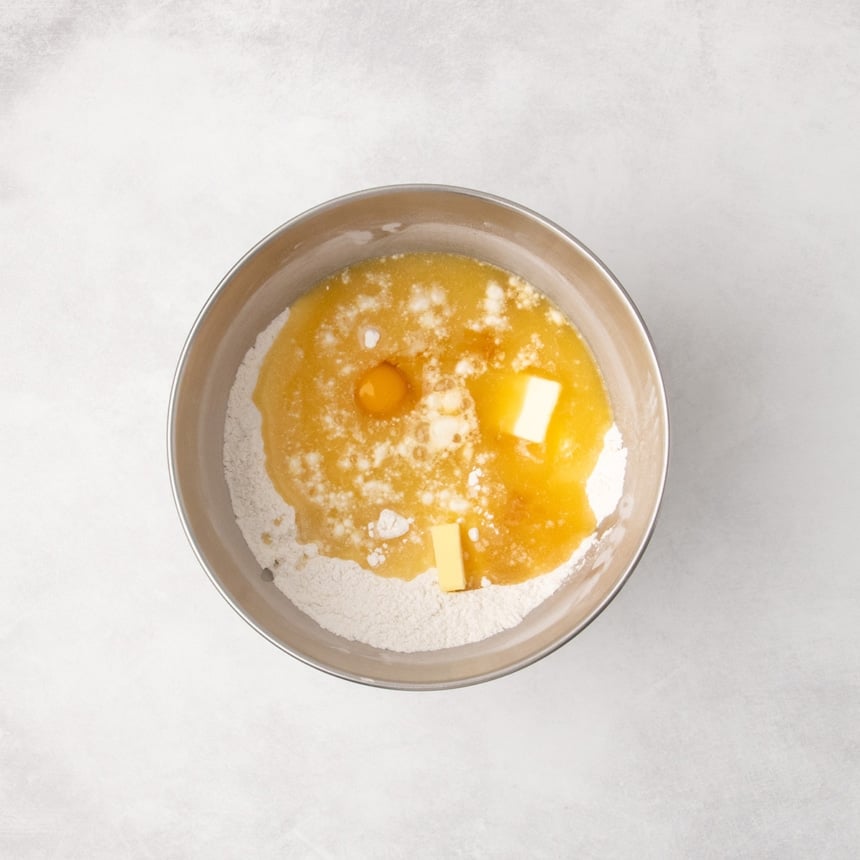
Following the dry ingredients, the wet components are introduced: butter, egg, vanilla extract, and pineapple juice. It is imperative that these wet ingredients are at room temperature. This ensures that the butter emulsifies smoothly into the mixture, preventing the formation of clumps and promoting a homogeneous dough. Cold liquids can cause softened butter to solidify, leading to an unevenly textured dough.
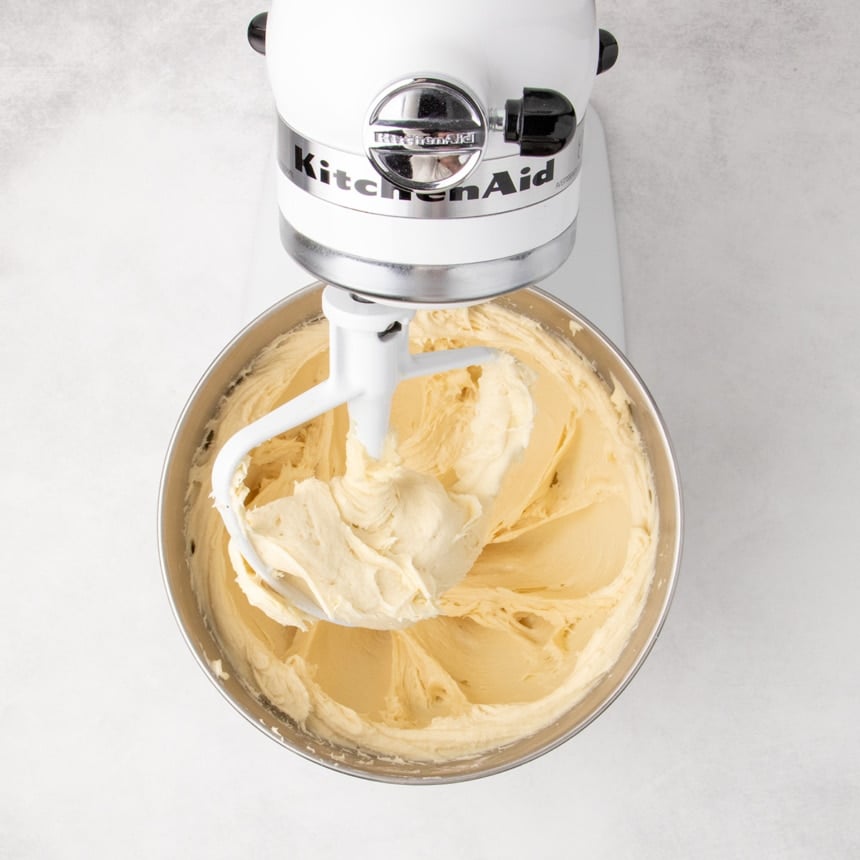
The dough is then mixed using a stand mixer fitted with a paddle attachment. The initial mixing on low speed ensures that the dry ingredients are thoroughly moistened, preventing flour from escaping the bowl. As the speed increases to medium, the dough undergoes a transformation, becoming lighter and more aerated. This process, akin to whipping, incorporates air, which is vital for achieving a well-risen, less dense final product.
The Crucial Cold Rise: Flavor Development and Dough Handling
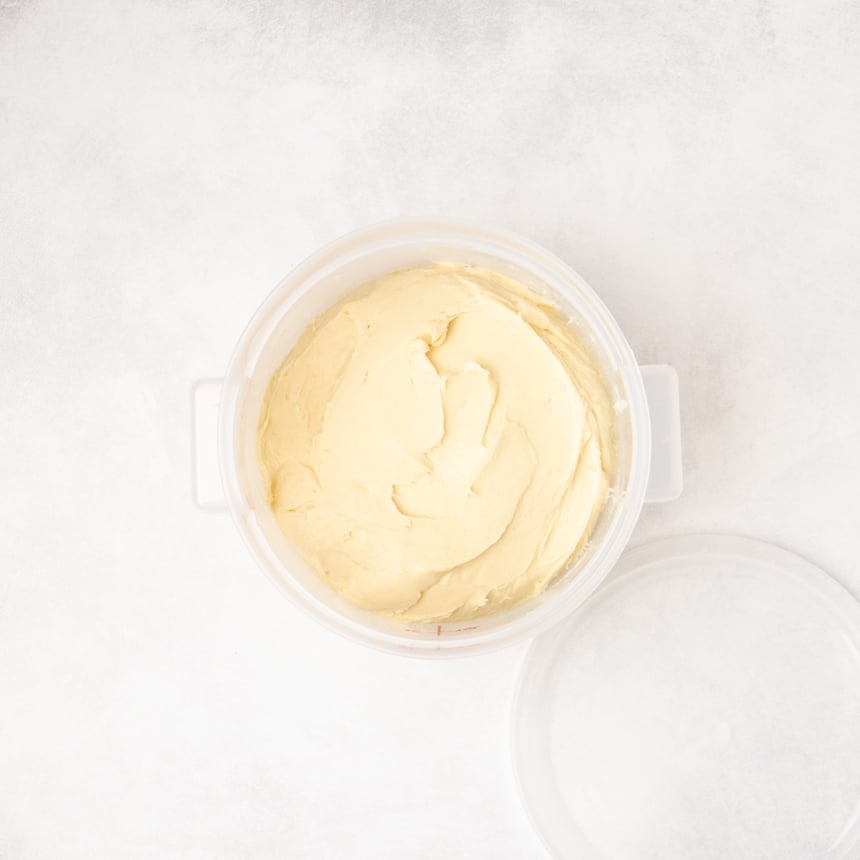
A distinctive feature of this recipe is the extended cold rise in the refrigerator. After mixing, the dough is transferred to a lidded container, allowing ample space for expansion. Chilling the dough for a minimum of 12 hours, and up to three days, serves multiple critical purposes. This slow, cold fermentation allows complex flavors to develop, resulting in a more nuanced and appealing taste profile. Furthermore, the extended chilling time permits the dry ingredients to fully absorb the moisture from the liquids, creating a dough that is firmer and significantly easier to handle and shape. This stage is not about dramatic rising; rather, it’s about controlled fermentation and textural preparation.
The recipe cautions against extending the cold rise beyond three days, as this can lead to an overly yeasty flavor, which is undesirable in Hawaiian rolls, and potentially an uncontrolled, irregular rise after shaping.
Shaping for Success: Precision and Technique
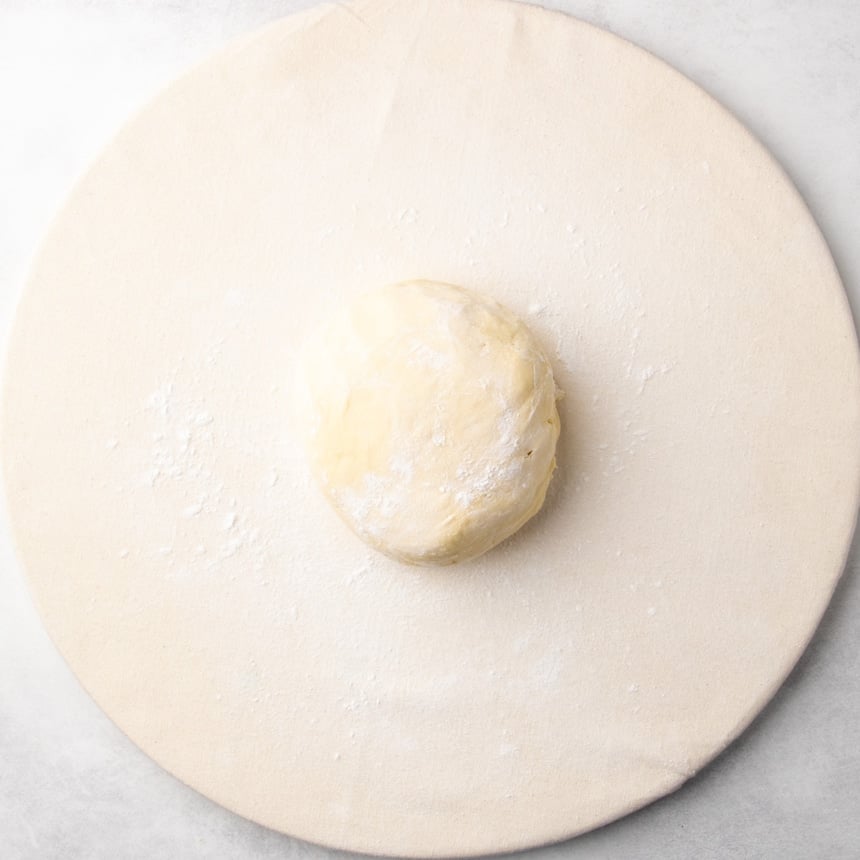
Upon removing the dough from the refrigerator, it is turned out onto a lightly floured surface, with tapioca flour being the recommended choice to minimize gluten development and maintain a light texture. The dough is handled gently, dusted with additional tapioca flour as needed to prevent sticking. The emphasis is on using fingertips rather than palms to handle the dough, minimizing the incorporation of excess flour, which can compromise the final texture and rise.
The dough is then divided into eight equal portions, each weighing approximately four ounces. This precise division ensures that each roll will bake evenly, resulting in a uniform appearance and texture.
The shaping process itself is a key element in achieving the characteristic look and feel of Hawaiian rolls. Each portion of dough is pulled towards the center and pinched to seal, creating a gathered seam on the bottom. The dough is then flipped so the gathered edges are on the underside. By cupping a hand around the dough and moving it in a circular motion on the work surface, the edges are rounded. A final press with the palm flattens the bottom, creating a wider base ideal for sandwich buns. This technique encourages a good rise and a pleasing shape.
The Final Rise and Baking Perfection
After shaping, the rolls are placed on a parchment-lined baking sheet and loosely covered with plastic wrap. This covering is essential to maintain sufficient moisture, allowing the rolls to achieve their final rise without drying out. The recipe specifies a rise time of approximately 30 minutes, after which the plastic wrap is removed.
A generous egg wash is then applied to the surface of the risen rolls. This wash not only contributes to the beautiful golden-brown color and glossy sheen but also acts as a protective barrier, preventing the crust from becoming too crispy or dry during baking.
The rolls are baked at 375°F (190°C) until they are a deep golden brown, appear taut across the top, and register an internal temperature of at least 185°F (85°C) on an instant-read thermometer. Upon removal from the oven, the hot rolls are loosely covered with a tea towel. This step is crucial for trapping residual steam, which helps to maintain the softness of the crust, preventing it from becoming hard or overly crisp.
Expert Insights and Substitutions
For those without a stand mixer, the recipe suggests using a food processor with its plastic blade, cautioning against overprocessing or overheating the dough. Hand mixing is deemed insufficient for achieving the necessary dough structure and aeration.
The recipe also offers valuable guidance on ingredient substitutions to accommodate dietary restrictions. For a dairy-free version, block-style vegan butter alternatives such as Melt, Miyoko’s, or Trader Joe’s brands are recommended. For an egg-free version, the single egg in the dough can be replaced with a chia egg, a commercial egg replacer like Bob’s Red Mill, or a liquid egg replacer like JustEgg. The optional egg wash can be substituted with cream.
When pineapple juice is unavailable or undesirable, apple juice offers a comparable, though milder, sweetness. Alternatively, milk can be used as a direct substitute for pineapple juice, yielding a rich, tender, and less sweet roll without requiring other recipe adjustments.
Storage and Enjoyment
Once completely cooled, these gluten-free Hawaiian rolls can be stored for extended periods. Individually wrapping each roll in freezer-safe material and freezing for up to three months is an effective method for long-term storage. To refresh frozen rolls, they can be thawed at room temperature, lightly sprinkled with water, and then gently reheated in a microwave or toaster oven.
The resulting gluten-free Hawaiian rolls are a testament to the possibility of achieving bakery-quality results at home, even without gluten. Their soft texture, delightful tropical flavor, and beautiful appearance make them a valuable addition to any gluten-free baker’s repertoire, proving that dietary restrictions need not mean compromising on taste or quality.